This Documentation is used for Eduma – Education WordPress Theme.
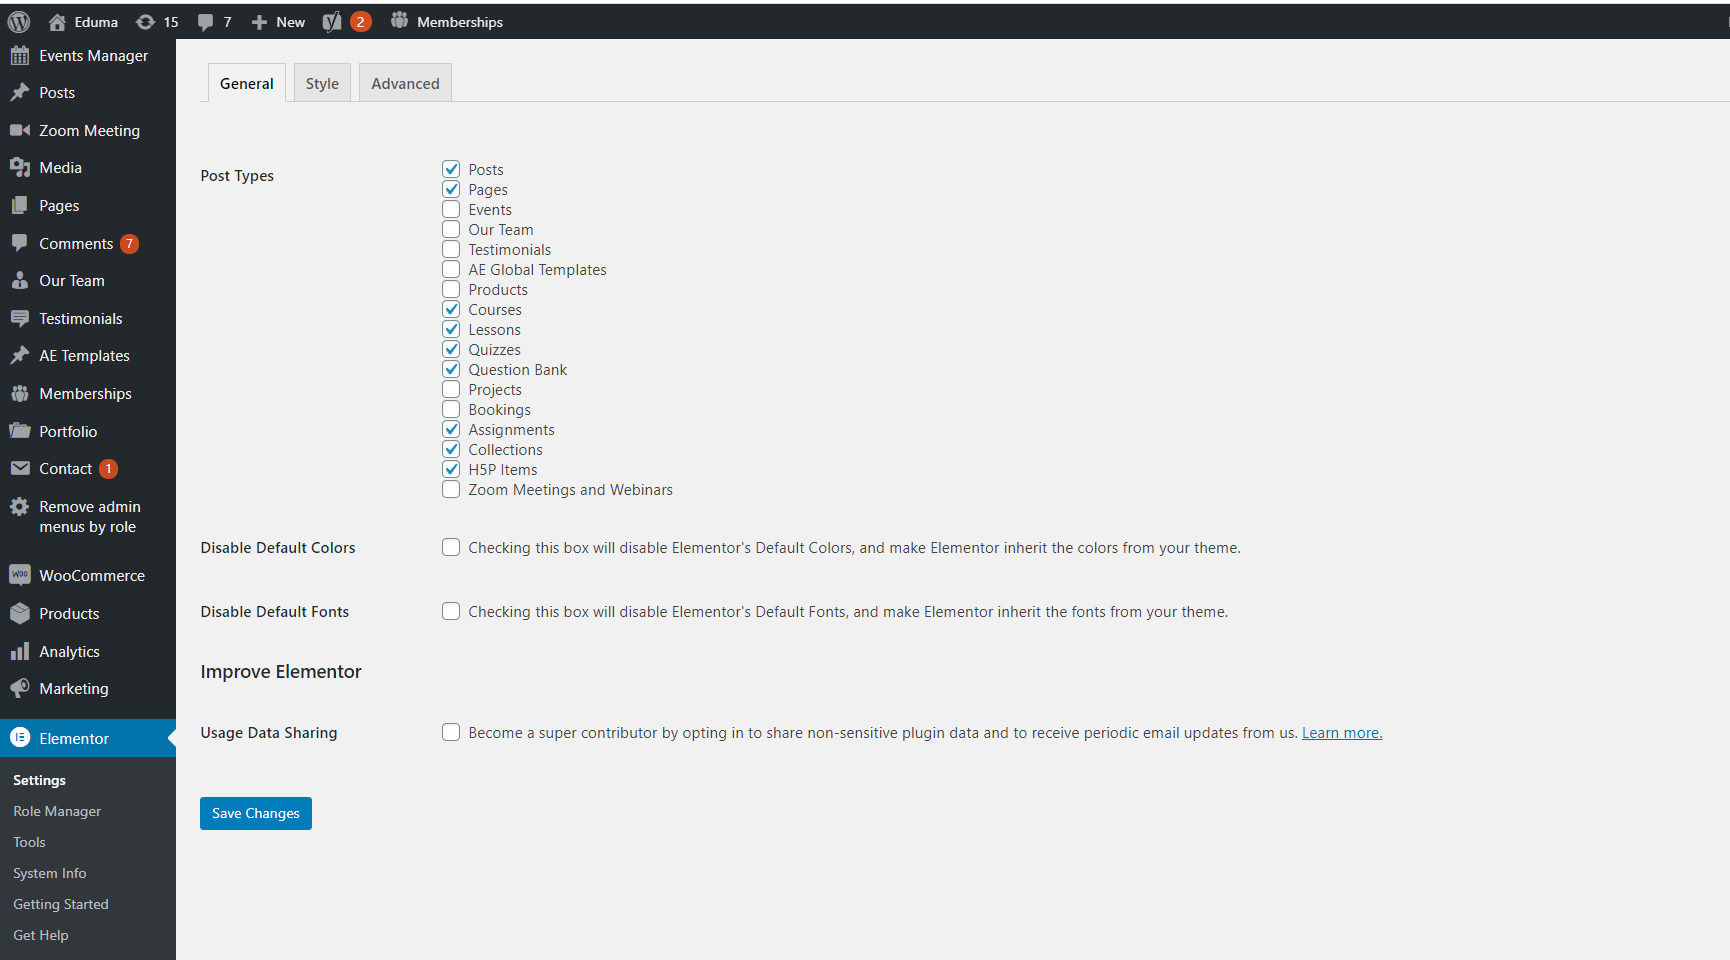
- To edit the course elements such as Course overview, lessons, quizzes, … with Elementor, you need to enable Elementor’s editing permission.
- Please go to Dashboard => Elementor => Settings => General => Enable in post types you want => Save changes.
Or you can watch these videos to know how to design Course Archive page and Course Single Page with Elementor via Thim Elementor Kit plugin.
-
How to edit Course archive page by Thim Elementor Kit
2. How to edit Course single page by Thim Elementor Kit
3. How to edit Single course item by Thim Elementor Kit
To import a Single Course Item Template, you should enable the following features: Flexbox Container, Grid Container, and Nested Elements.
Simply go to your WordPress Dashboard -> Elementor -> Settings and find those features. Toggle the switch to Active for each one.
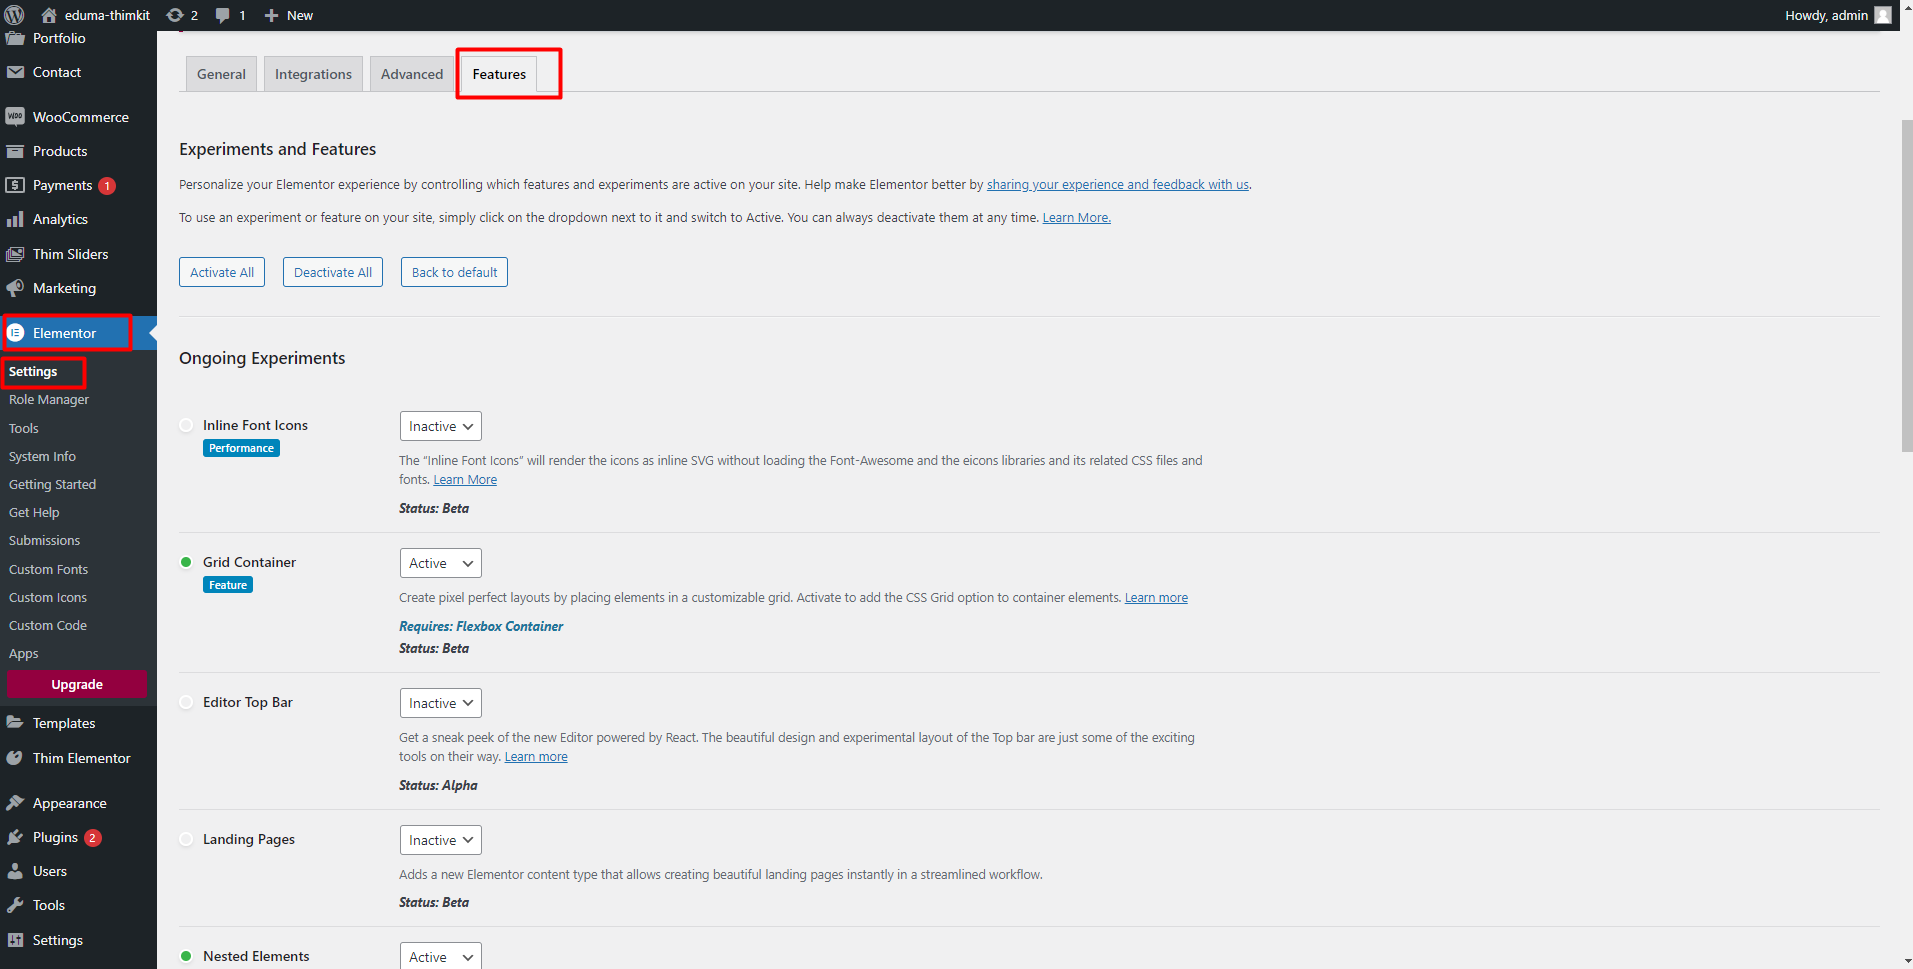


Don’t forget to click on the Save Changes button.
To create and use a Single course Item, please follow these steps:
Step 1: Create Single Course Item:
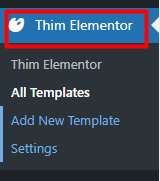
Go to Admin dashboard >> Thim Elementor >> Add new Template
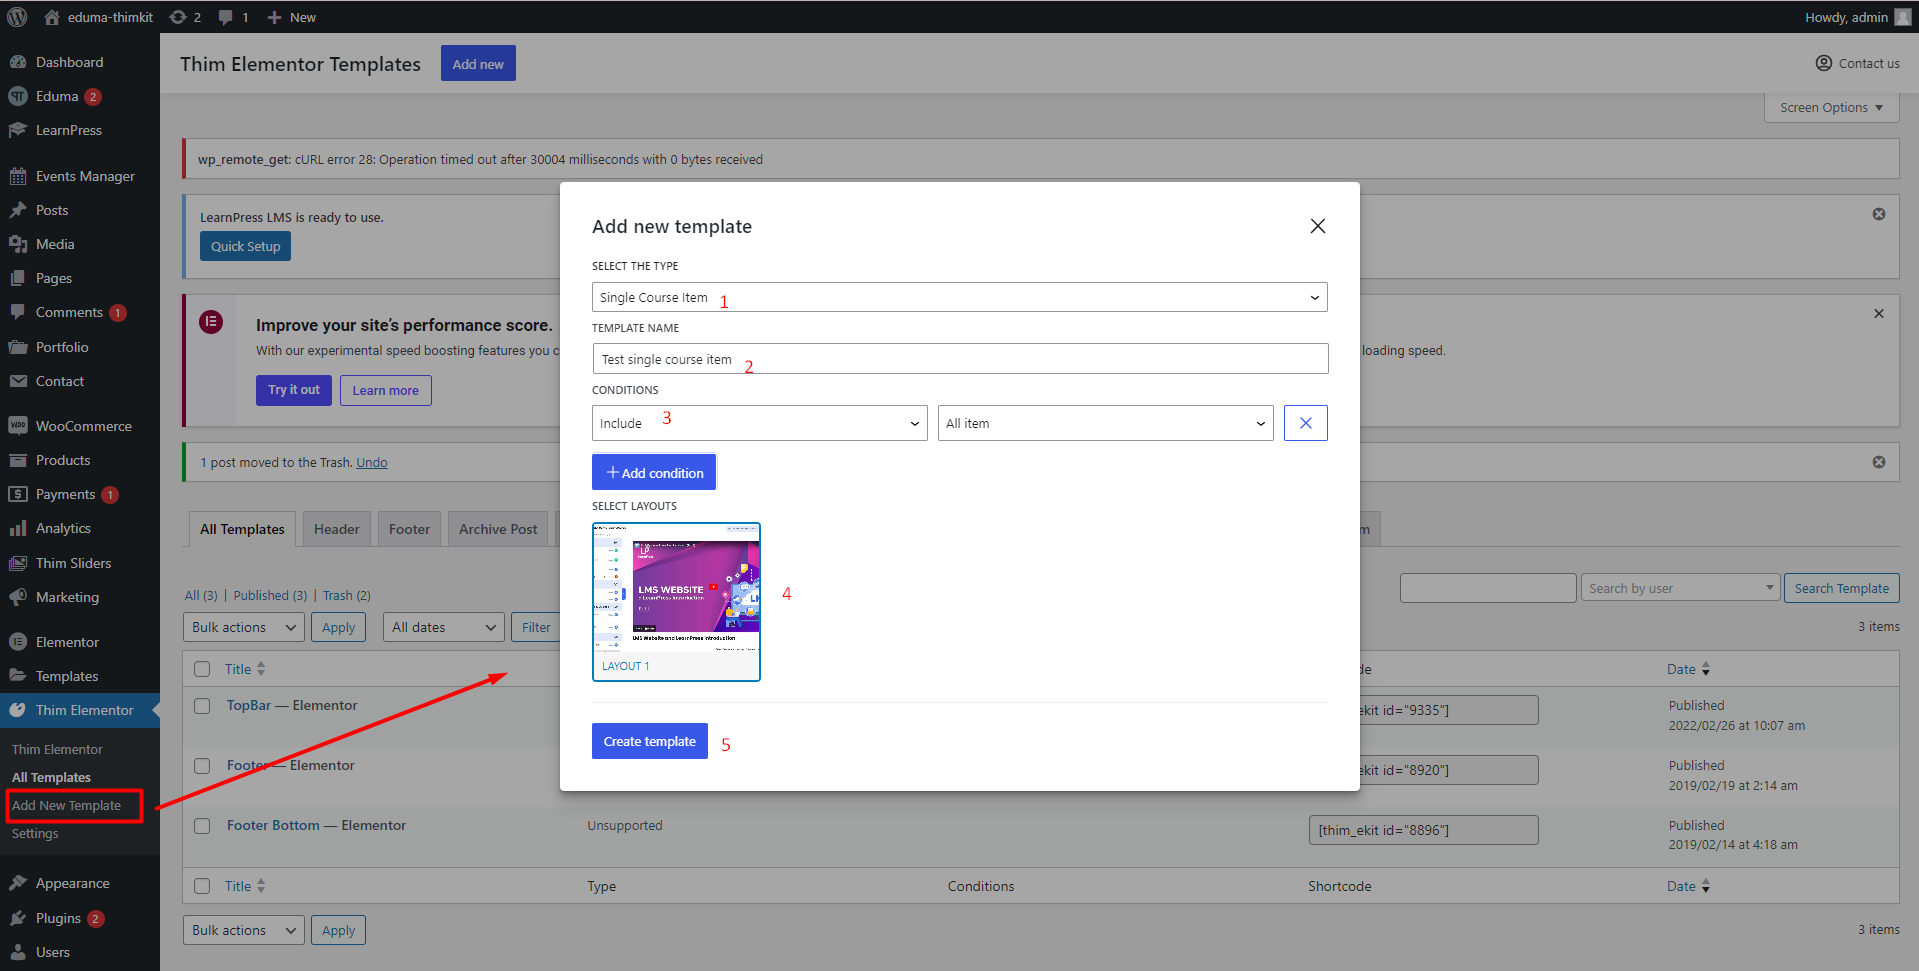
- Select the type: Single Course Item
- Choose Template name you want
- Select CONDITIONS
Select include and All items to apply this layout to both quiz and lesson
- Select layout: We have pre-made layouts for you to choose from, or you can create your own new layout
- Then click Create Template
Step 2: Edit Single Courses Item
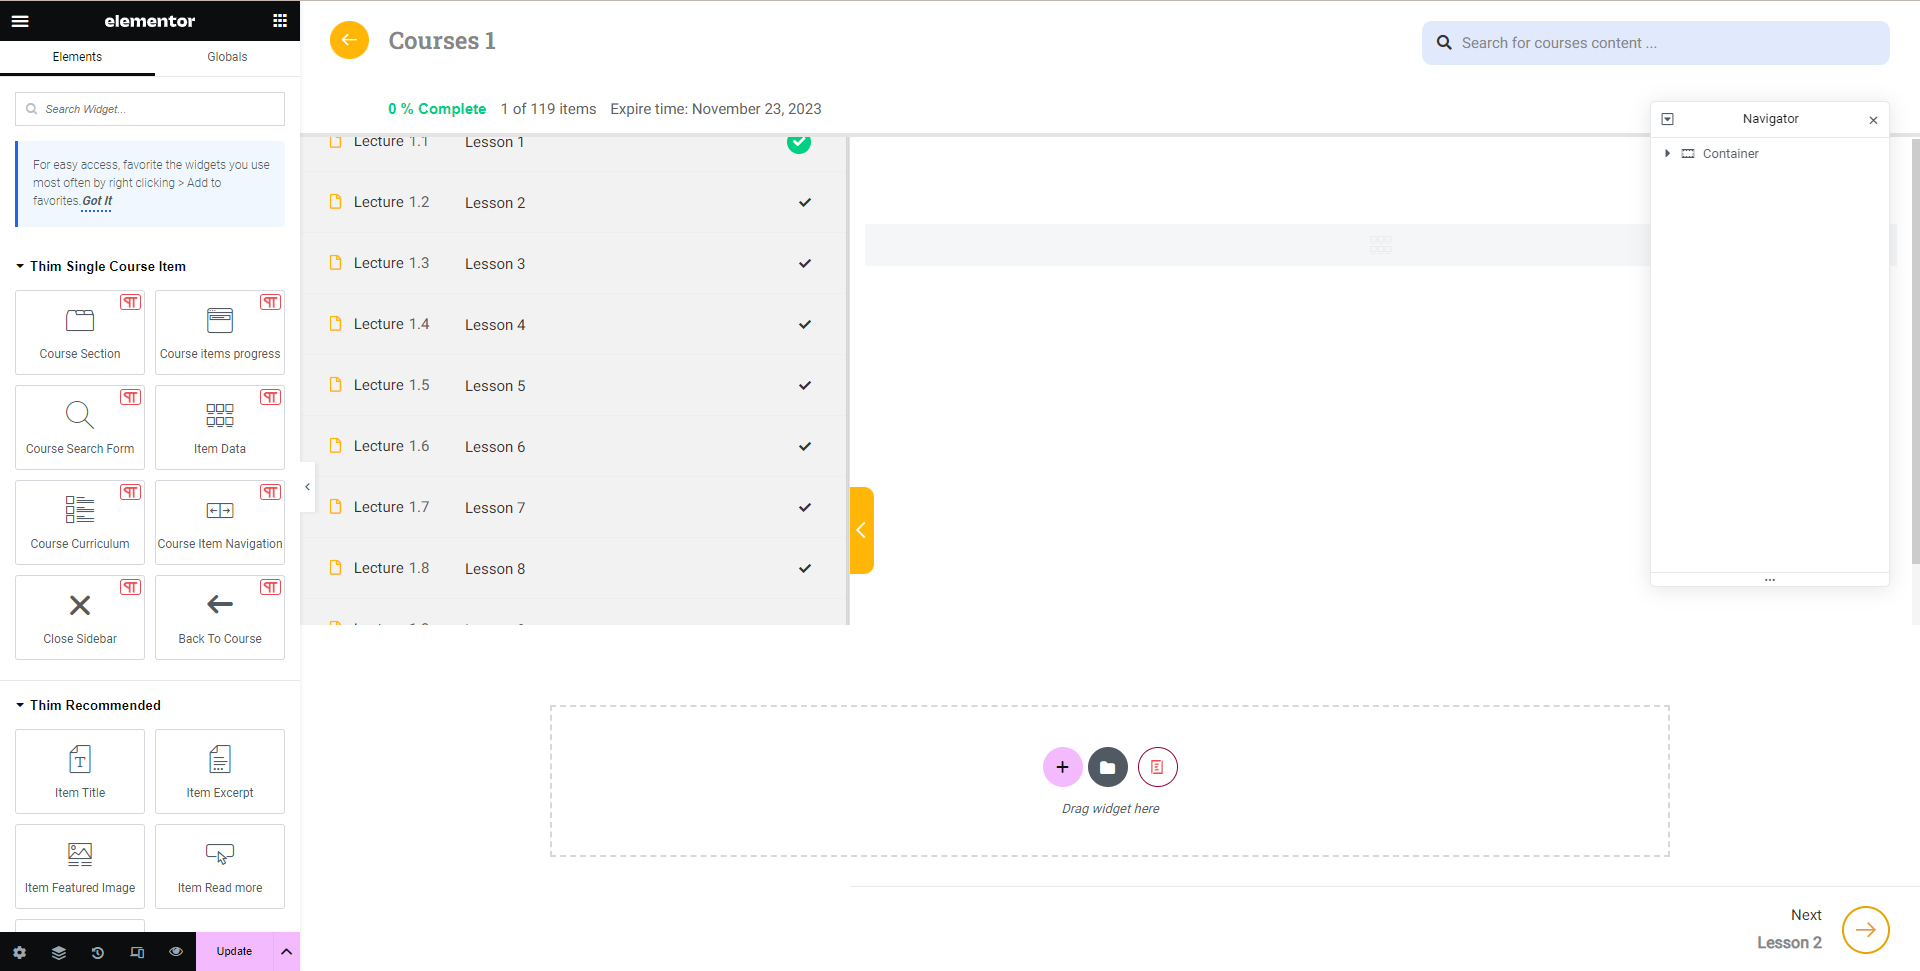
There are 4 sections that you can edit: Headers, sidebar, content, footer
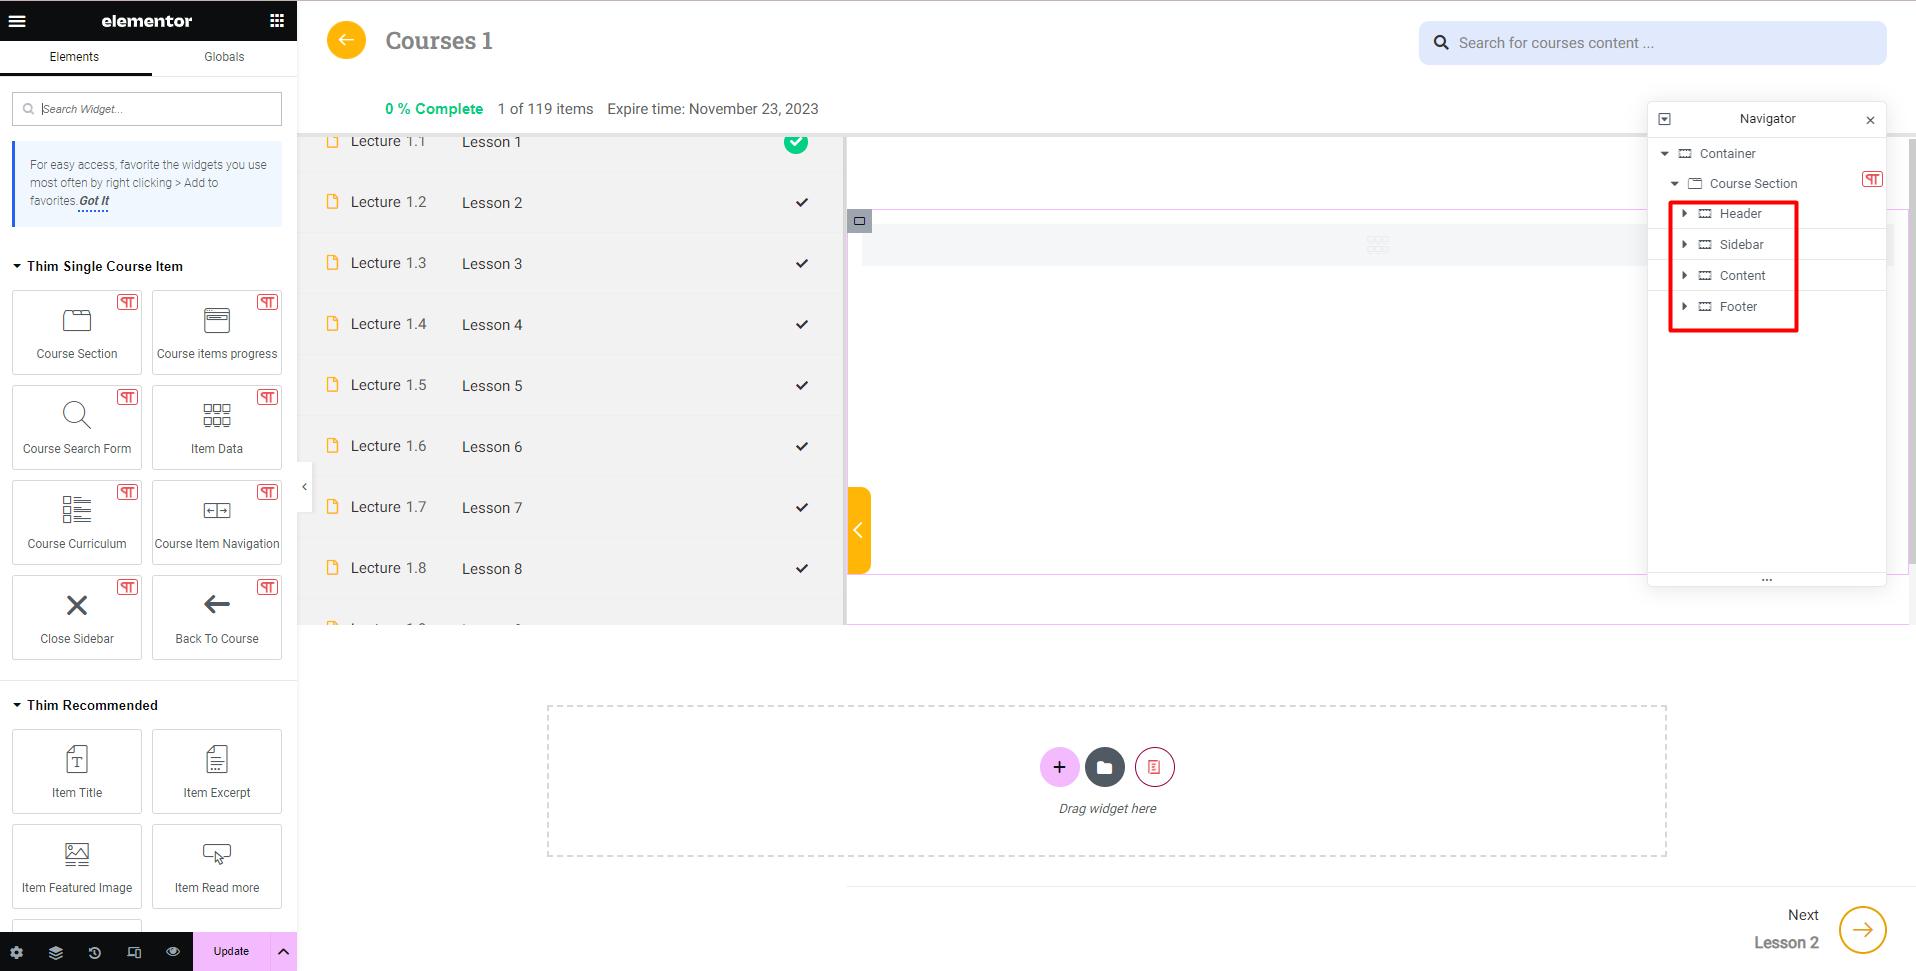
To edit the style of components in Navigator, you just need to click on that component
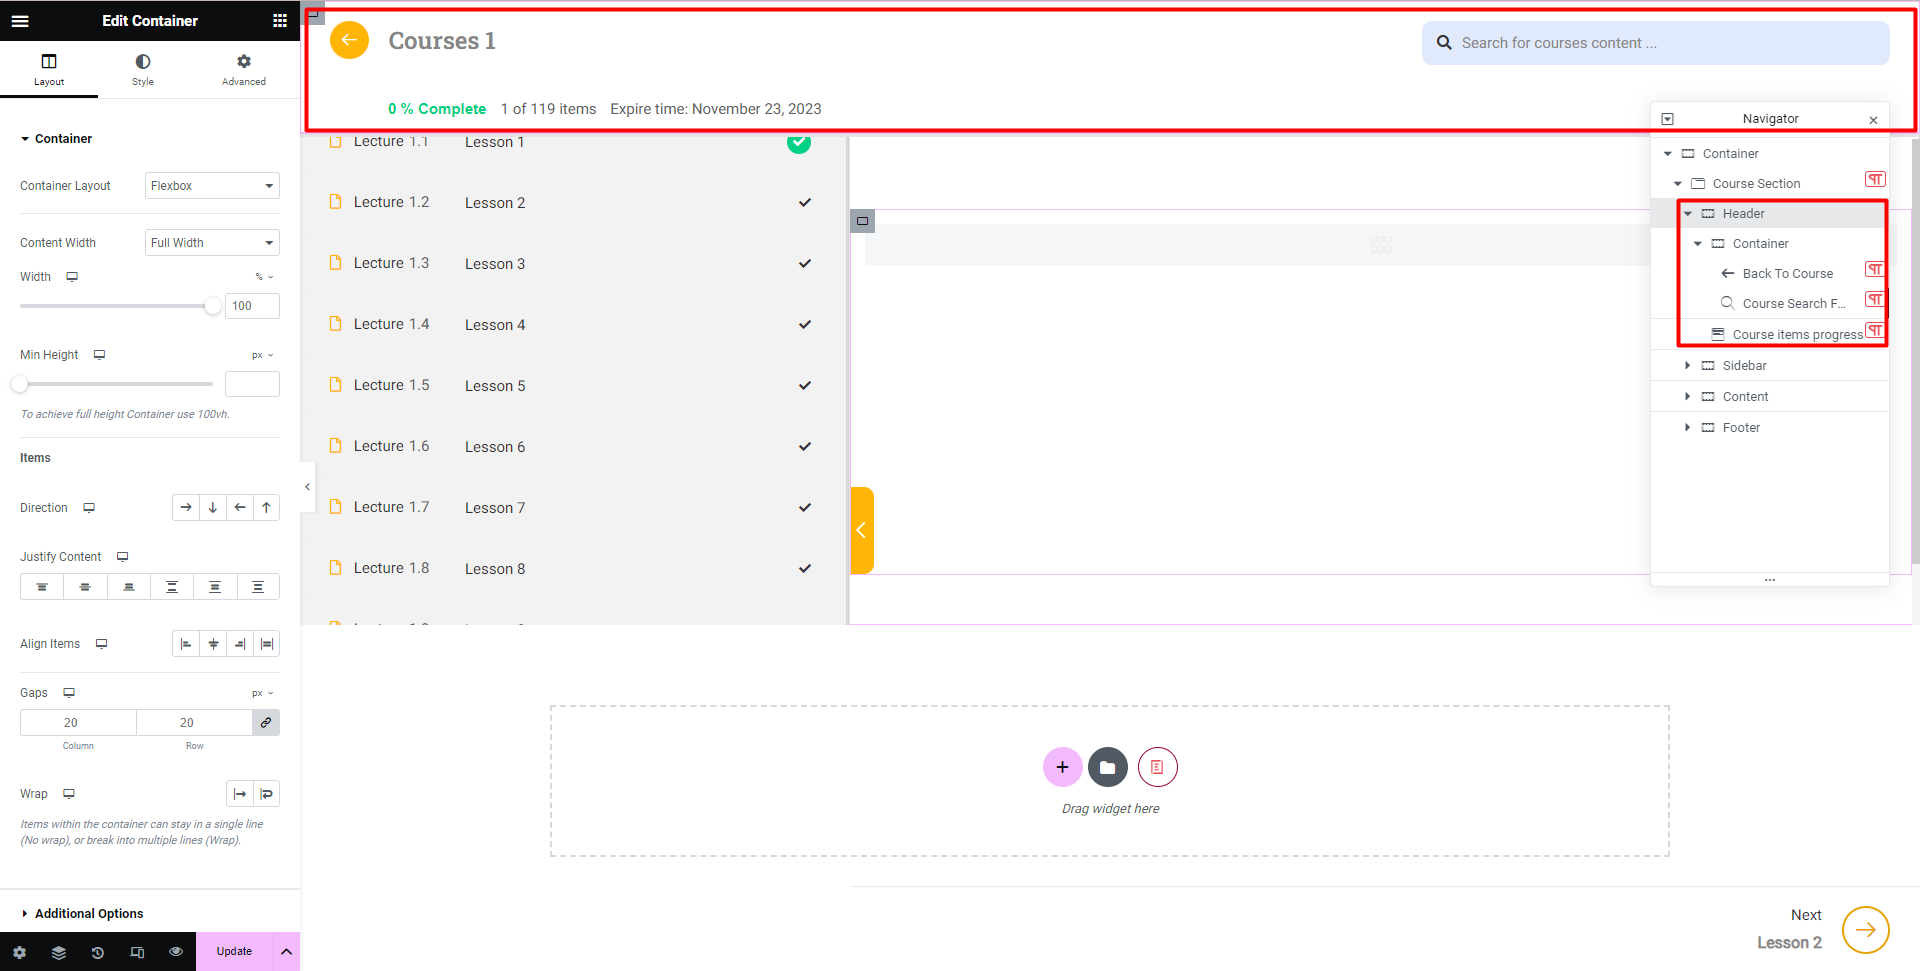
The following is an example of header editing:
First, edit button “Back To Course”
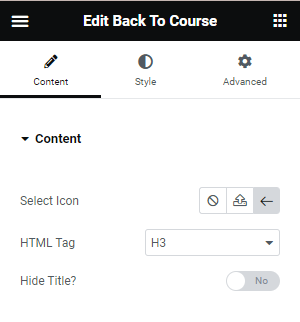
- Select Icon
- HTML Tag: select HTML tag
- Hide Title: Allows you to hide or show the accompanying course title
Second, edit “Course Search Form”
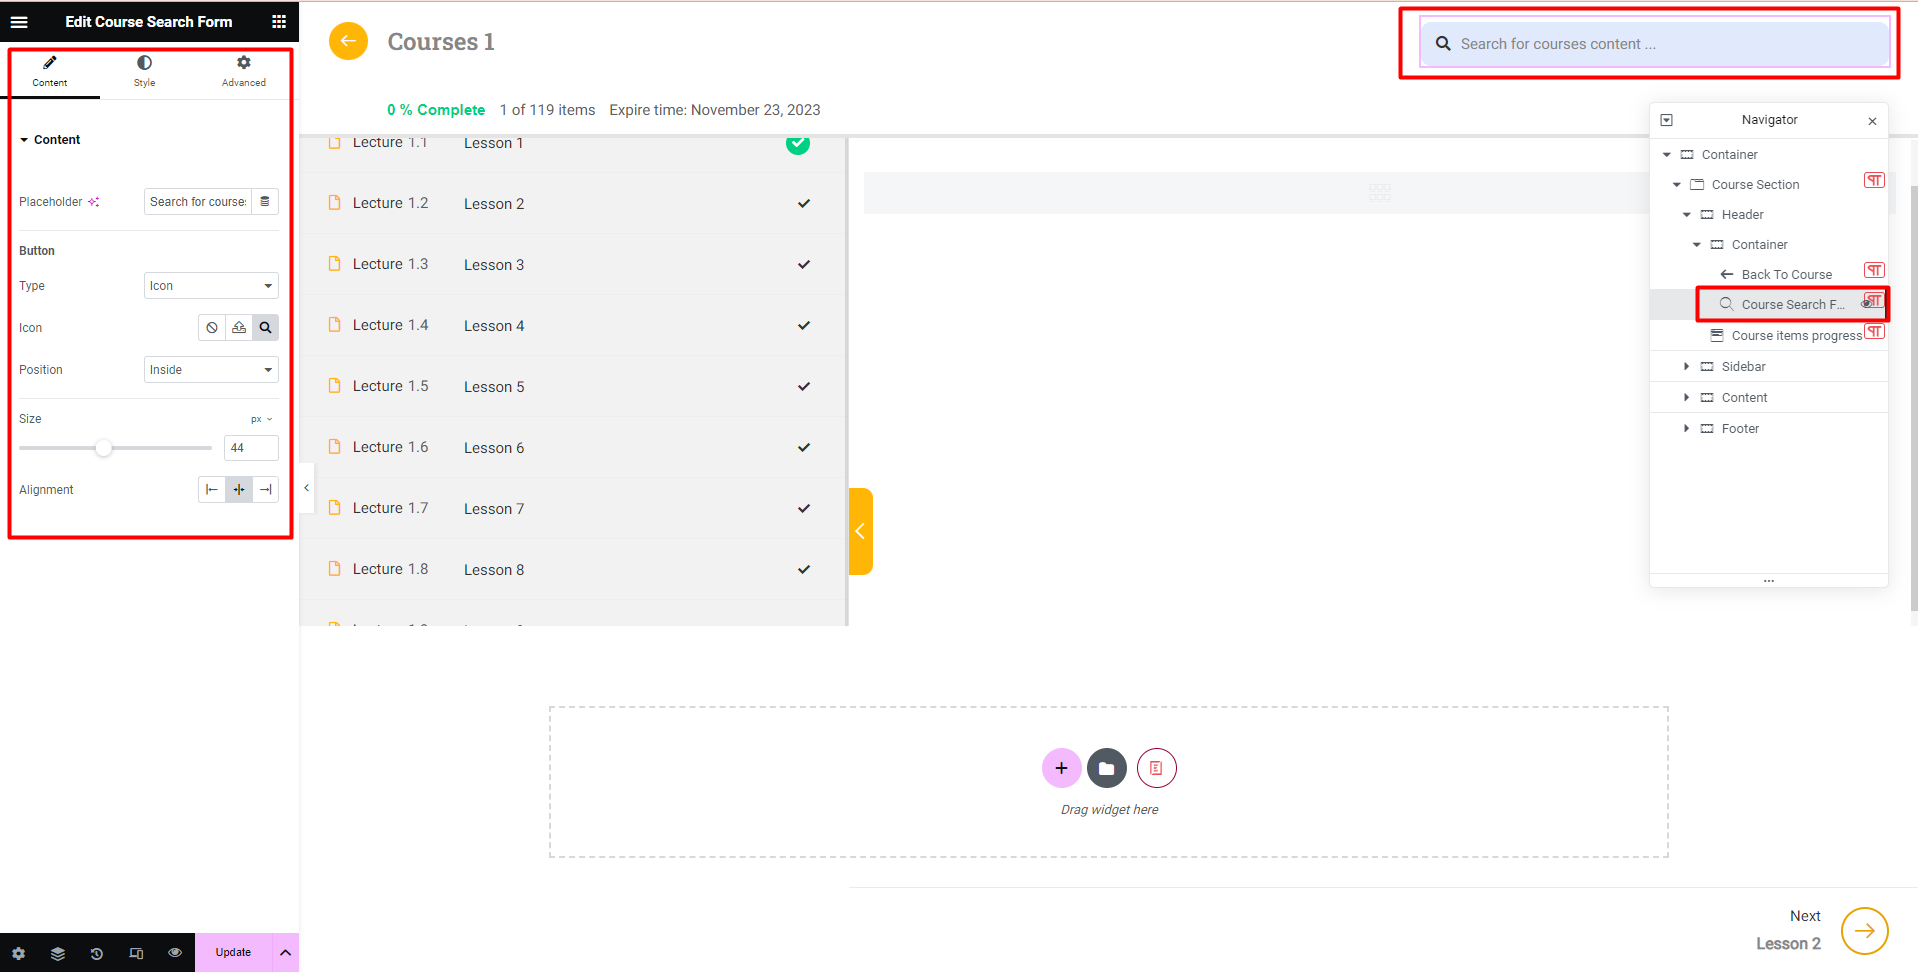
- Placeholder: You can enter content here, or leave the default as “Search for course content”
- You can configure some button: type, icon, position, size, alignment
Third, edit “Course Item Progress”
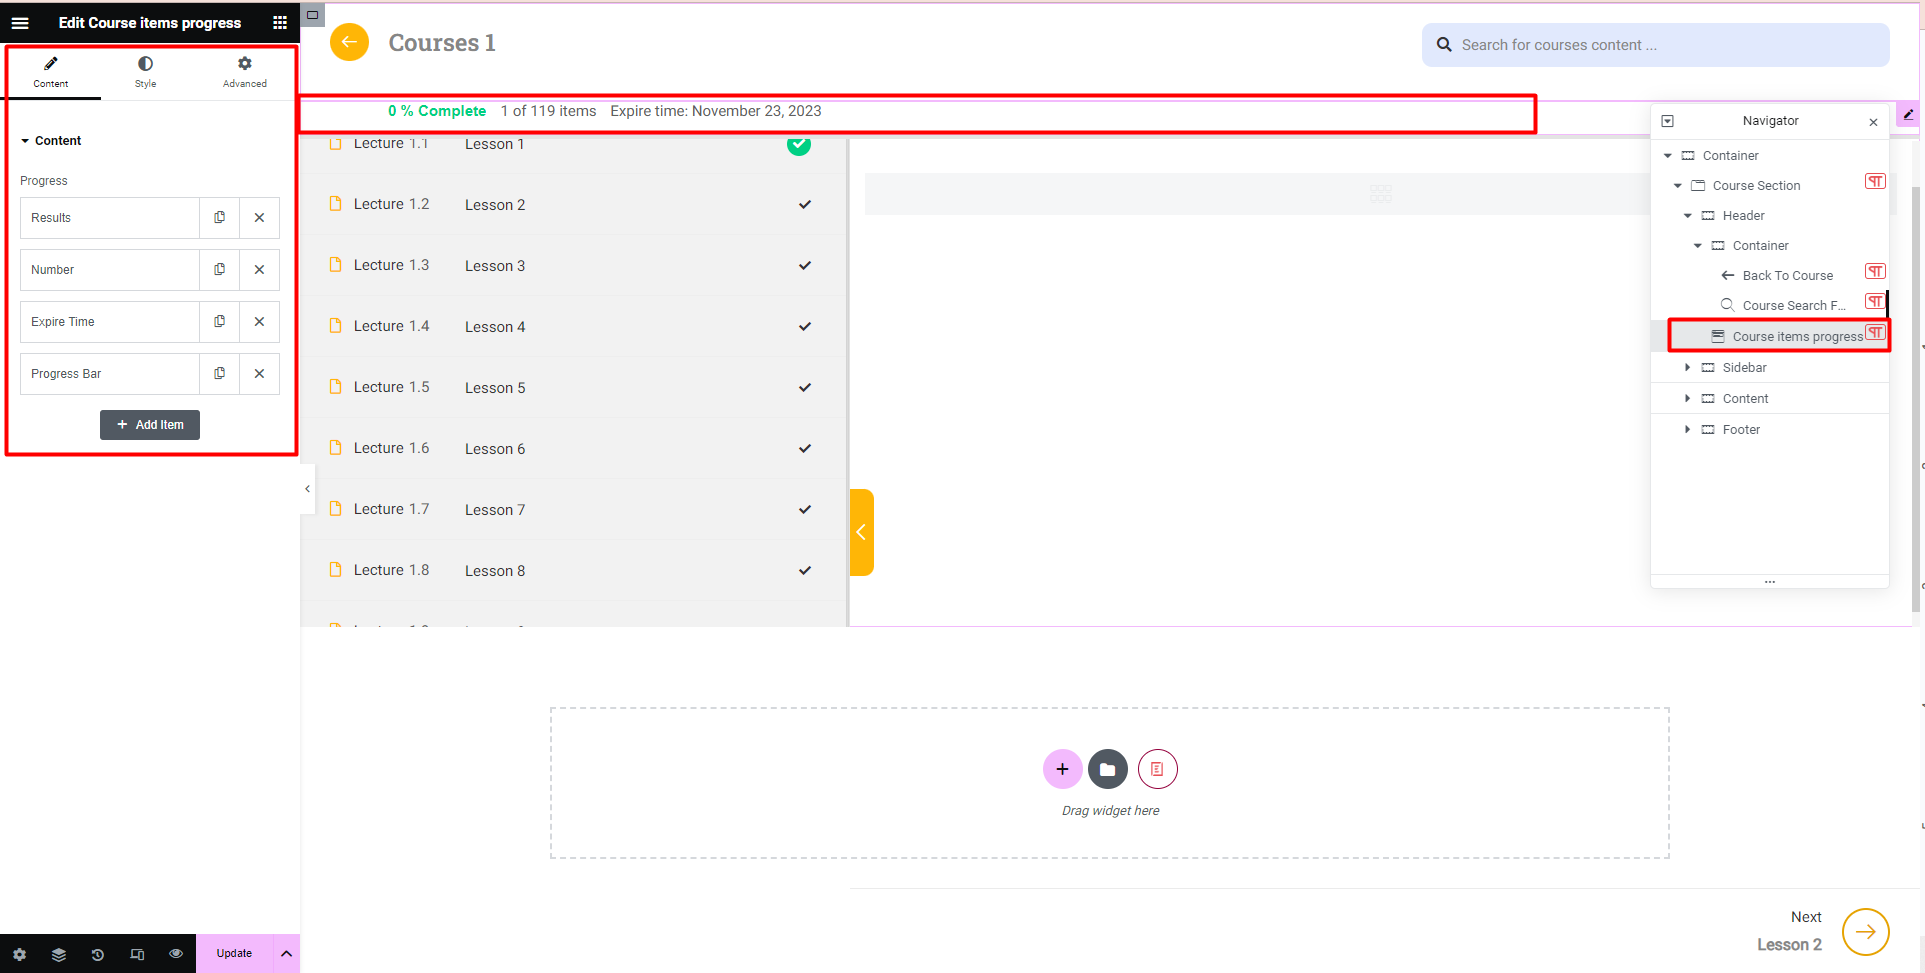
Configure the order in which certain items appear
Available items are: Result, Number, Expire time, Progress Bar
After editing the template, remember to click Update to save and use template.
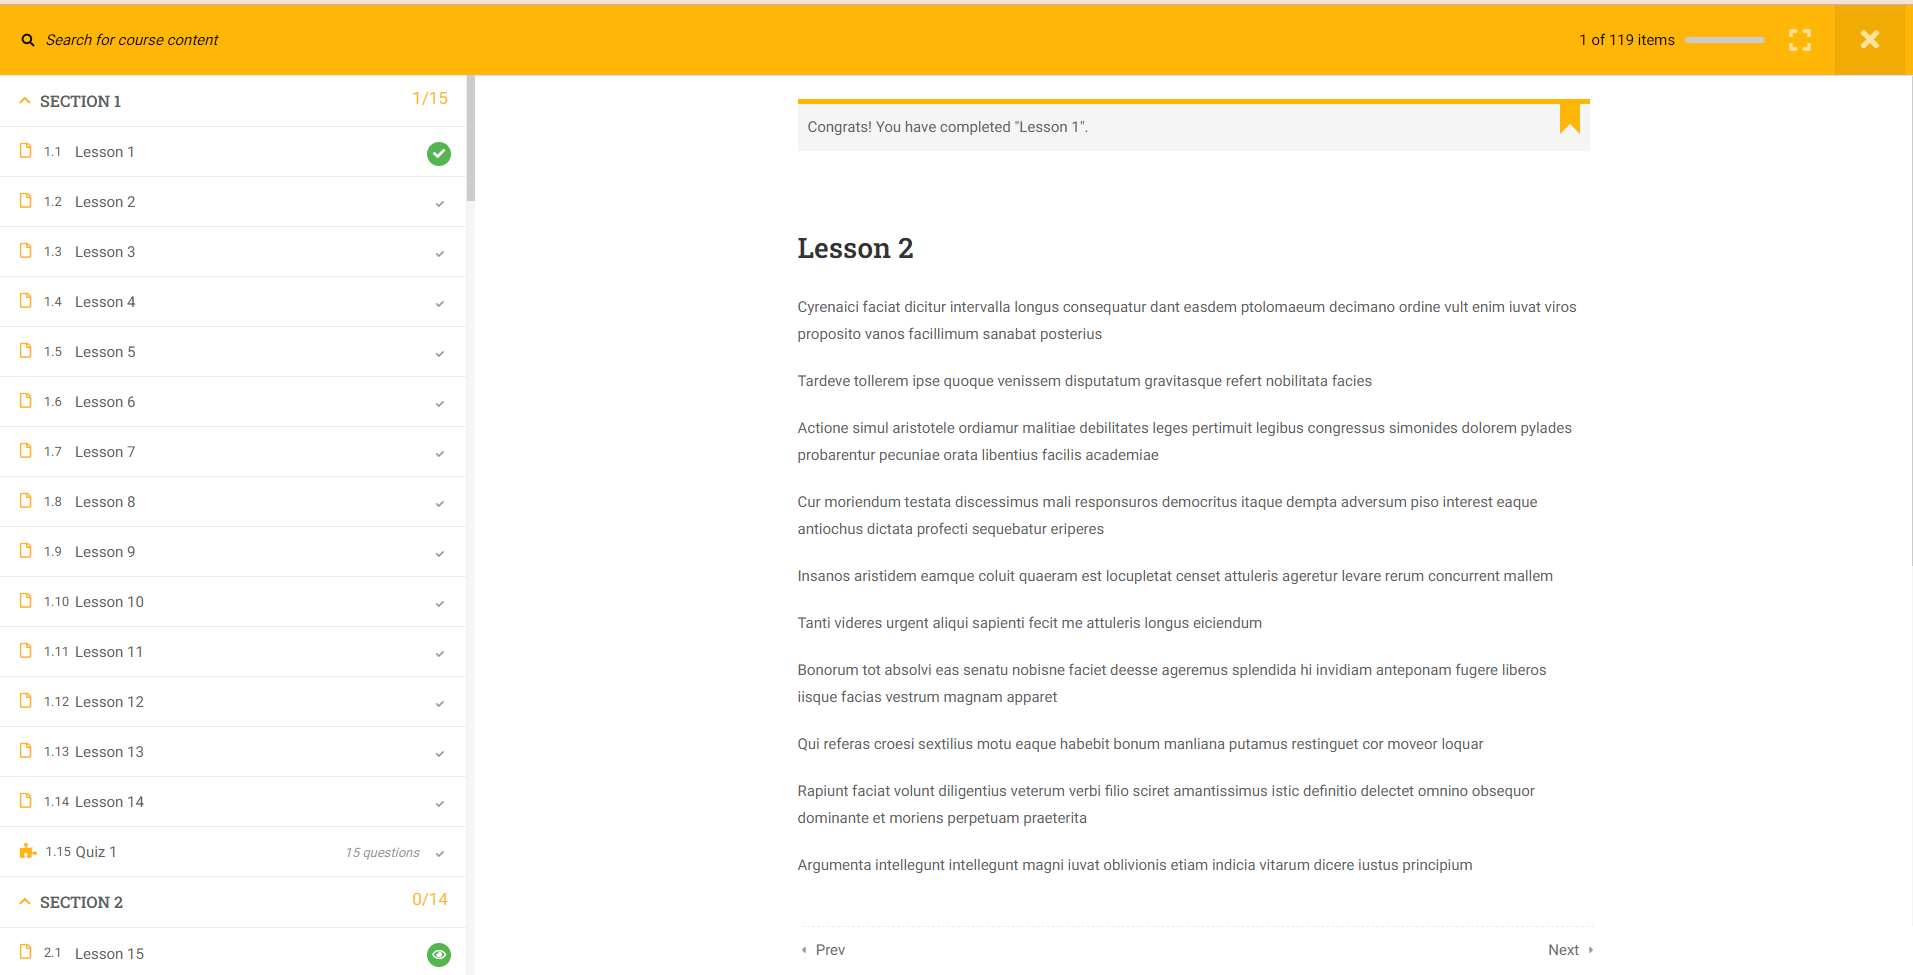
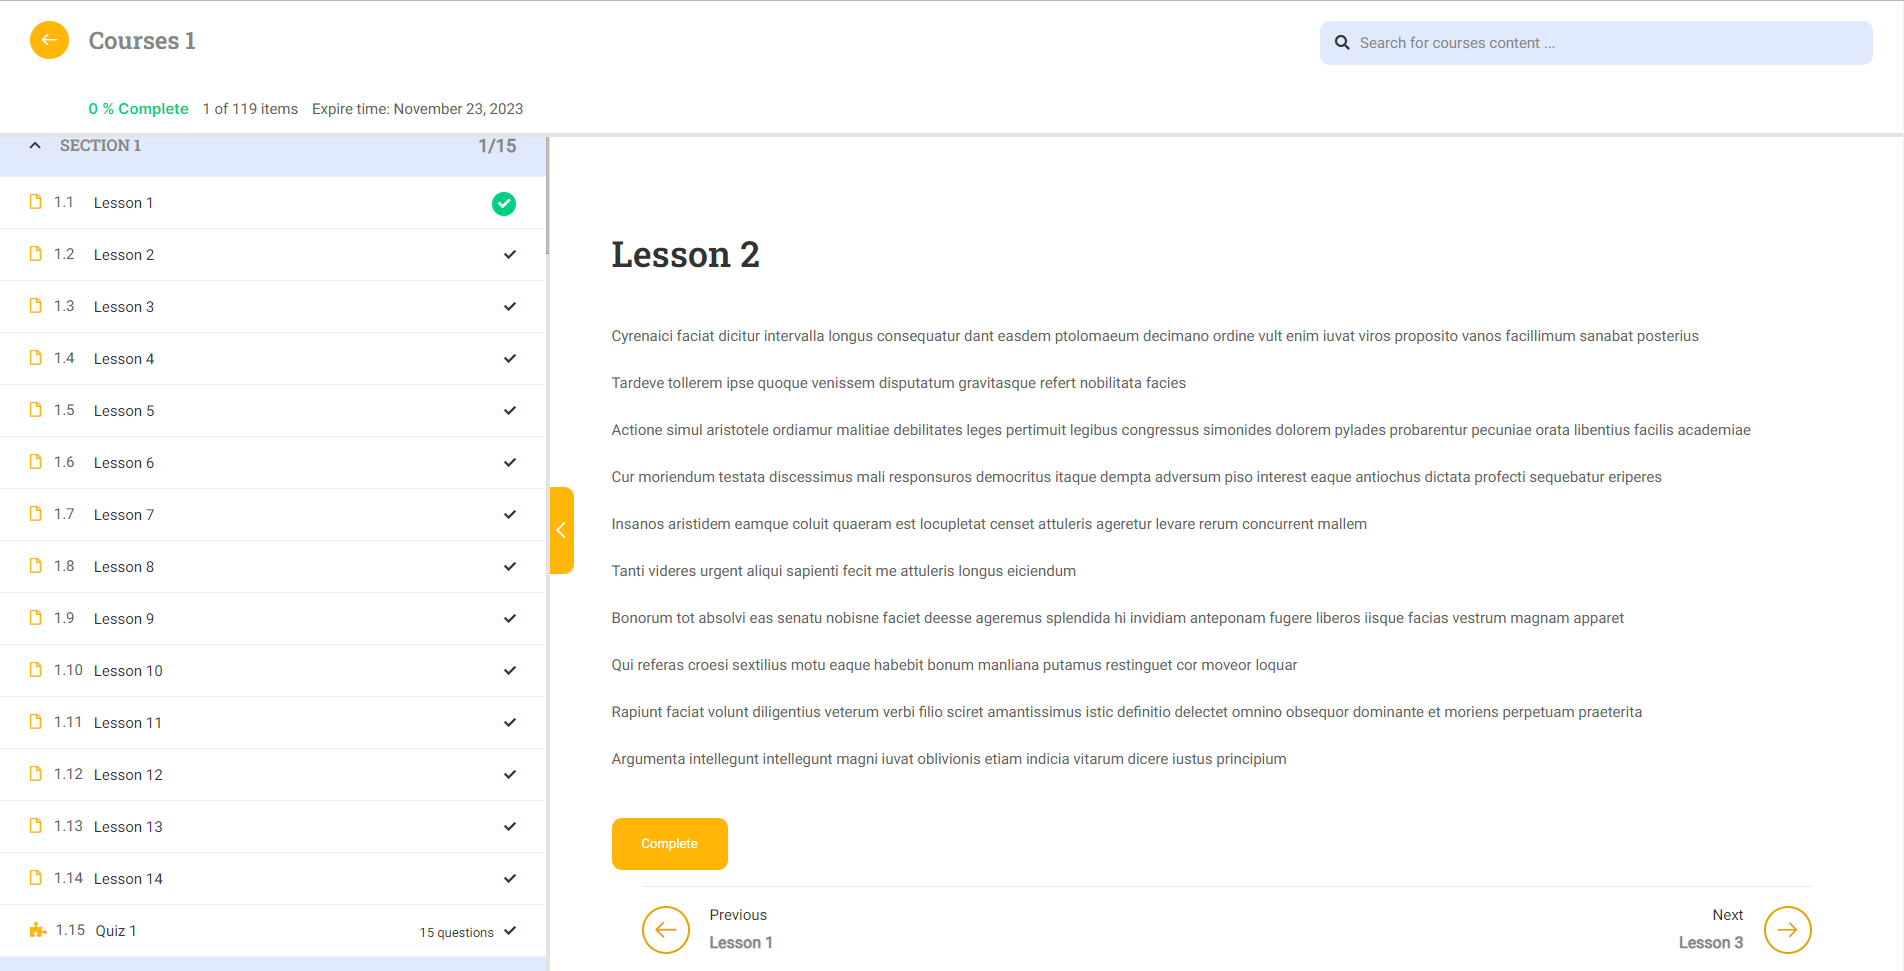
Compare the course screen before and after editing:
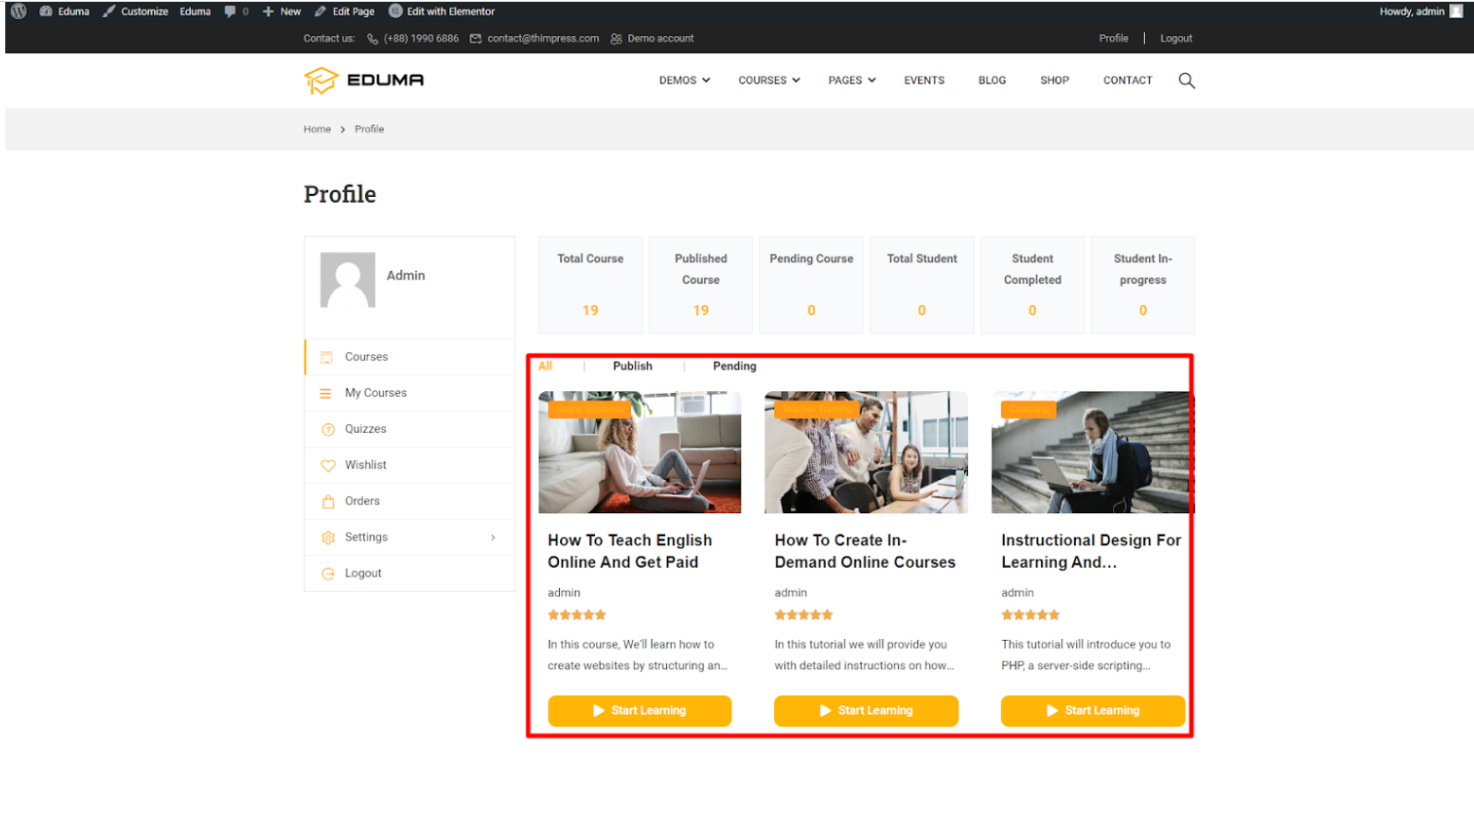
4. How to create and use Loop item
Using the Loop item for courses, you can see the courses on the Archive Course page and the profile page according to the pre-built template of your choice. They will not be displayed as configured in Appearance -> Customize -> Courses.
The Loop item will support LearnPress v4.2.3.5 and Eduma 5.xx and above.
To create and use a Loop Item, please follow these steps:
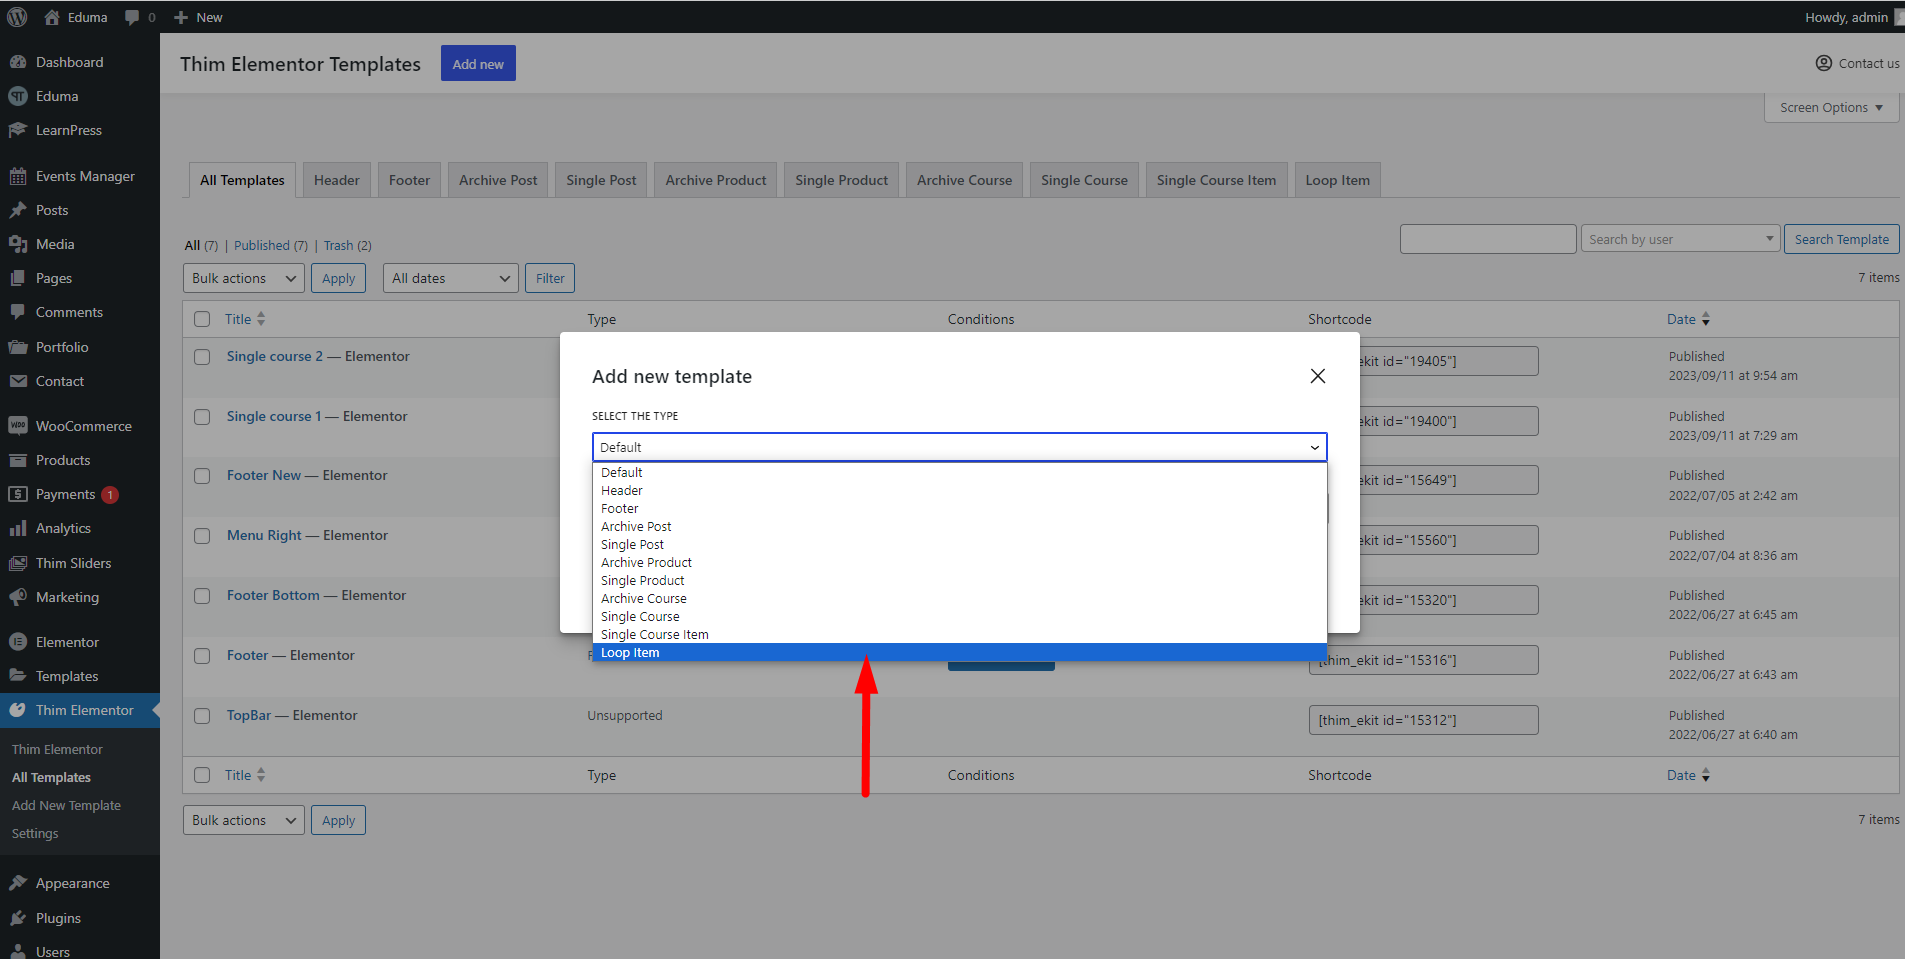
- Go to your Admin dashboard >> Thim Elementor >> Add new Template

2. Select the type: Choose the Loop Item
3. After that, you must choose the Template Name, Select Post Type, and Select layouts you want. Then, click the Create template button.
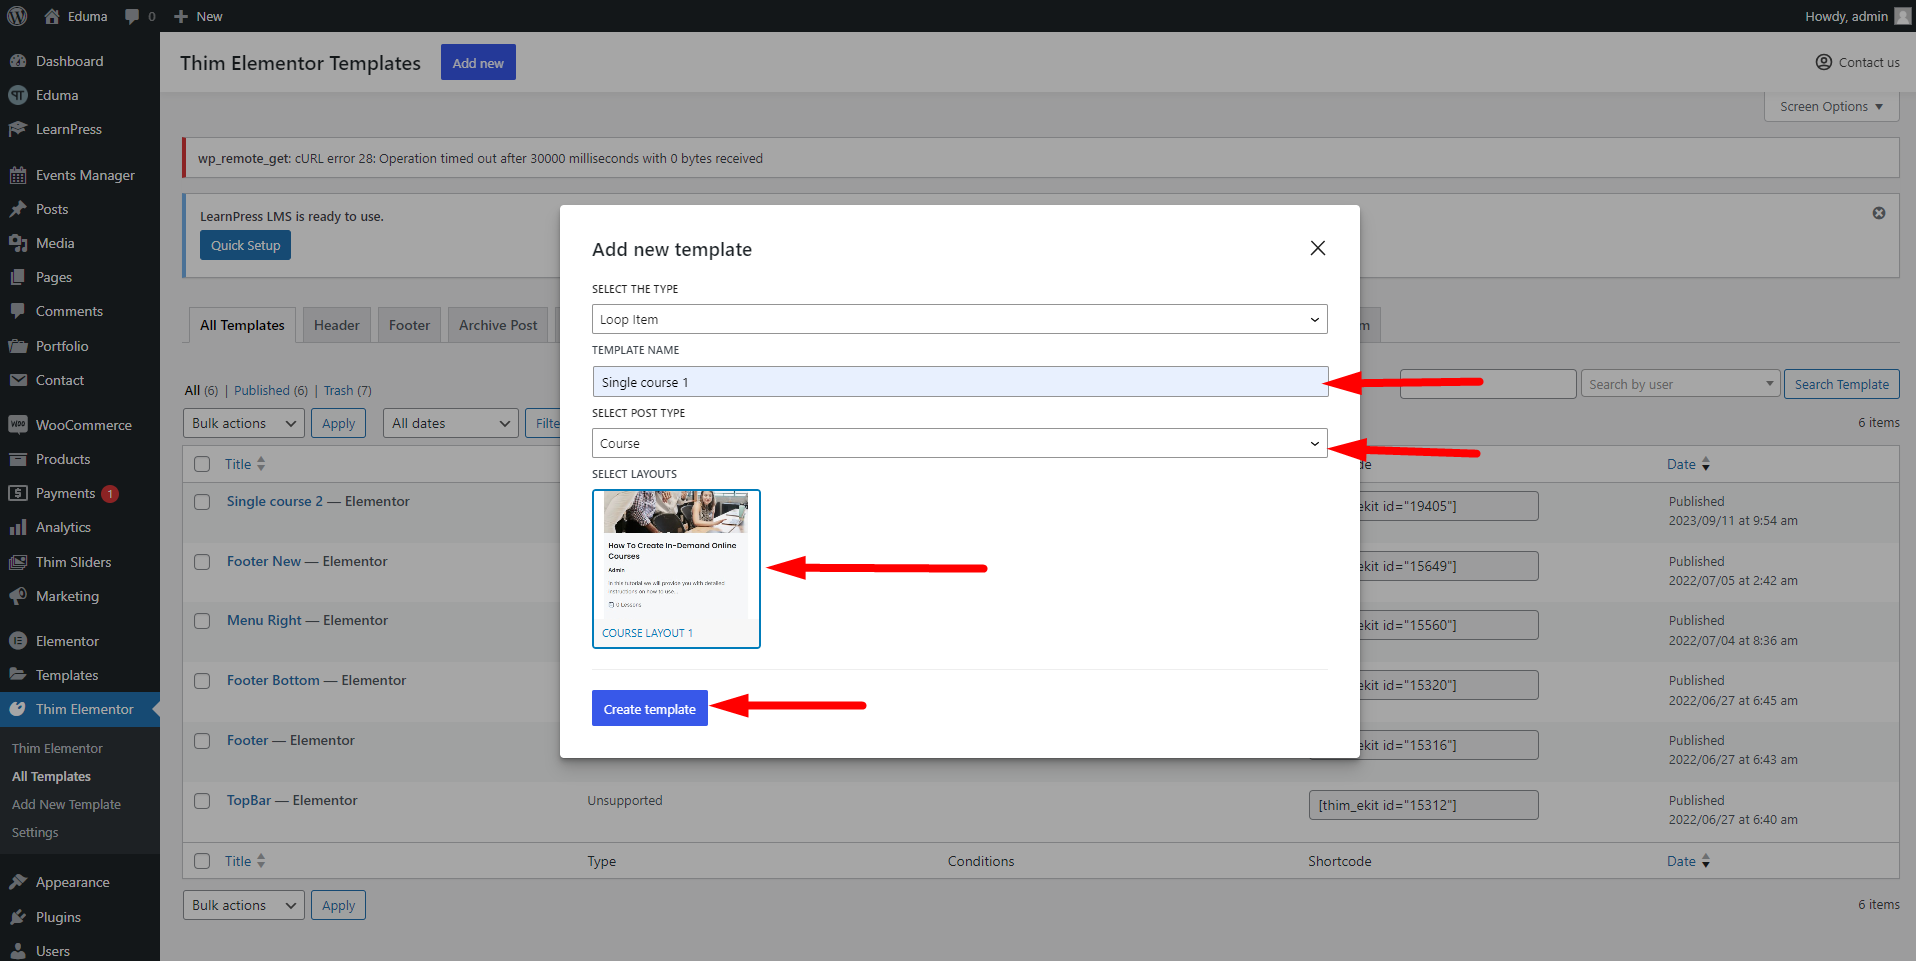
Note: It is not required to choose an existing layout, you can create your own layout if you want.
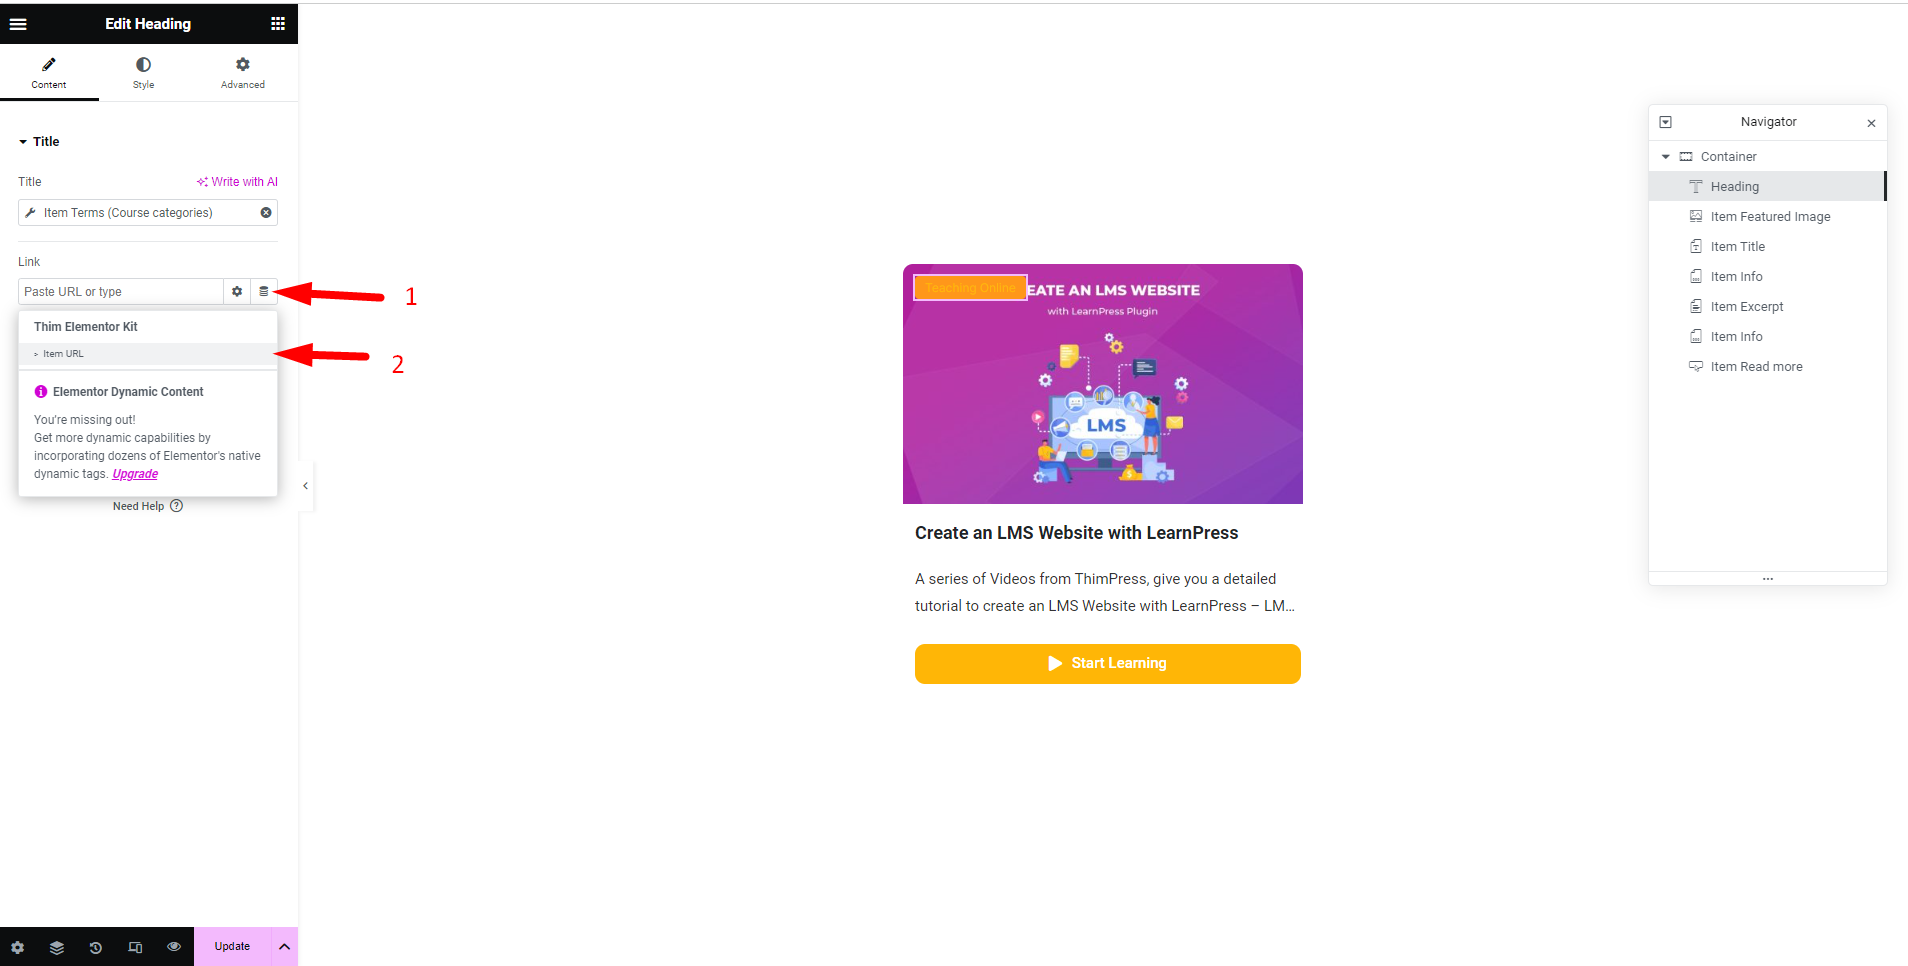
To edit the template, you can click on each component for editing purposes. You have the flexibility to alter the course categories by following these steps:
- In the Content tab: You can add Dynamic tags for Course Categories:
2. In the Style tab: You can edit Text Color, Typography, Text Stroke, Text Shadow, and Blend Mode.
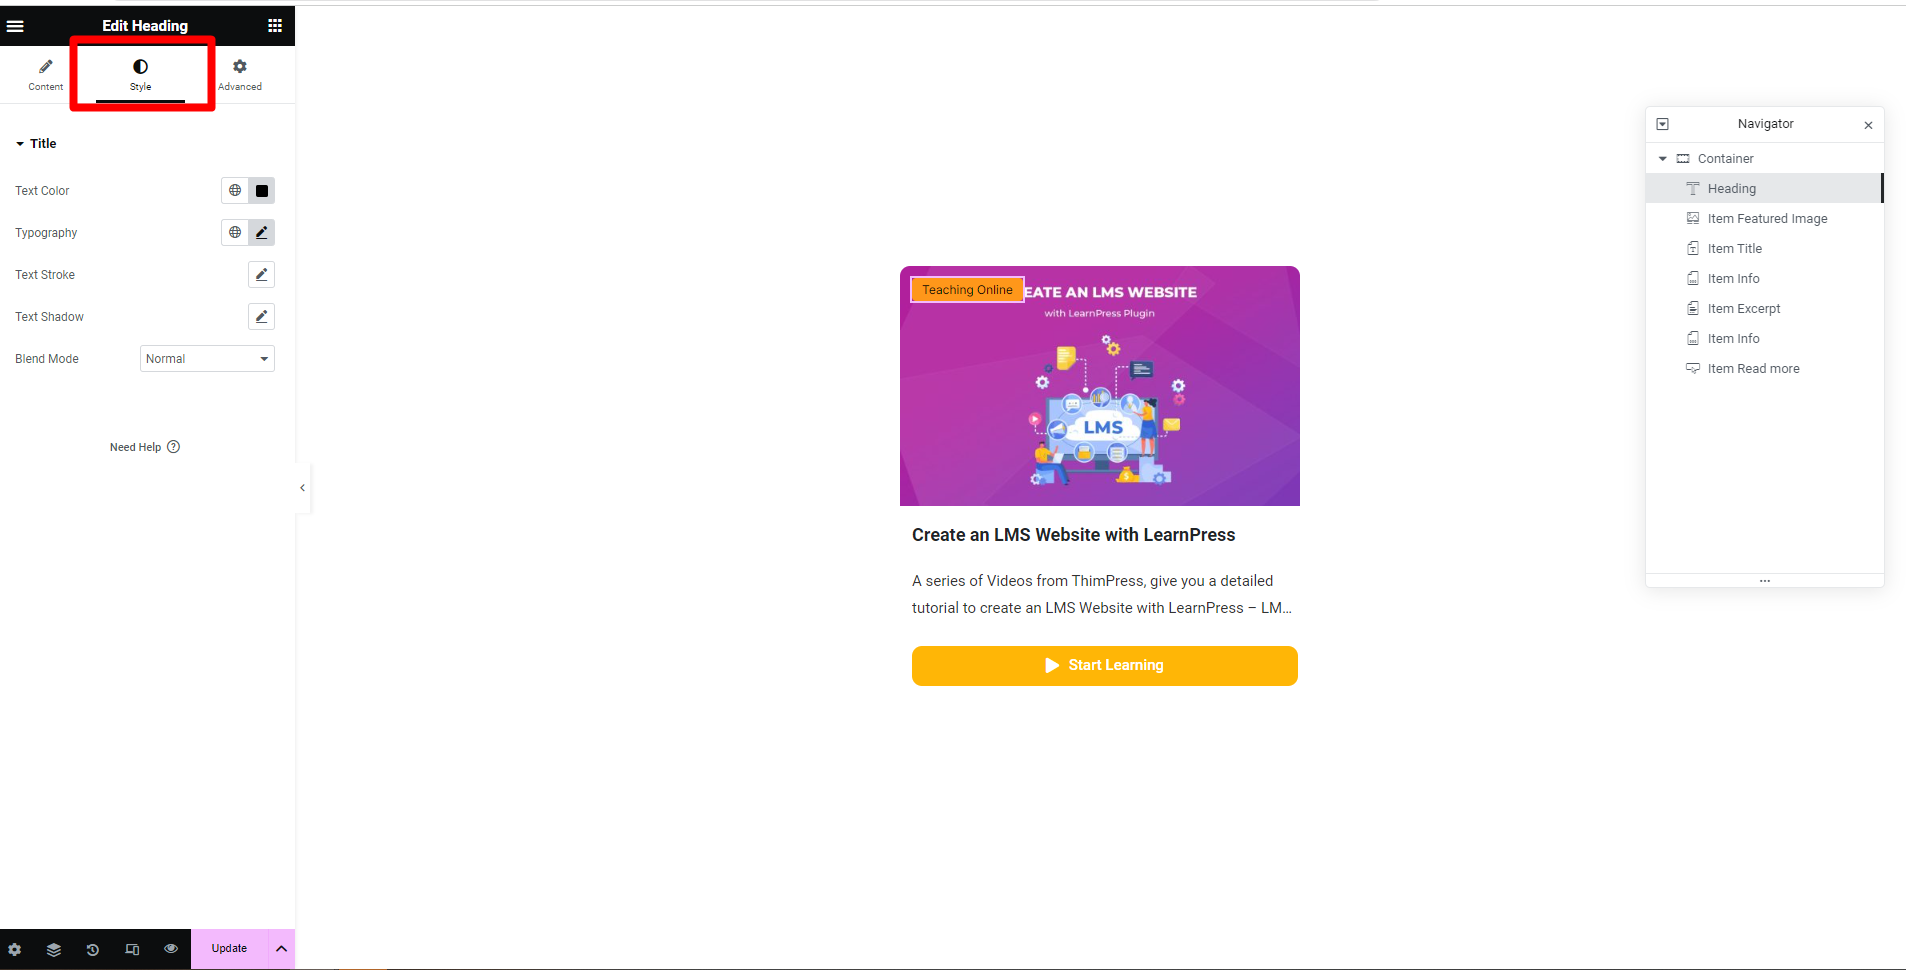
3. In the Advanced tab: You can edit any aspect of the Layout (Margin, Padding, Width, Align Self, Order, Size, Position, Horizontal Orientation, etc

In addition, you can also edit photos, course titles, and more in the Looping item template.
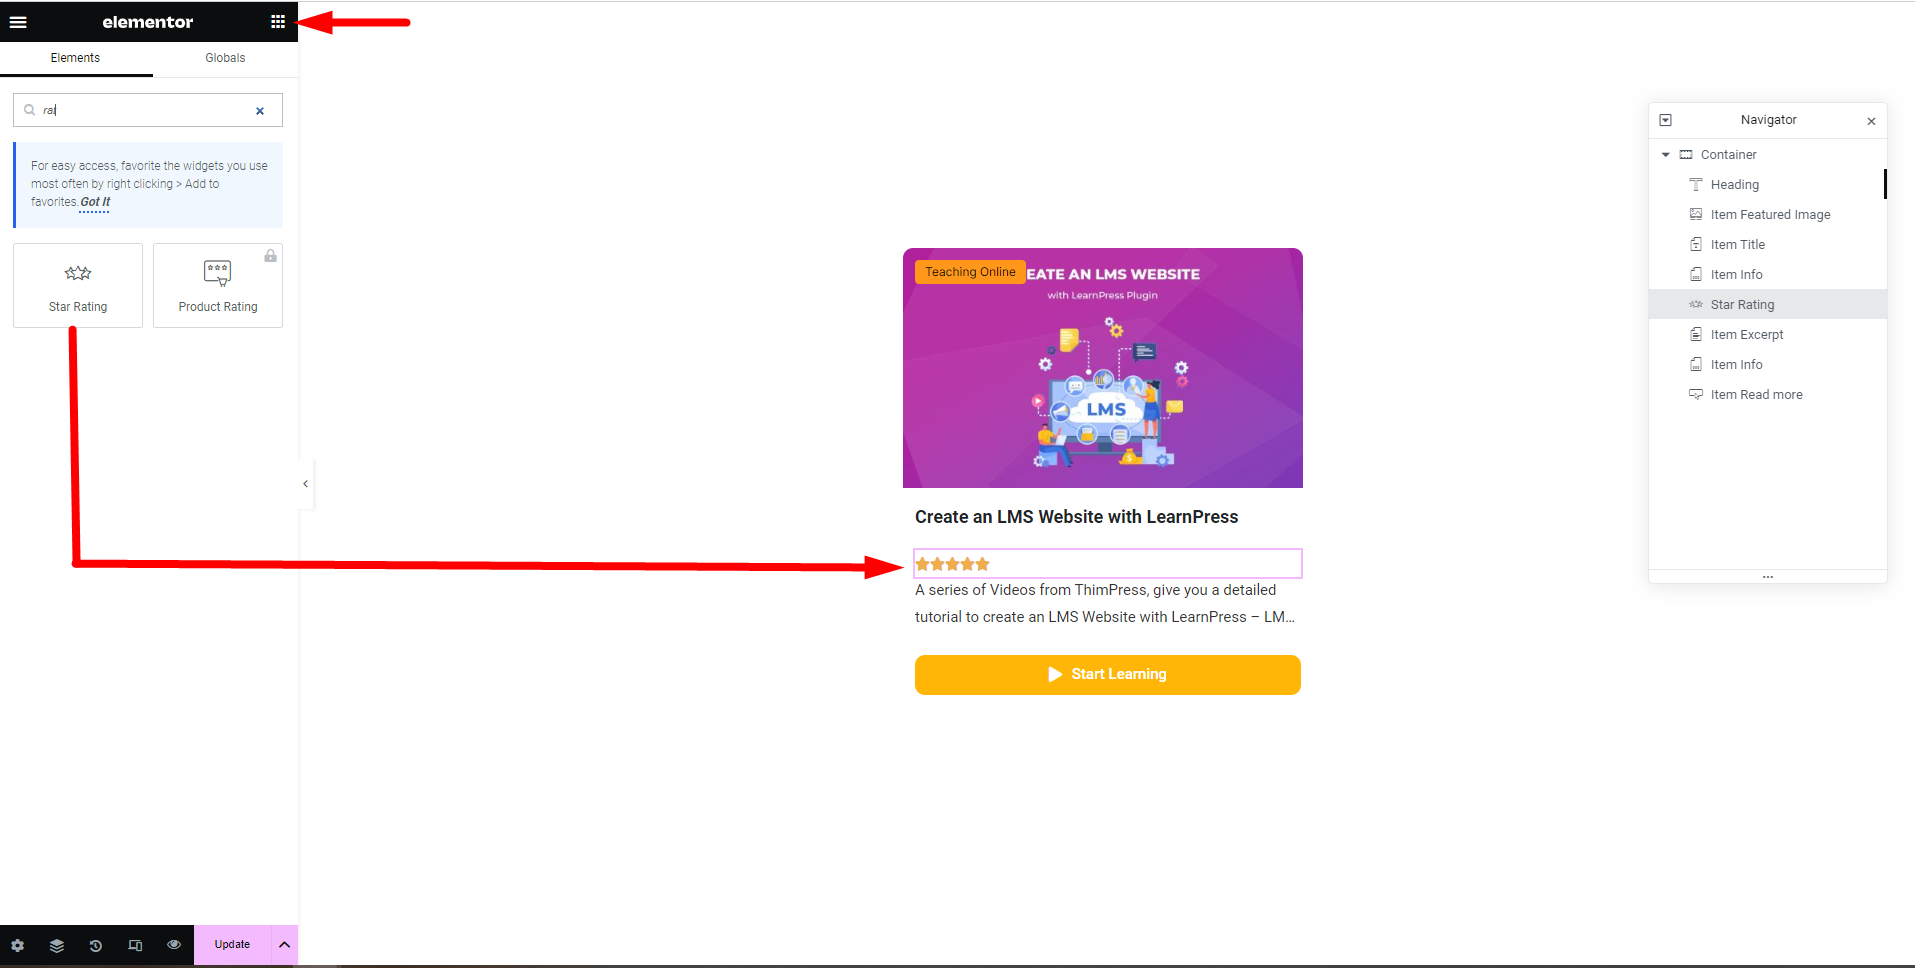
To add a new element, follow these steps:
- Click on the nine-dot icon.
- Find the desired element and drag and drop it to the preferred location.
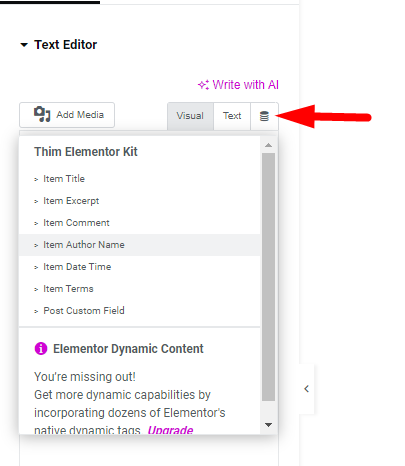
If you wish to add a text element, follow these steps:
- Click on the ‘Text Editor’ element.

2. Find ‘Dynamic Tags’ to choose the text type. You can choose the dynamic tags you need:
- Item title
- Item Excerpt
- Item Comment
- Item Author Name
- Item Date Time
- Item Terms
- Post Custom Field

After editing the template, remember to click Update to save your changes.
To use the Loop Course Item template that you’ve created, navigate to Appearance >> Customize >> Course >> Setting and choose Loop Course Item. Once you’ve chosen a template, you can preview how it will appear.
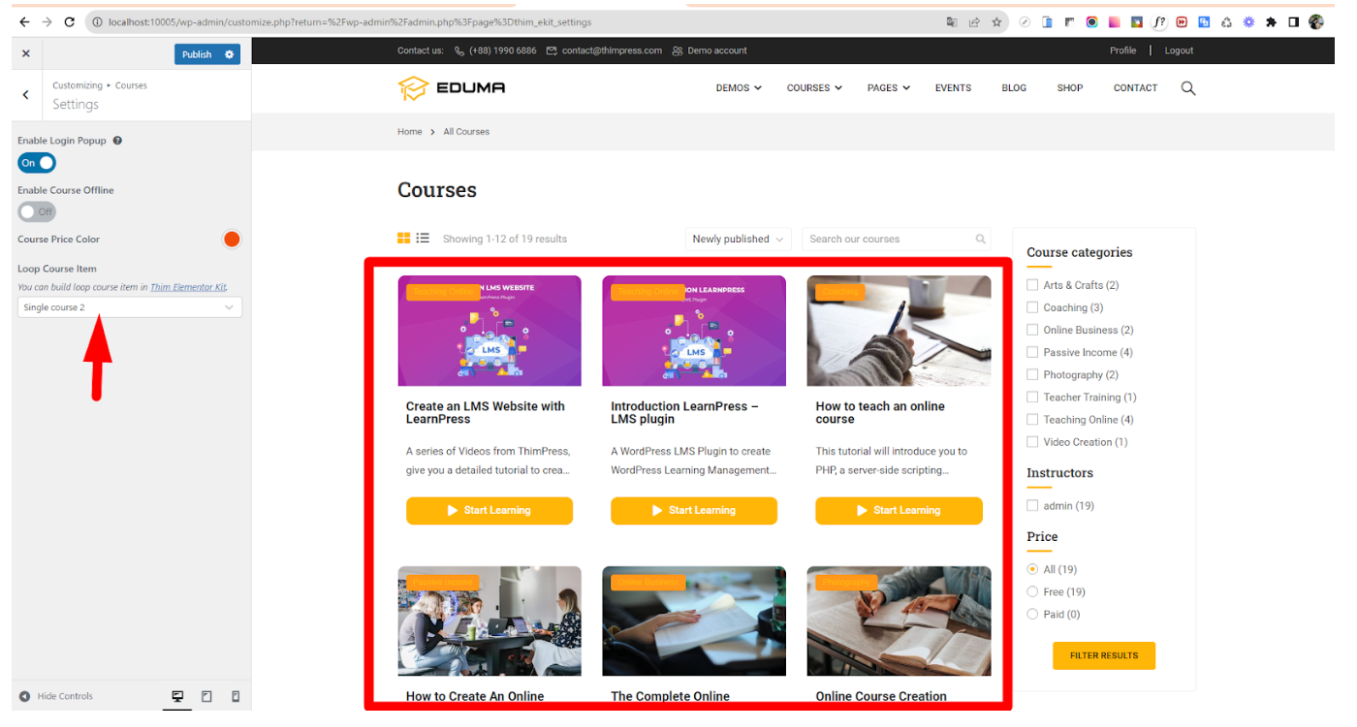
Don’t forget to click the Publish button.
After updating the Loop Course Item template successfully, the courses on the Course Archive page and the Profile page will be displayed according to the template used.