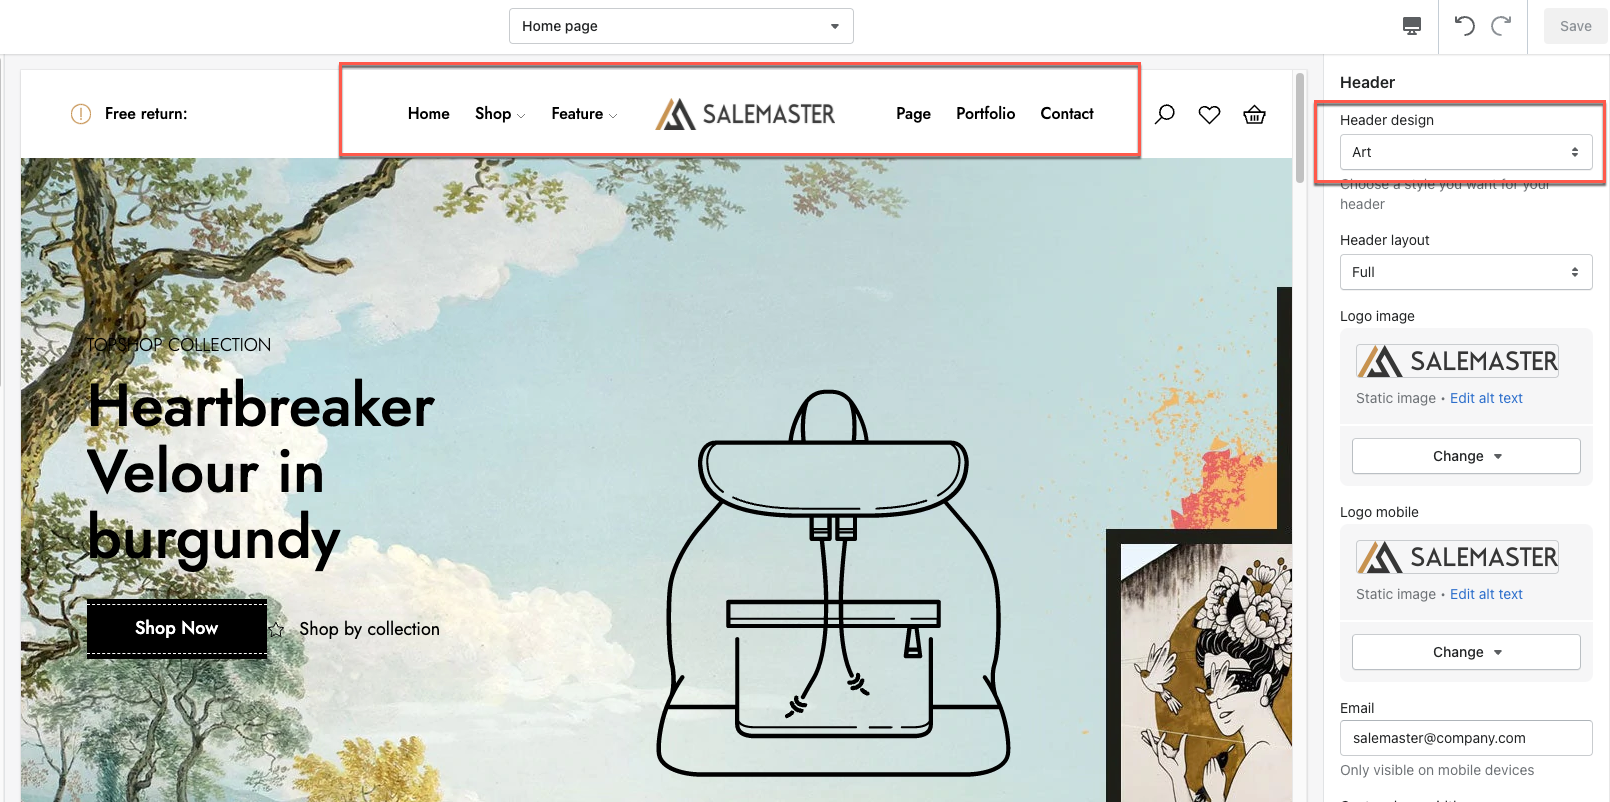
Merchants can freely add their logo image and decide which menu to show to their customers in this section.

Steps:
- In the theme editor (Customize), click Add section
- Locate Header
- Save
1. Design & Layout
Change the position of the logo based on merchants’ preferences. It can be set alone or with the 2nd menu.
1. Logo and menu in 1 line
- Logo in center (with 2nd menu)

- Logo left

- Logo and menu in left

2. Logo and menu in 2 lines
- Logo in center

- Logo in left

2. Logo
Merchants add the custom logo of their store or simply their store name. The recommended format is png with a transparent background, size 180 x 24 px with landscape logo and 100 x 100 px with square logo.
- In the theme editor (Customize), click Header
- Select image in Logo image
- Save

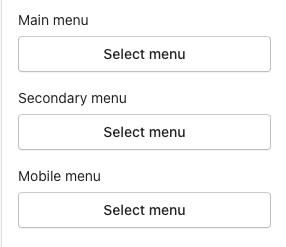
3. Menu
This section allows merchants to display their desired menus (up to 2 menus) and mobile menu along with the logo.

To create/edit a menu, please go to Shopify admin > Navigation & Add menu or click on the menu you want to edit. Click here to know how to create menu & add mega menu.
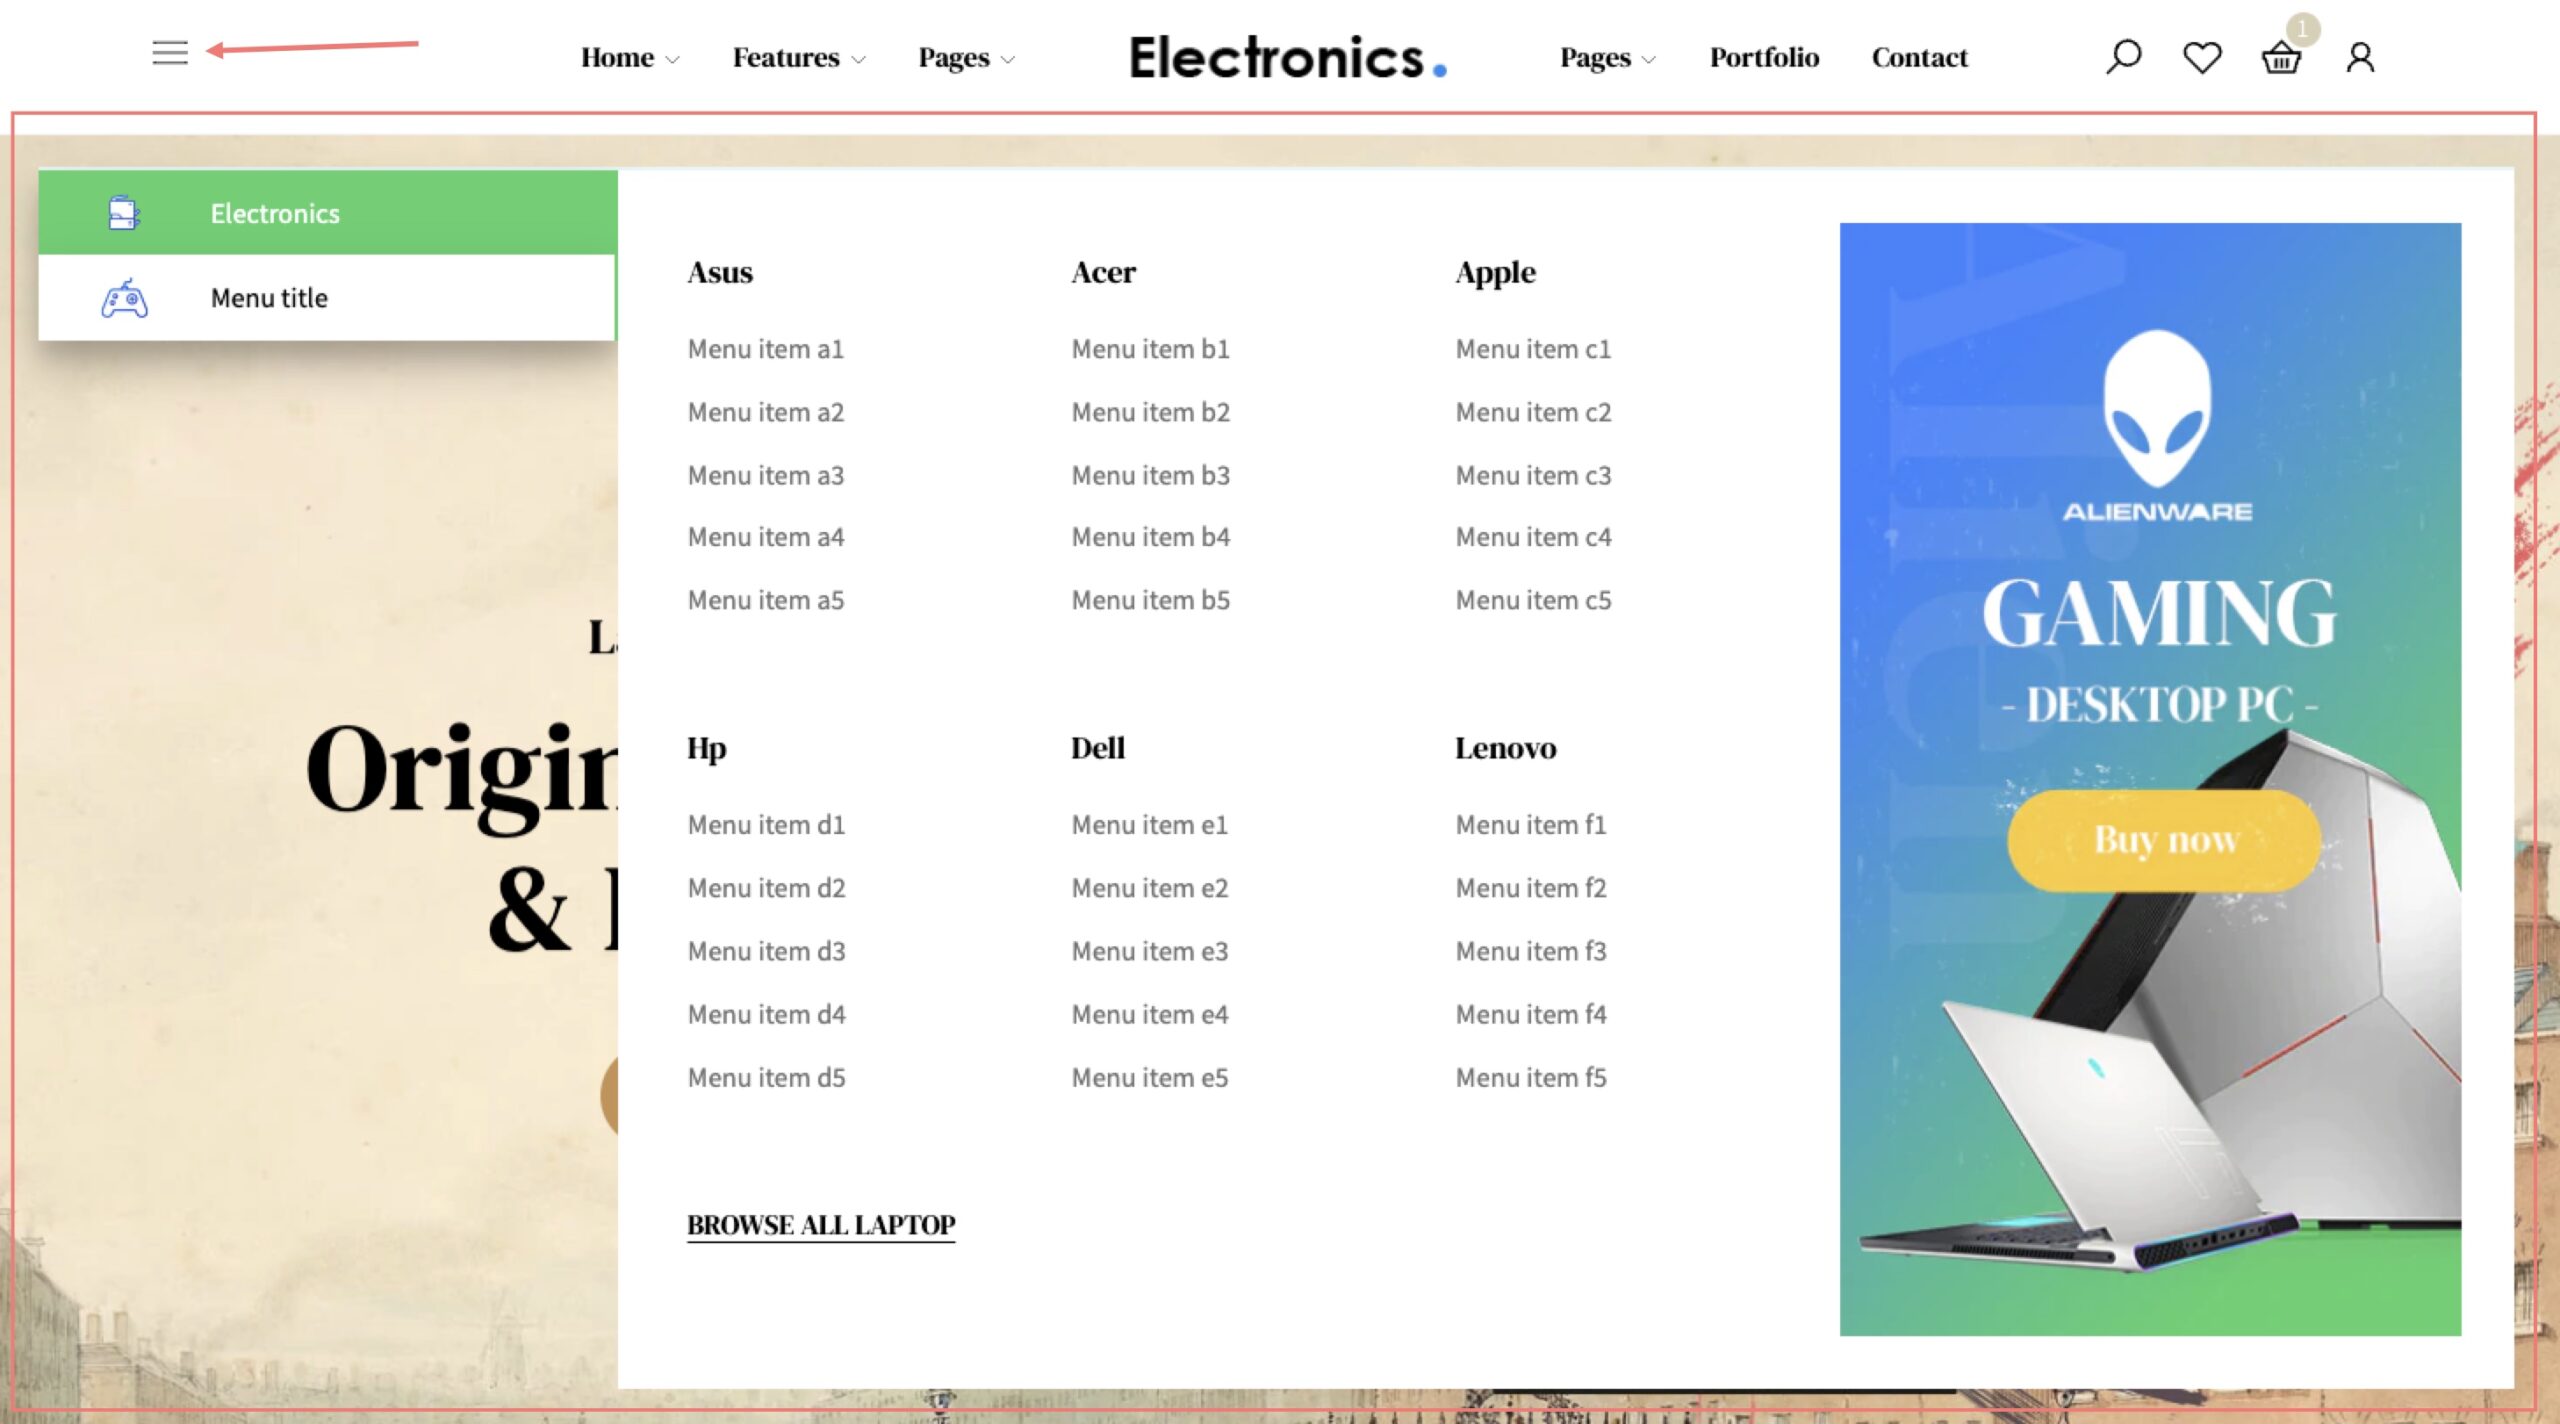
4. Mega Menu Item

Steps:
- In the theme editor (Customize), click Header
- Select Mega menu item
- Make necessary changes > Save.
Merchants can add mega menu item with art, electronic and medical header style.
- Select icon menu, menu, background, button title, button link and button title.
- The recommended format for icon menu is png with a transparent background, size 28 x 23 px

