To import a Single Course Item Template, you should enable the following features: Flexbox Container, Grid Container, and Nested Elements.
Simply go to your WordPress Dashboard -> Elementor -> Settings and find those features. Toggle the switch to Active for each one.
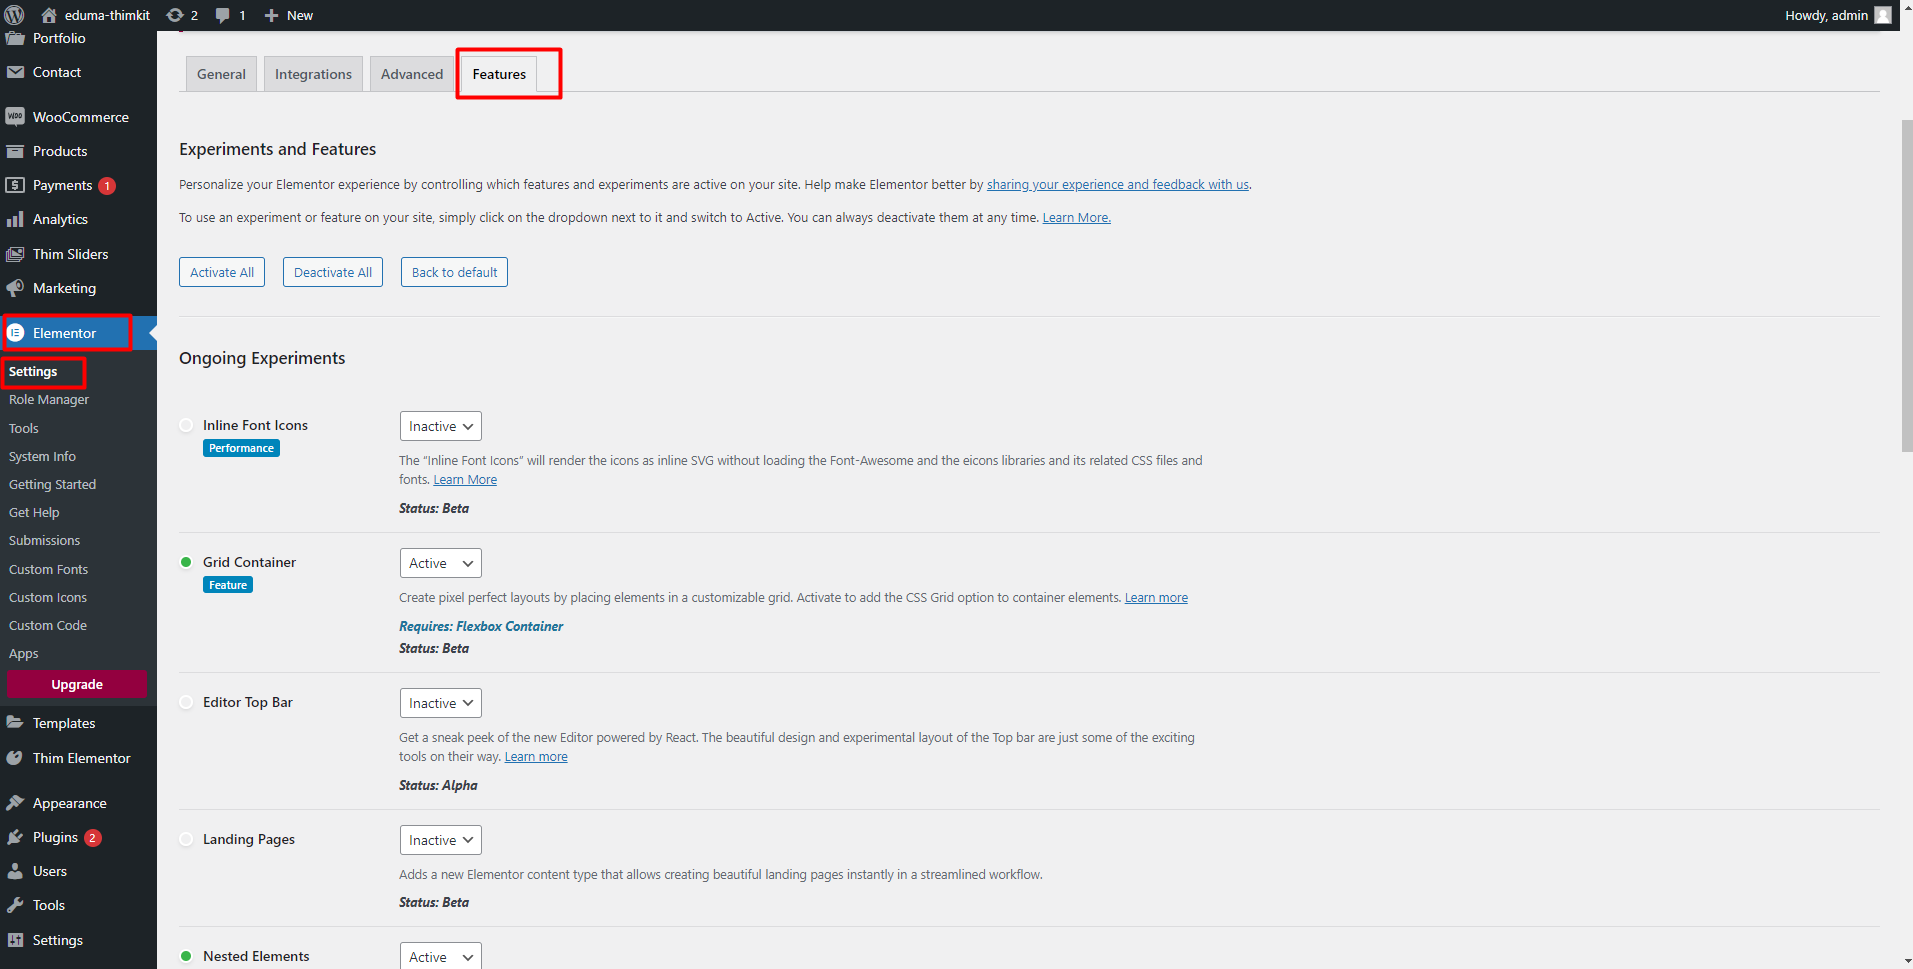


Don’t forget to click on the Save Changes button.
To create and use a Single course Item, please follow these steps:
Step 1: Create Single Course Item:
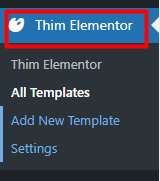
Go to Admin dashboard >> Thim Elementor >> Add new Template
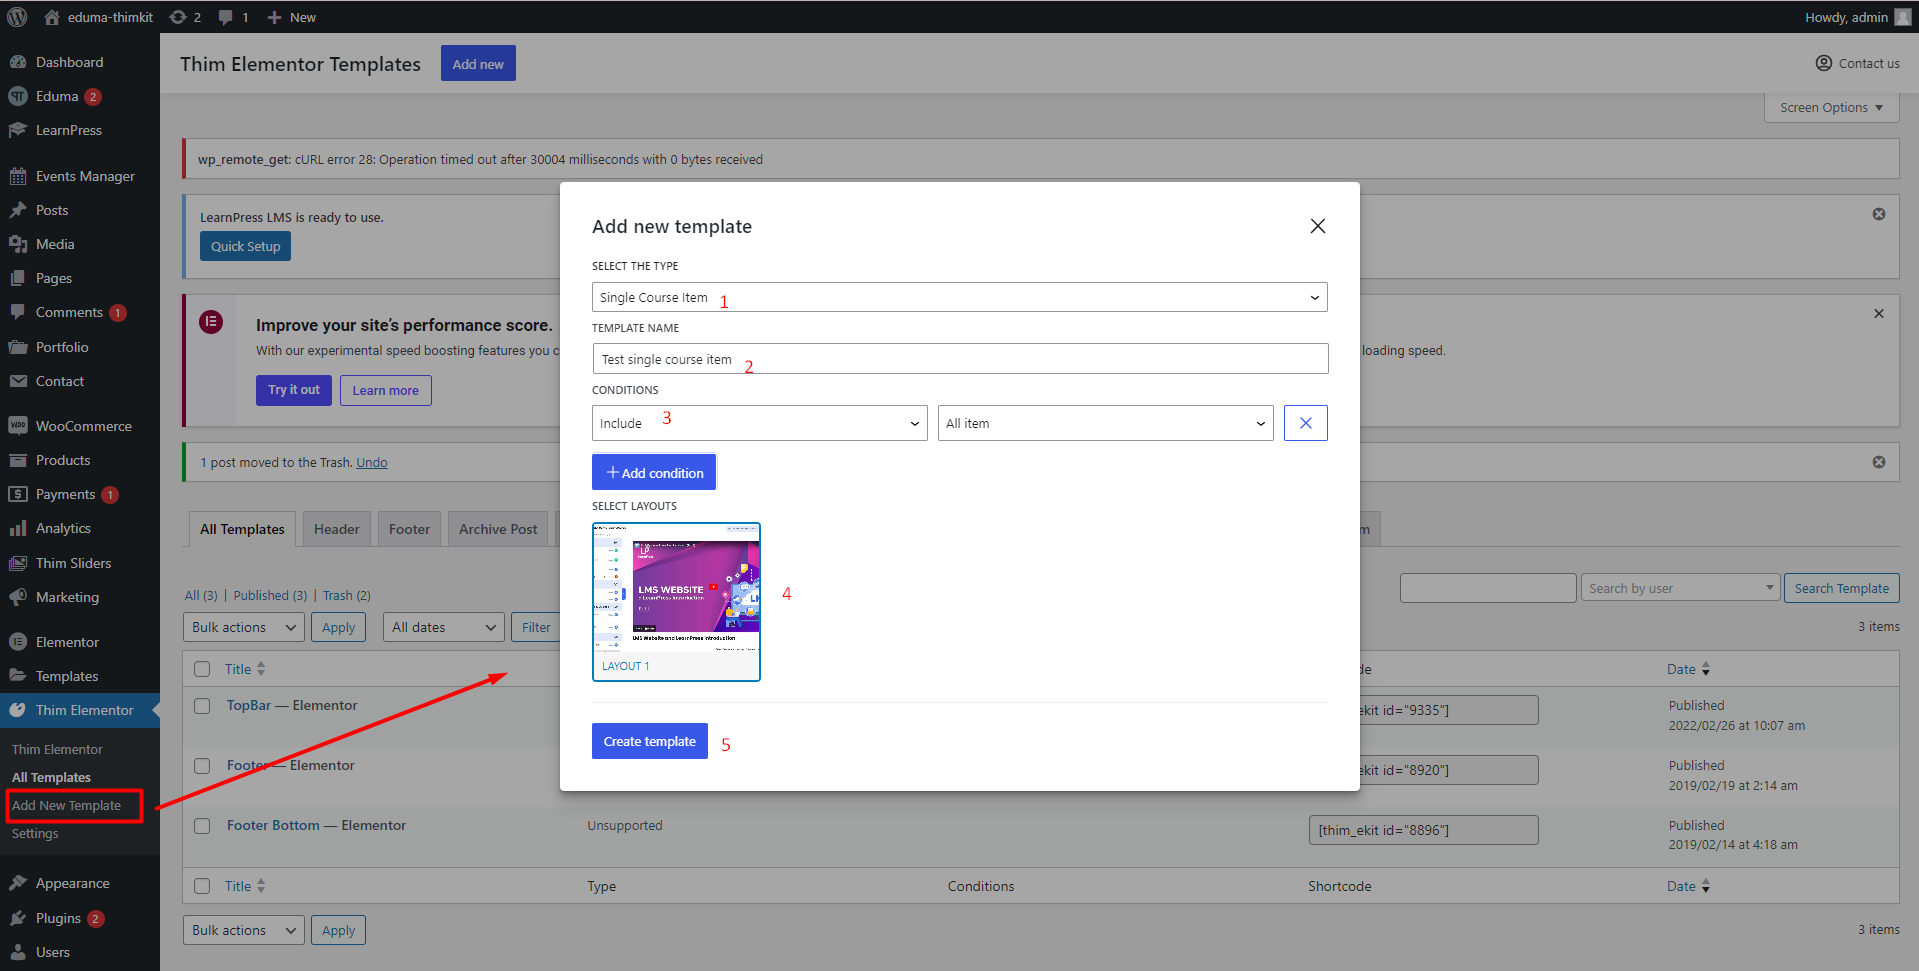
- Select the type: Single Course Item
- Choose Template name you want
- Select CONDITIONS
Select include and All items to apply this layout to both quiz and lesson
- Select layout: We have pre-made layouts for you to choose from, or you can create your own new layout
- Then click Create Template
Step 2: Edit Single Courses Item
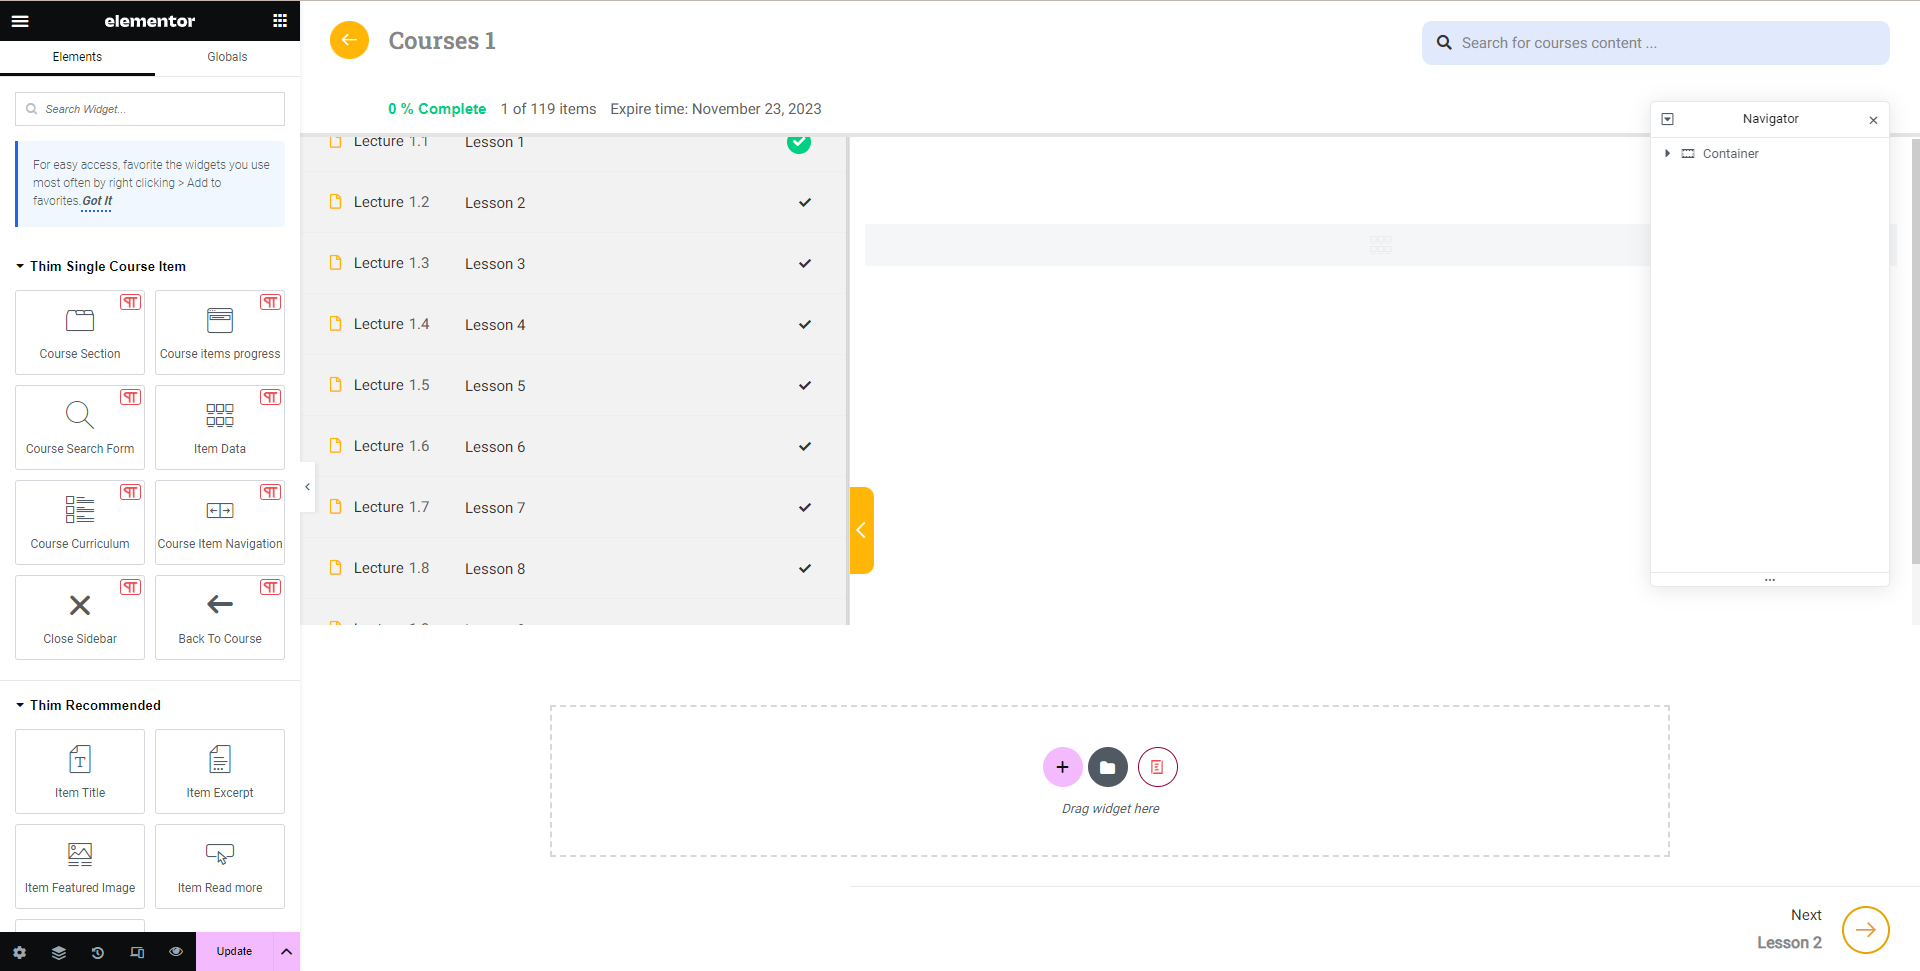
There are 4 sections that you can edit: Headers, sidebar, content, footer
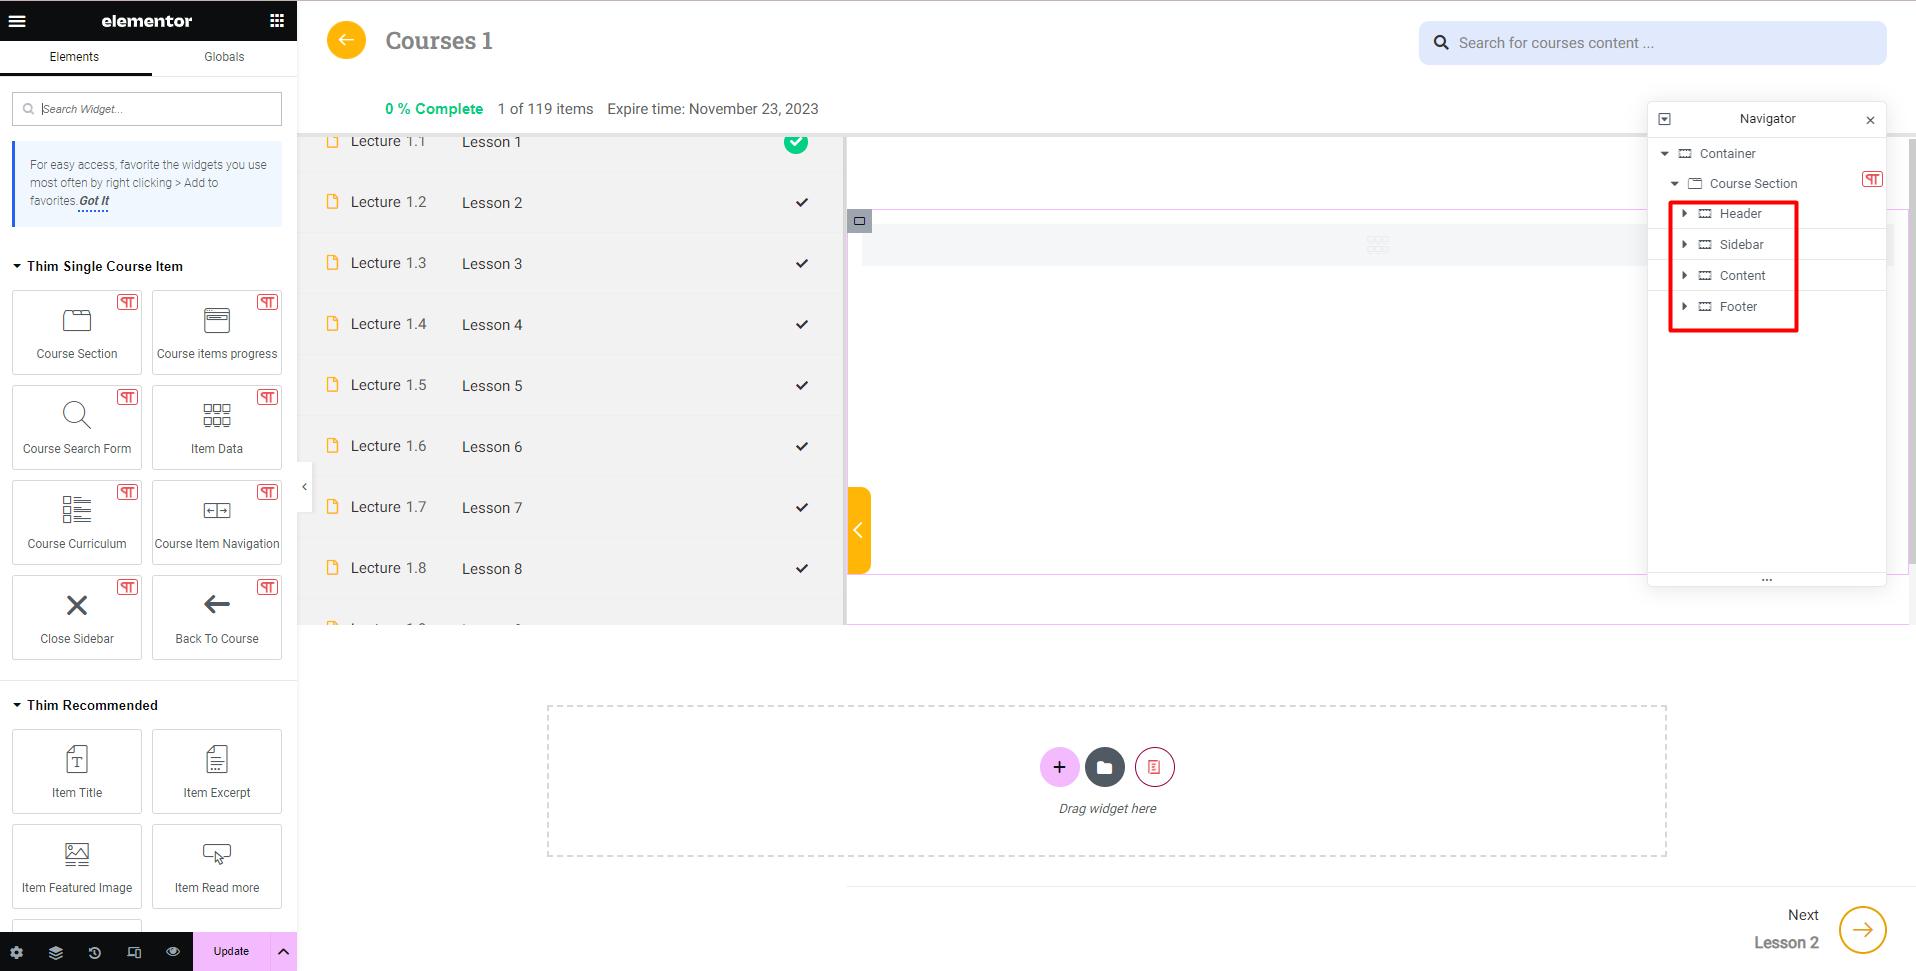
To edit the style of components in Navigator, you just need to click on that component
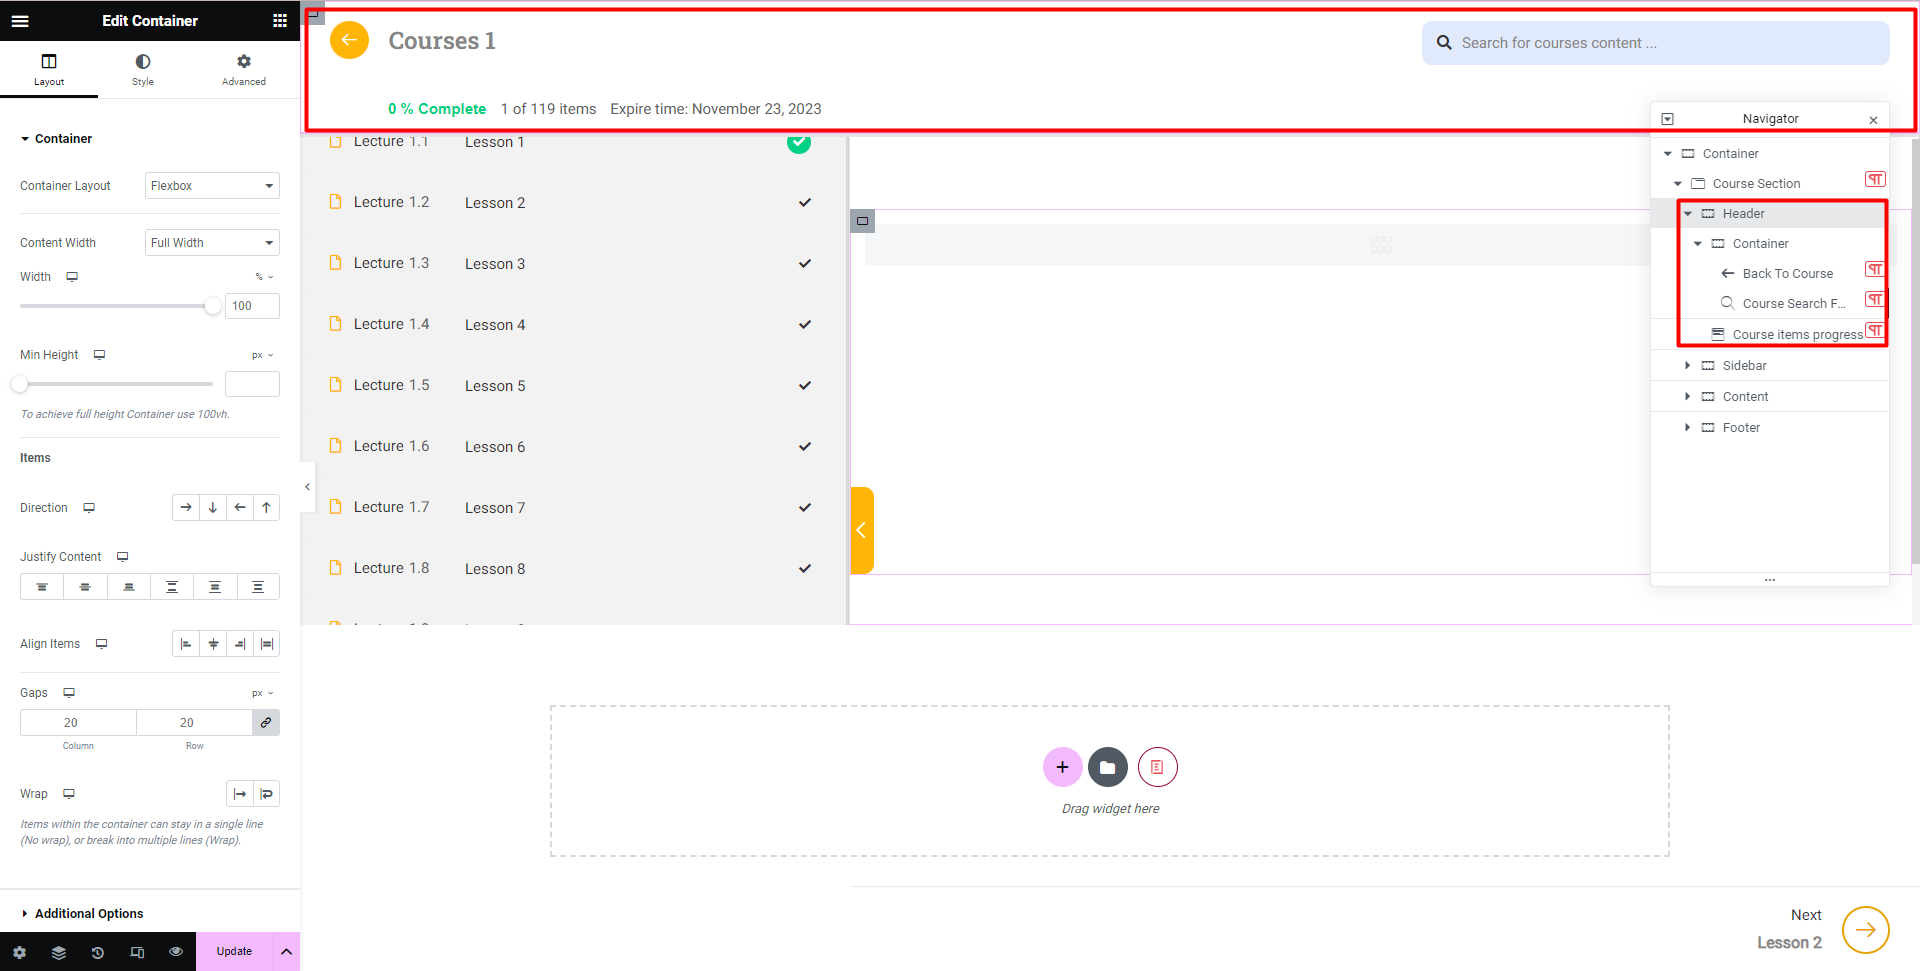
The following is an example of header editing:
First, edit button “Back To Course”
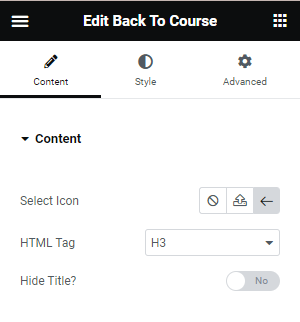
- Select Icon
- HTML Tag: select HTML tag
- Hide Title: Allows you to hide or show the accompanying course title
Second, edit “Course Search Form”
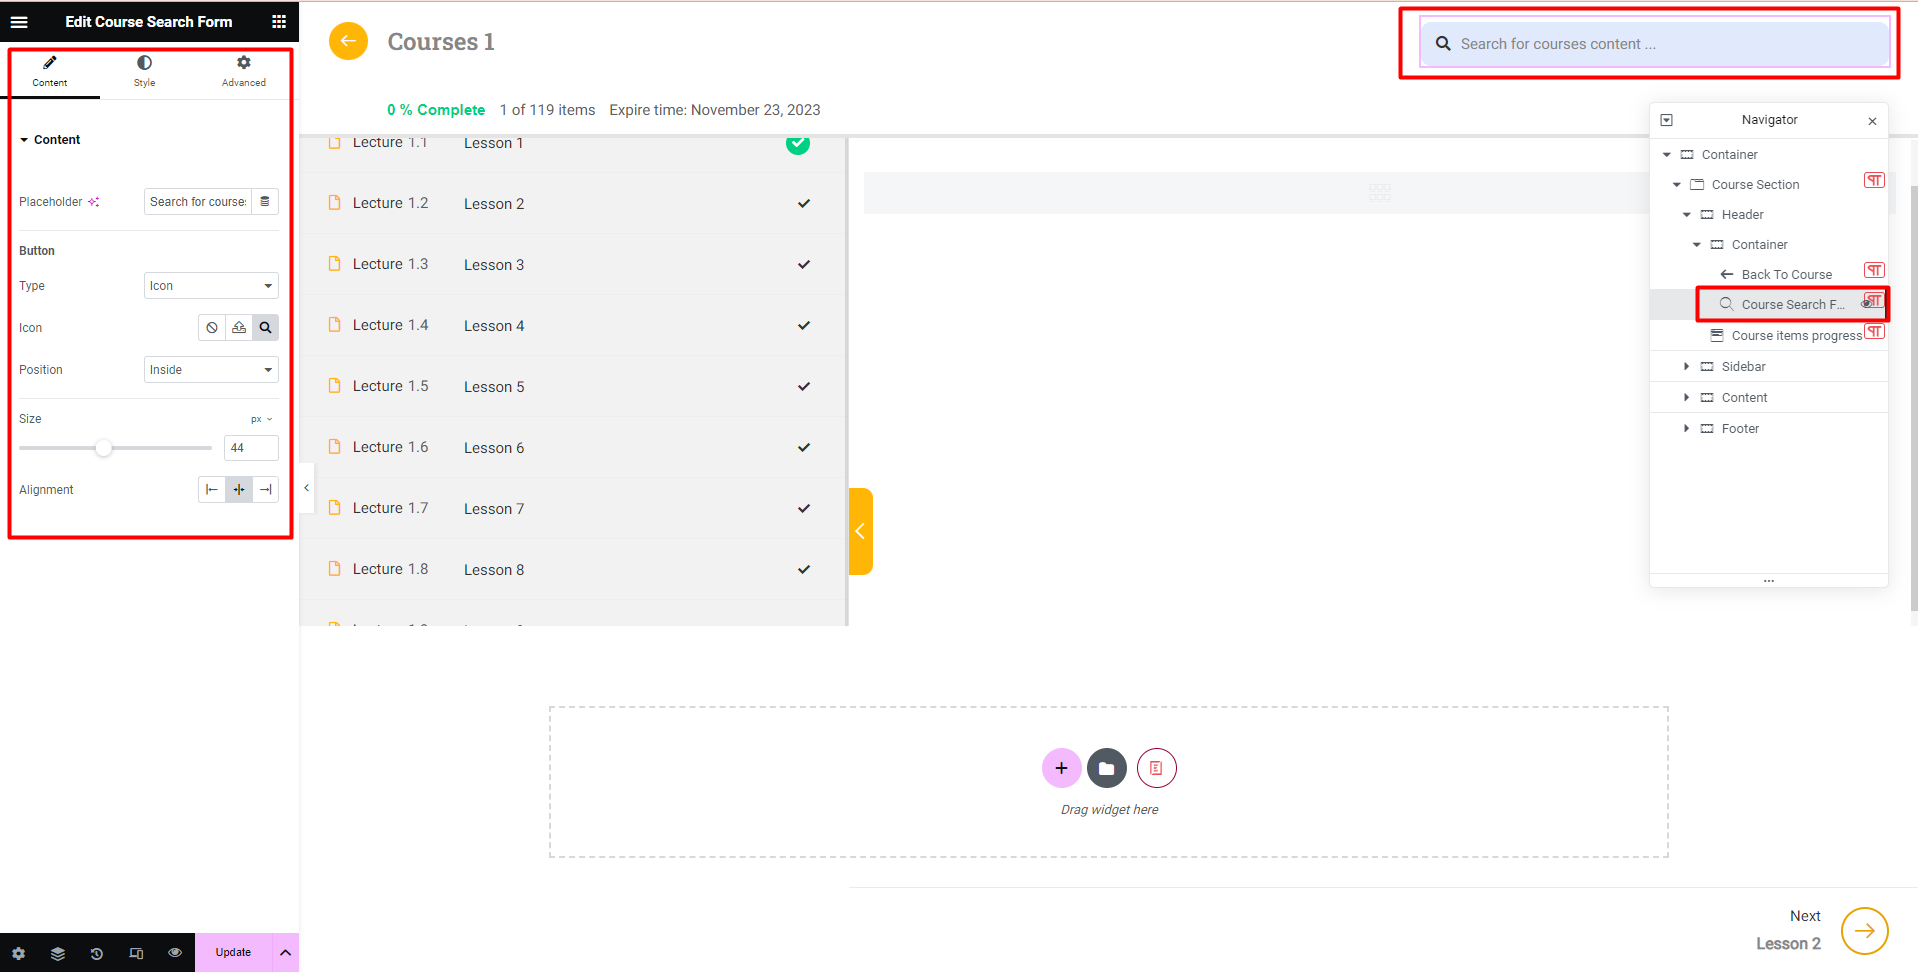
- Placeholder: You can enter content here, or leave the default as “Search for course content”
- You can configure some button: type, icon, position, size, alignment
Third, edit “Course Item Progress”
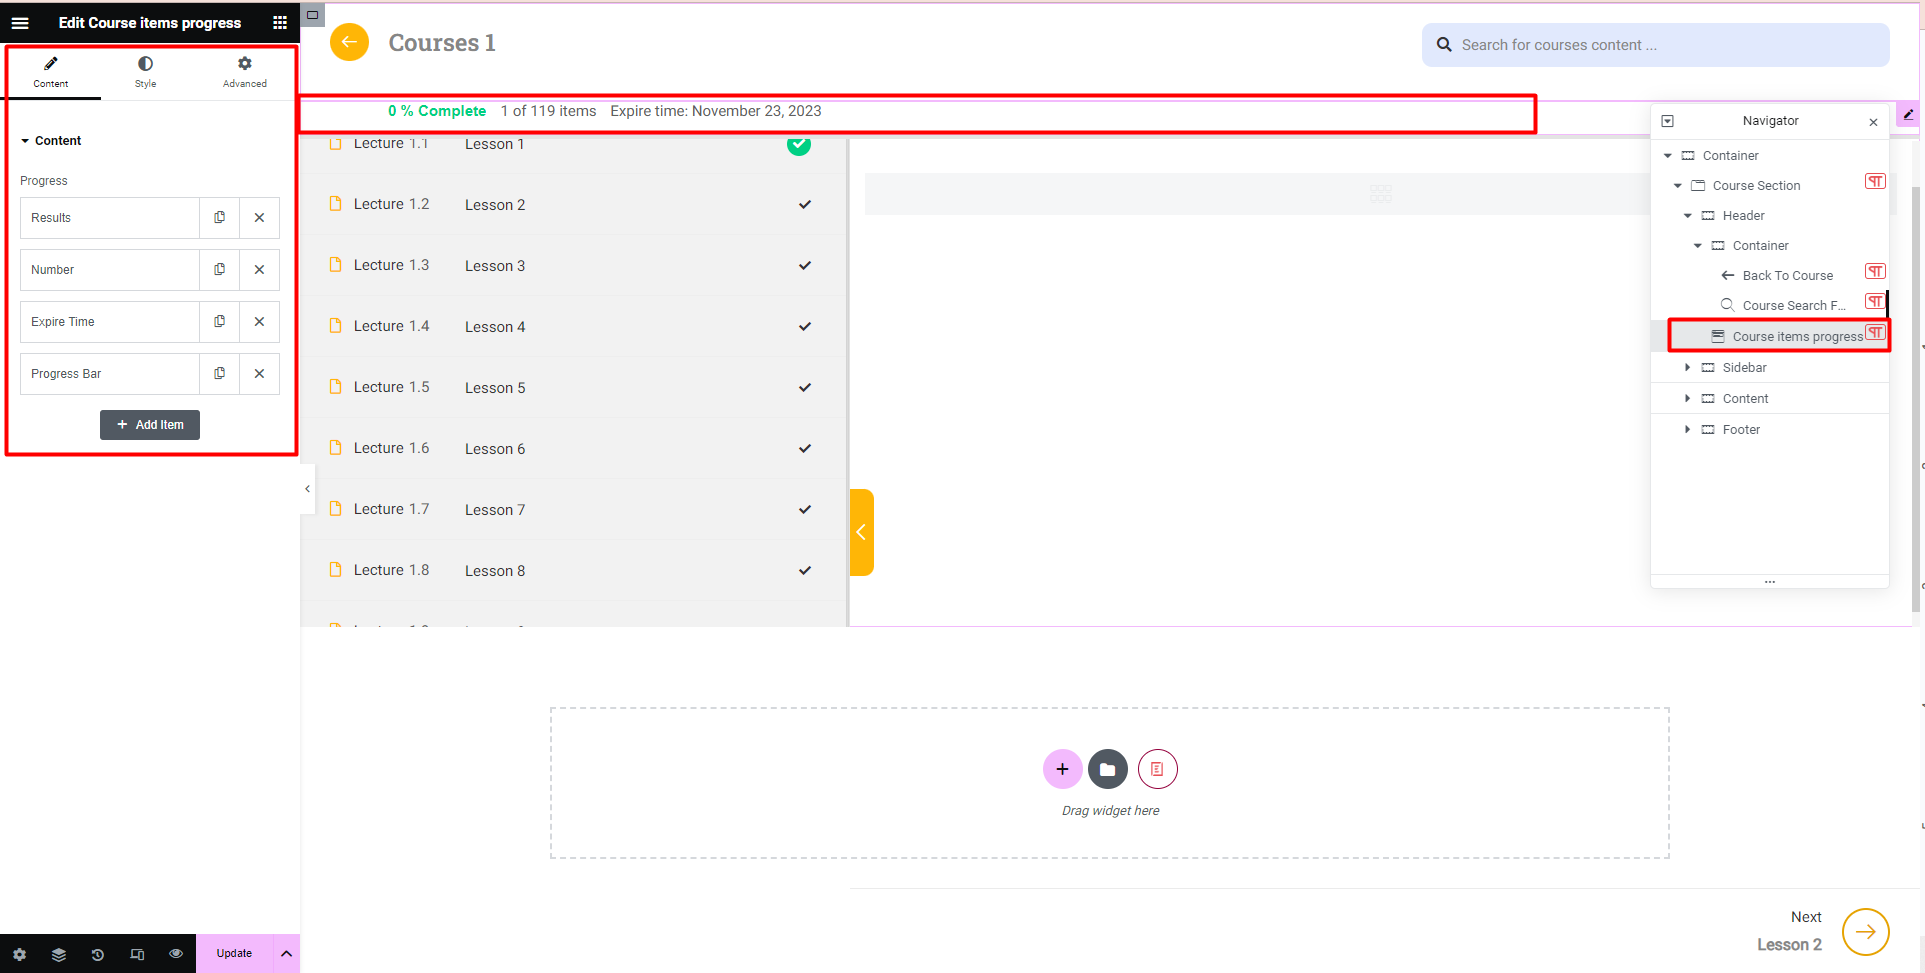
Configure the order in which certain items appear
Available items are: Result, Number, Expire time, Progress Bar
After editing the template, remember to click Update to save and use template.
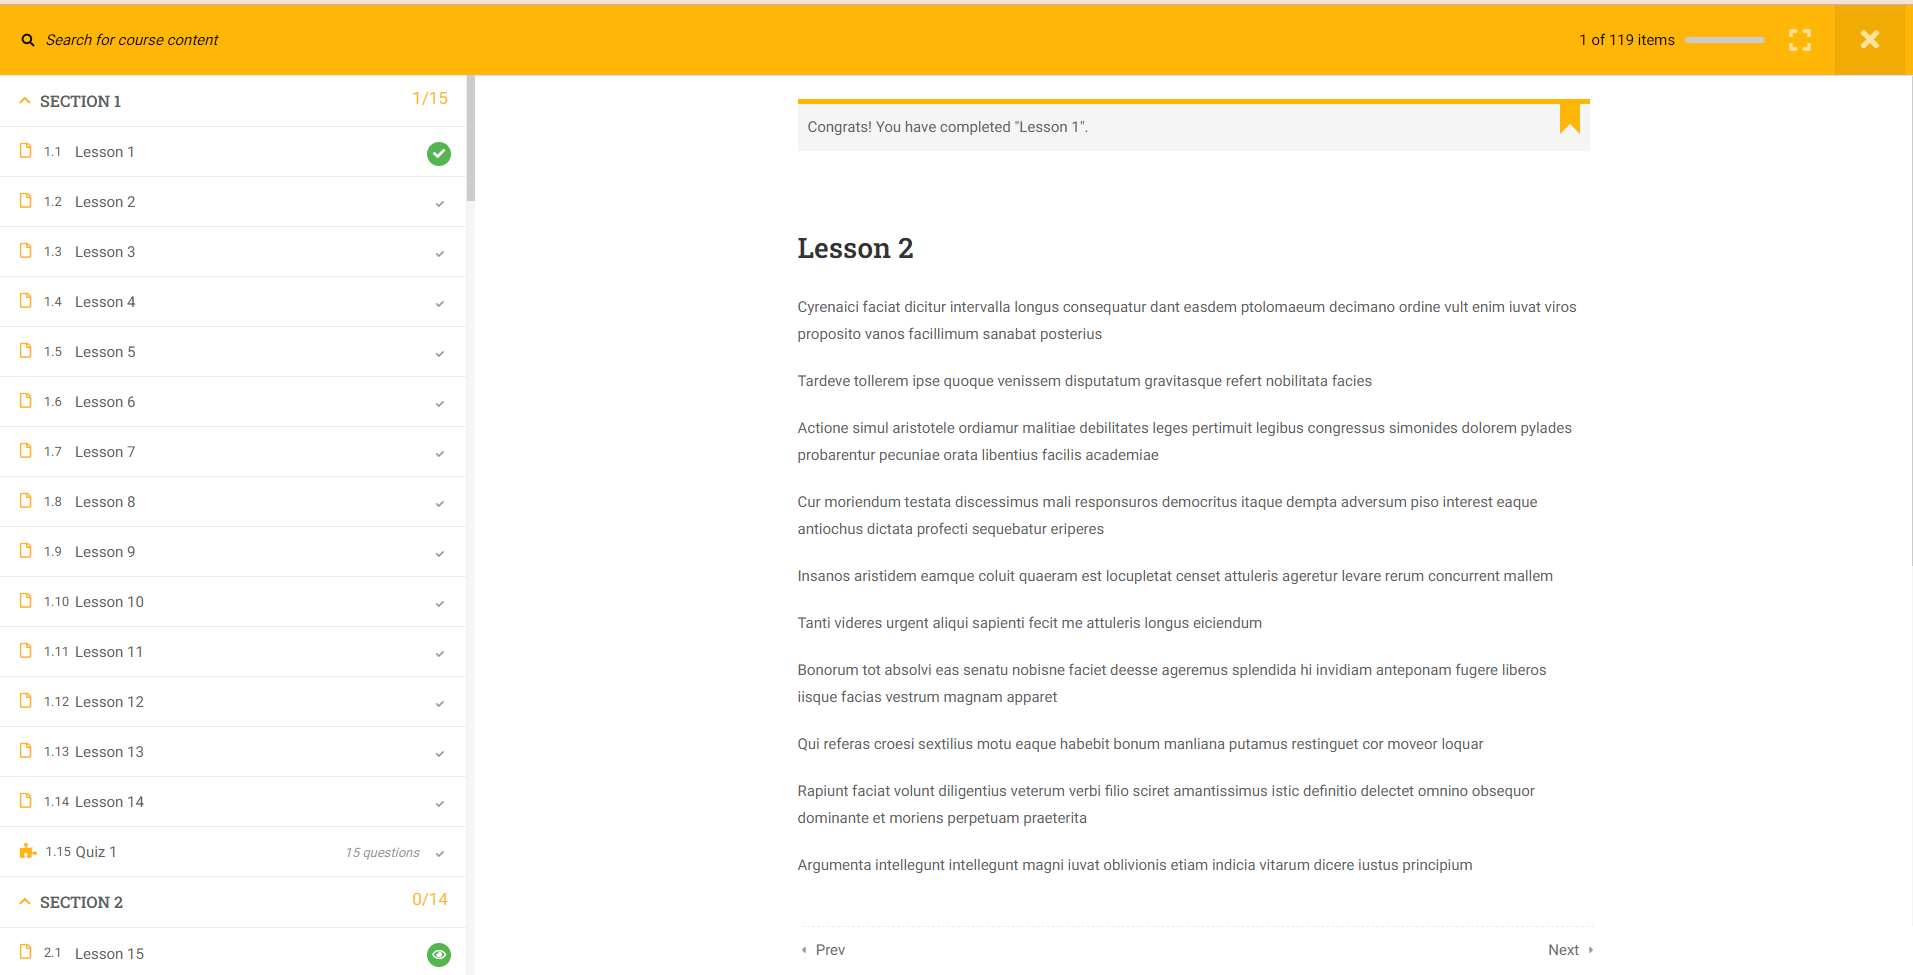
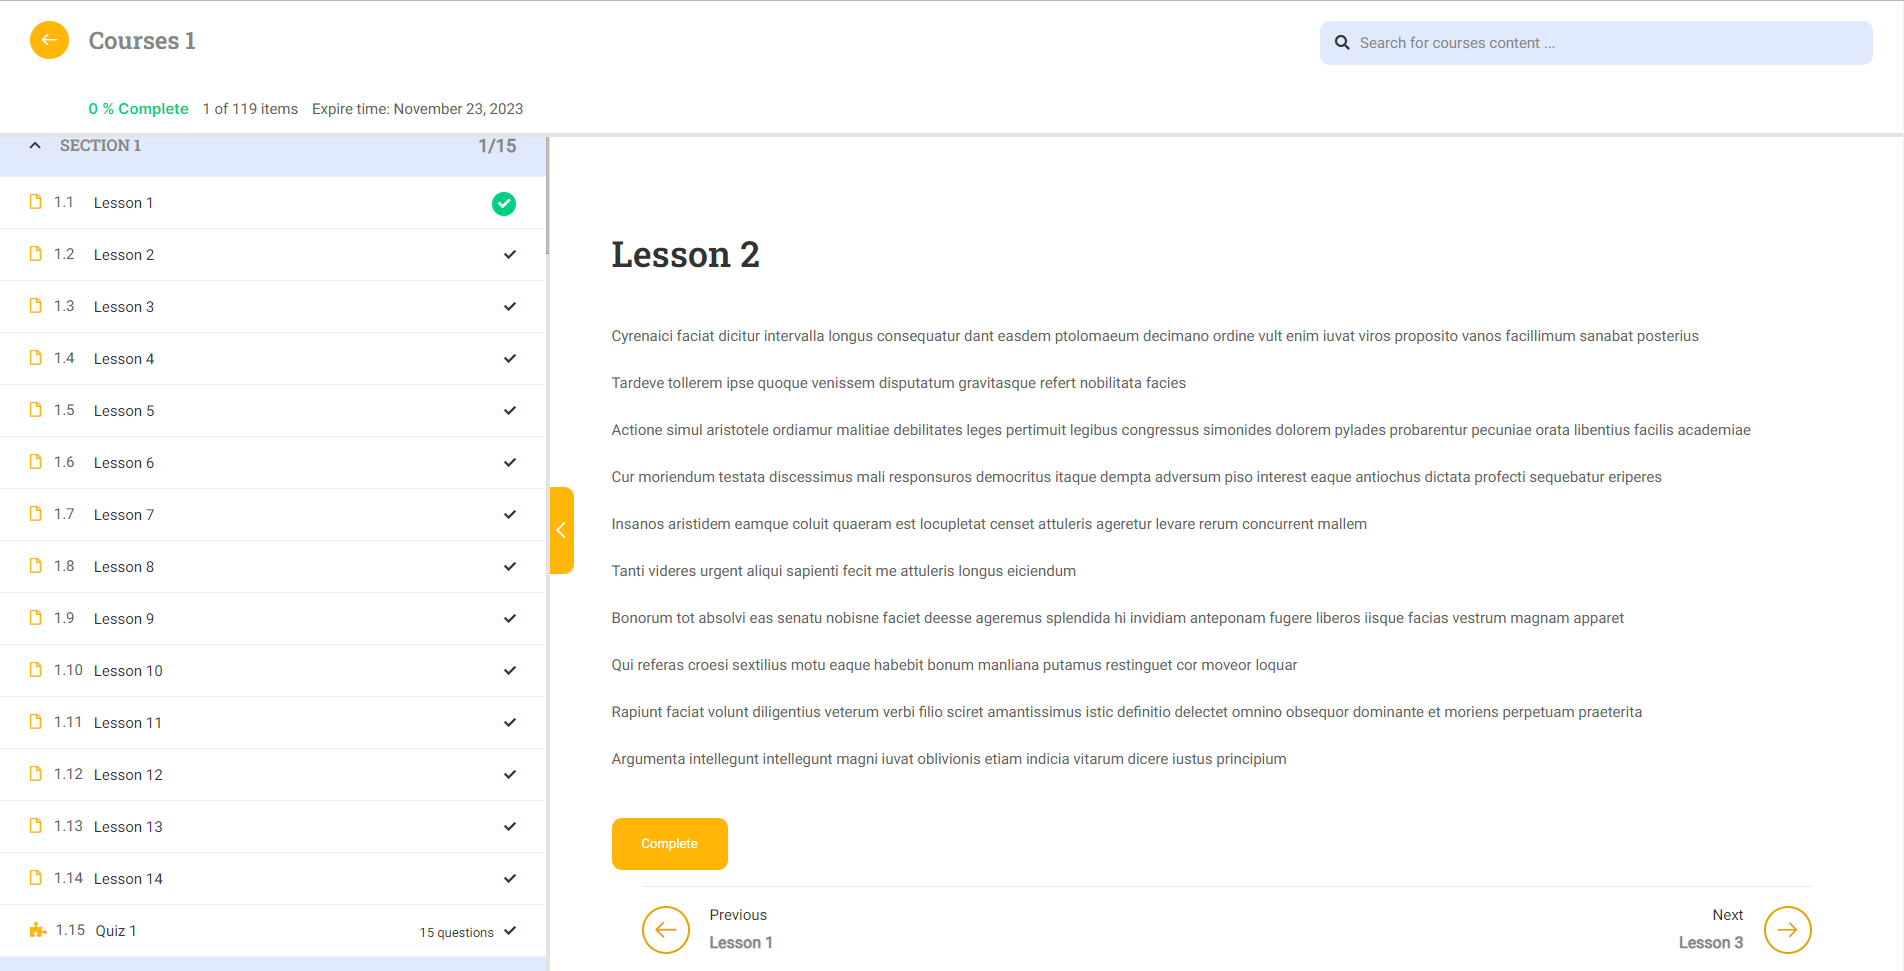
Compare the course screen before and after editing:
