With List Course, you can assert the iconic image that represents a company, organization or individual. This is a great way to make your brand stand out to your site visitors. Follow these basic guidelines to start using List Course on your website.
How To Activate List Course
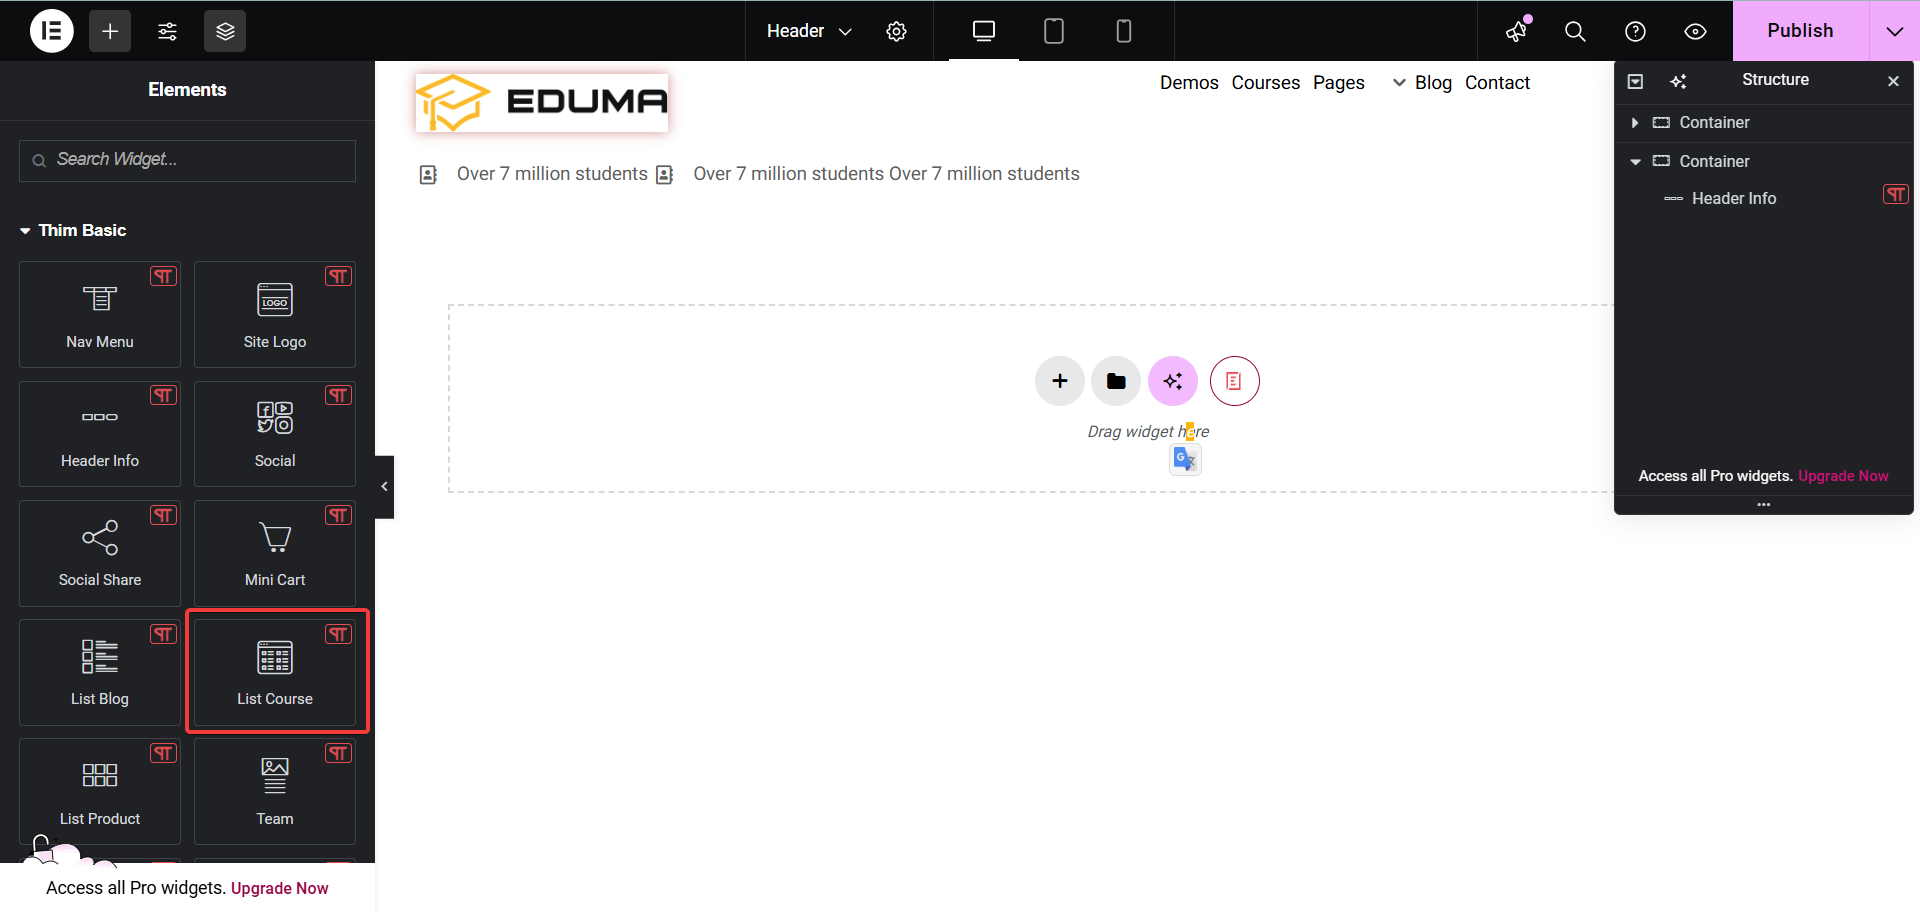
To activate, create a new page in the Elementor Editor and search for ‘List Course’ under the ‘Thim Basic’ tab. Simply drag and drop the element anywhere on your page to activate it.
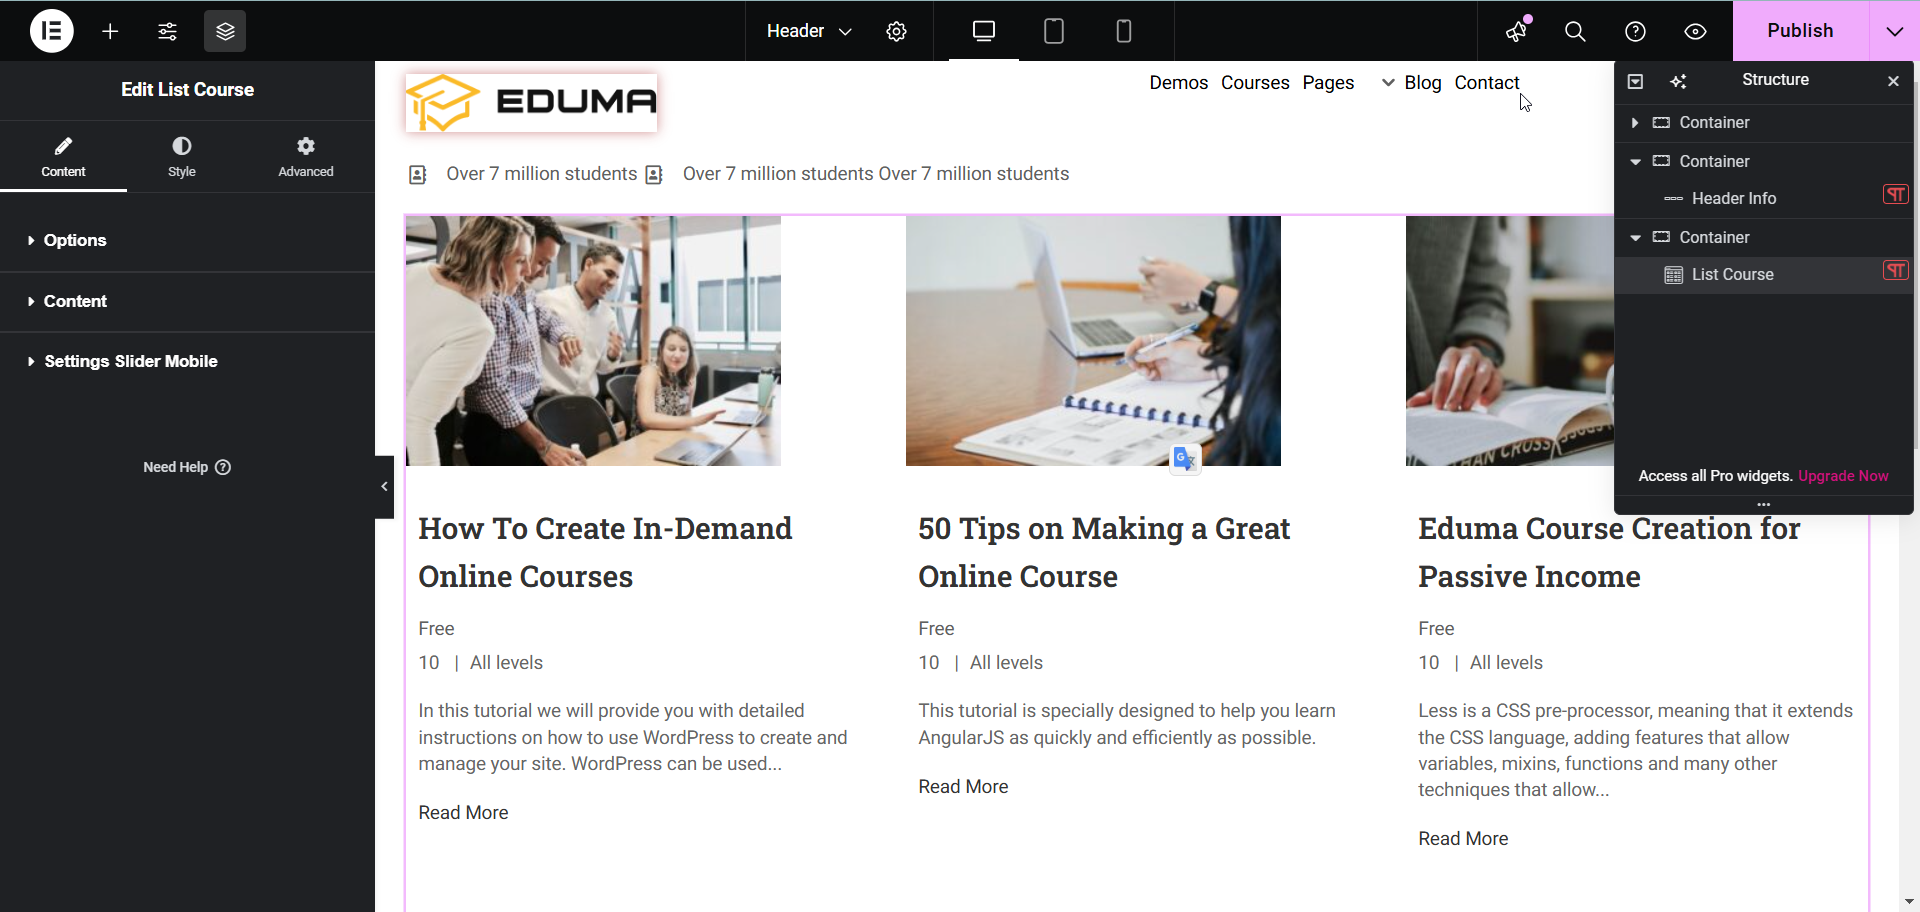
After successfully completing this step, this is the default layout you are going to see.
How To Configure The Content
- First is the Options tab. In this tab you can see many smaller tabs:
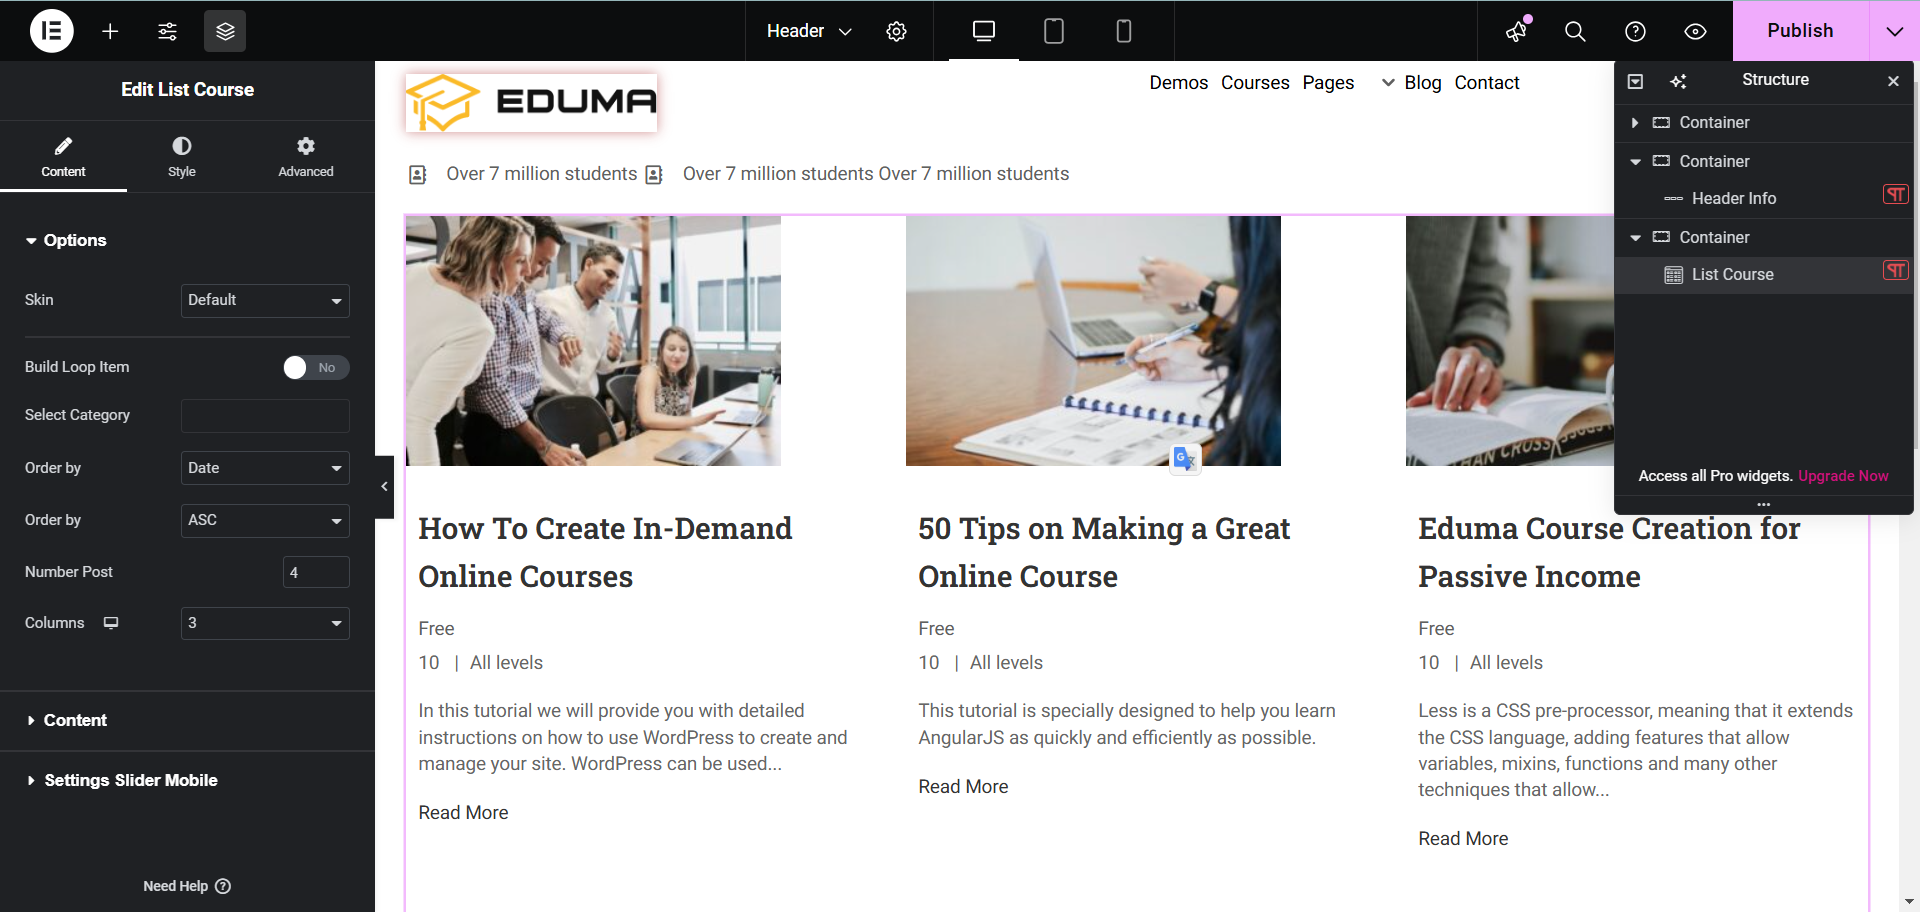
Skin: There are 3 skin types for you to choose from: Default, Tab and Slider.
Build Loop Item: When you choose to enable this option, you will see the Choose a template tab open for you to select the built Loop Item.
Select Category: Allows you to select which course categories to display.
Order by: Select options to order by.
Number Post: Number of courses displayed.
Columns: Number of columns to display.
- Next is the Content tab.
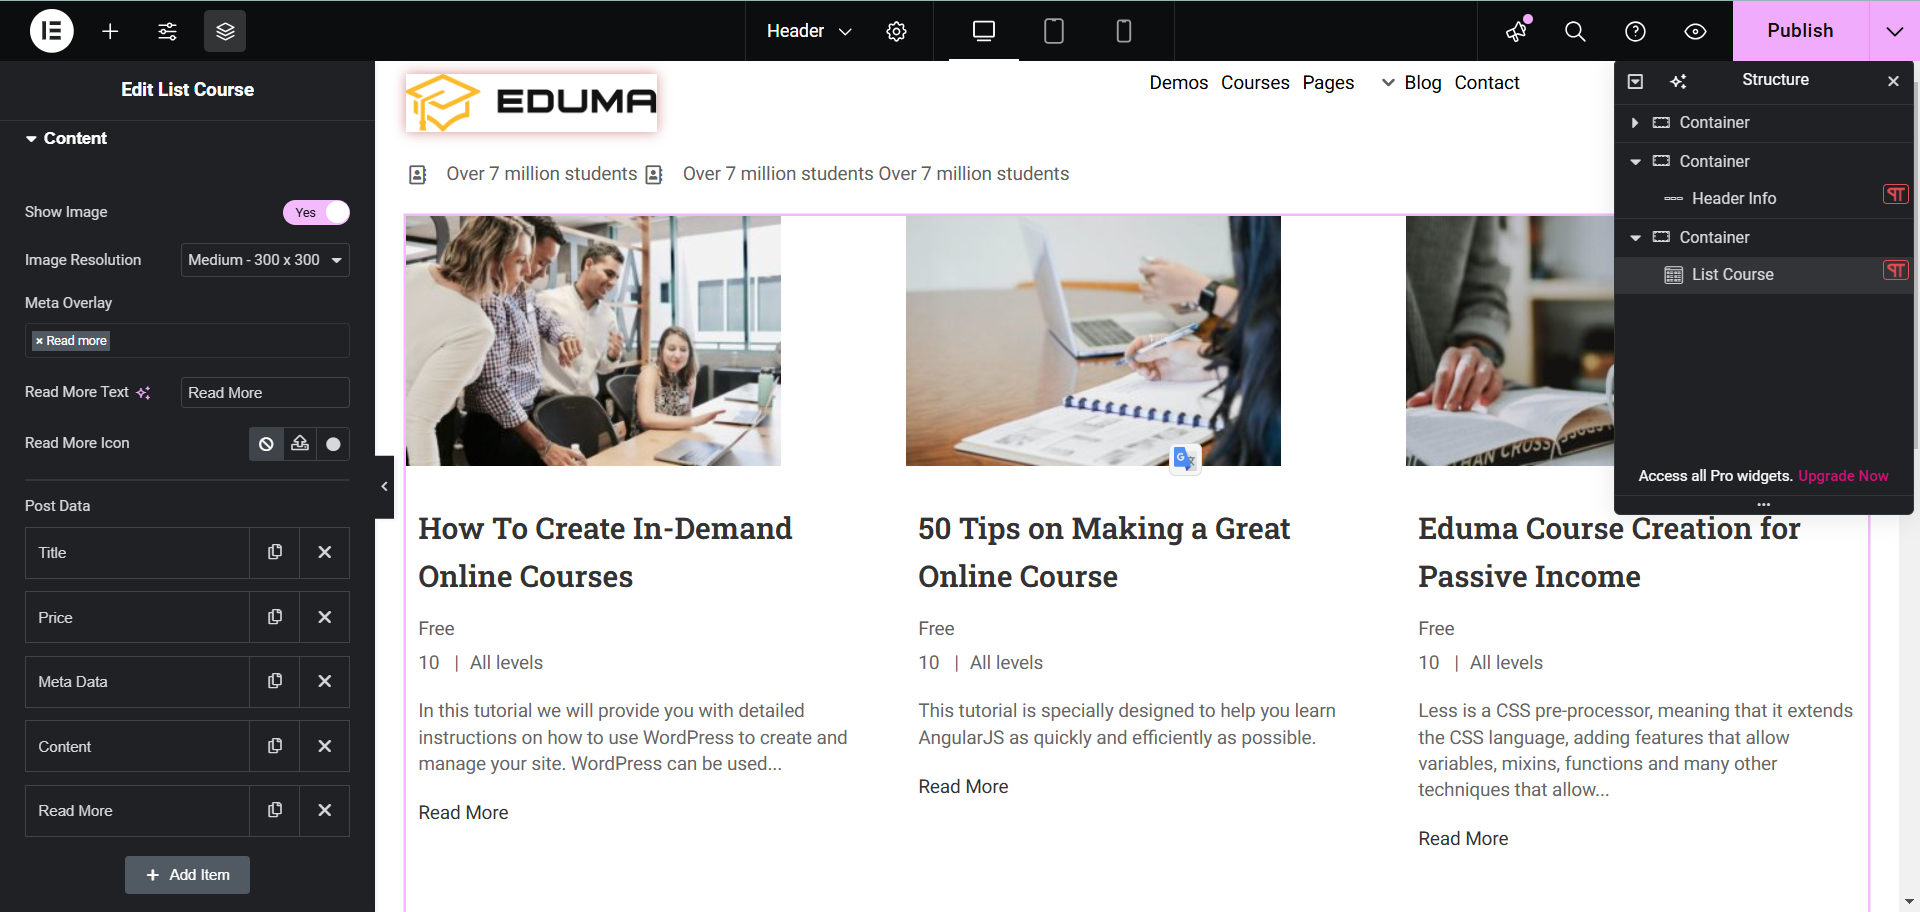
Show image: Default is on to display course images.
Image Resolution: Edit course image size.
Meta Overlay: Add more fields to the course including category, Price, Instructor, Read more.
Read More Text: Edit text click to read course.
Read More Icon: You can choose the course reading icon instead of text.
Post Date: Include fields on a course. Click on the title to open the edit tab.
- Finally, the Settings Slider Mobile tab.
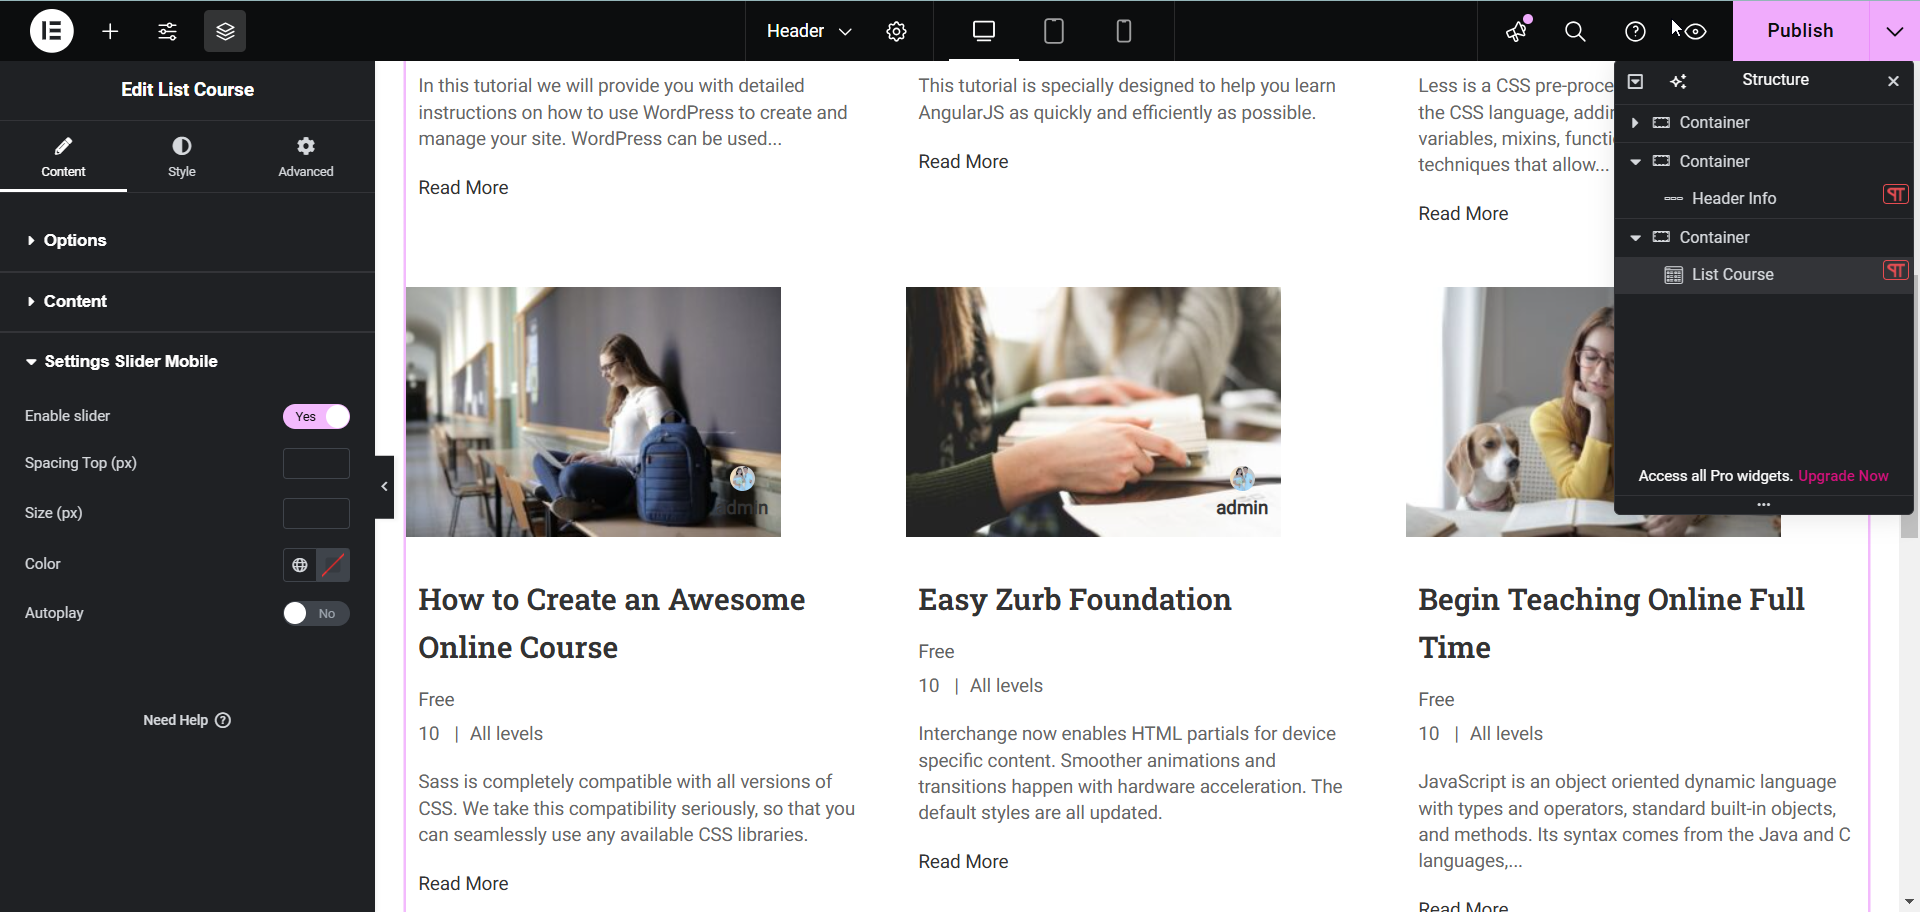
After selecting enable, other settings will open including: Spacing top, Size, Color, Autoplay.
How To Style List Course
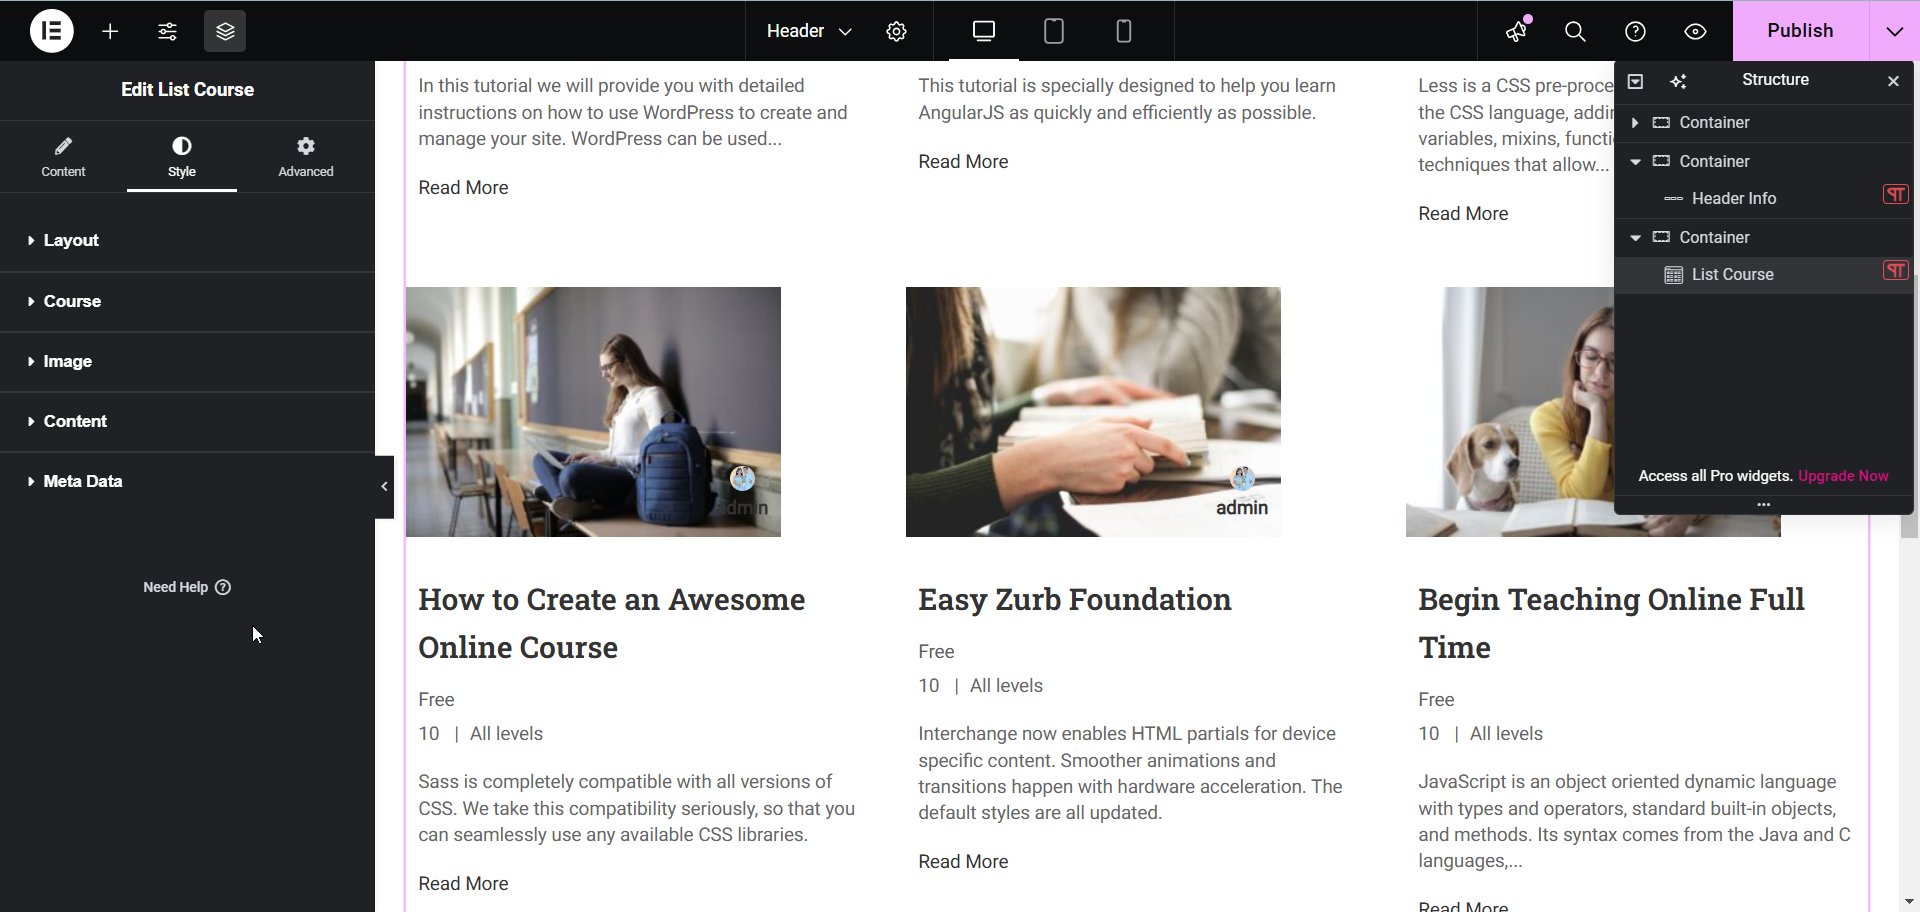
In this section, you can see many style fields for Layout, Course, Image, Content, Meta Data. Click on each tab to edit.
