How to Activate Header Info
To activate, find the ‘Header Info’ element from the ‘Search’ option under the ‘ELEMENTS’ tab. Drag and drop the element anywhere on the page.
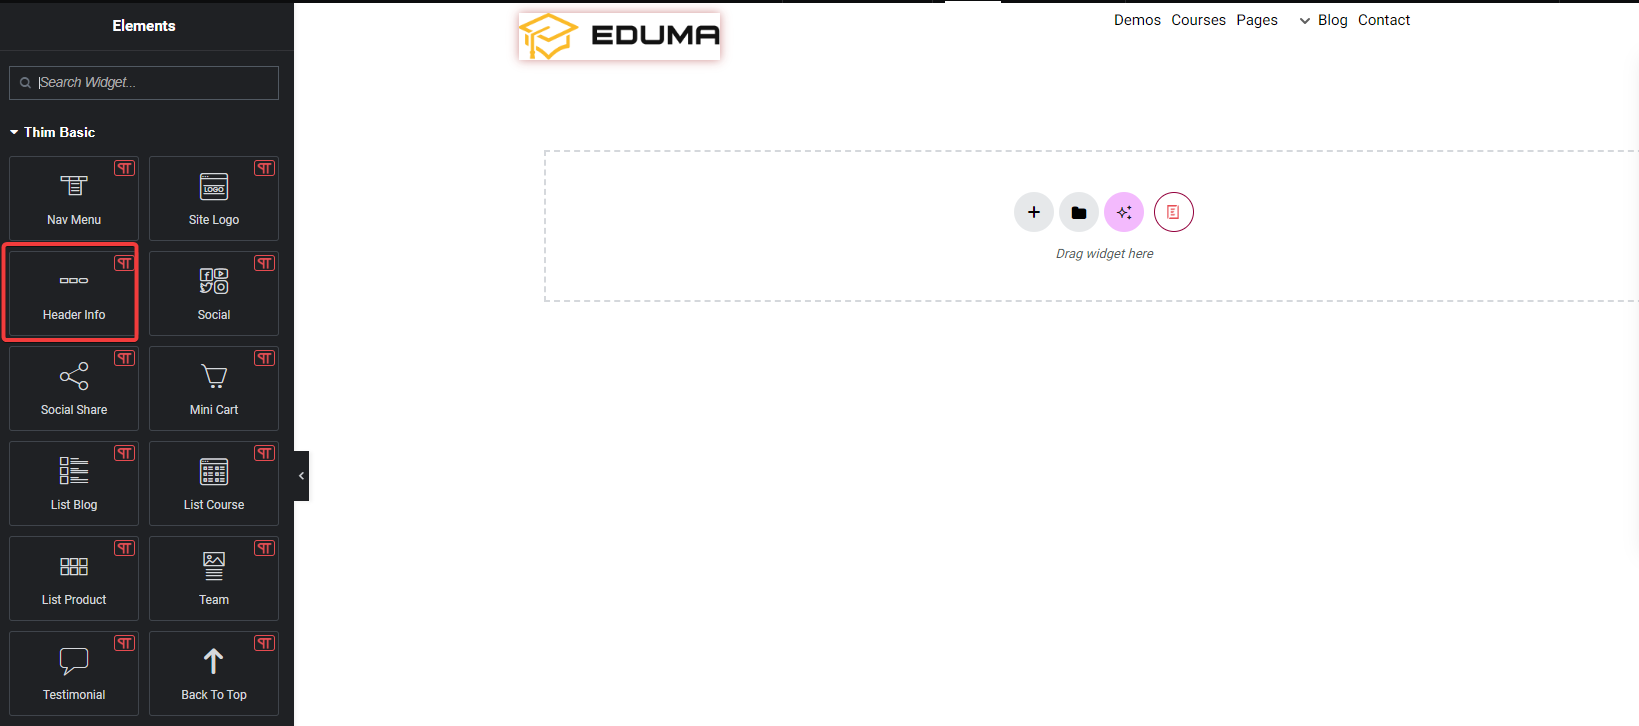
Once you have dragged and dropped the element into any empty section of your page, the element will look like this by default.
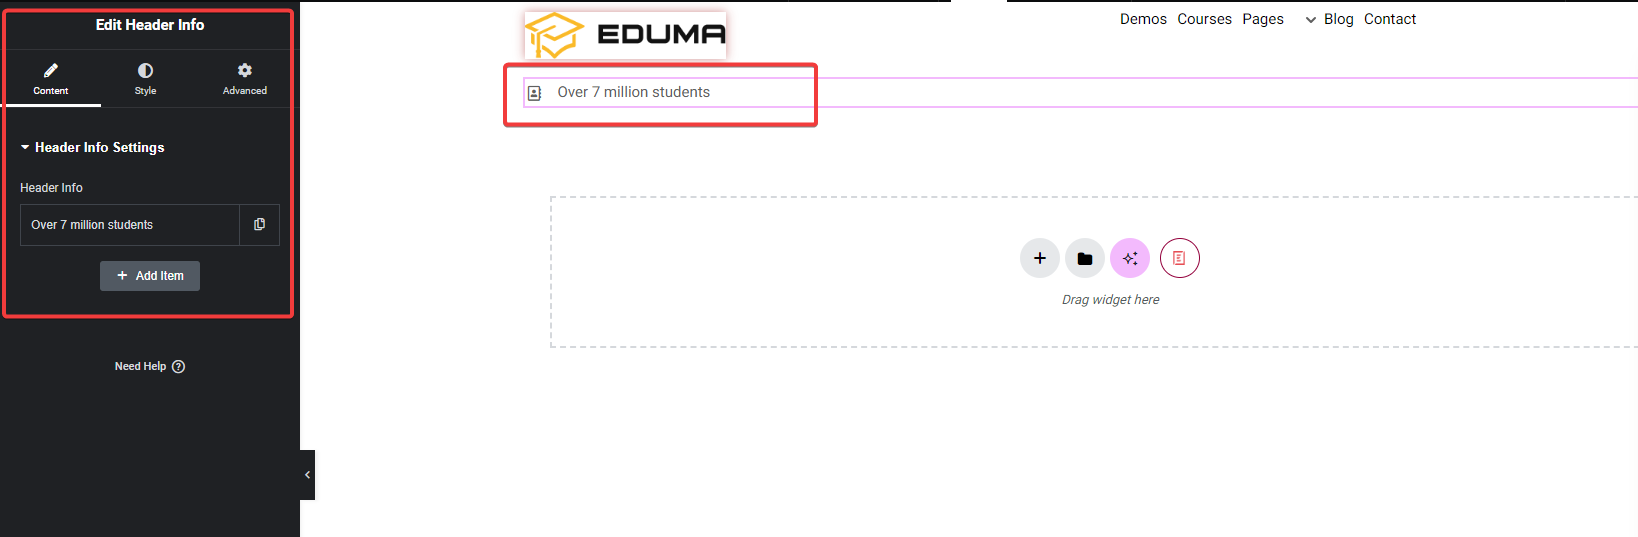
How to Configure the Content
Header info Settings
You can add multiple header info tabs by clicking the Add Item button. You can duplicate items or X items.
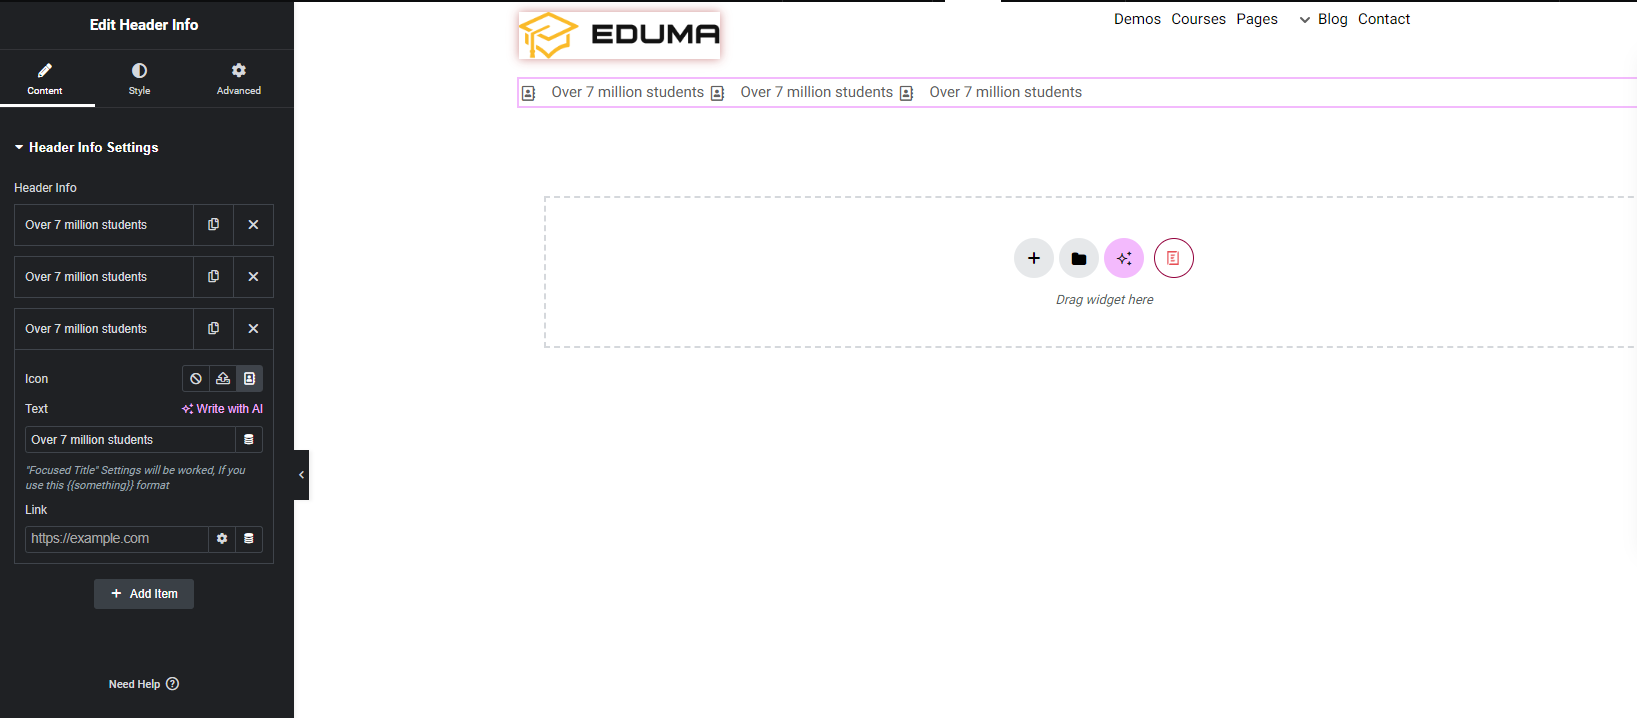
Click on the title to open the sub-settings. You will see the icon, text and link tabs.
- Icon: You can choose to upload an SVG icon or a Library icon.
- Text: Edit according to the title you want.
- Dynamic tag: You can use other dynamics of Thim Elementor kit by clicking on the icon next to the text.
- Link: Enter your URL. Click the Setting icon to select “Open in new window” or “Add nofollow”
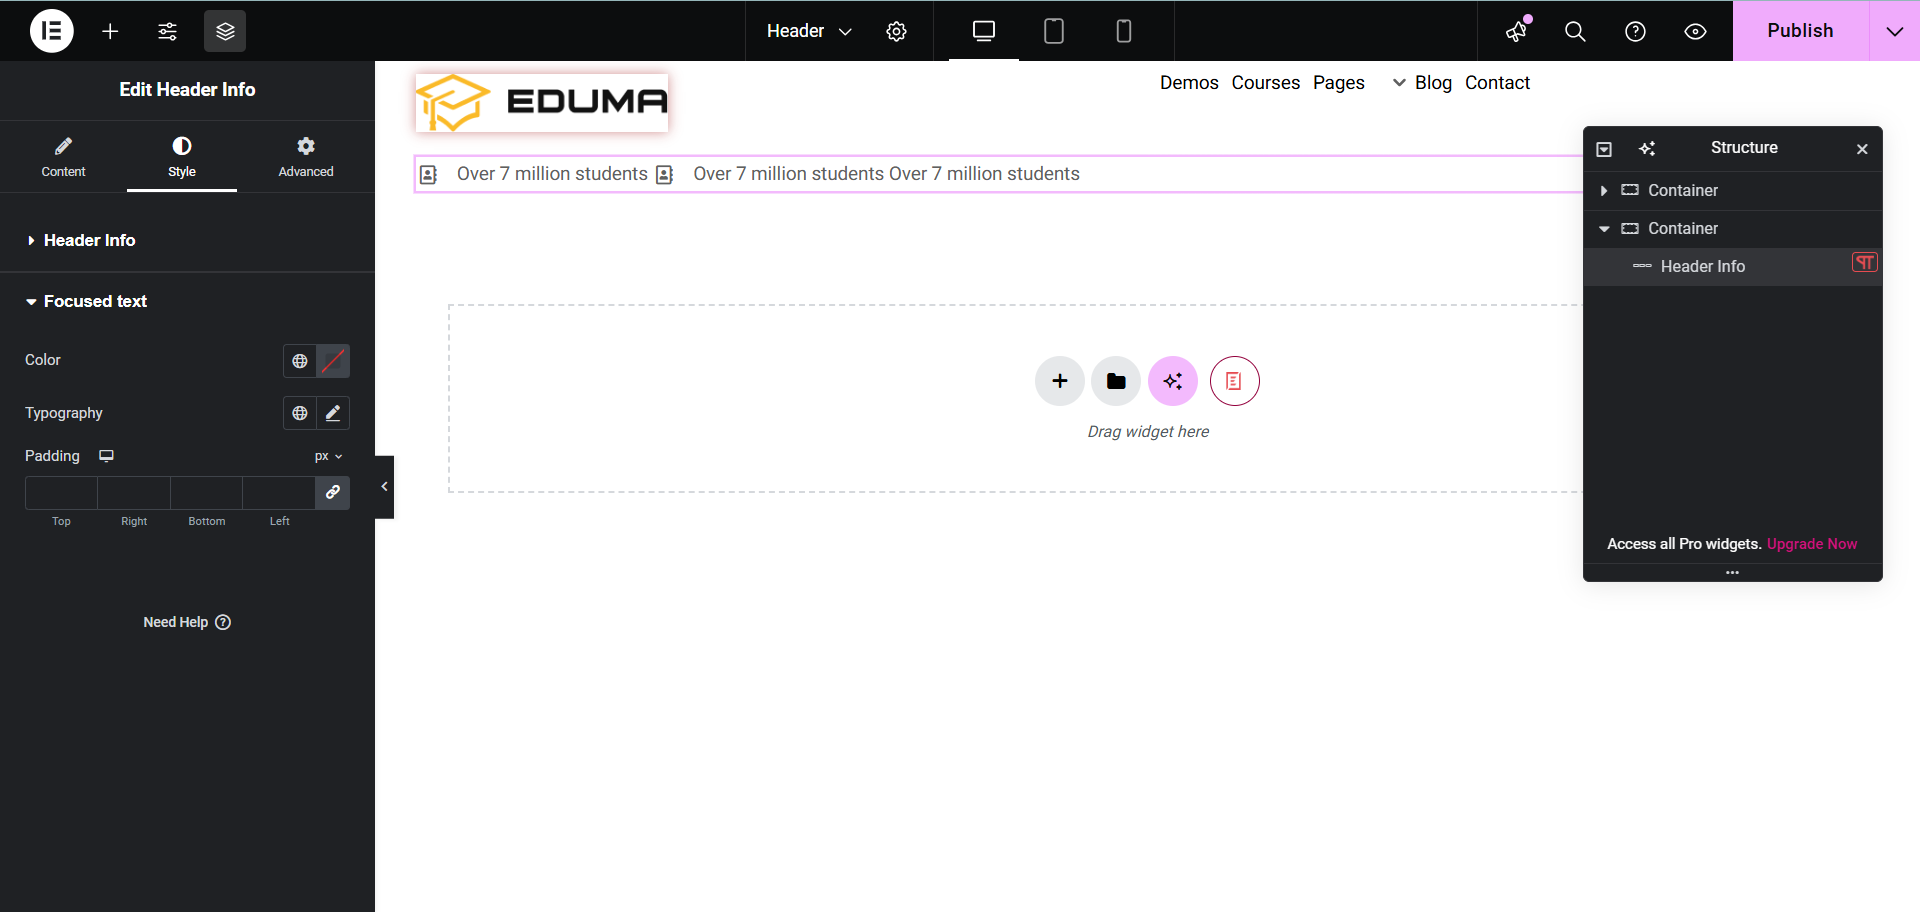
How To Style Header Info
Here you can configure alignment, padding, and text color,…

Additionally, you can also set the Focused text.