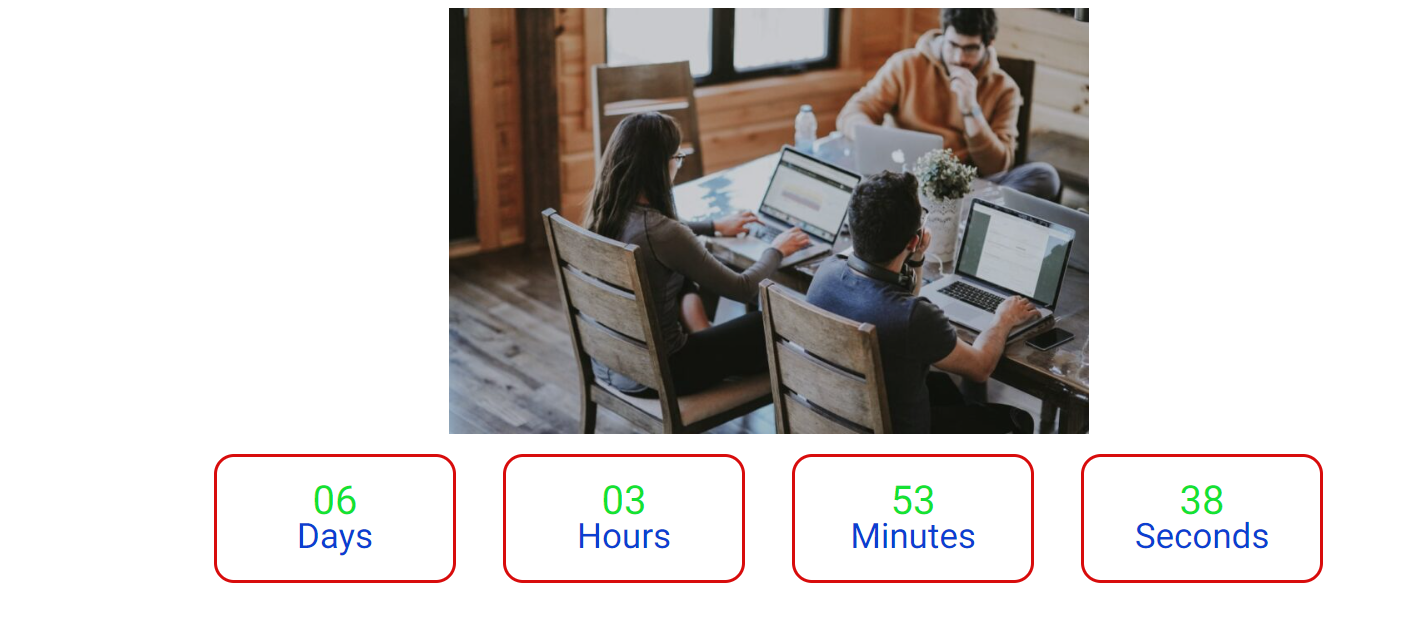
Countdown helps you bring your Elementor page to life with a countdown timer. This element is perfect for creating hype around a new product launch or for Coming Soon pages. It comes with tons of cool customization options so you can add your own unique touch and even lets you choose an Expiry Action when your countdown ends.
1. How to add CountDown
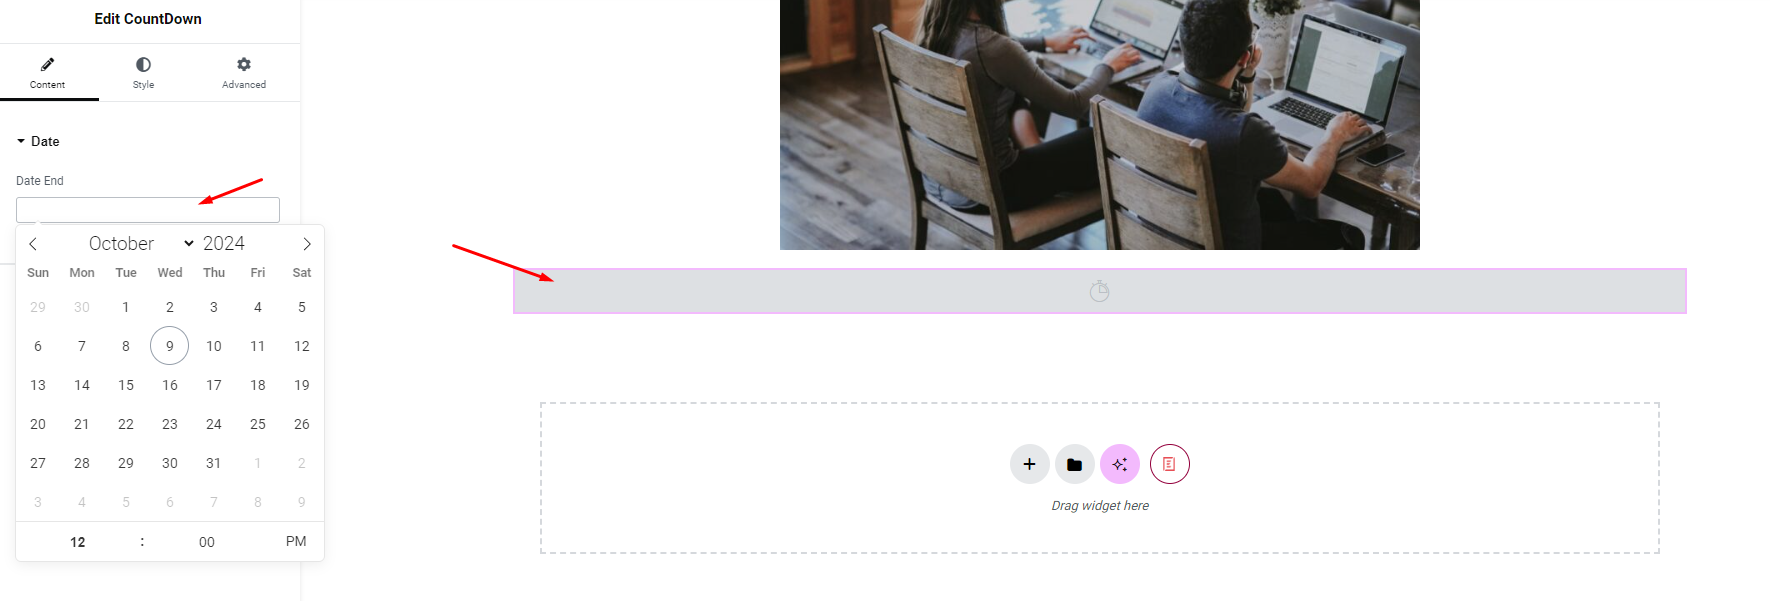
To use CountDown, search for the ‘CountDown‘ element from the ‘Search’ option in the ‘Element‘ tab. Simply drag and drop ‘CountDown’ to ‘Drag widget here’

After you successfully complete this step 1, the element should look like this.
2.How To Configure The Content
After activating the Countdown element, switch to the ‘Content’ tab and you will see some options like ‘Date’ and ‘Label’.
Date
You choose the date you want to launch the product to count down the time
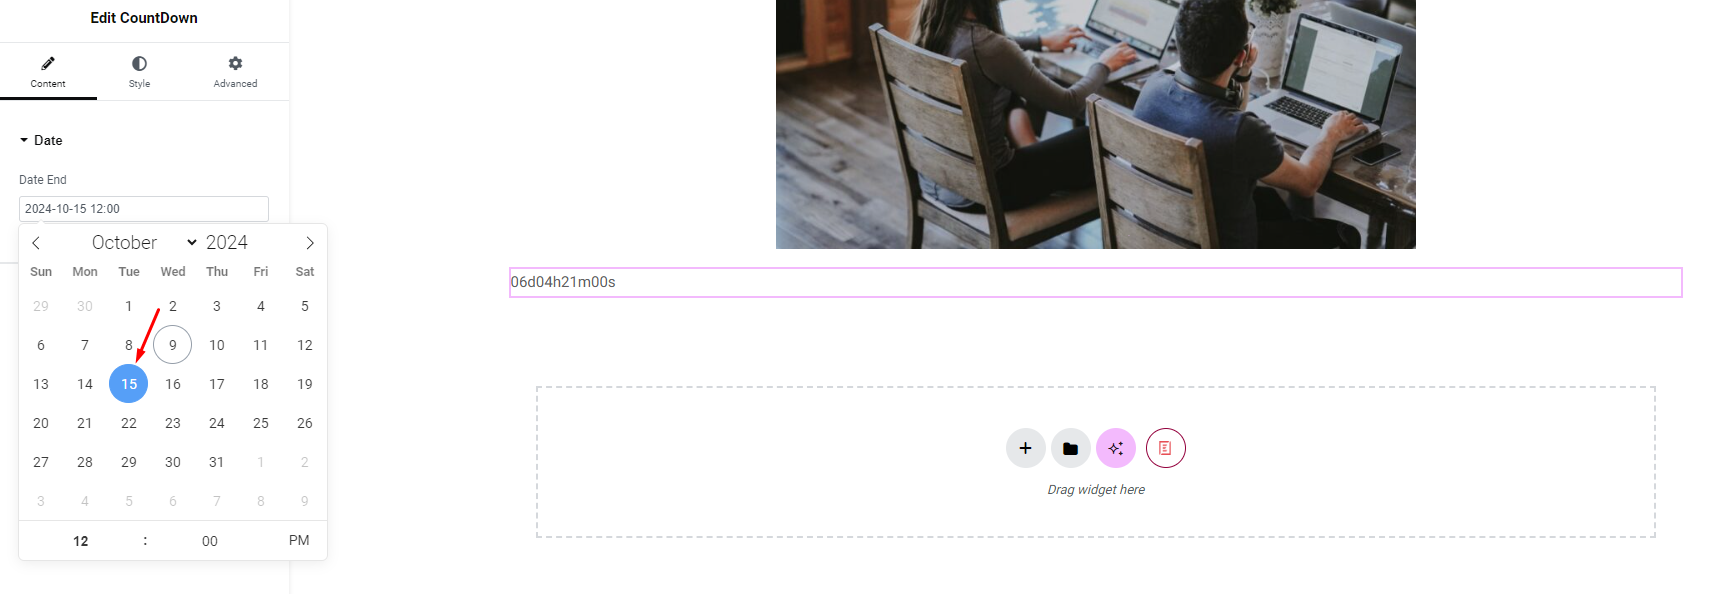
Label: You can set countdown label

Styles
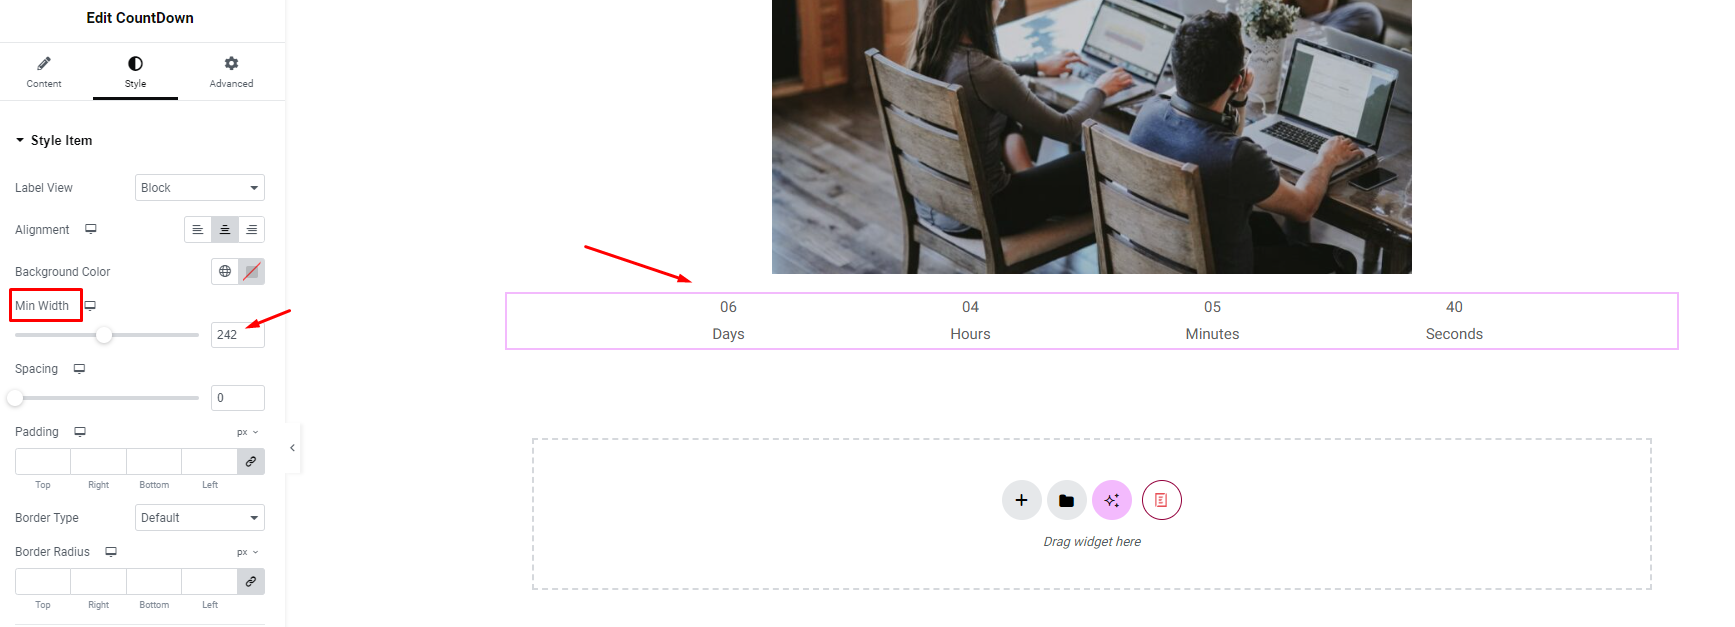
From the ‘Styles’ section, you have the option to choose from two different layouts for your Countdown. You can choose between the ‘Inline’ layout and the ‘Block’ layout.
Inline:
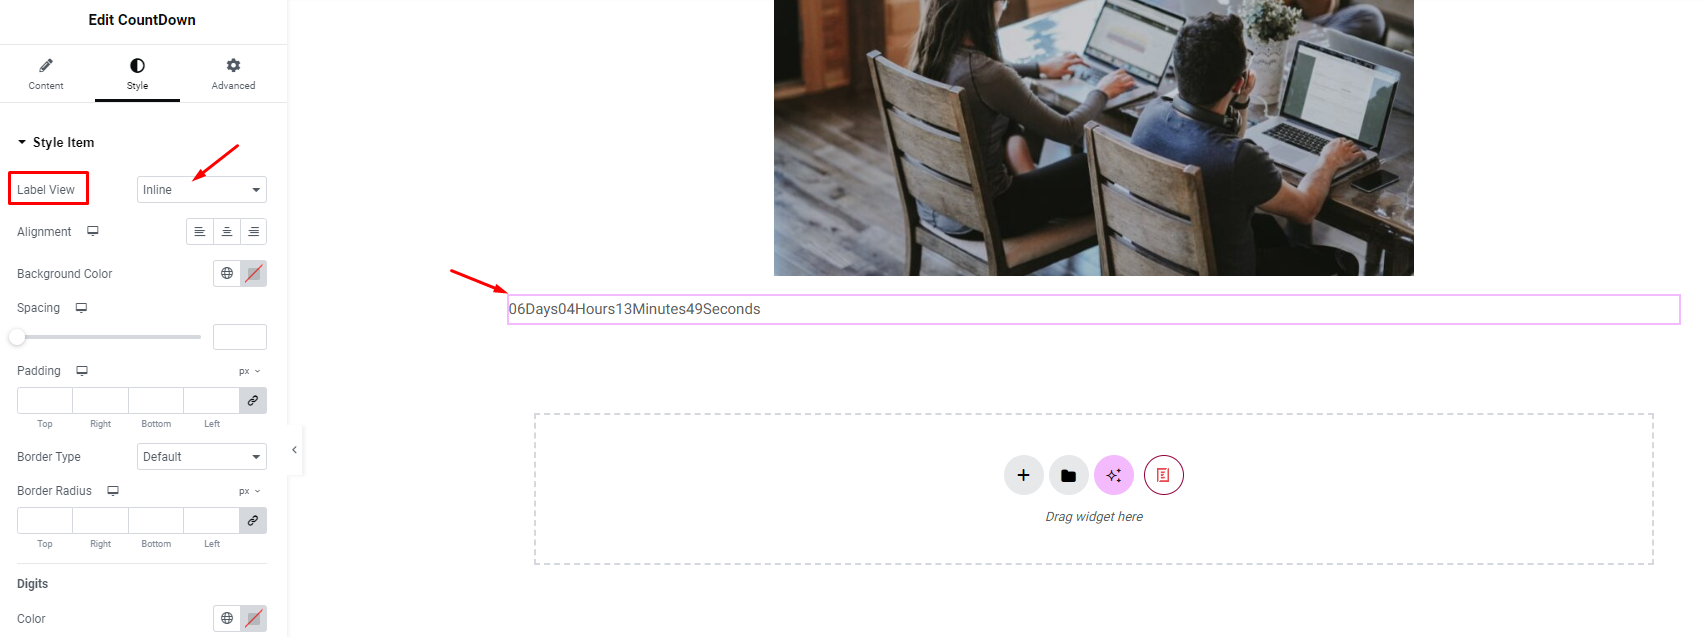
Block:
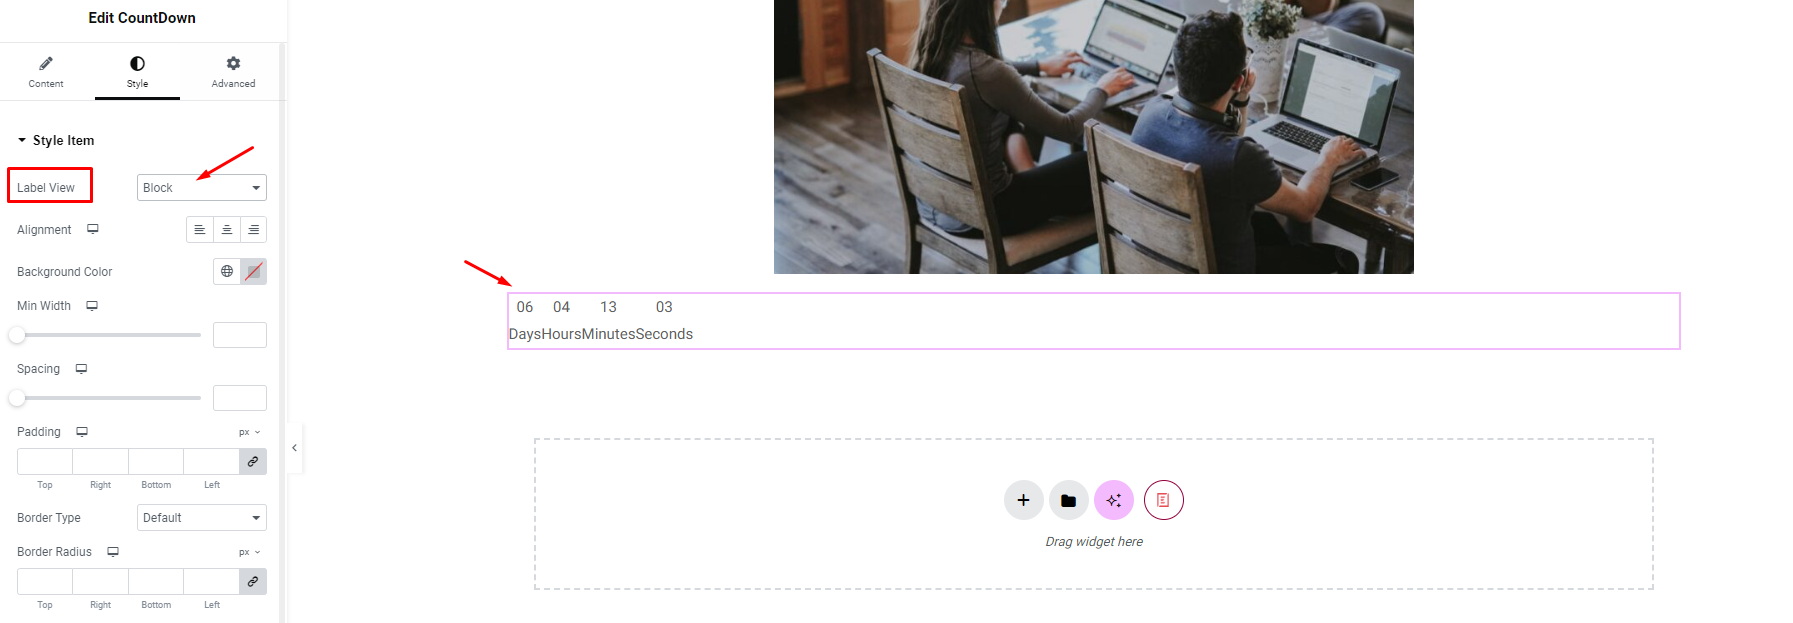
You can align the countdown to ‘left’, ‘right’, or ‘center’ positions.

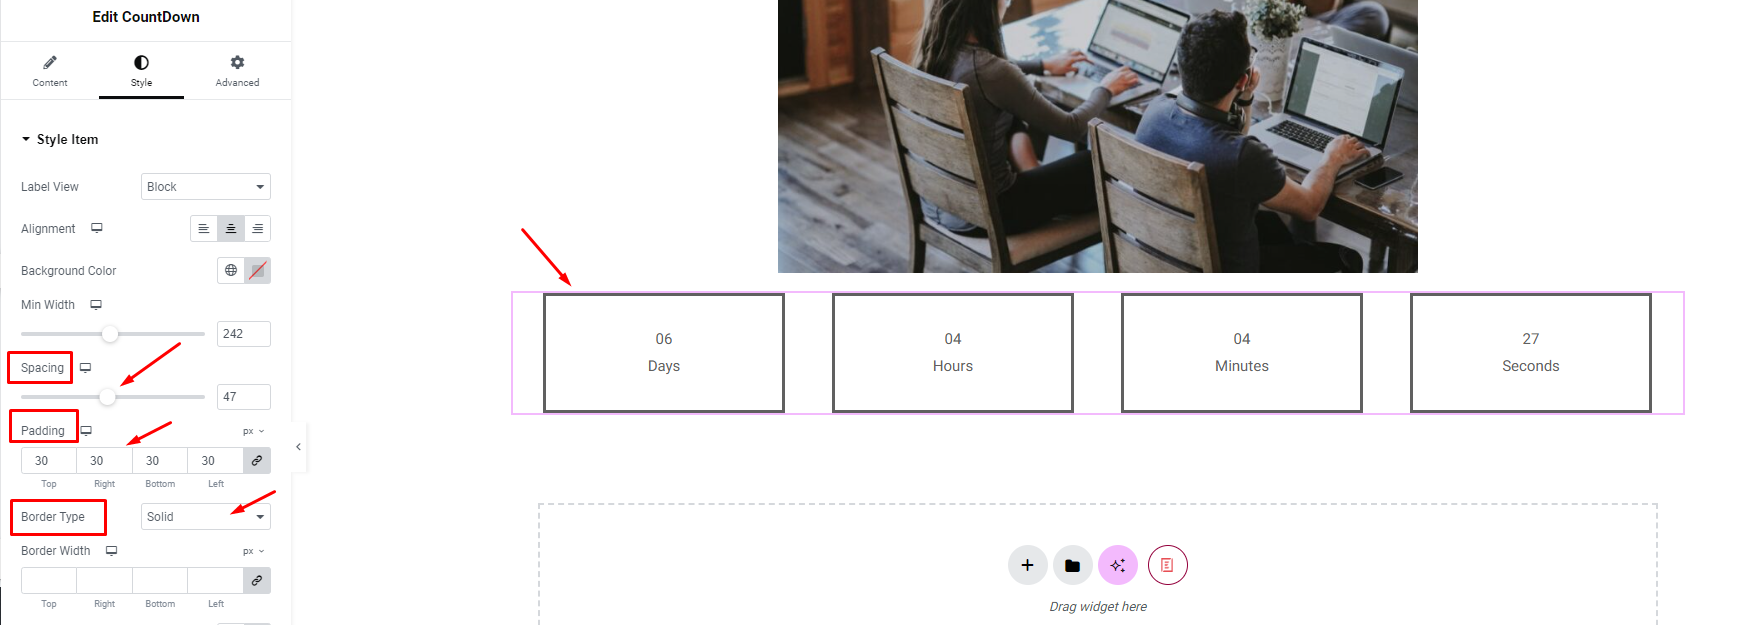
You can increase the spacing and create a border type to make it look more aesthetic.

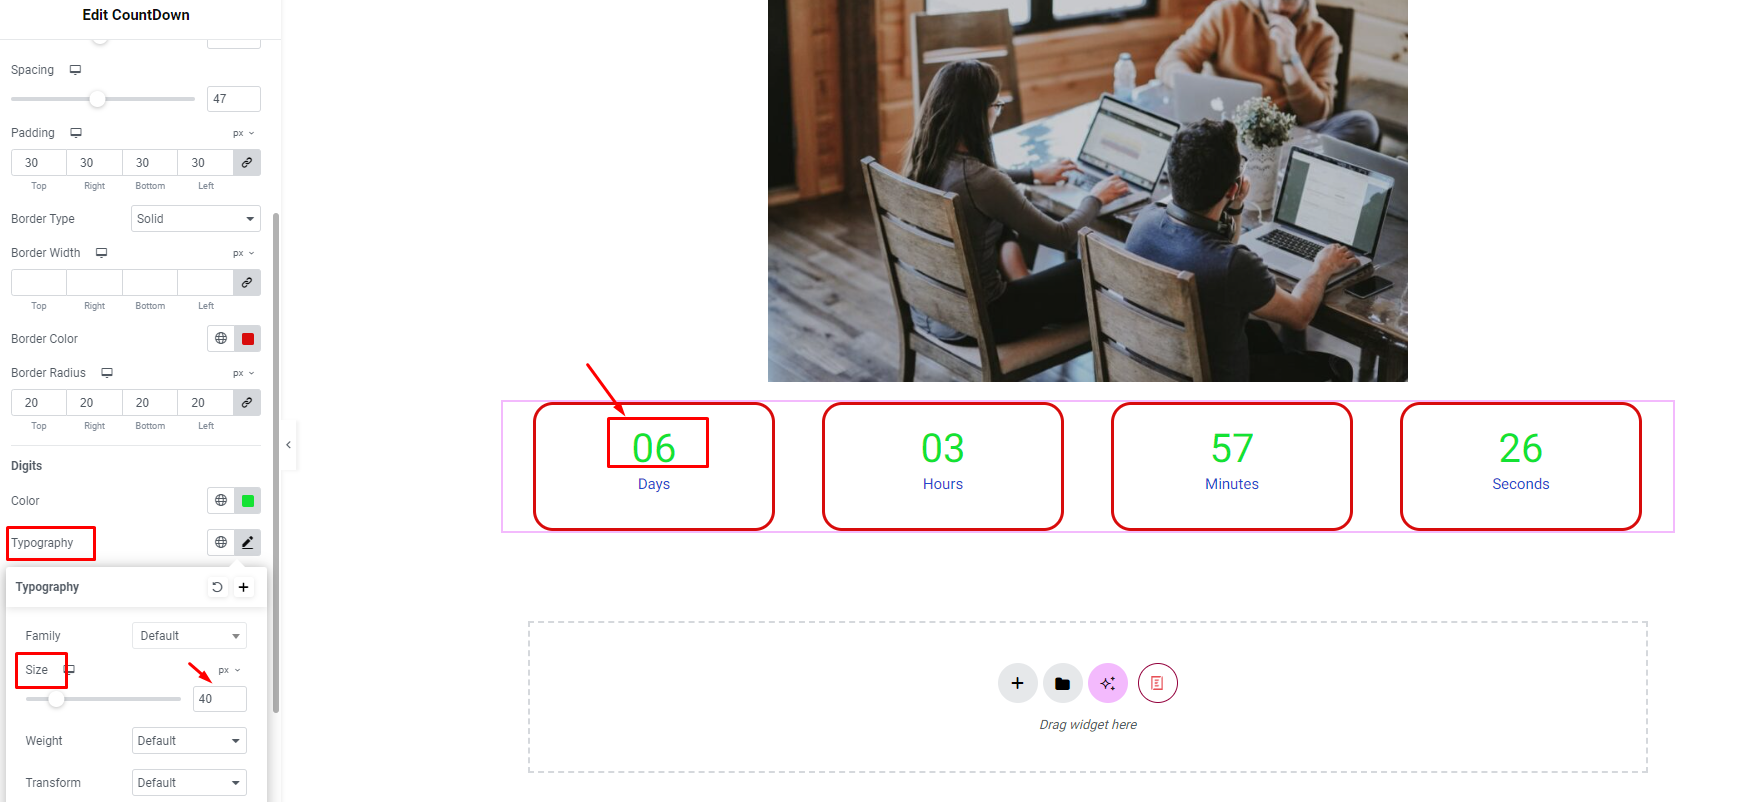
Digits: Change text style and color for numbers
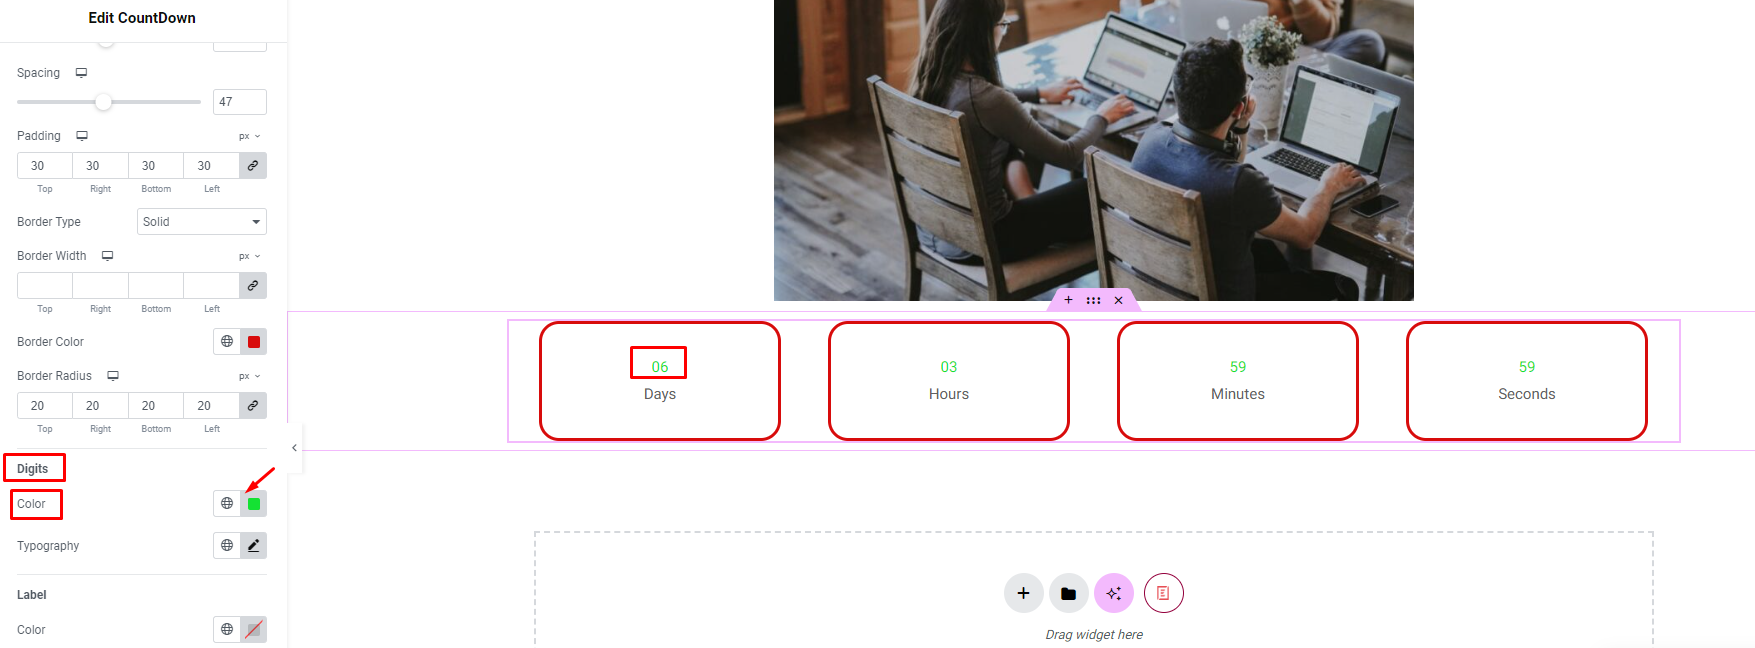
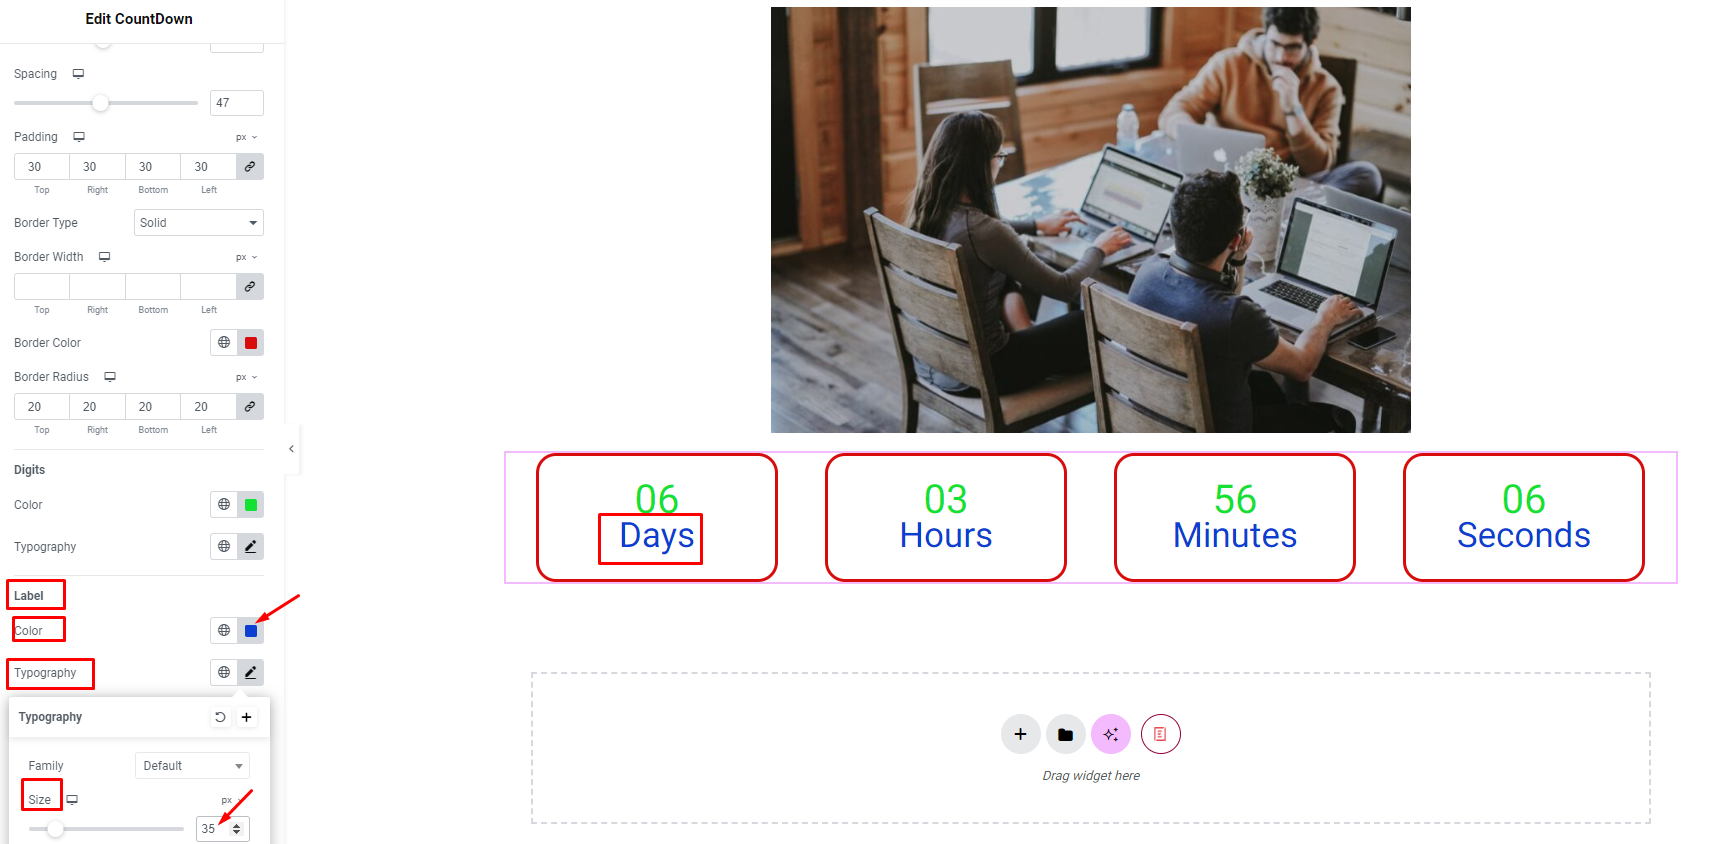
Label: Change text style and color for label
By following these basic steps and changing these settings, you can create eye-catching countdowns for Coming Soon pages or Product Launch pages using Countdown
