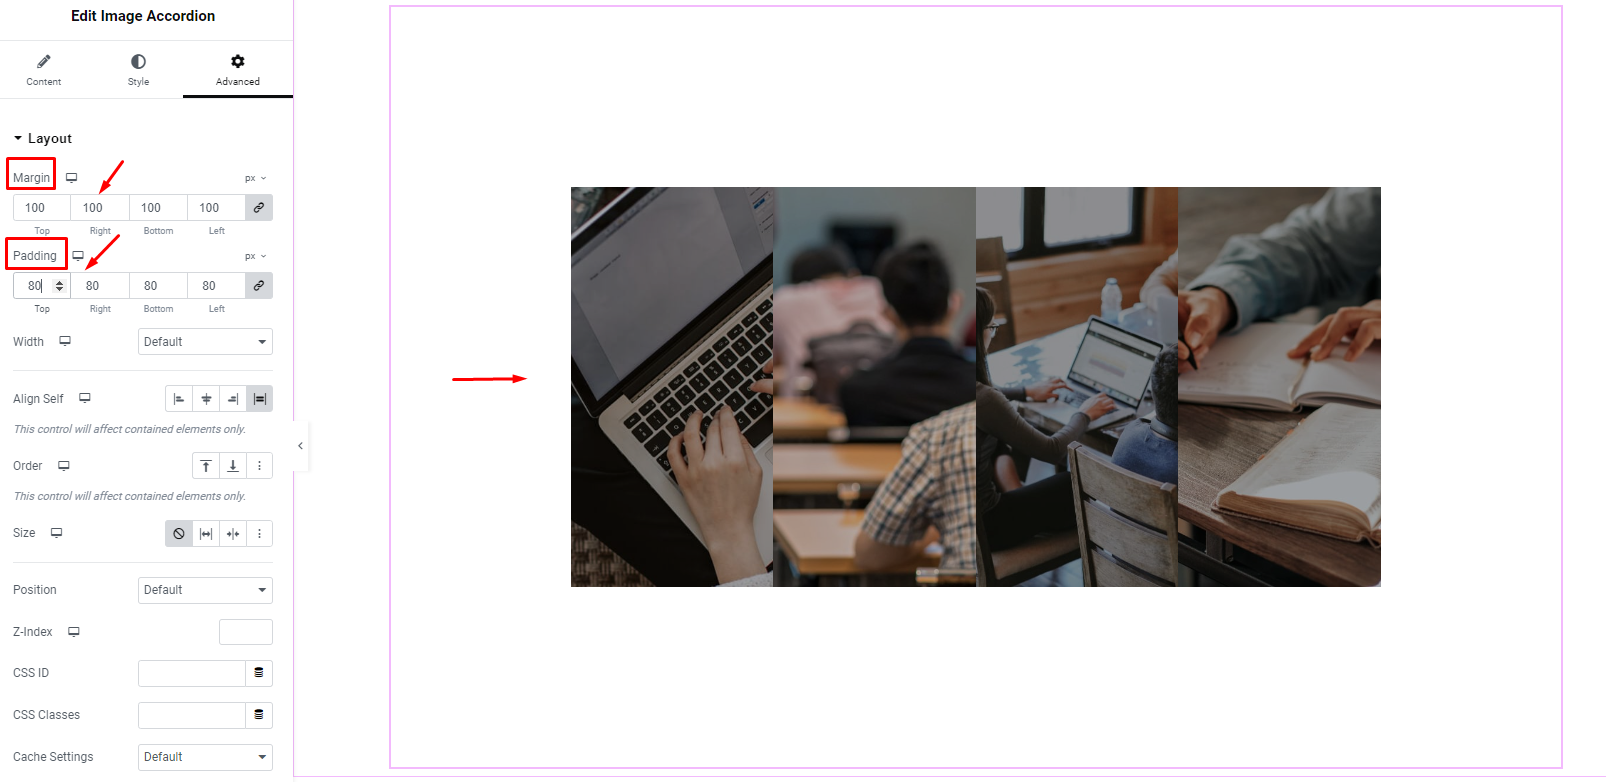
Image Accordion allows you to display all your images on your Elementor website with stunning effects and hovers. This ensures perfect image quality and is sure to amaze your visitors with its creative layout.
1.How to Install Image Accordion
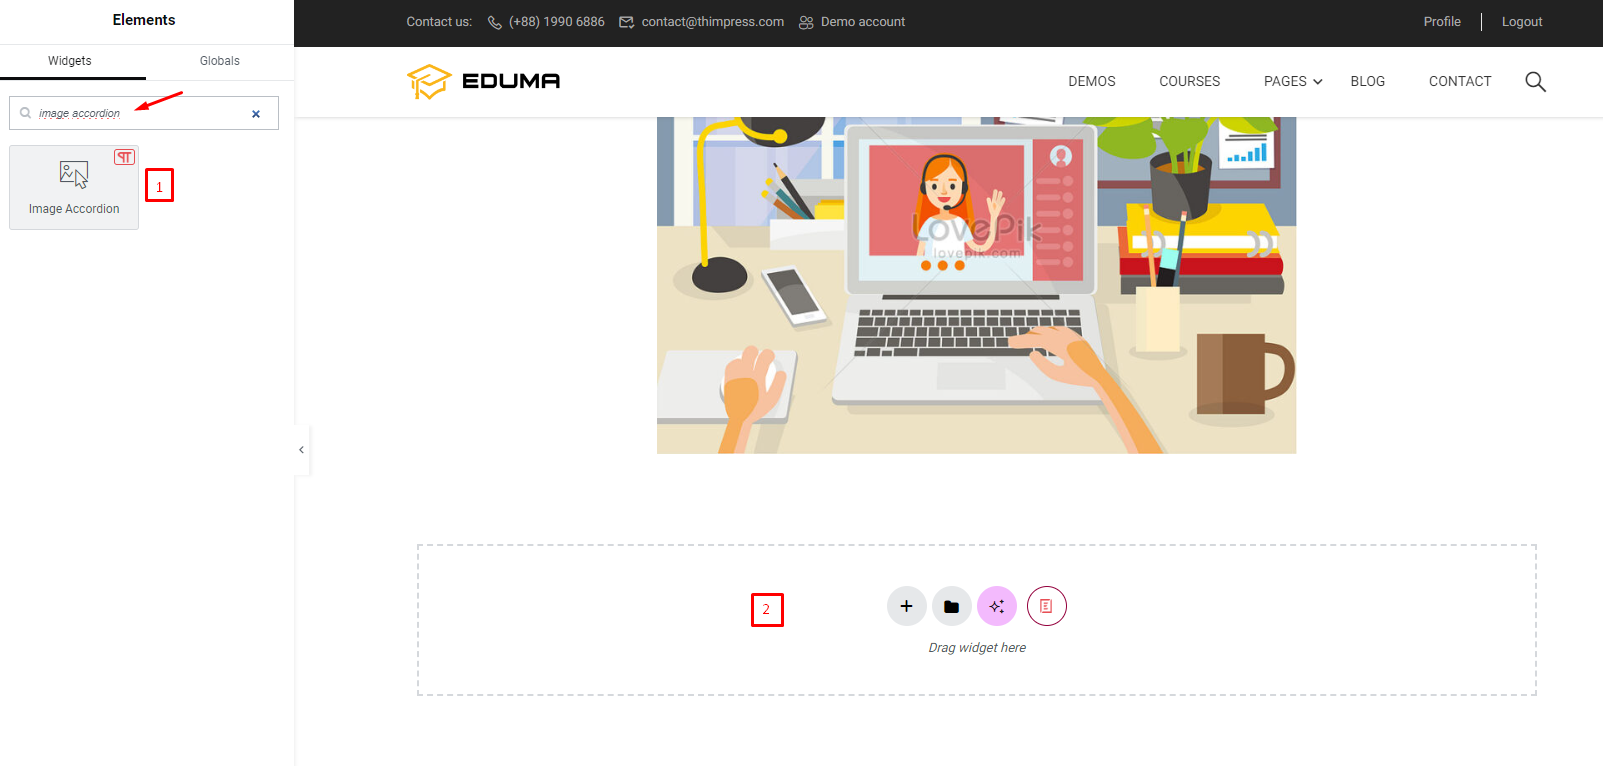
To enable Image Accordion, search for ‘Image Accordion’ from the ‘Search’ option in the ‘Elements’ tab. Drag and drop the element anywhere on the page.
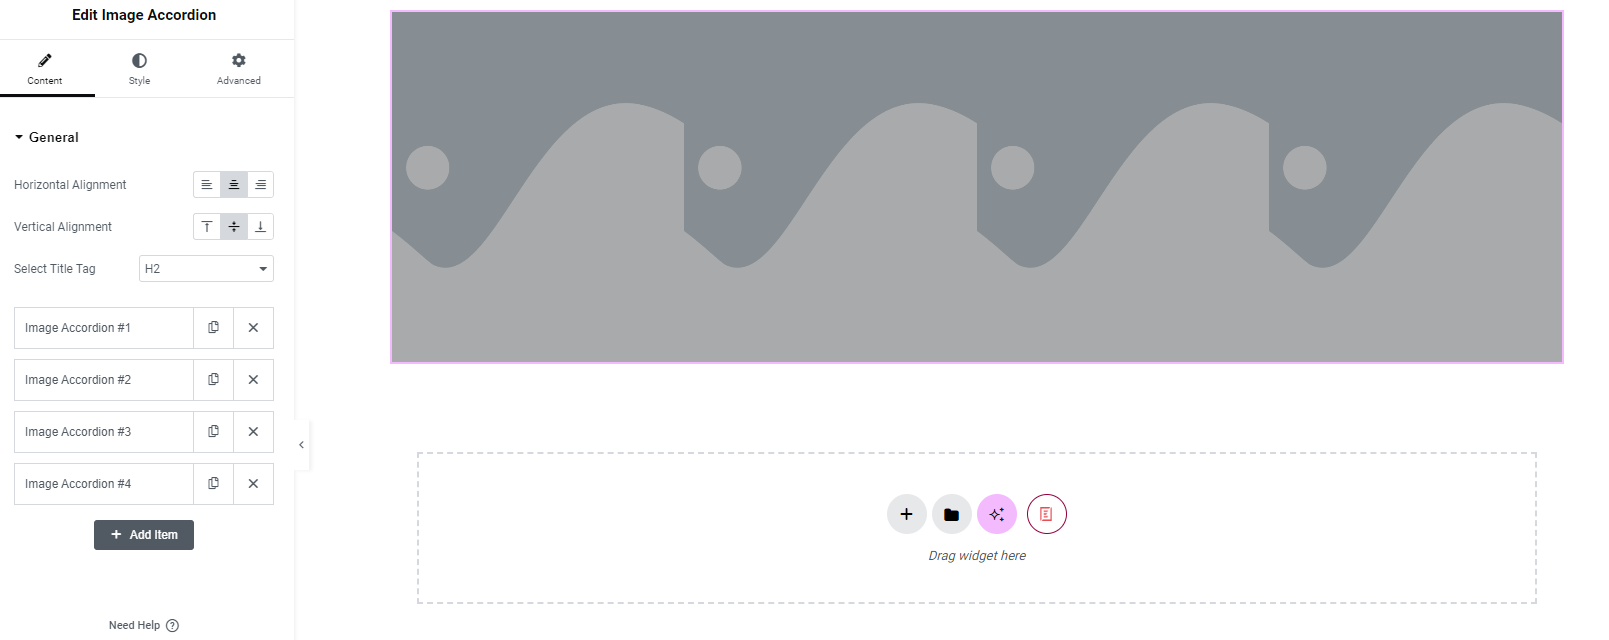
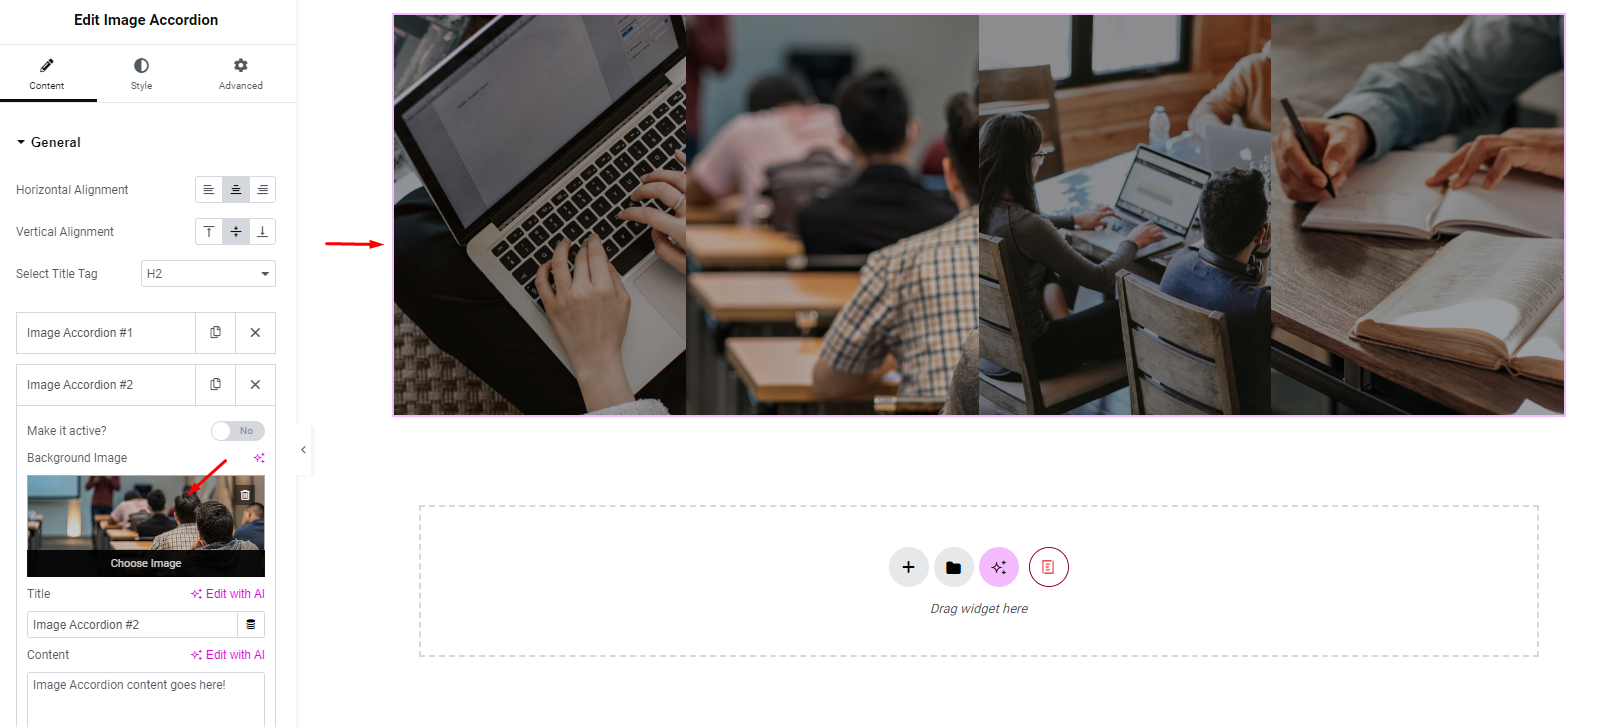
Once you drag and drop an element to any empty part of the page, by default you will be able to see that element on your website like this
2.How to Configure Settings
1. Content
To configure the contents of the Image Accordion, switch to the ‘Content’ tab.
2. General
From the ‘Content’ section, you will see a number of options to set the style and orientation of the image accordion, adjust the alignment, and add images along with text.
You can add the image you want to insert for your website as shown below:
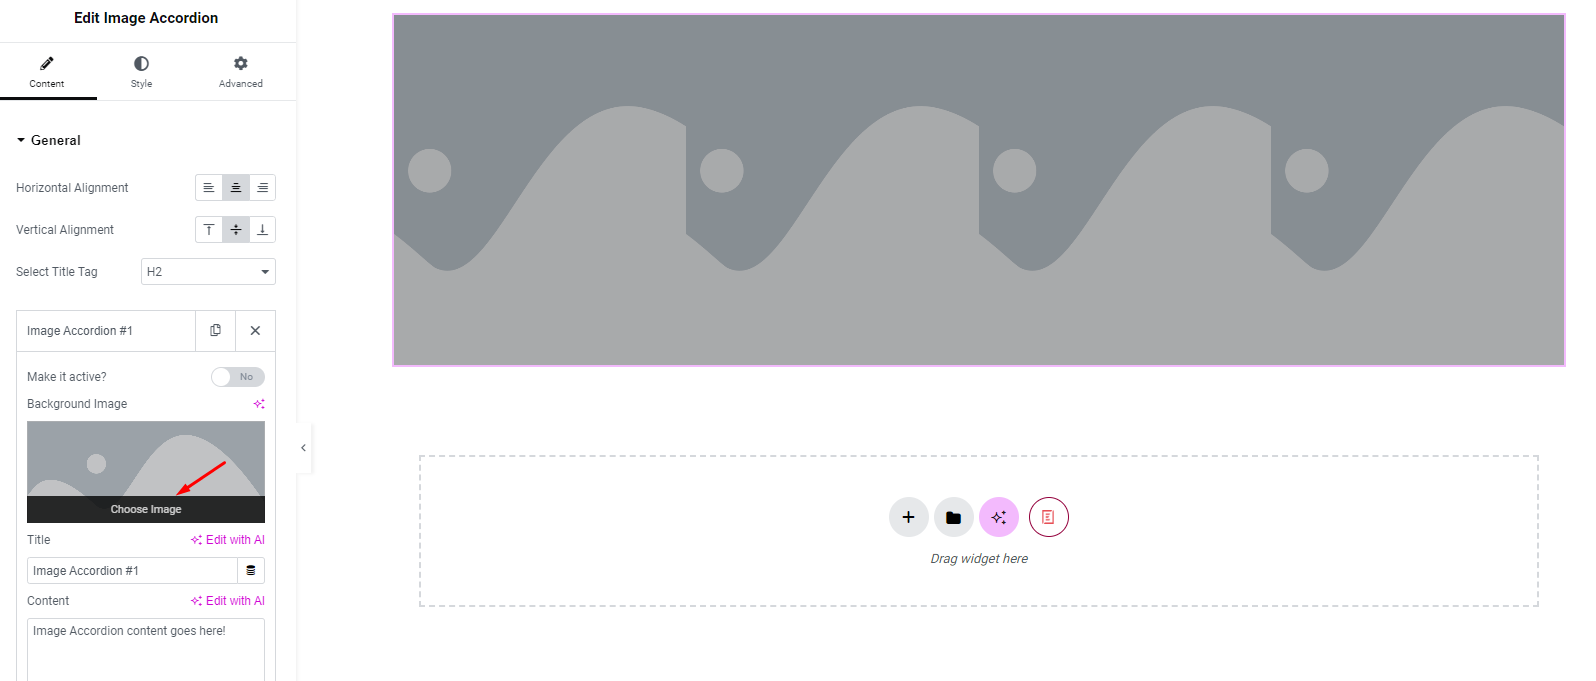
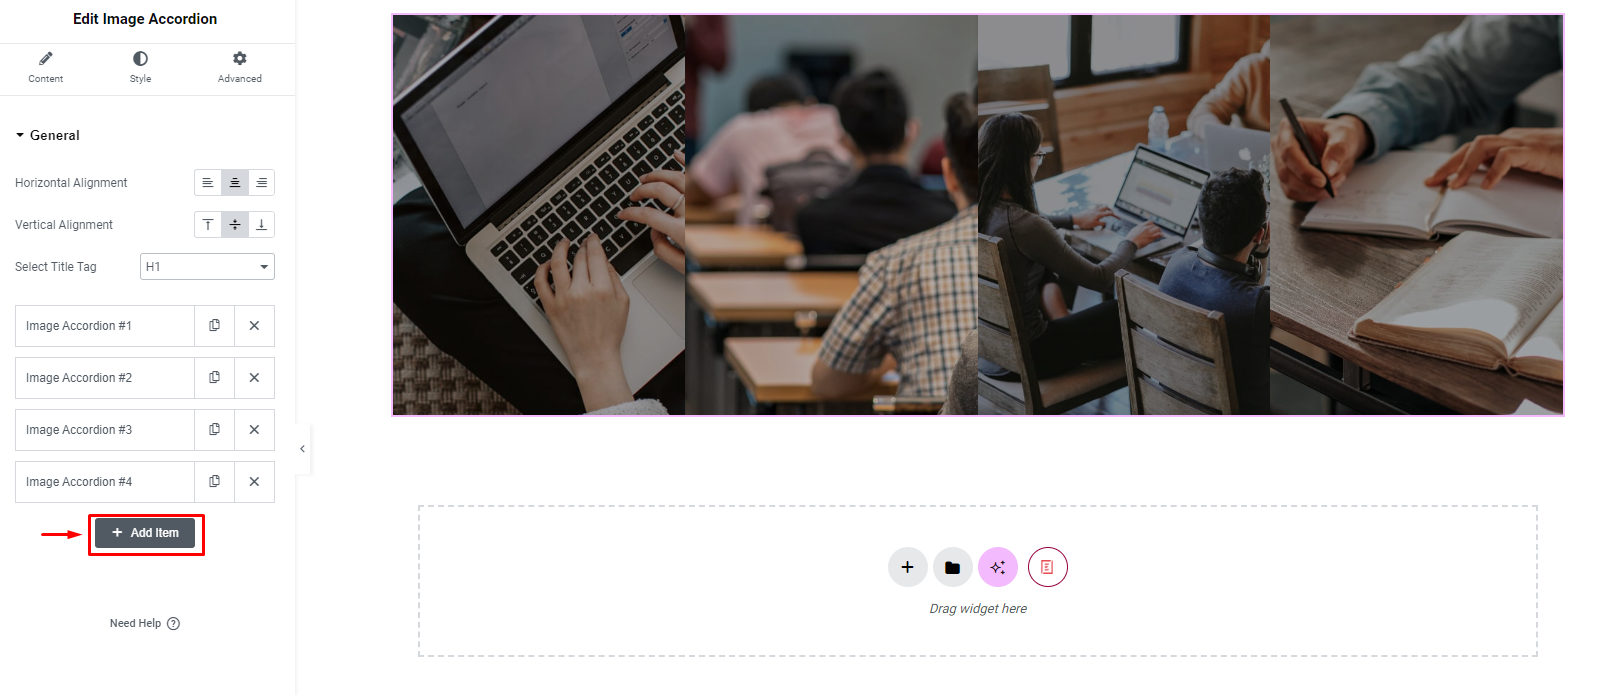
Do the same as above to add the remaining images, after adding the images it will look like this
You can also edit the title and content for the photo.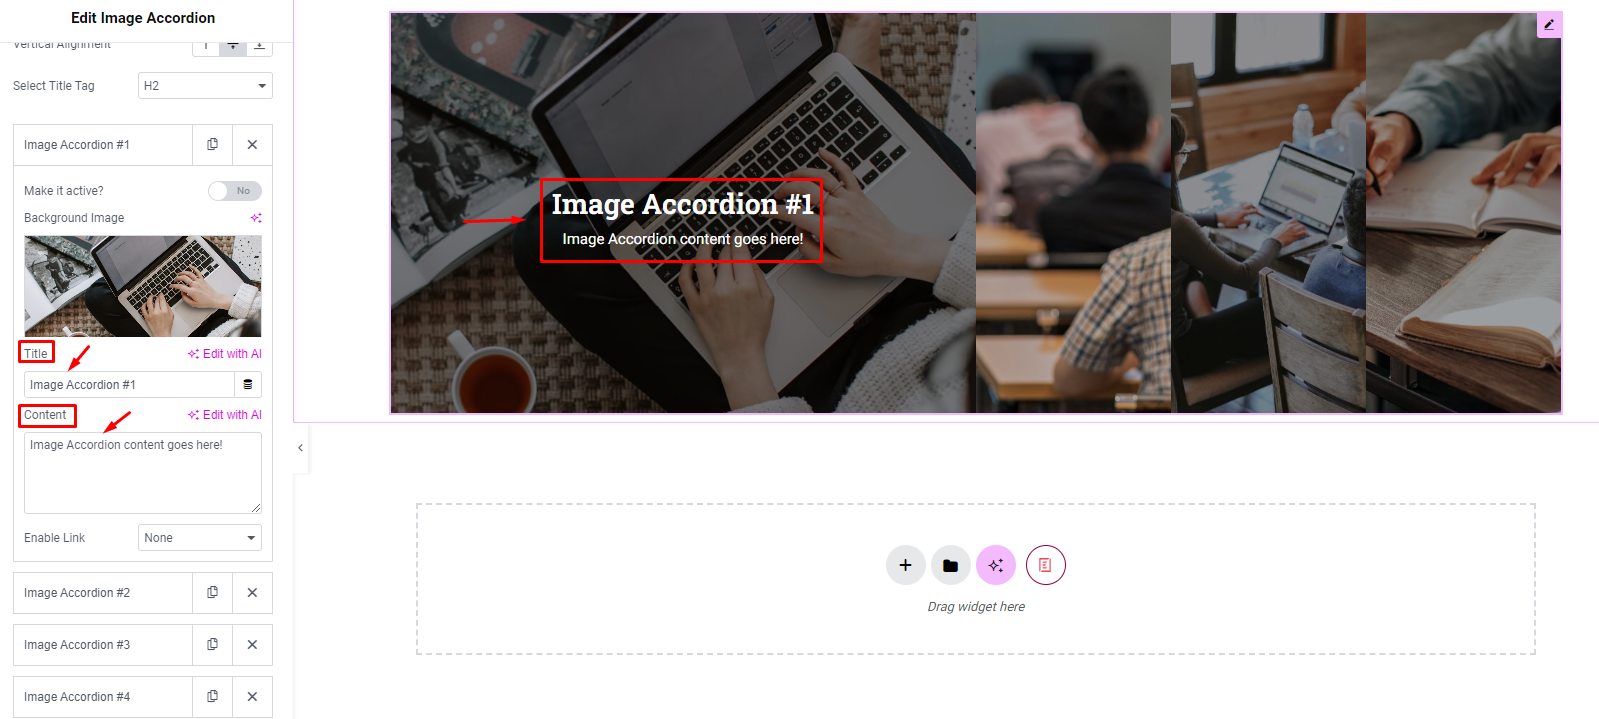
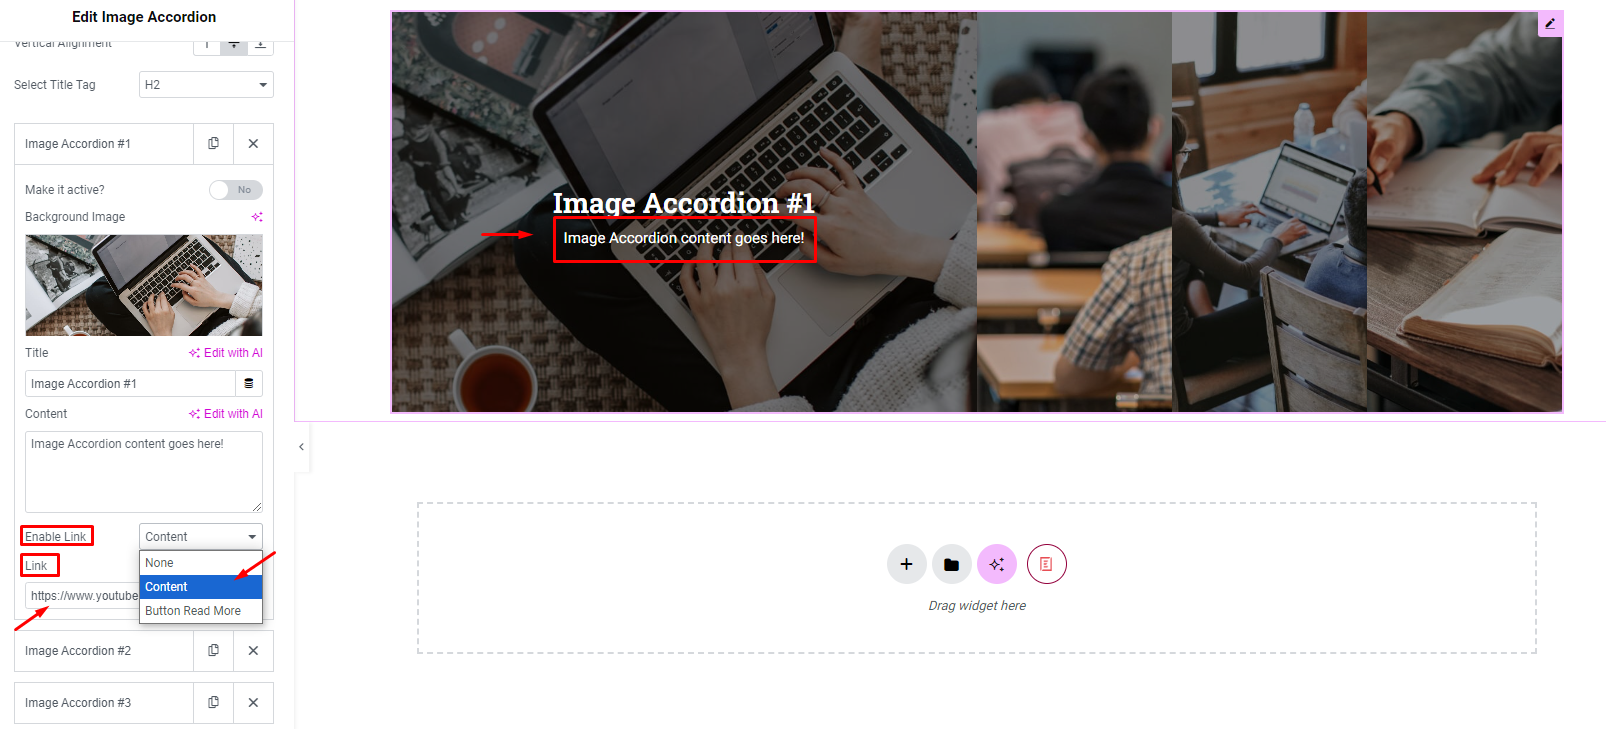
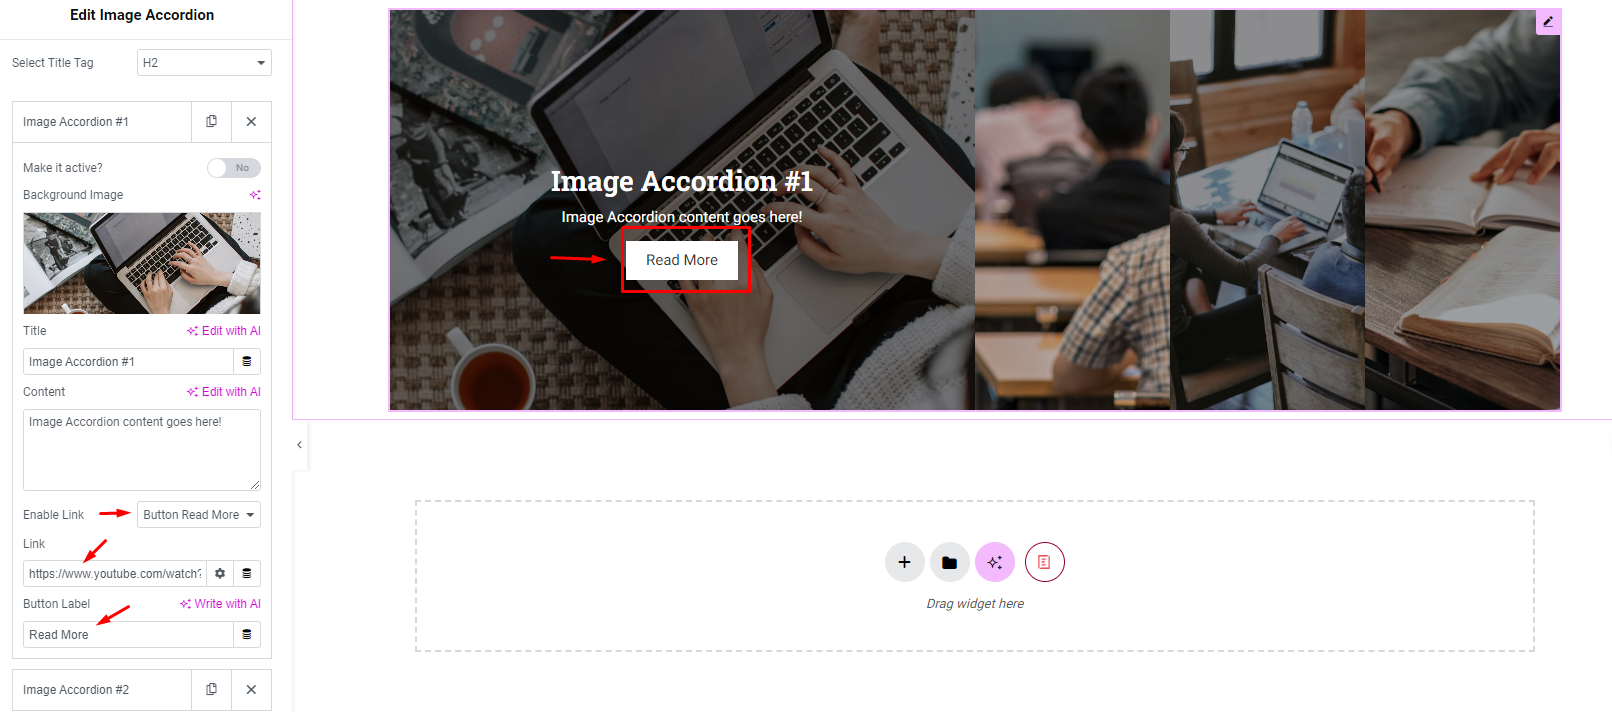
You can also add a link to an image, by adding a link when clicking on “Content” or “Button Read More” and attaching the link you want to add
Additionally, you can also align the title and content horizontally left, right, and center. Or you can also align it vertically top, bottom, or center.
For example1: Horizontal Alignment: Left
Vertical Alignment: Top
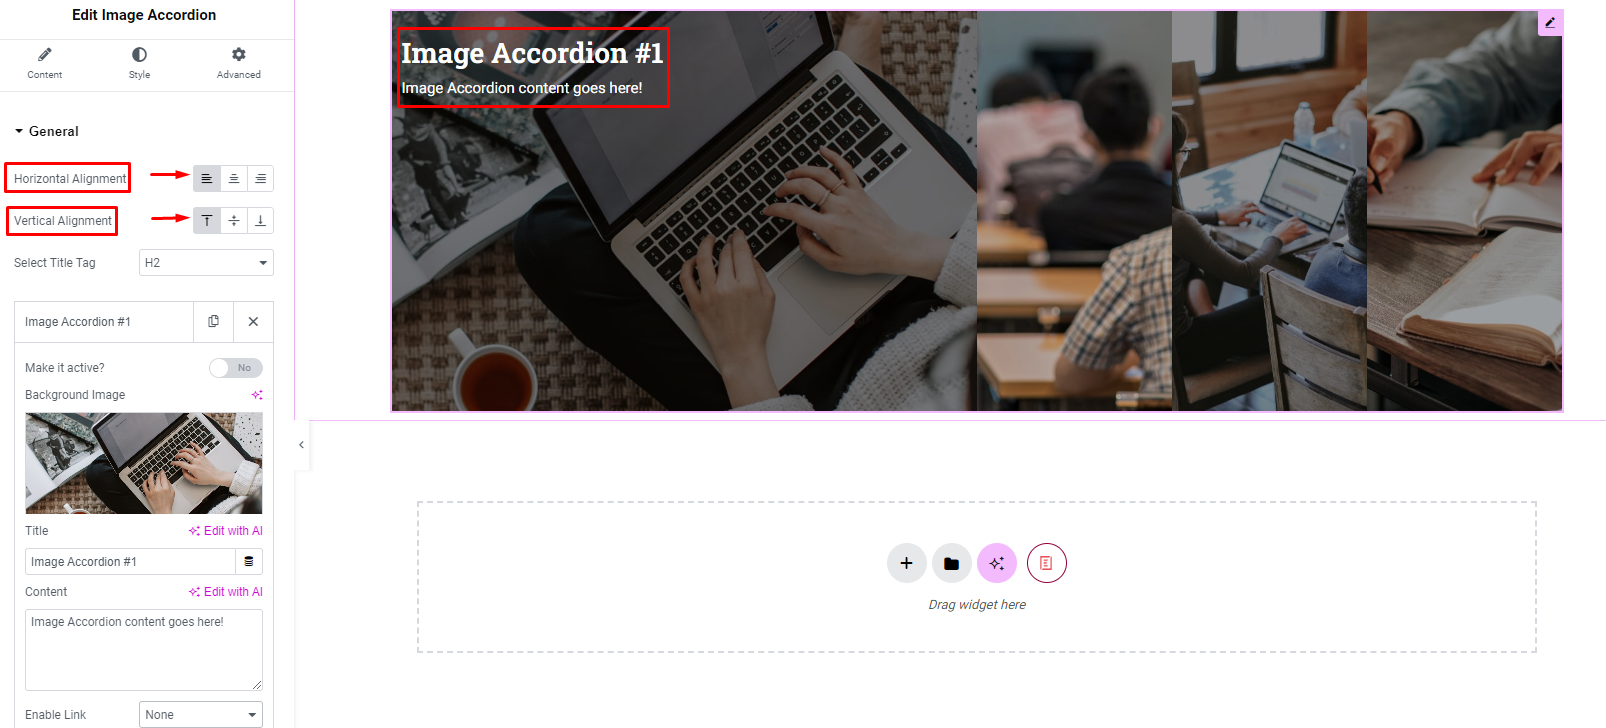
For example2: Horizontal Alignment: Center
Vertical Alignment: Bottom
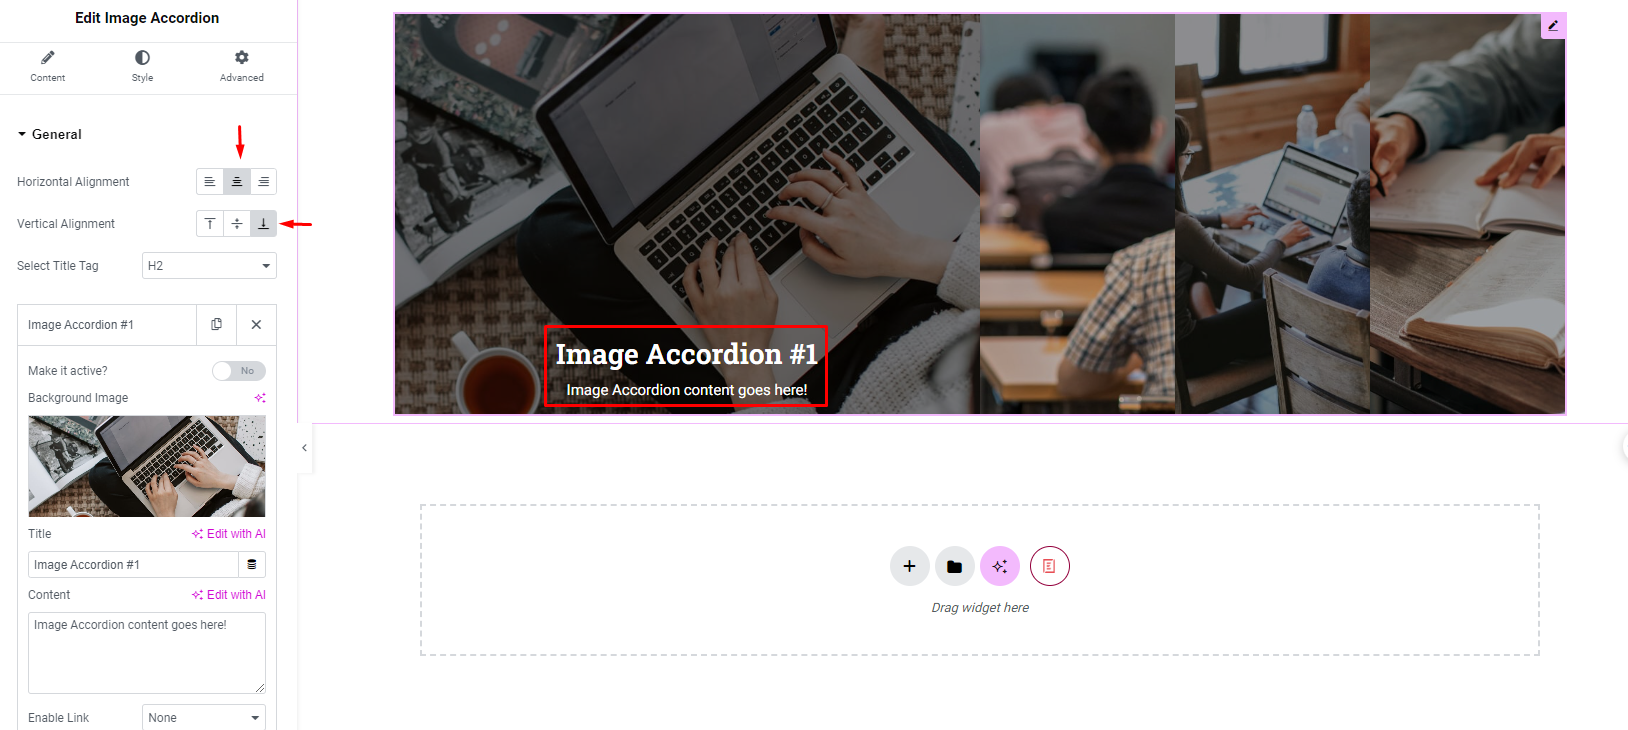
You can also choose the tag size for the title here.

If you want to add more images, you can select “Add item” to add images.
3. Style
You can also change the margins and padding for the ‘Image Thumbnail Style’, change the font color and style for the image title and content from the ‘Content & Read More’ section.
4. Thumbnail
Here you can change the image height: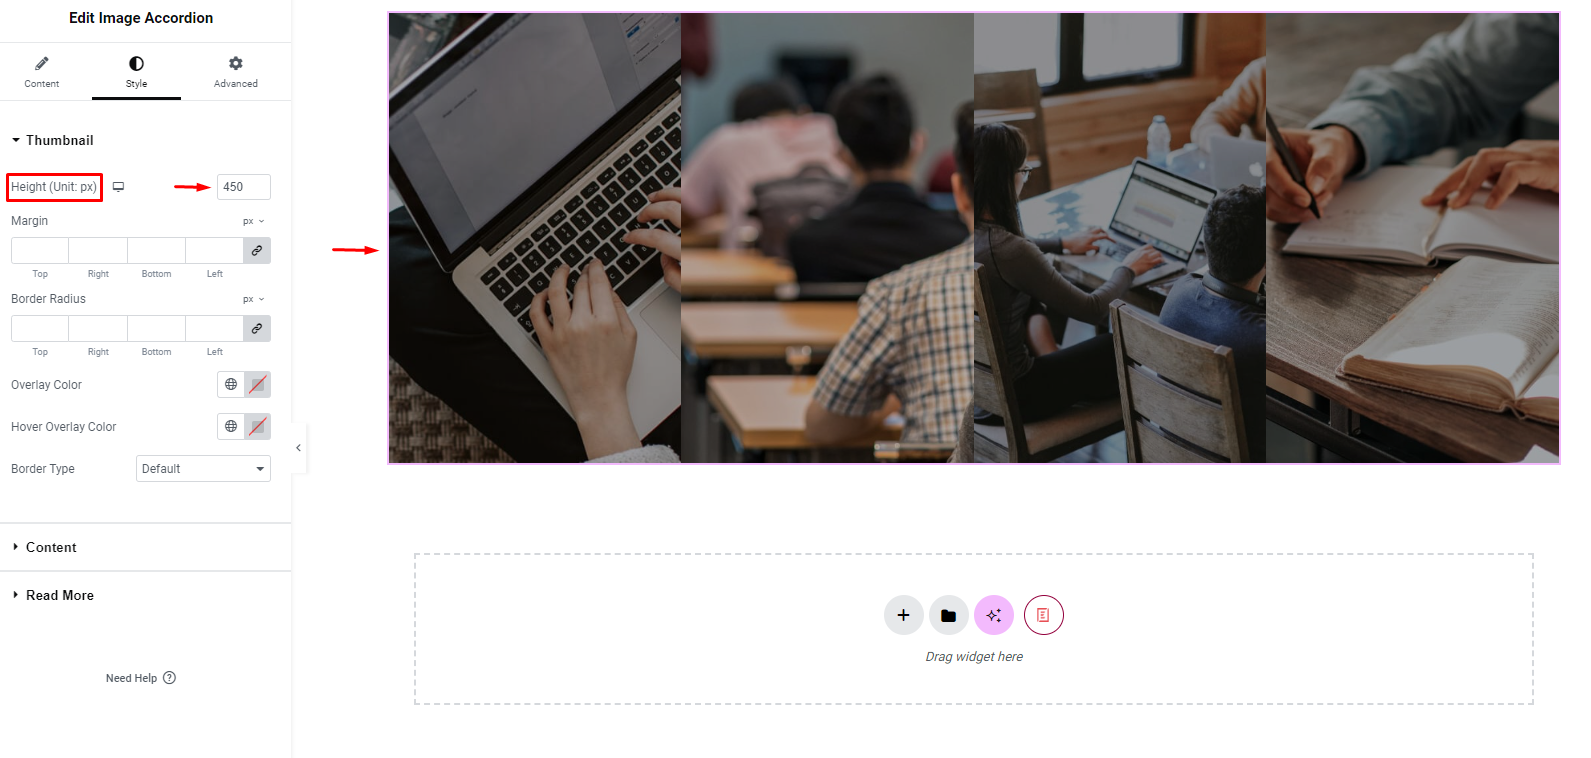
Change Margin: You can change the same value for the positions
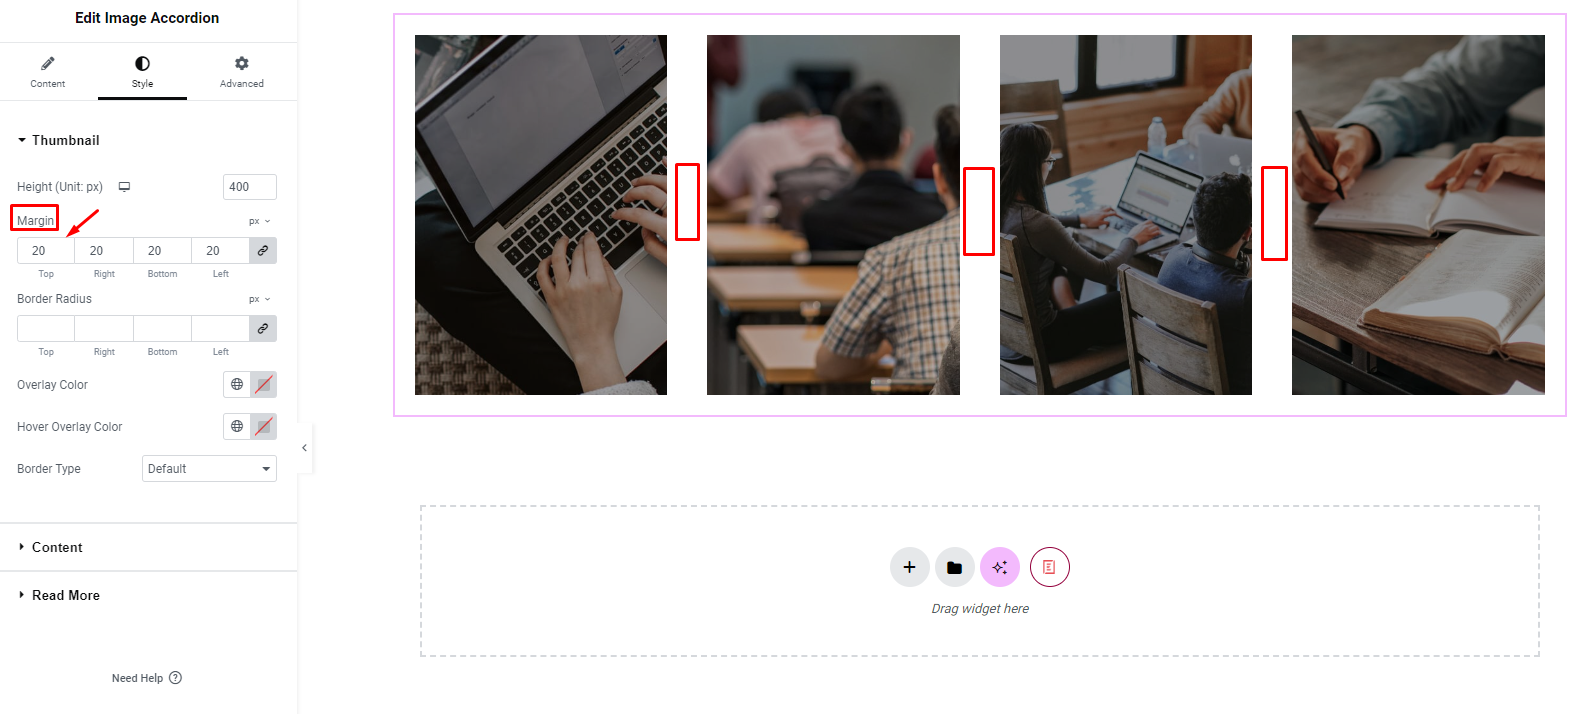
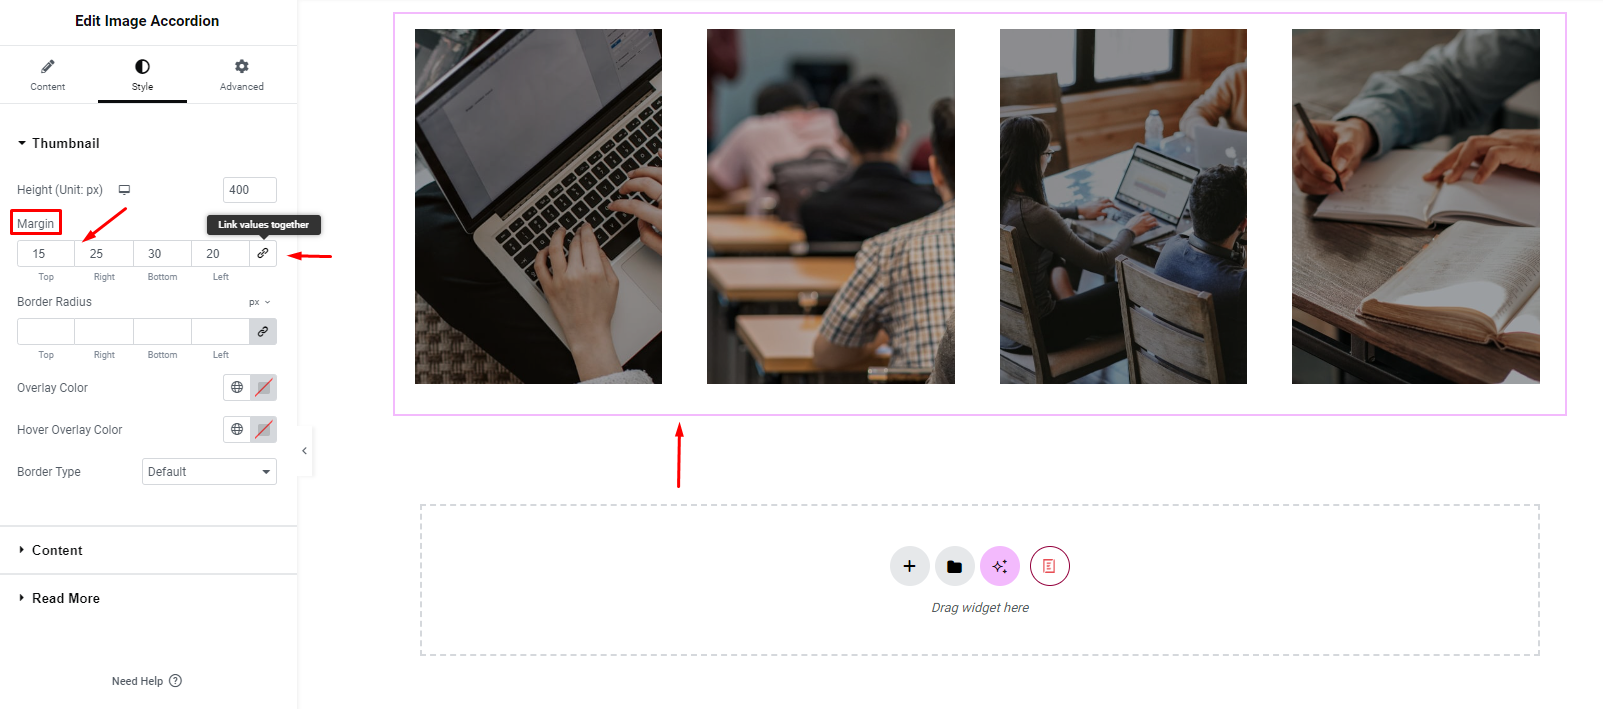
You can also set the value for each value yourself when you click on “Link value together”
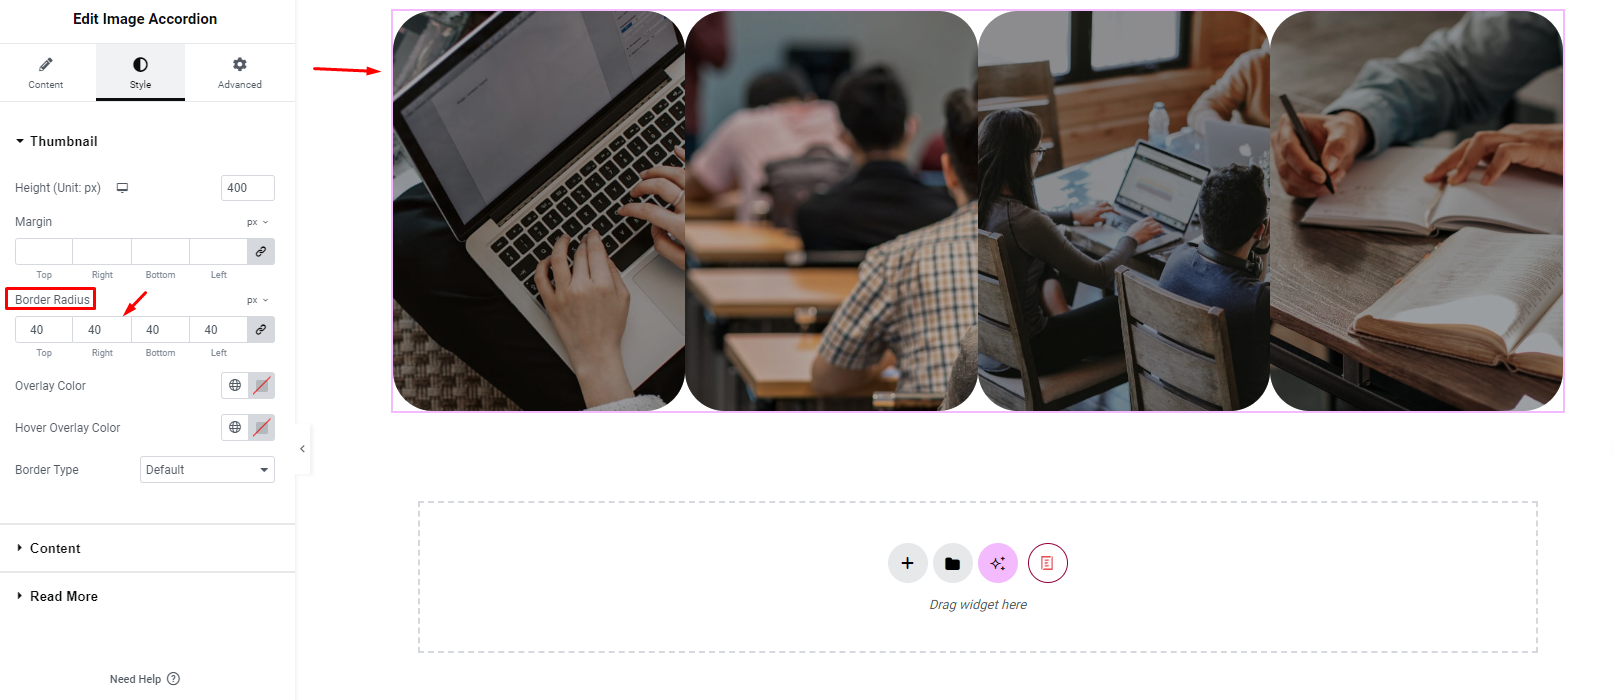
Change Border Radius:
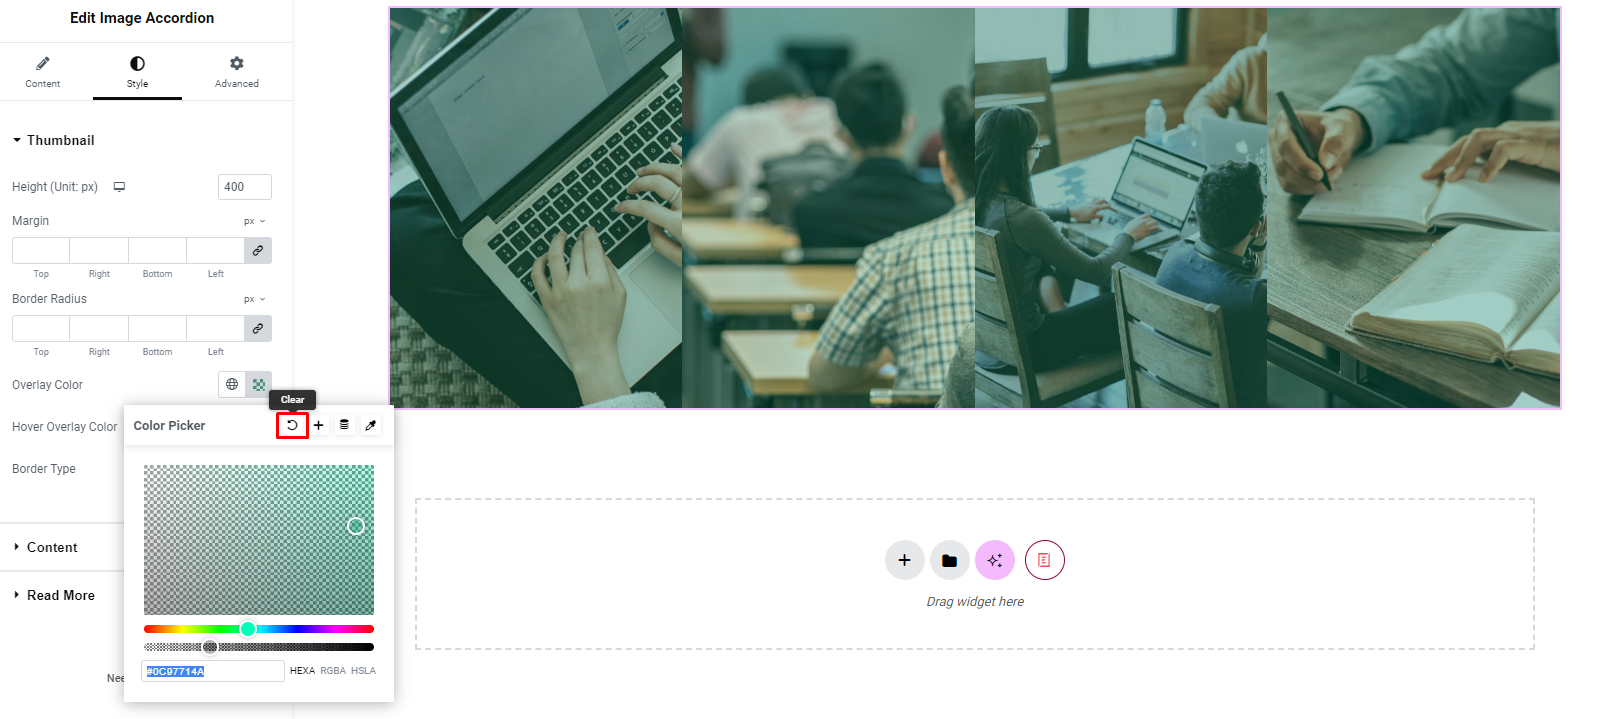
Select Overlay Color for image: Drag and drop the color bar below or enter the color code you want into the box to be able to choose your favorite color.
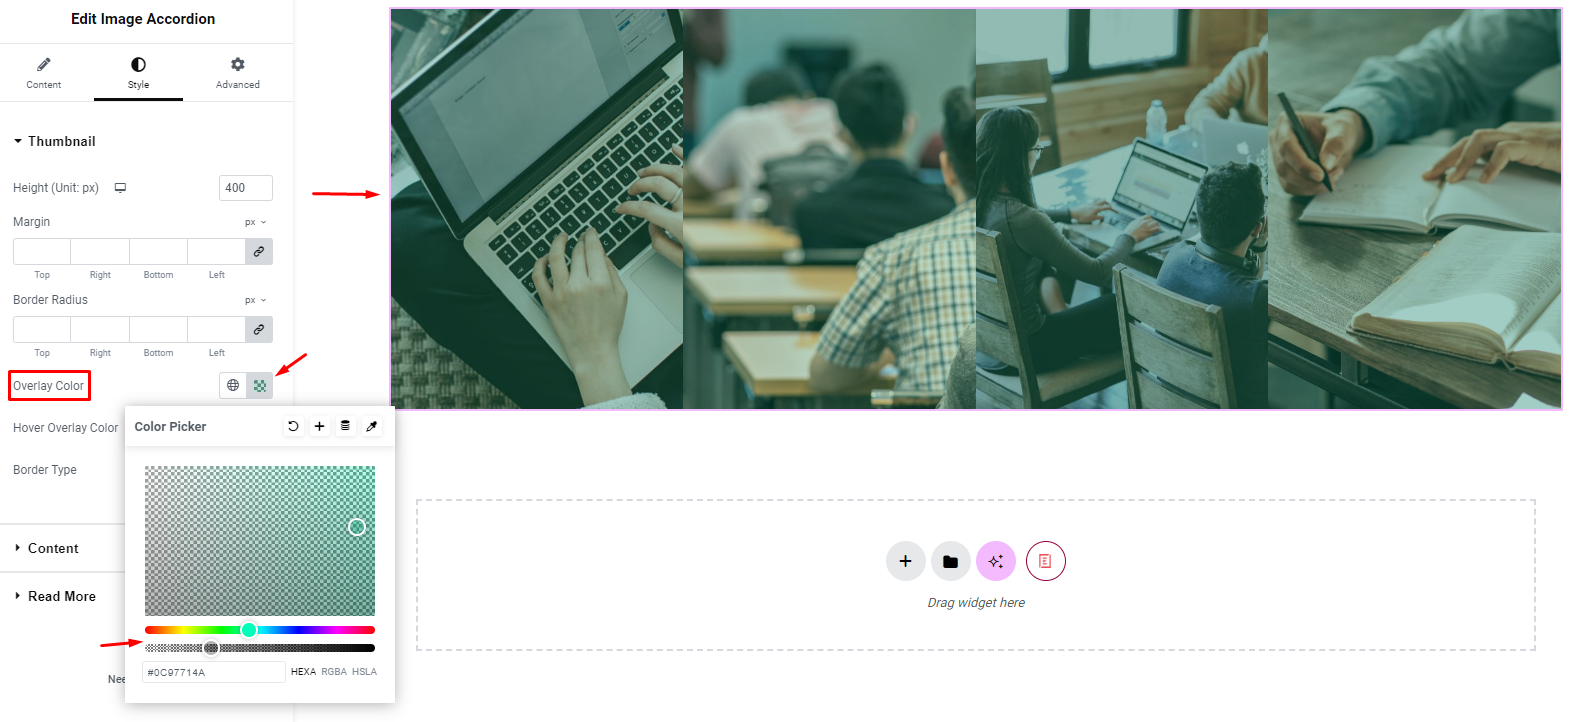
If you want to cancel the overlay and reset it to the original, you can click “Clear”
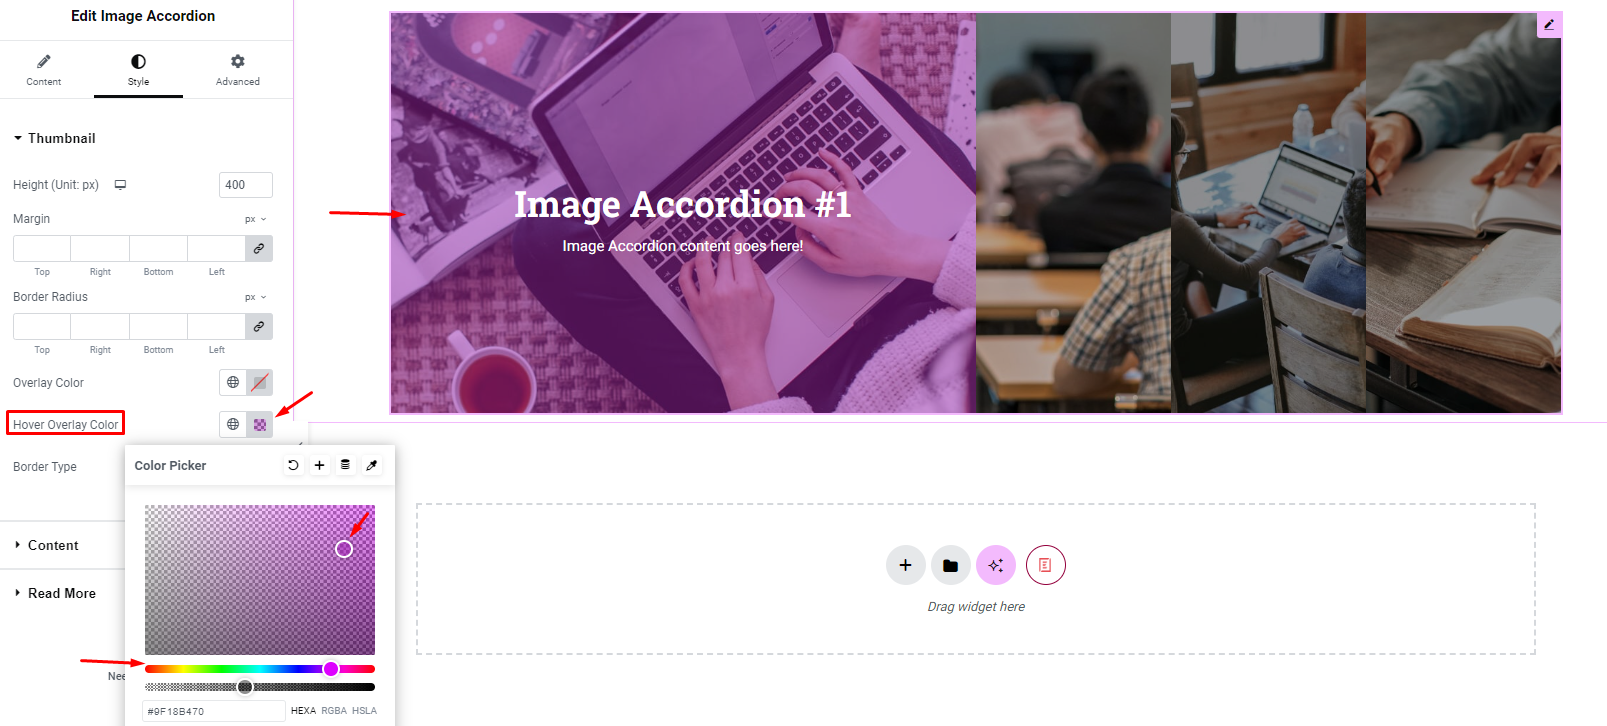
Select Hover Overlay Color for image: Drag and drop the color bar below or enter the color code you want into the box to be able to select the color on hover.
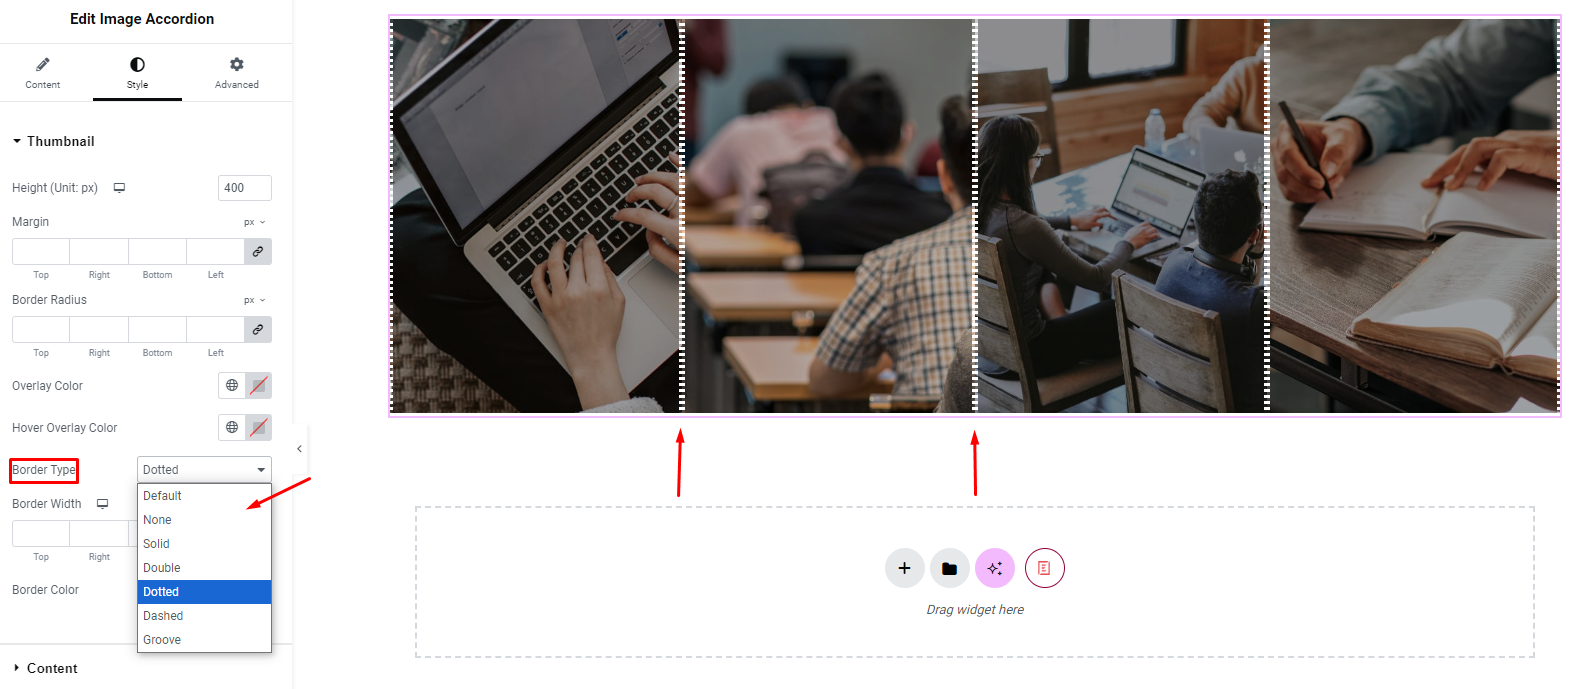
Change Border Type:
5. Content
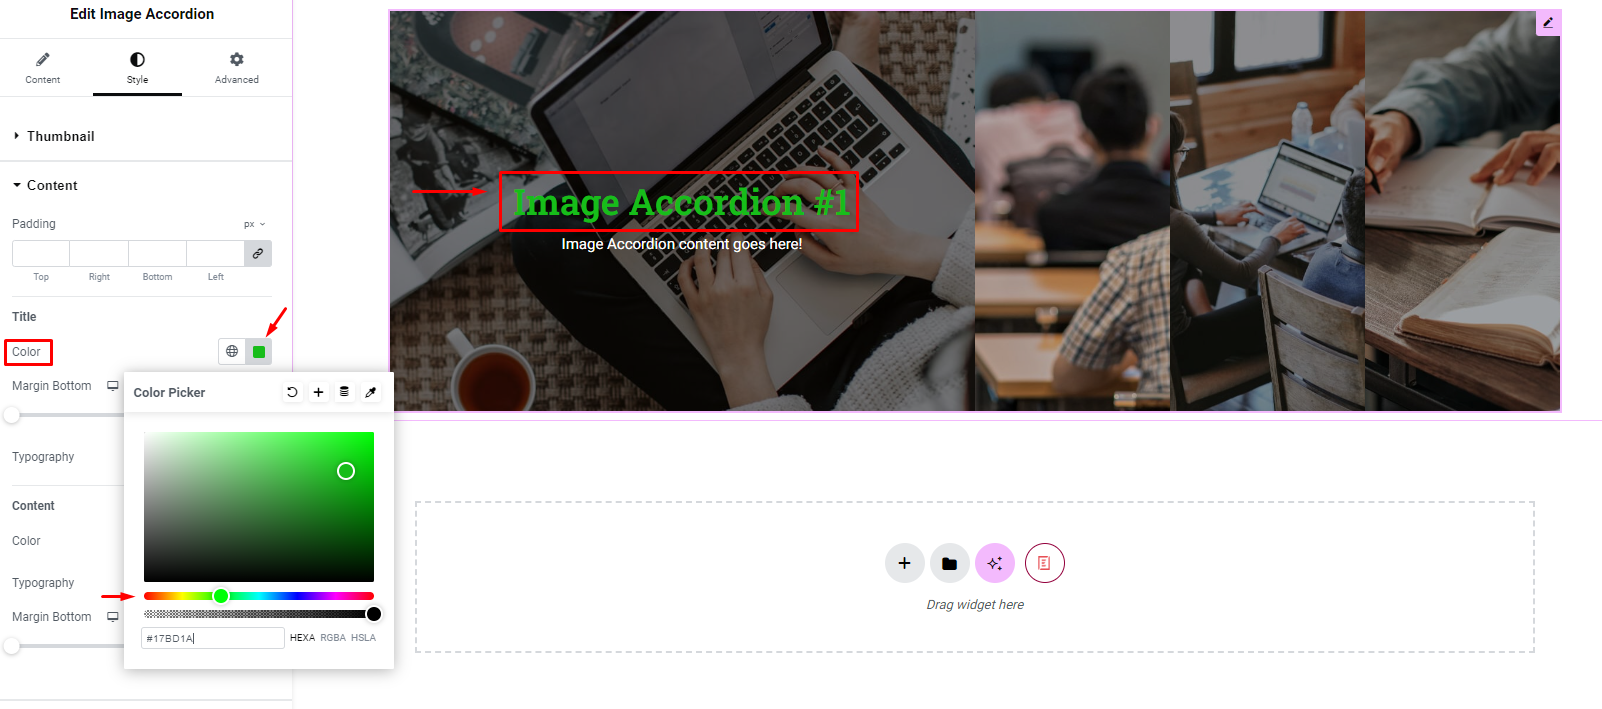
Title color: Change title color
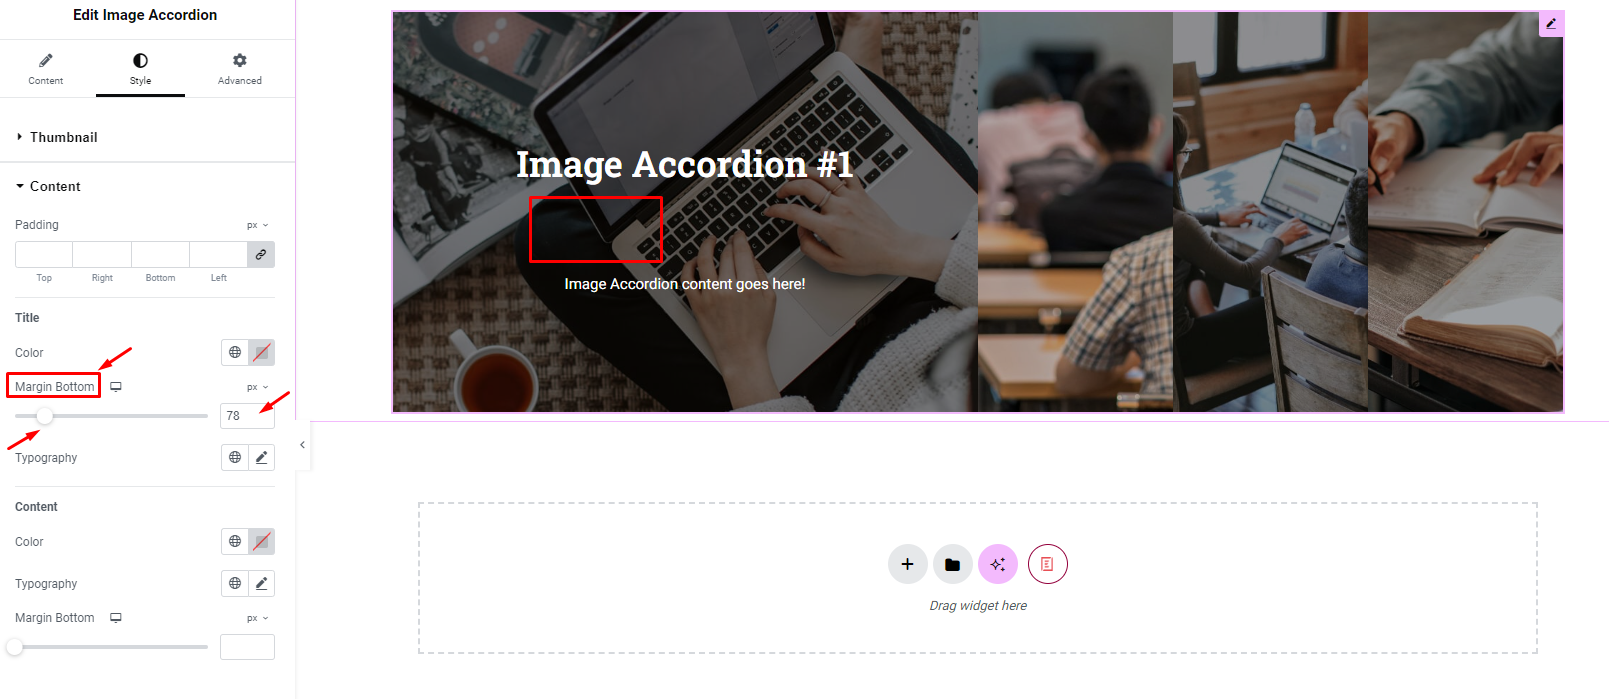
Change Margin Bottom
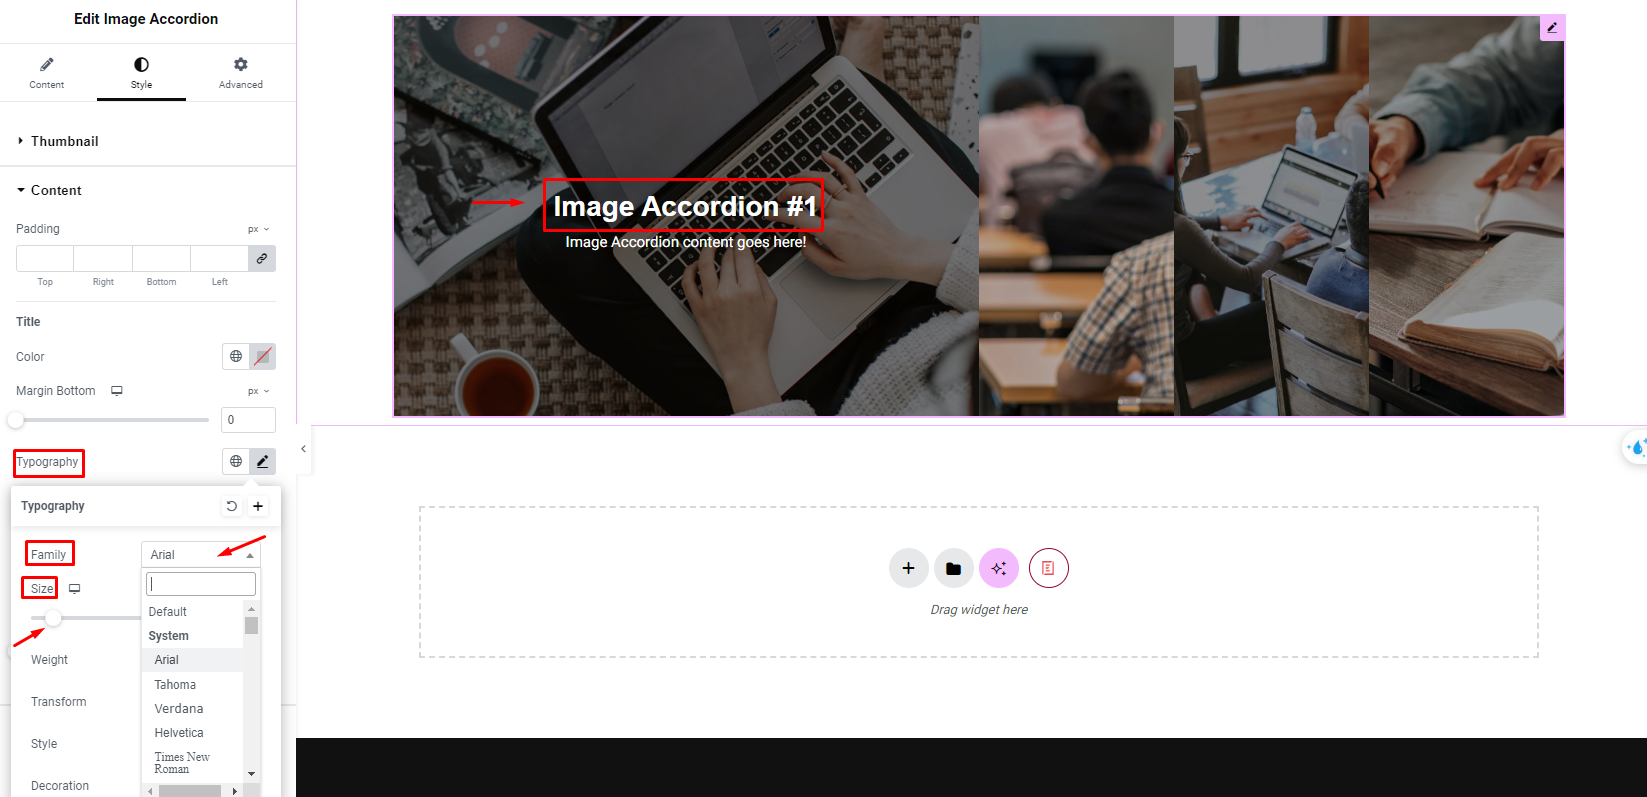
Change Typography: You can choose the font, font weight, font style
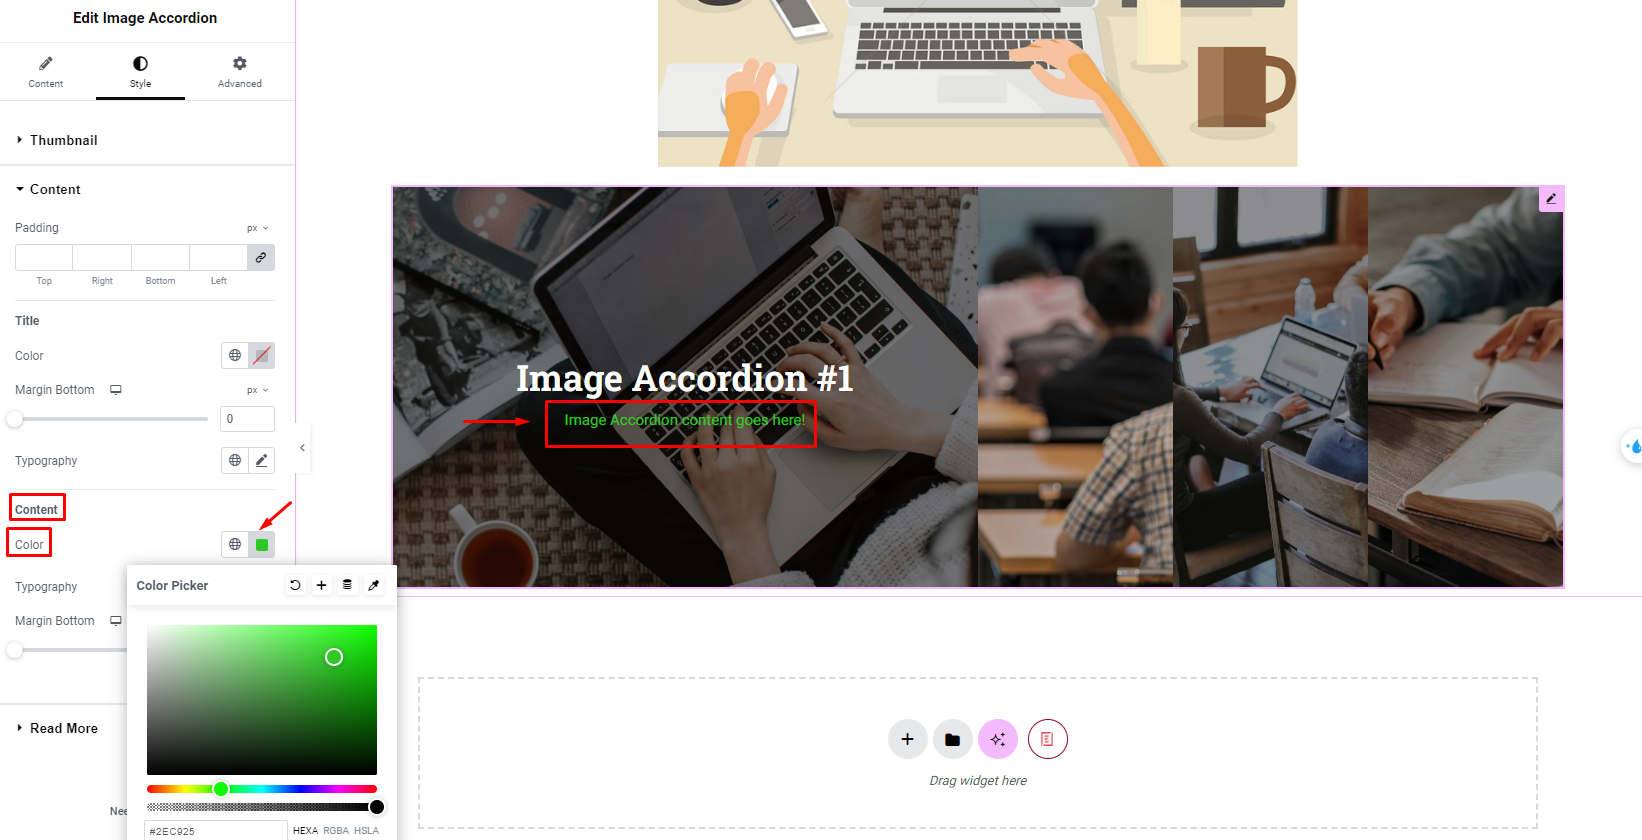
Content color: Change content color
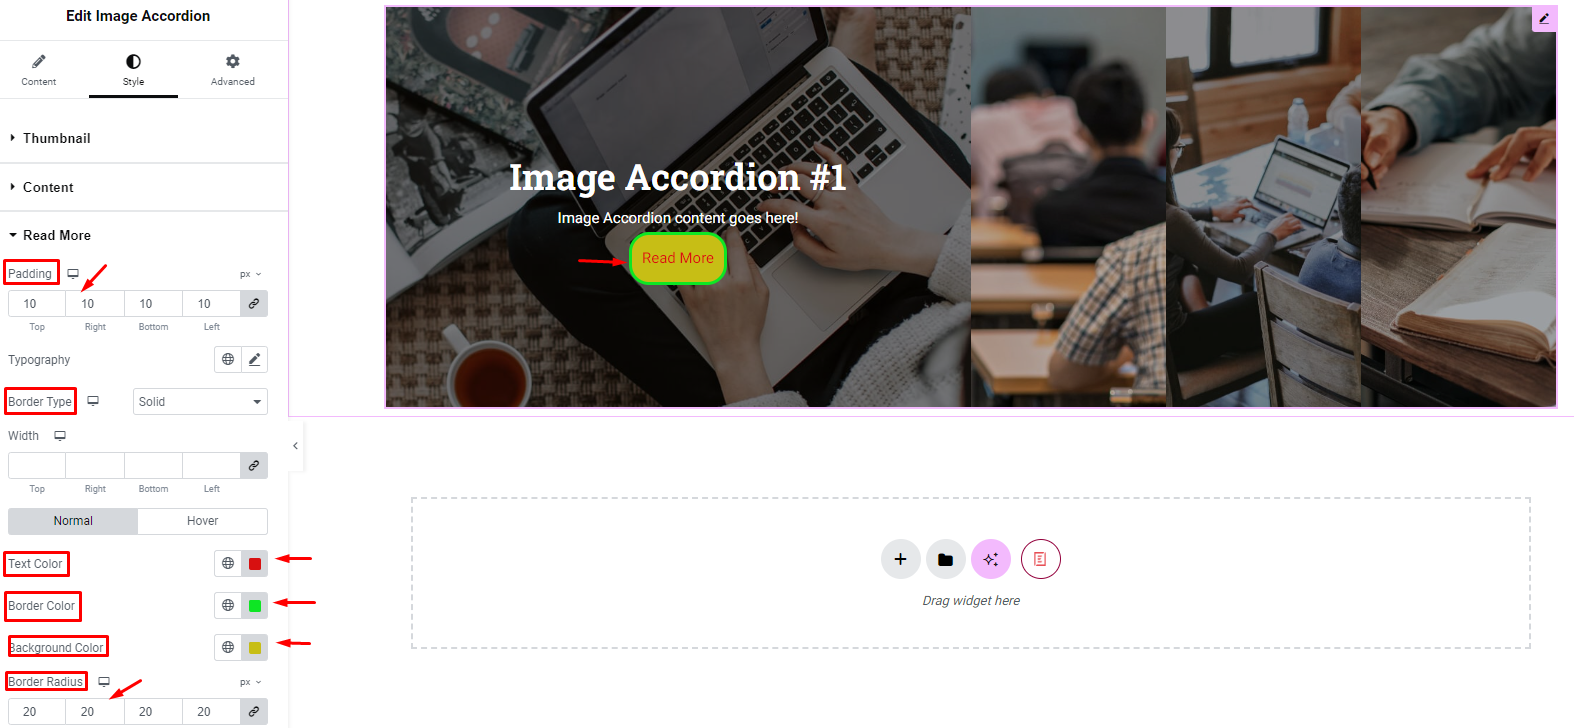
6. Read more
You can edit the margin and color for the Read More Button in the add link step in 2.2.1
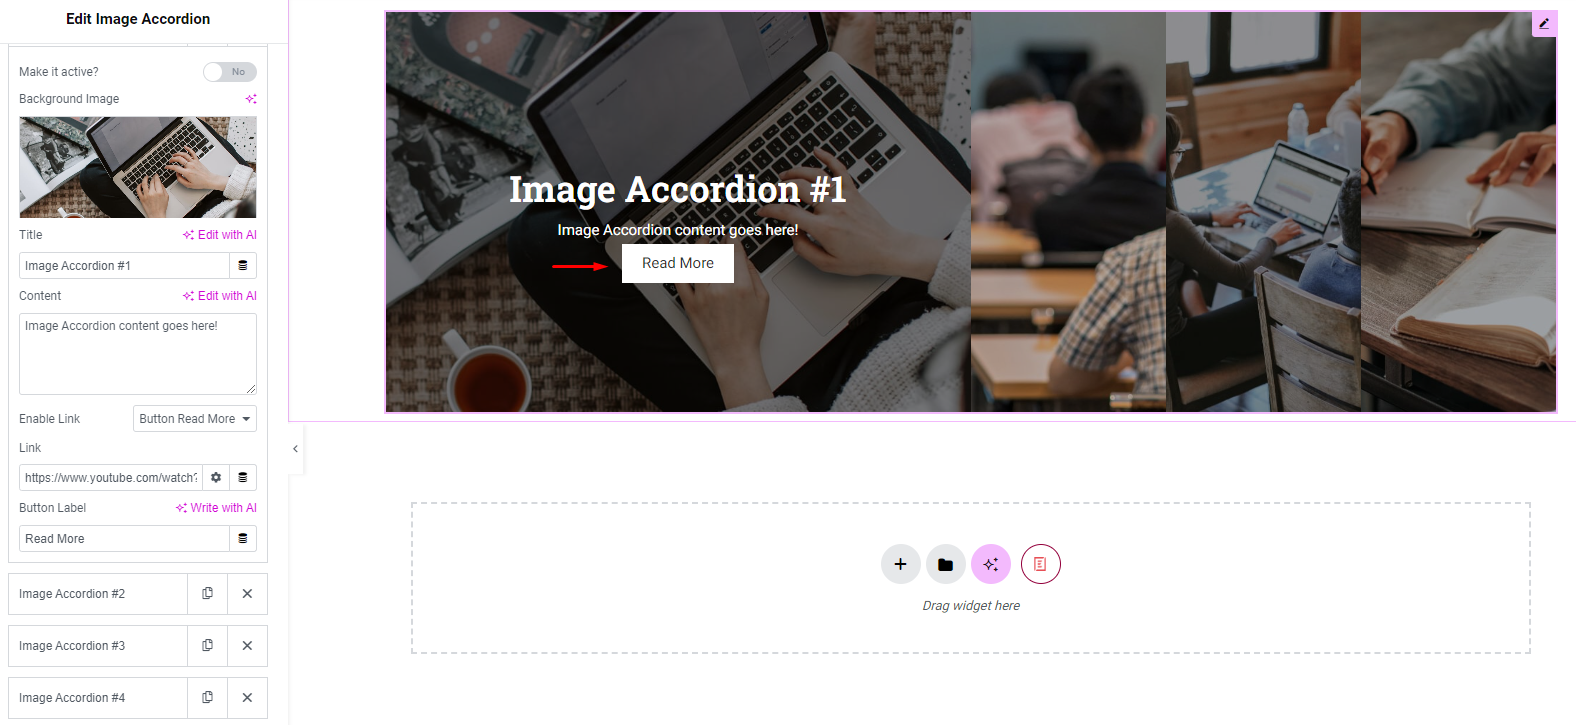
You can change some of the values below:
7. Advanced
You can also change the layout of the photo.
