With testimonials, you can assert the iconic image that represents a company, organization or individual. This is a great way to make your brand stand out to your site visitors. Follow these basic guidelines to start using Testimonial on your website.
How To Activate Testimonial
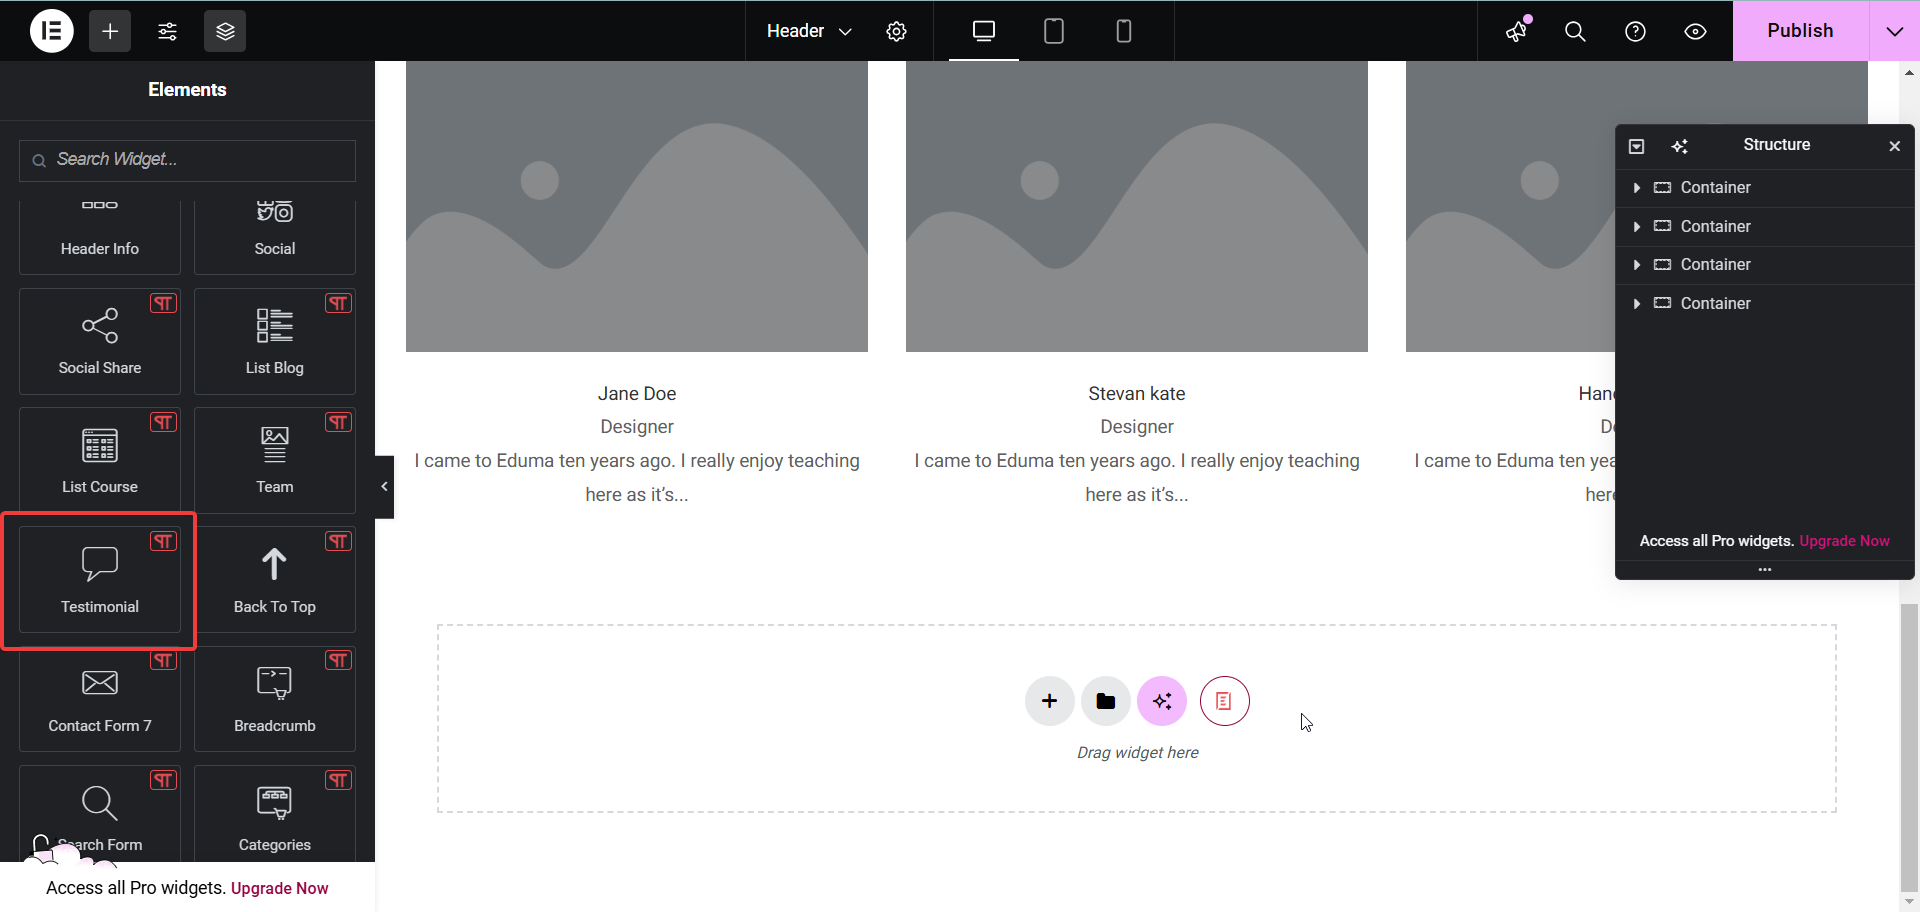
To activate, create a new page in the Elementor Editor and search for ‘Testimonial’ under the ‘Thim Basic’ tab. Simply drag and drop the element anywhere on your page to activate it.
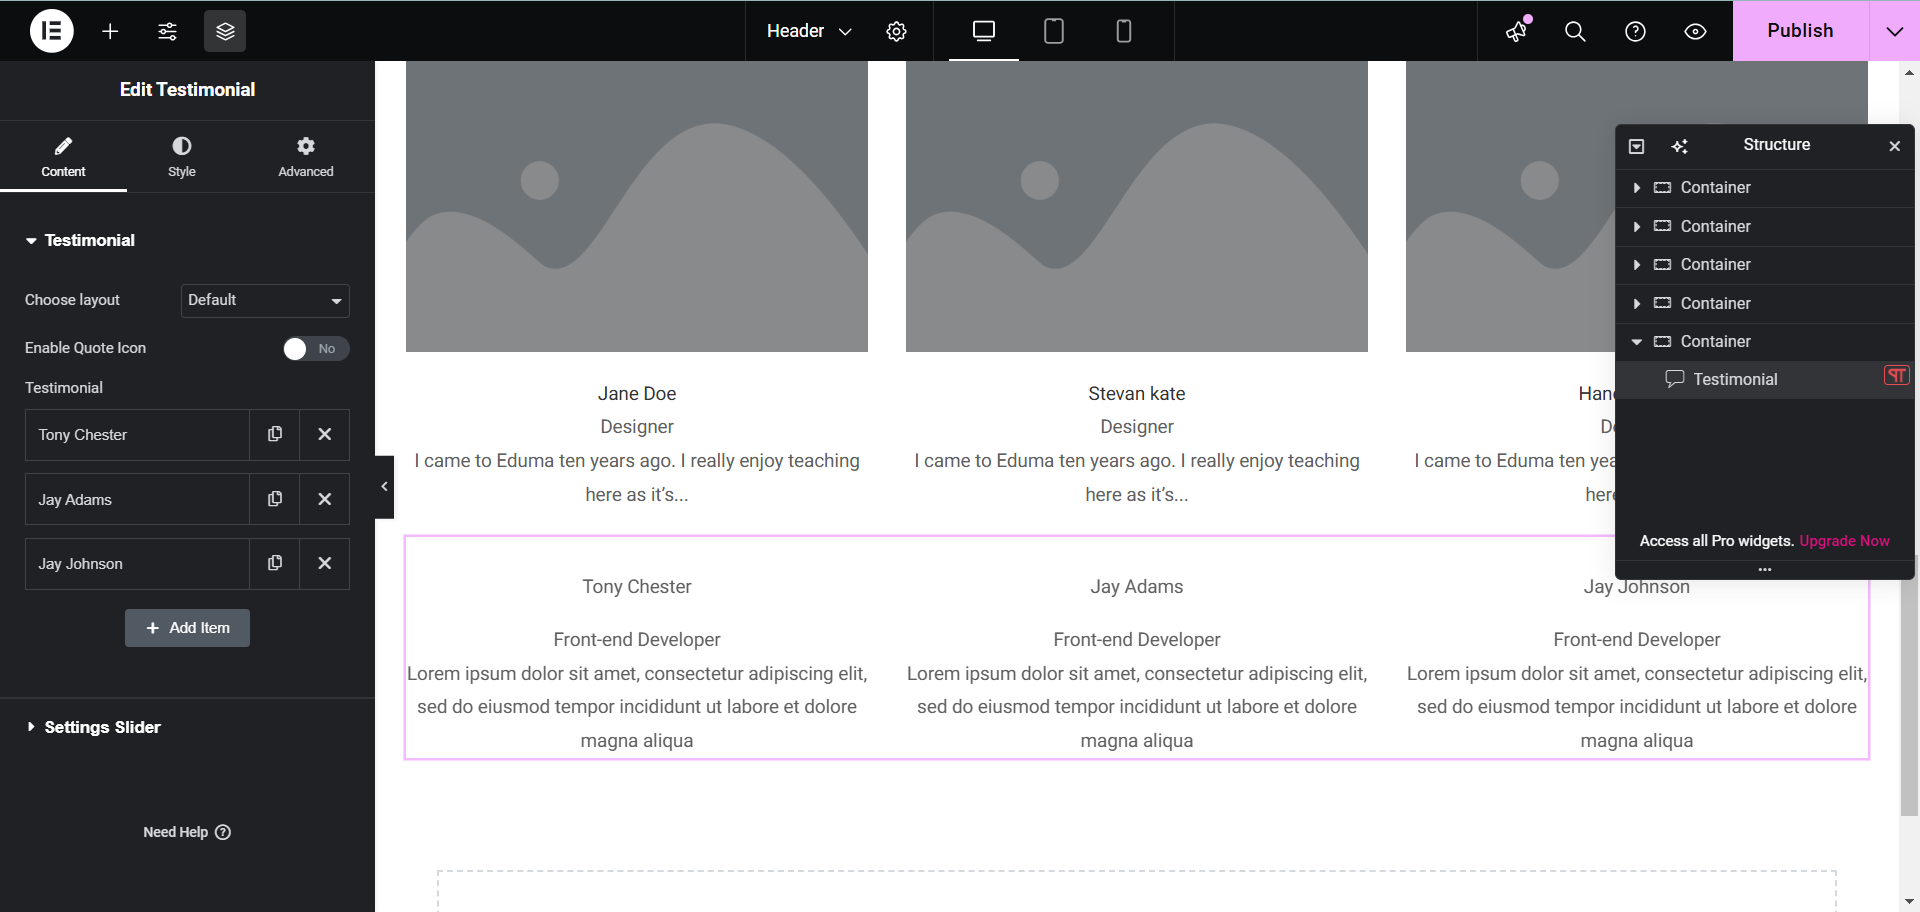
After successfully completing this step, this is the default layout you are going to see.
How To Configure The Content
Here you can see 2 parts which are edit for testimonial and slider settings. Currently, we have 2 layouts: default and thumbs gallery.

Enable Quote Icon: Enable icon and don’t forget to select the icon you want in the Quote Icon field. As soon as you enable this option, the Left and Top fields will appear to align the icon.
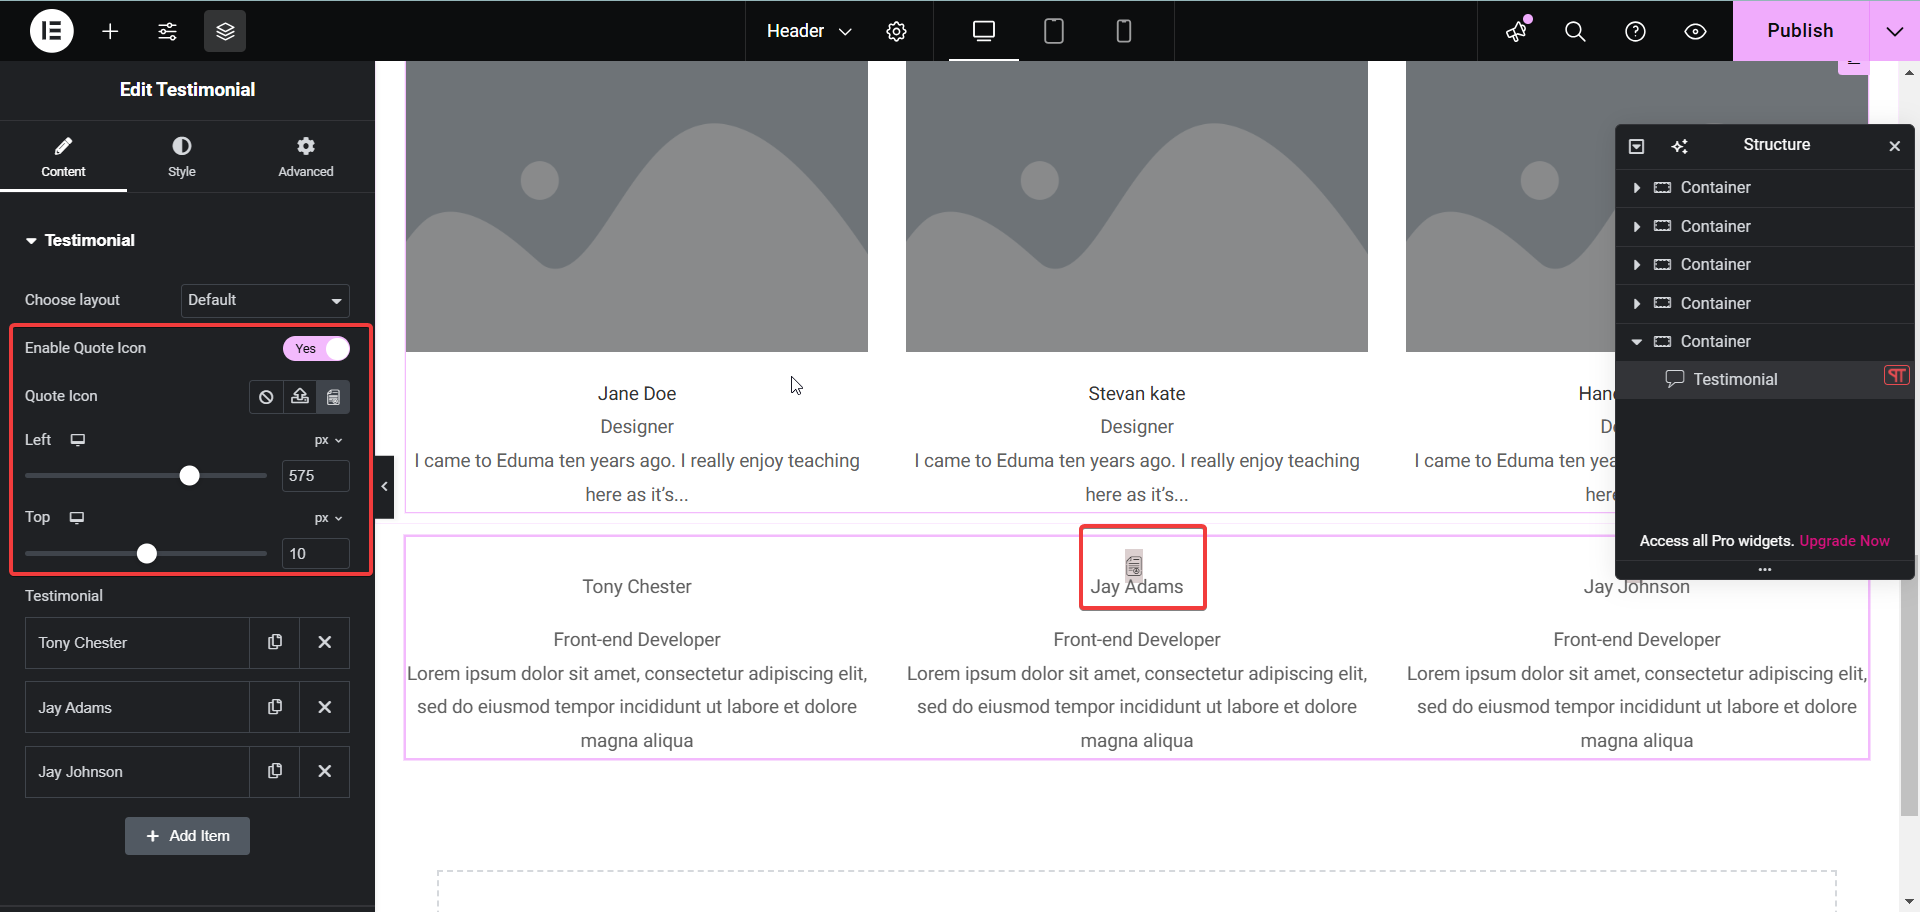
Next up are the testimonial fields, let’s add new fields.
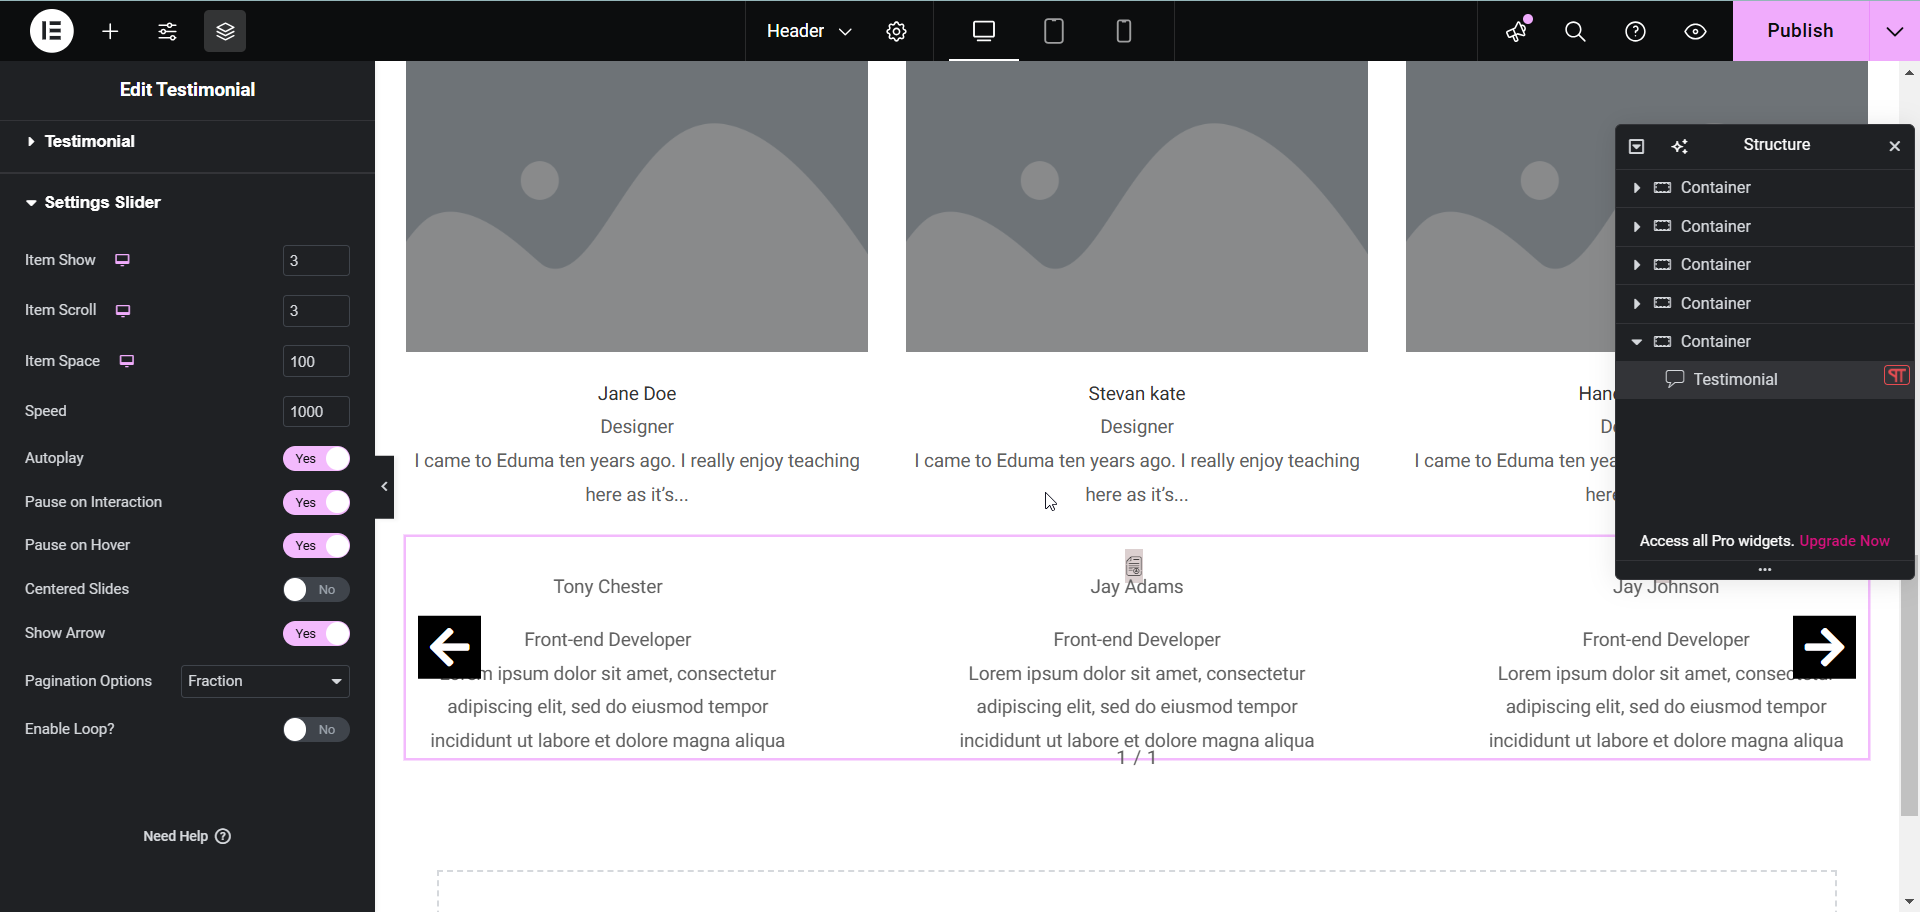
Go to Setting Slider section including the following options:
Item Show: Number of Items displayed.
Item Scroll: Number of items rolled once
Item Space: Space between items.
Speed: Speed when slide runs. You can slow it down (with Thumbs Gallery layout)
Autoplay: Allows auto-running slider.
Pause on Interaction: Slider will be paused during interaction.
Pause on Hover: Slider will be paused on hover.
Centered Sliders: The moving slider will always be centered.
Show Arrow: Turn on to show next-previous arrow.
Pagination Options: Pagination will display under testimonials in multiple formats (Number, Hide, Bullets, Fraction)
How To Style Testimonial
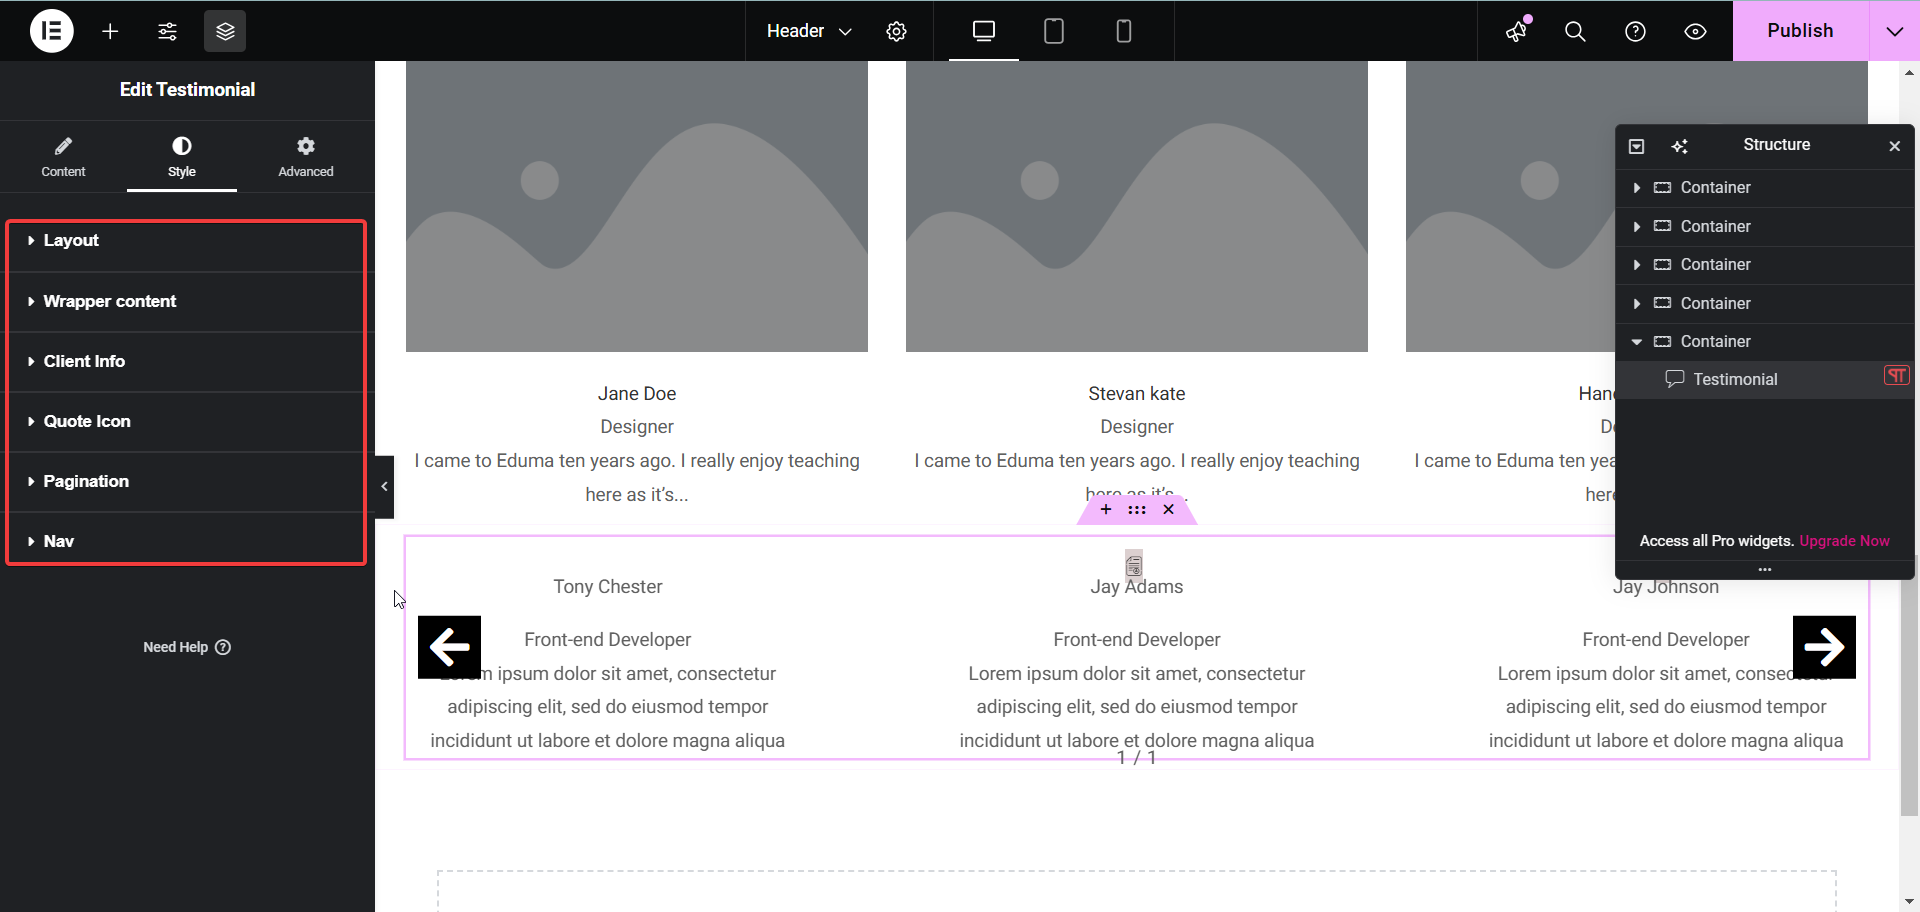
Here you can configure Layout, Wrapper Content, Client Info, Quote Icon, Pagination, Nav.
