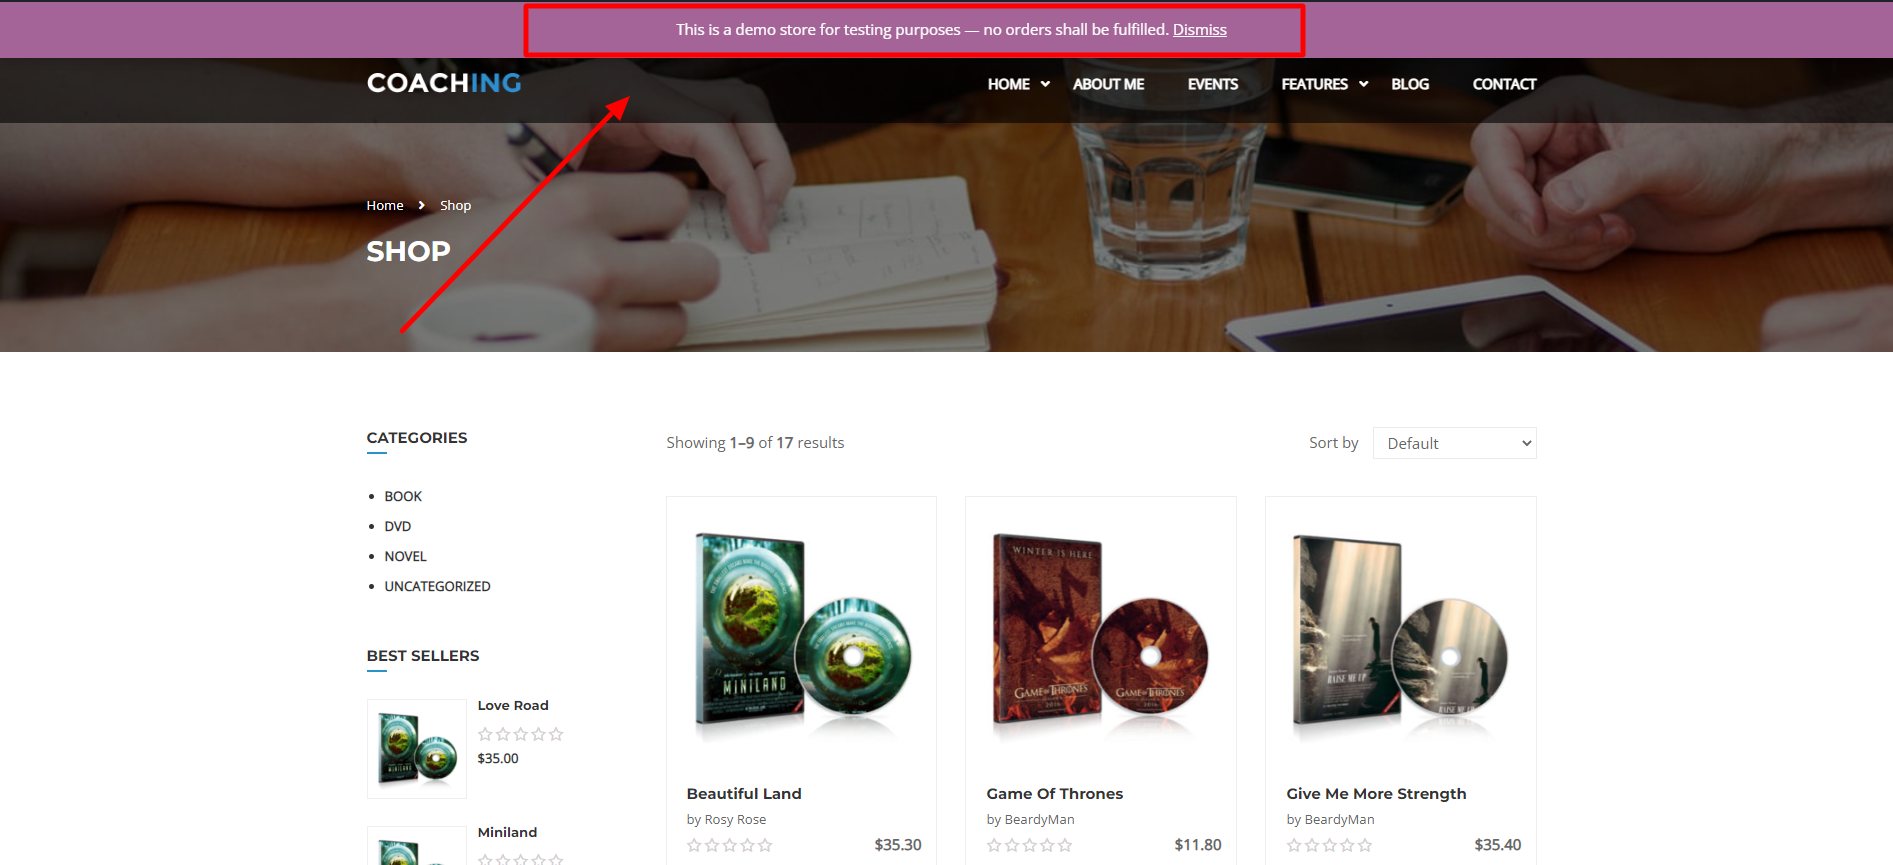
1. Store Notice
If enabled, this text will be shown site-wide. You can use it to show events or promotions to visitors!
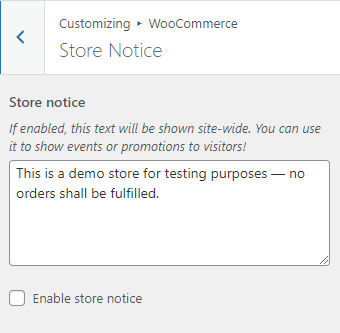
You can turn on optional notifications and on the shop page, it will display a notification with the set text.
2. Product Catalog
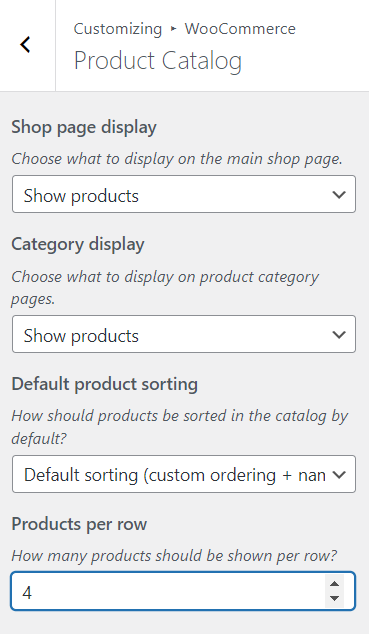
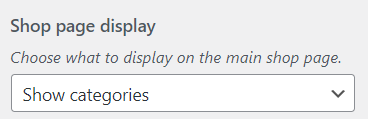
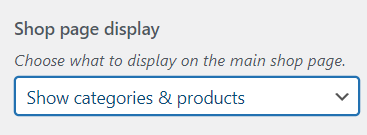
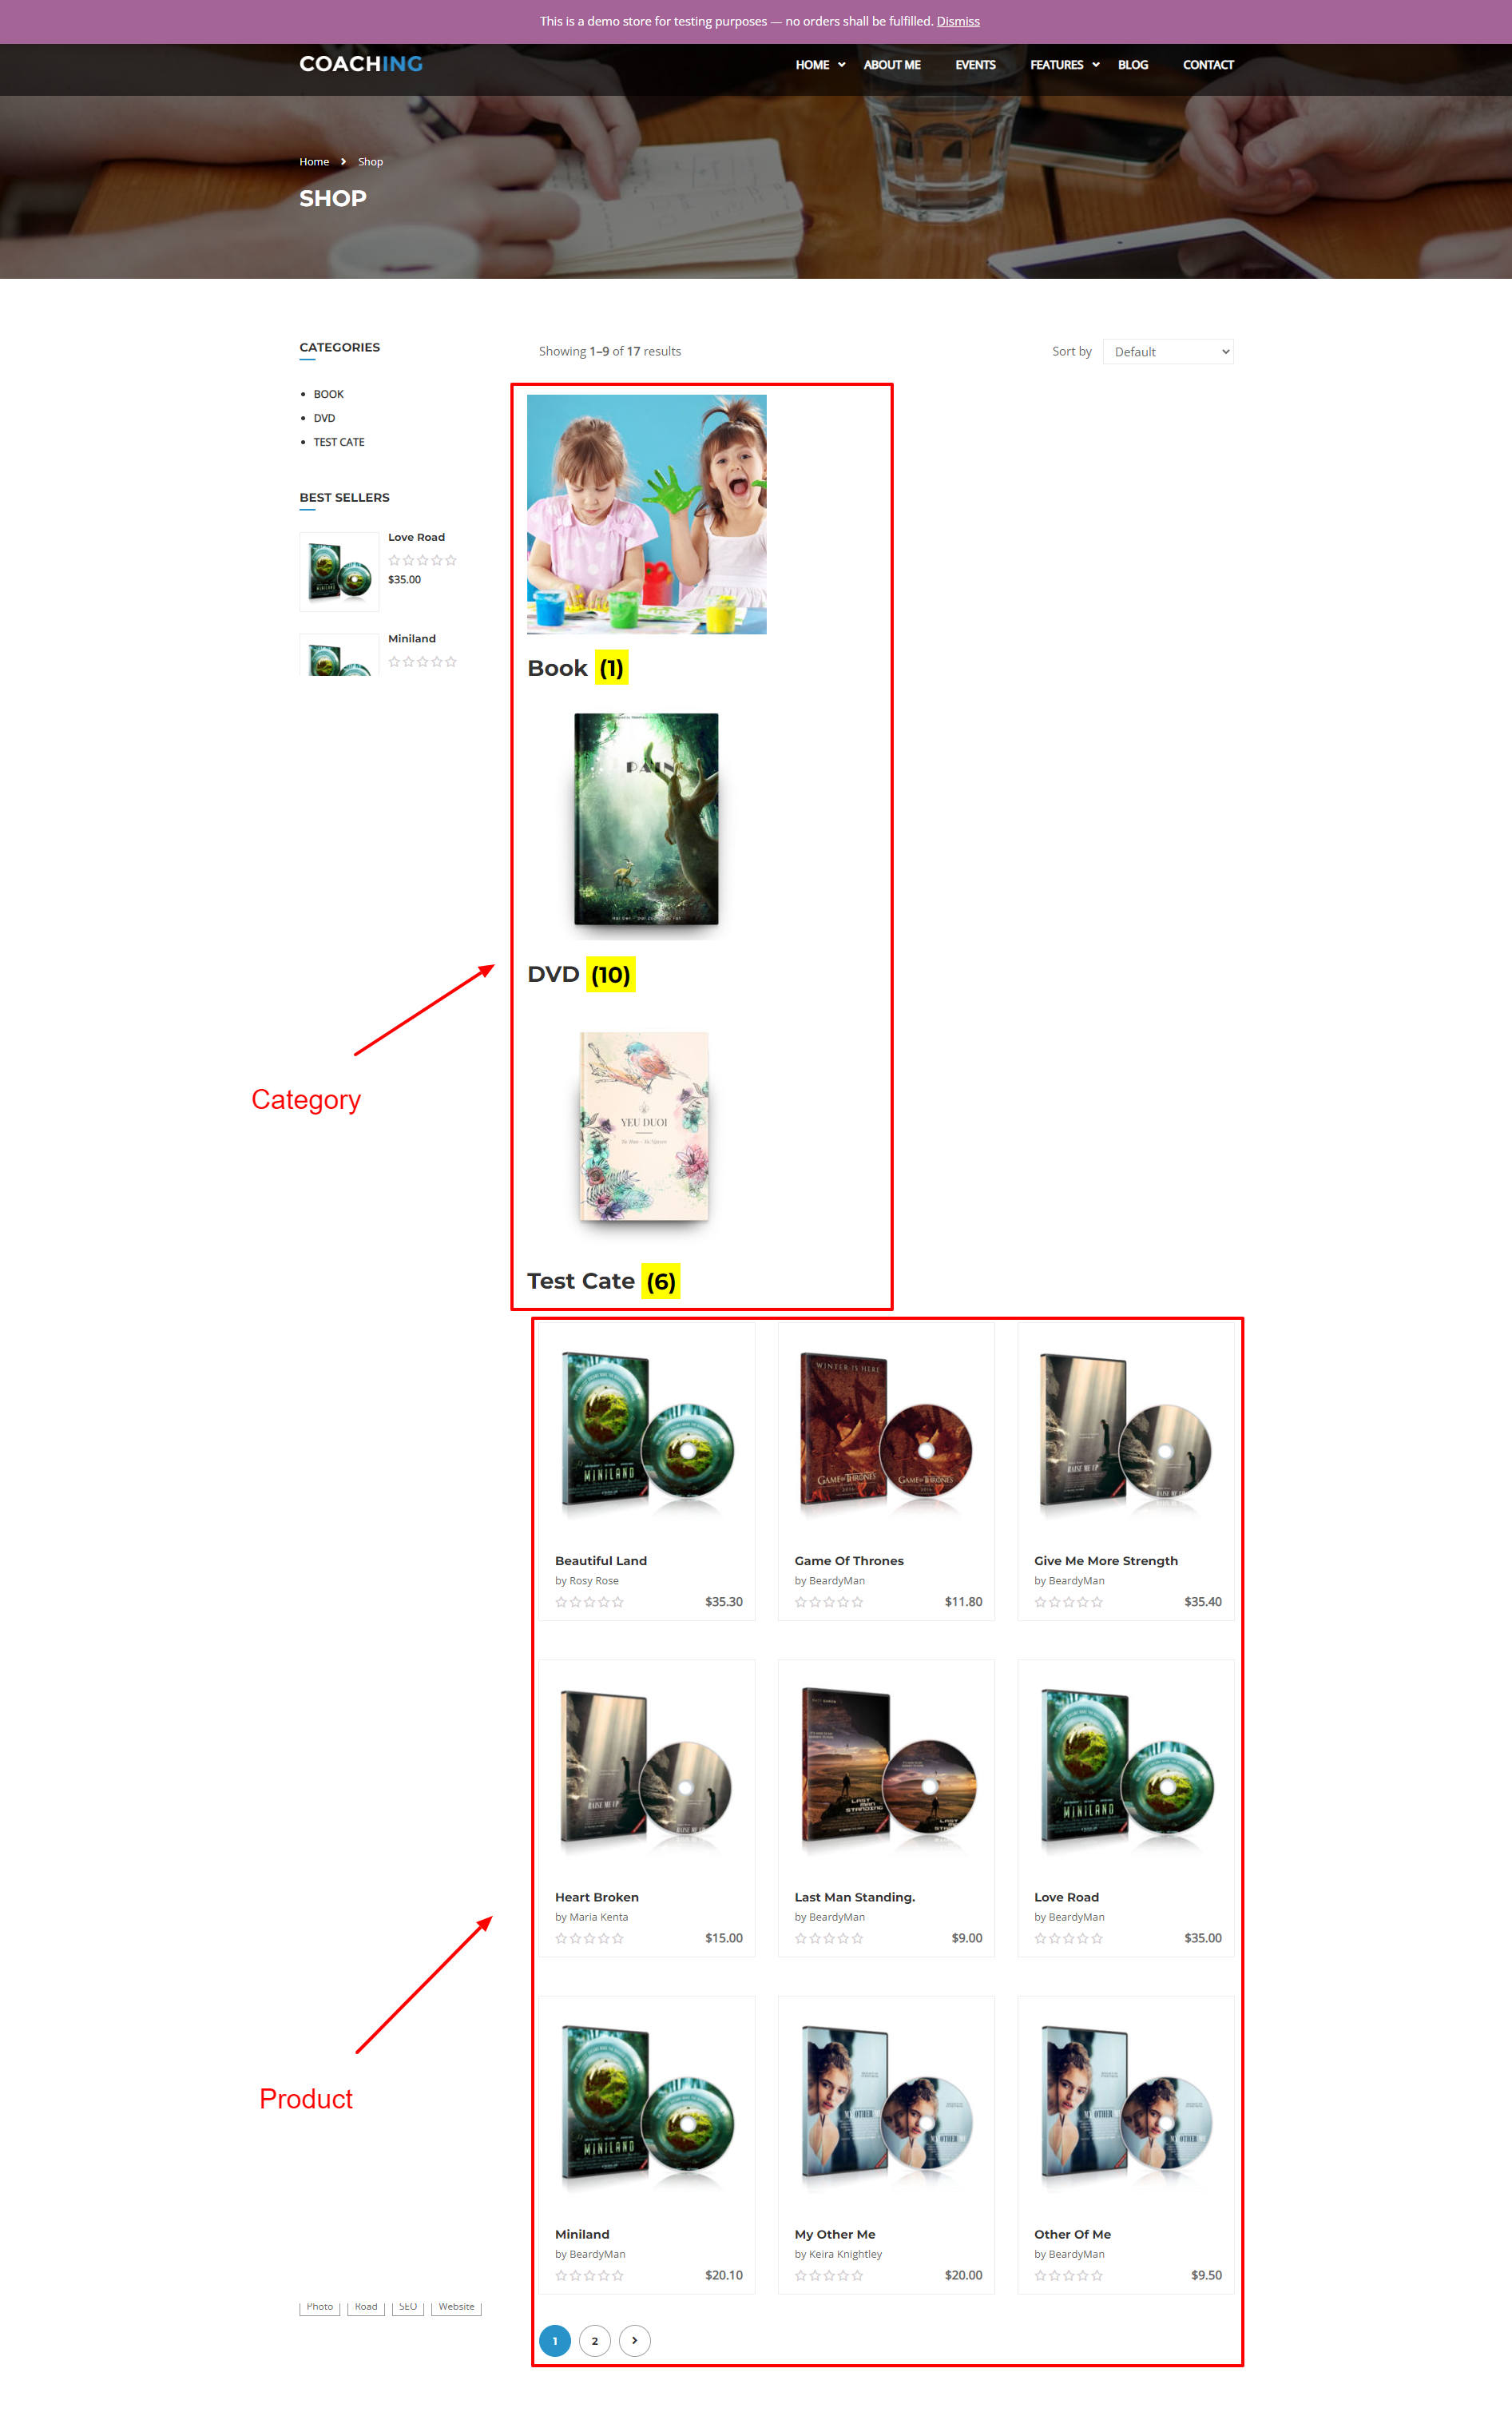
- Show page display: Choose what to display on the main shop page. You can select products, categories, or products and categories.
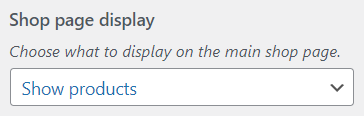
When you select to show the product, this is what will show on the main shop page:

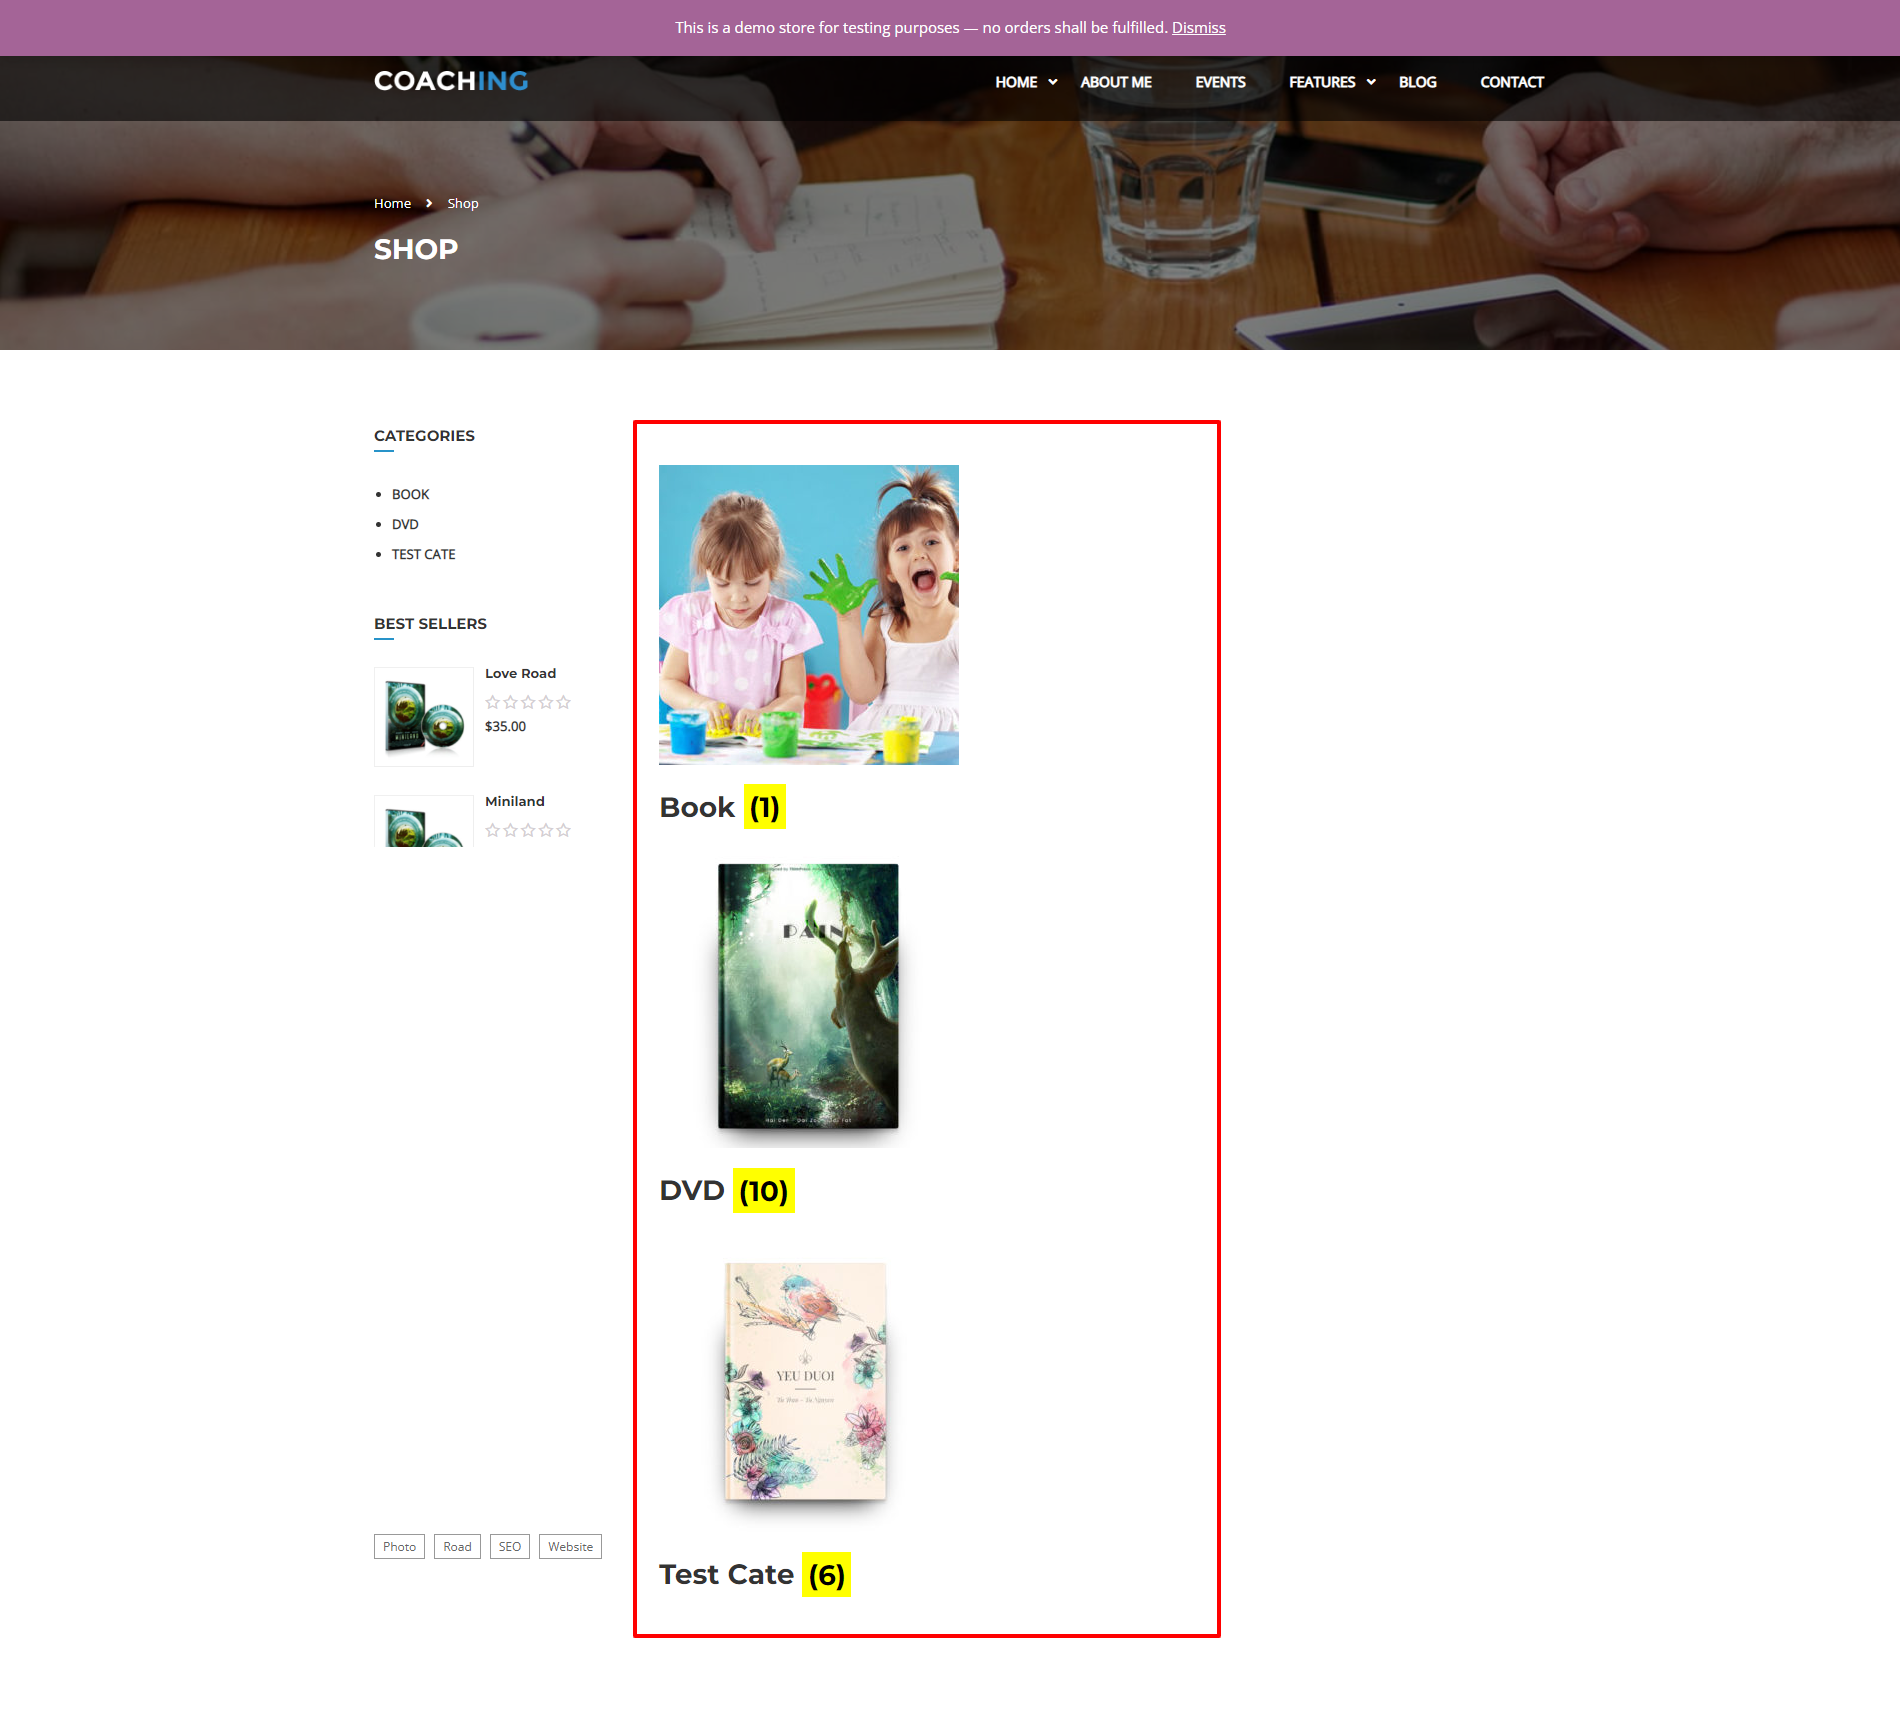
If you select to show the categories:
The available catalog section will be displayed on the main store of the page:
If you select to show the categories and products:
This is what will show outside the front end:
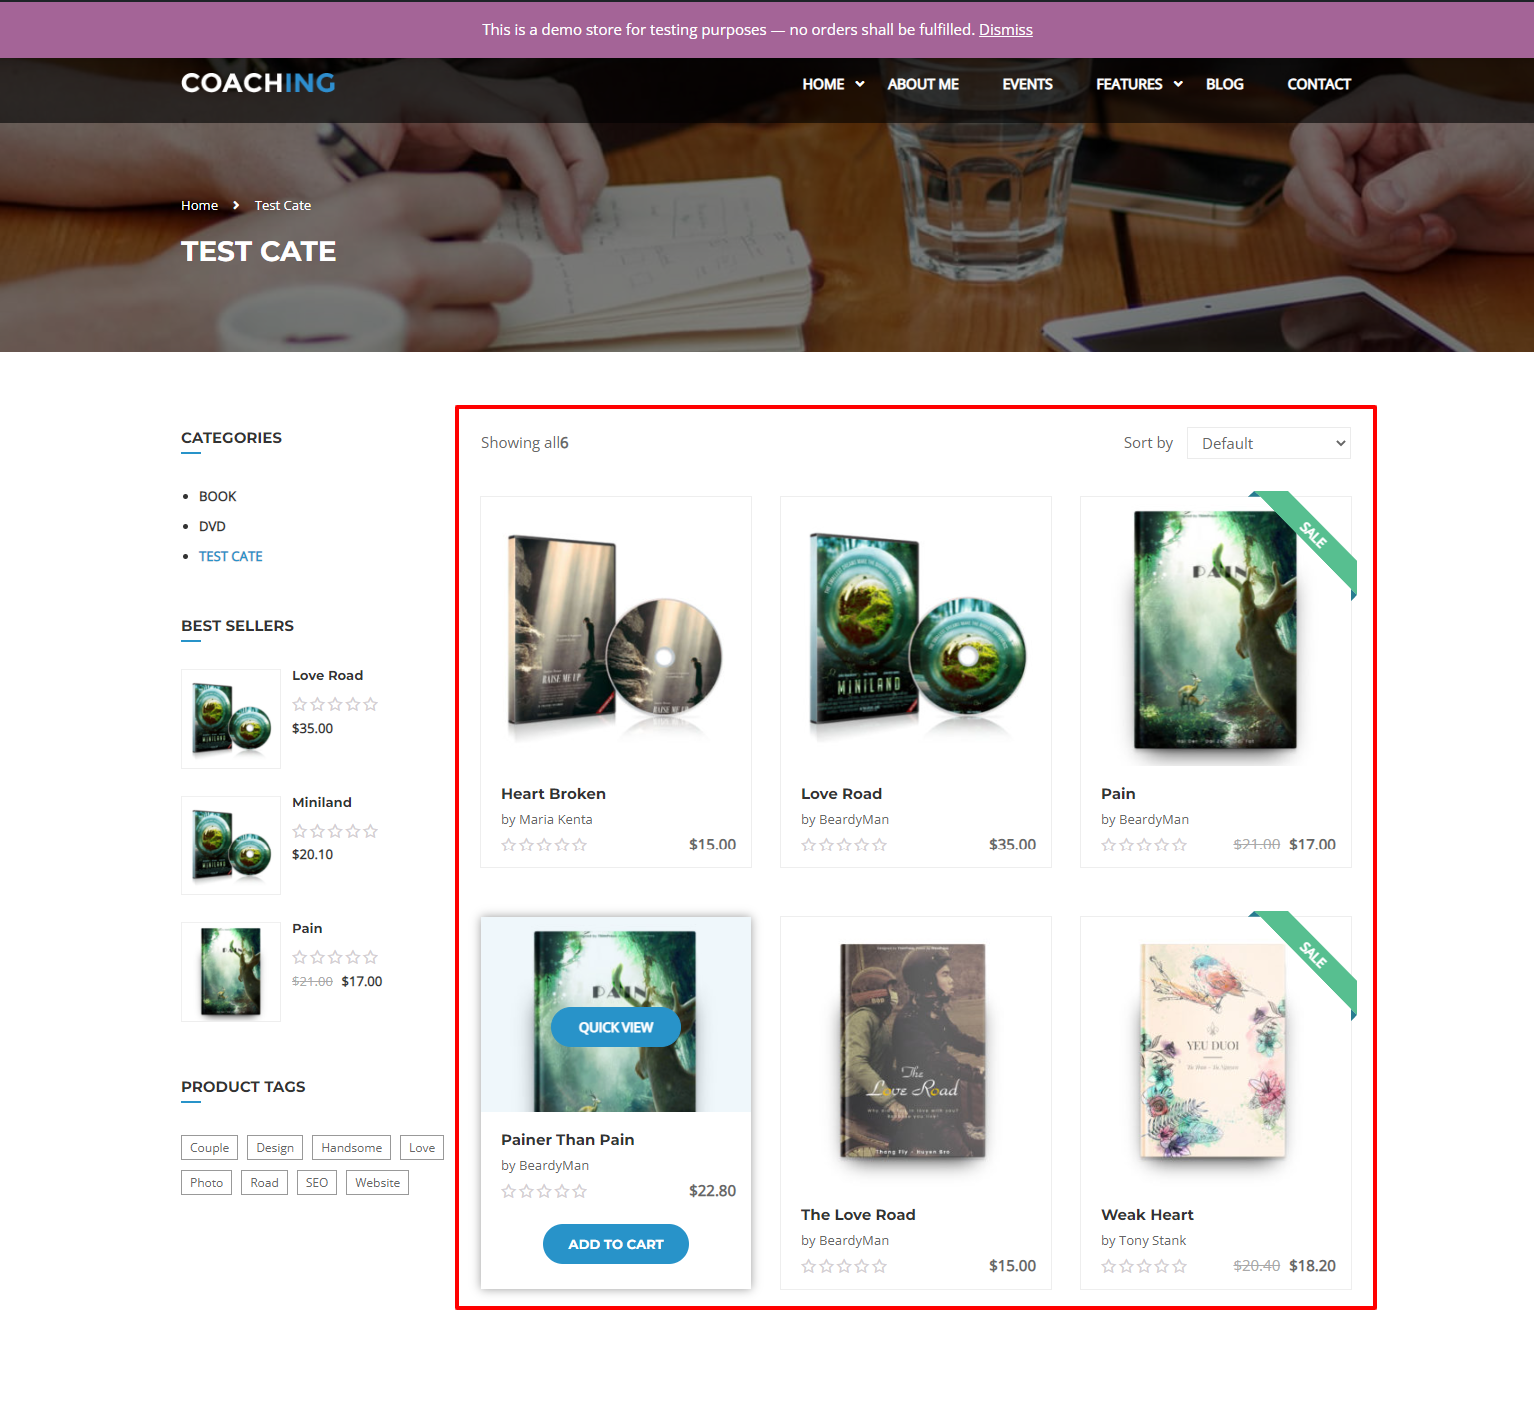
- Category Display: Choose what to display on product category pages.
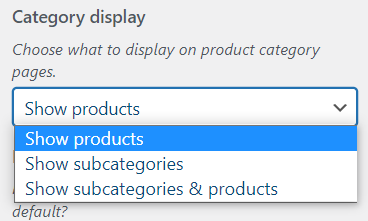
There are 3 display types you can choose from: show products, show subcategories, show subcategories, and show subcategories and products.
If you choose show product, the product category page will display like this:
If you choose to show subcategories, the product category page will display like this:
If you choose to show subcategories and products, the product category page will display like this:
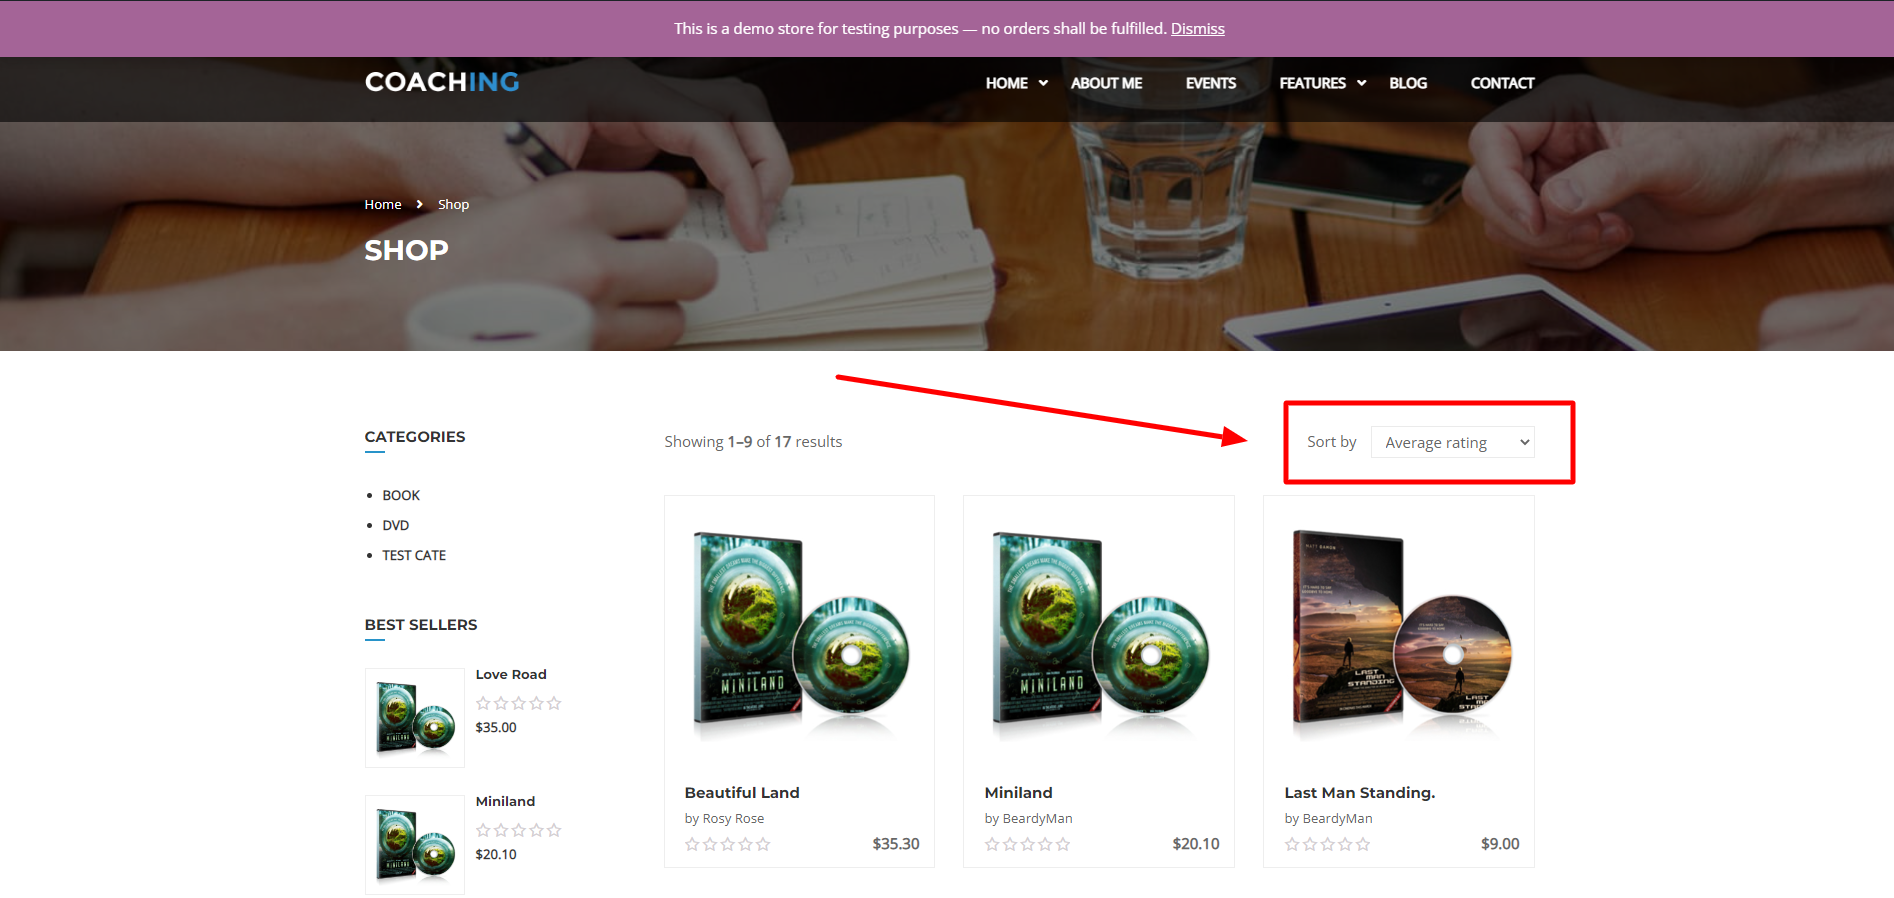
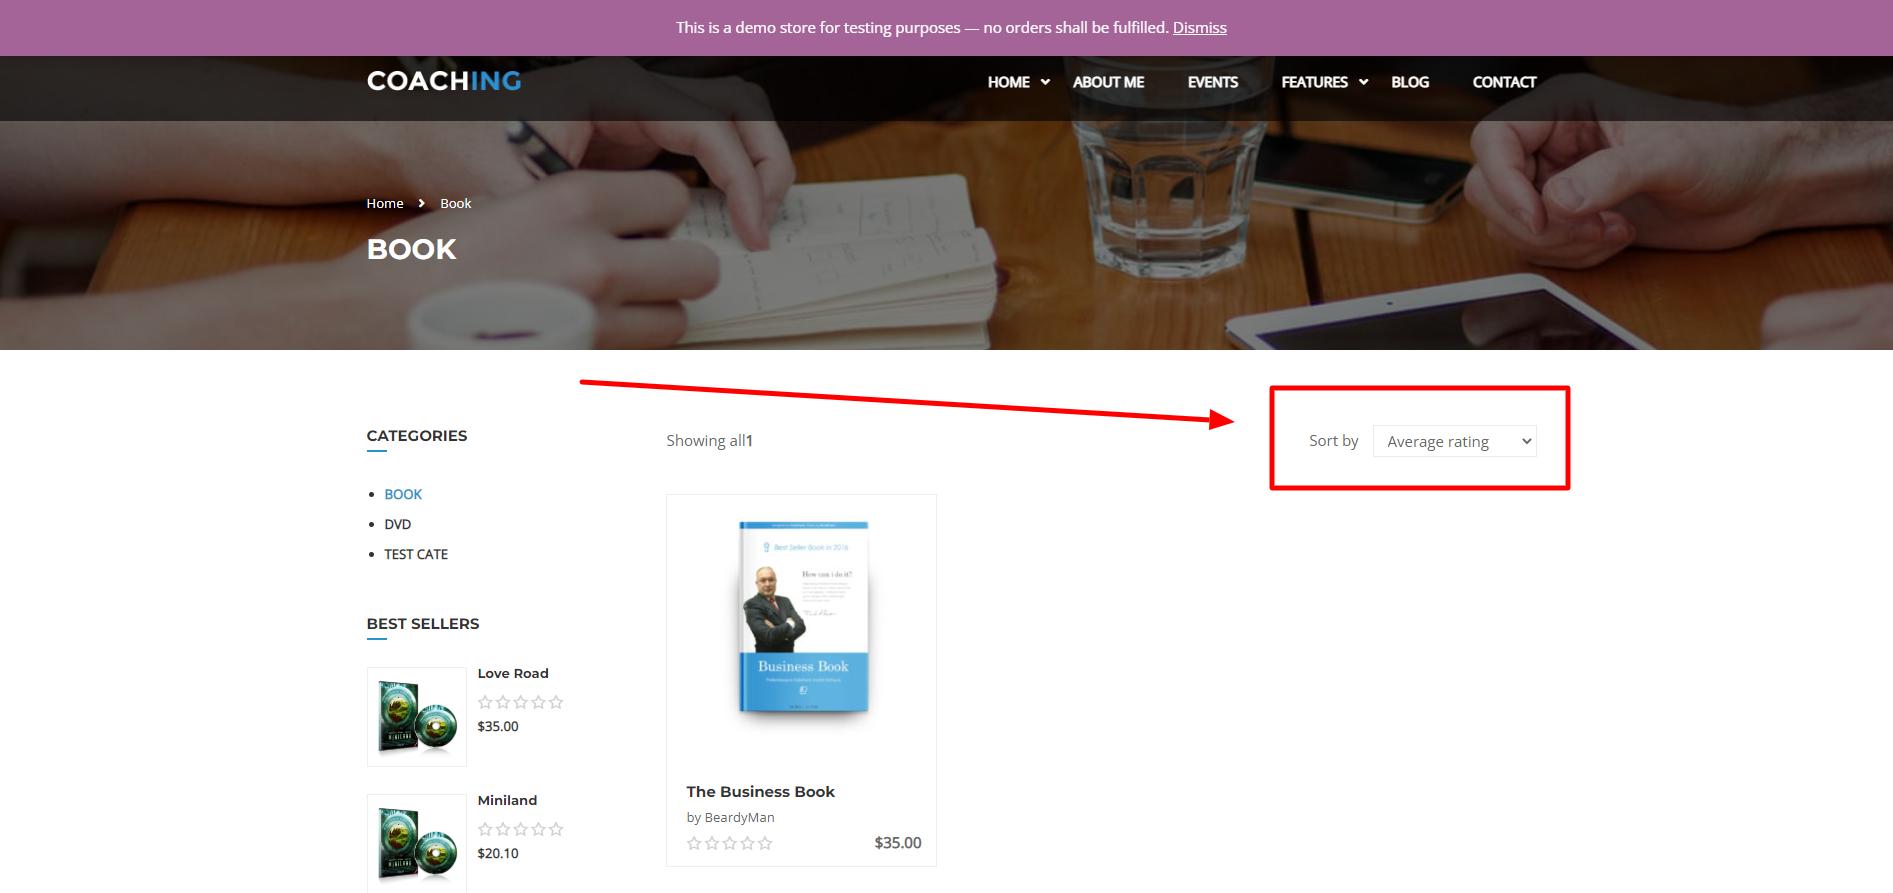
- Default product sorting: this allows you to choose the default arrangement for the main shop page and product category page.
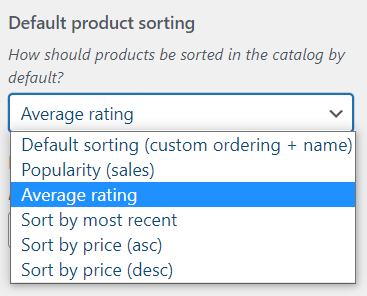
For example, if you choose the “Average rating” sort.
In addition to the main shop page and the product category page, it will display the image below:
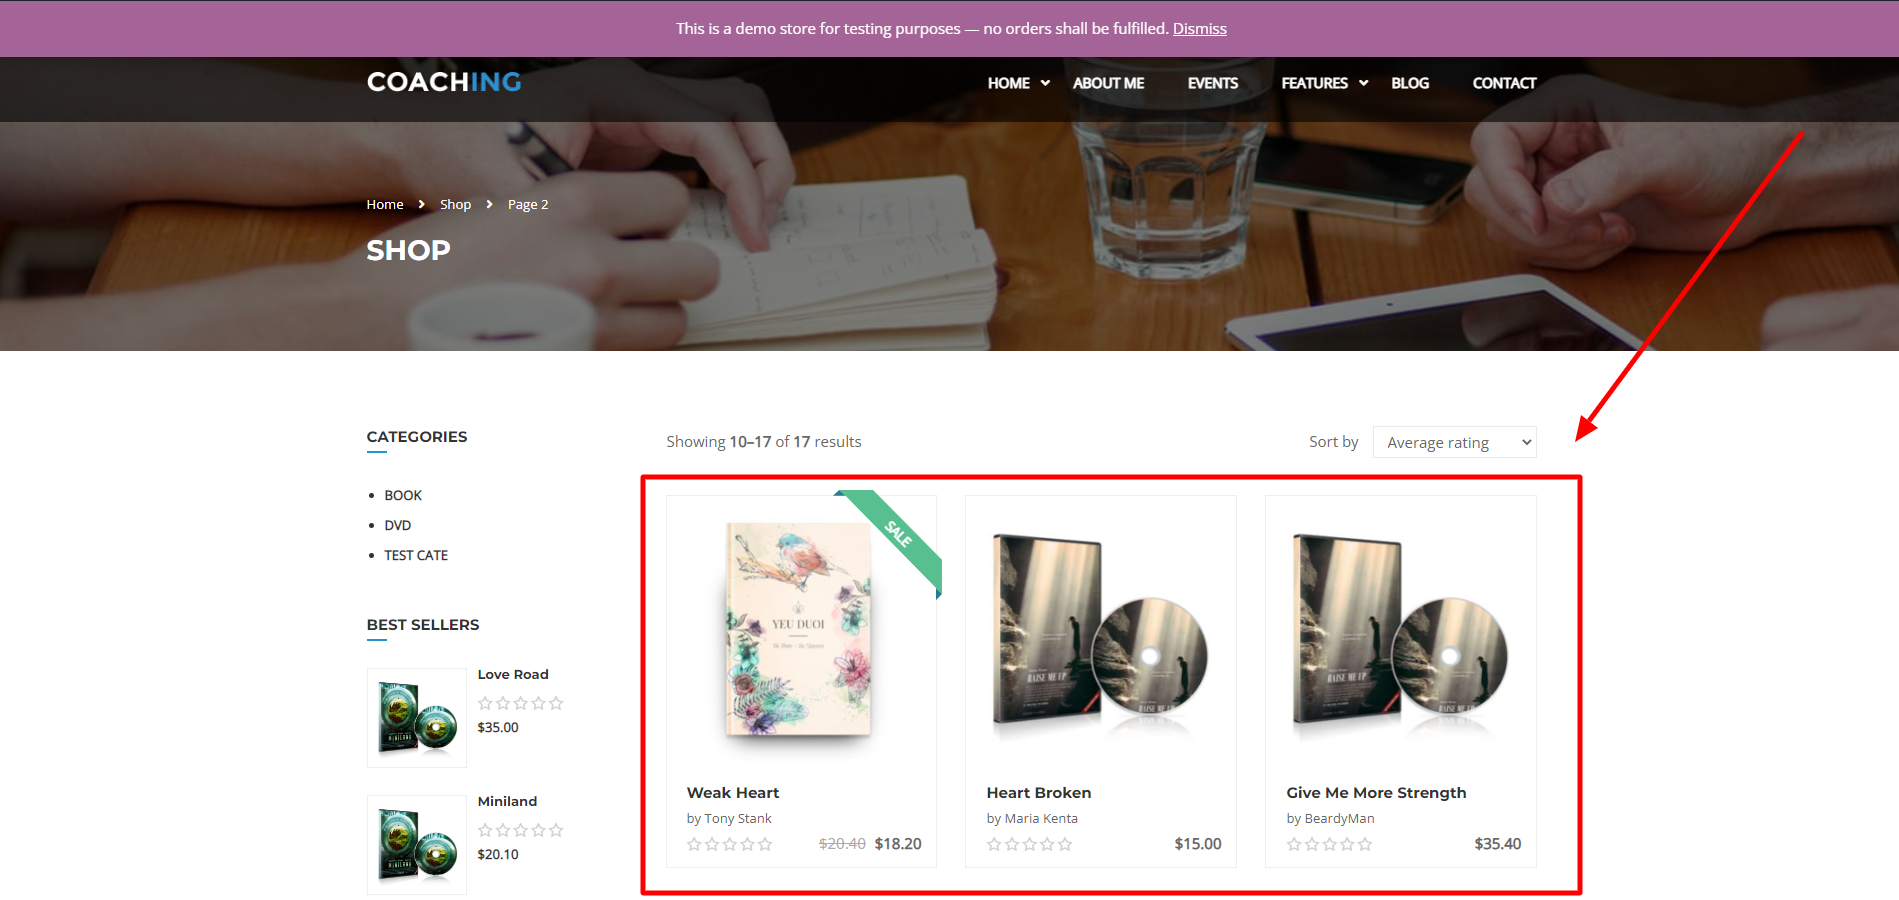
- Products per row: Allows you to choose the number of products displayed per row.
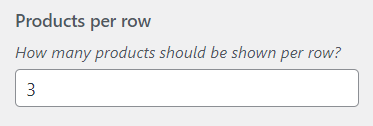
If you choose 3 here, the shop main page will only show 3 products in 1 row:
3. Product Image
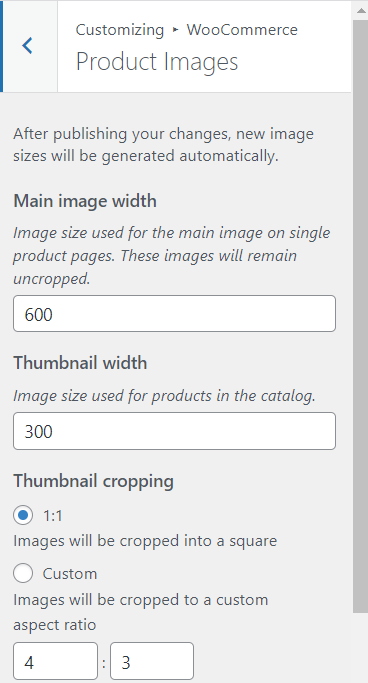
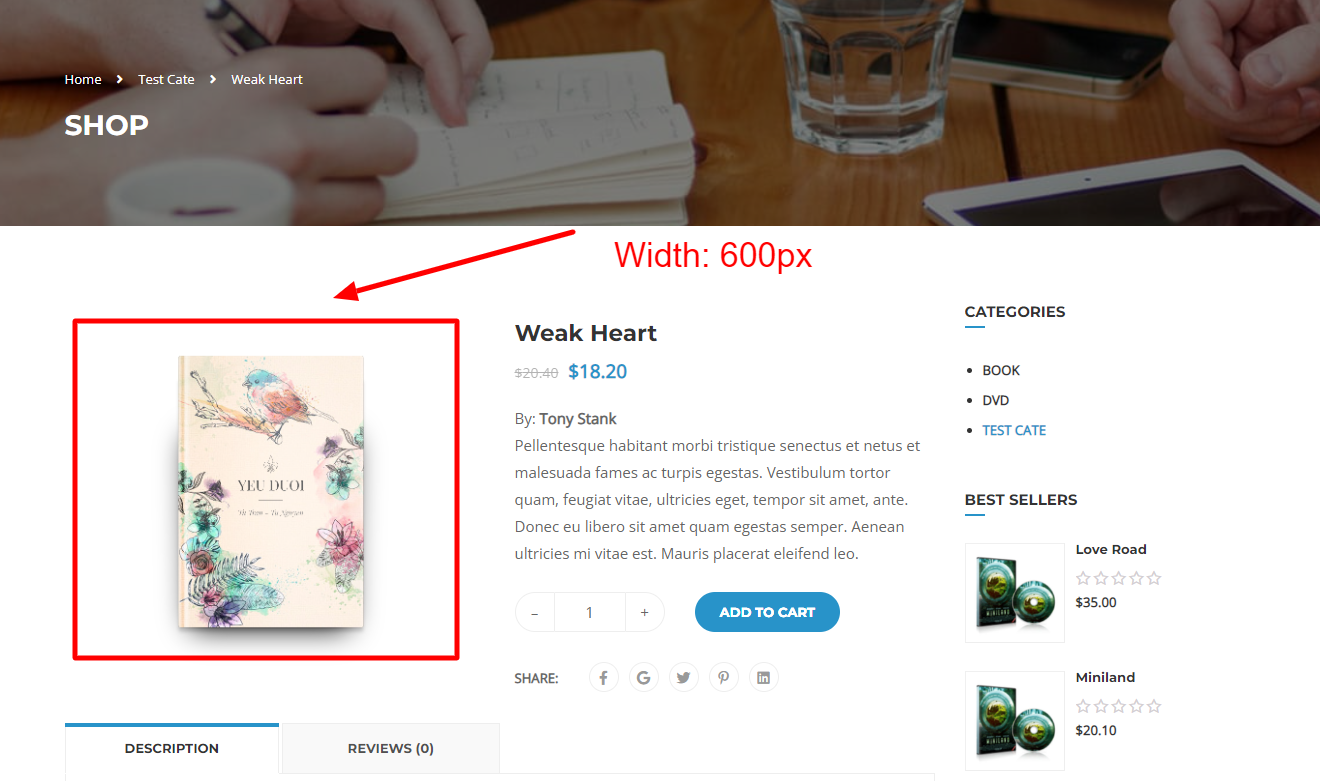
- Main image width: Image size used for the main image on single product pages. These images will remain uncropped.
Here is the image size in the single product page when the width is set to 600px:
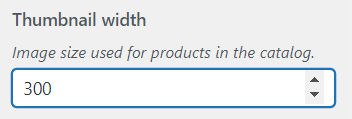
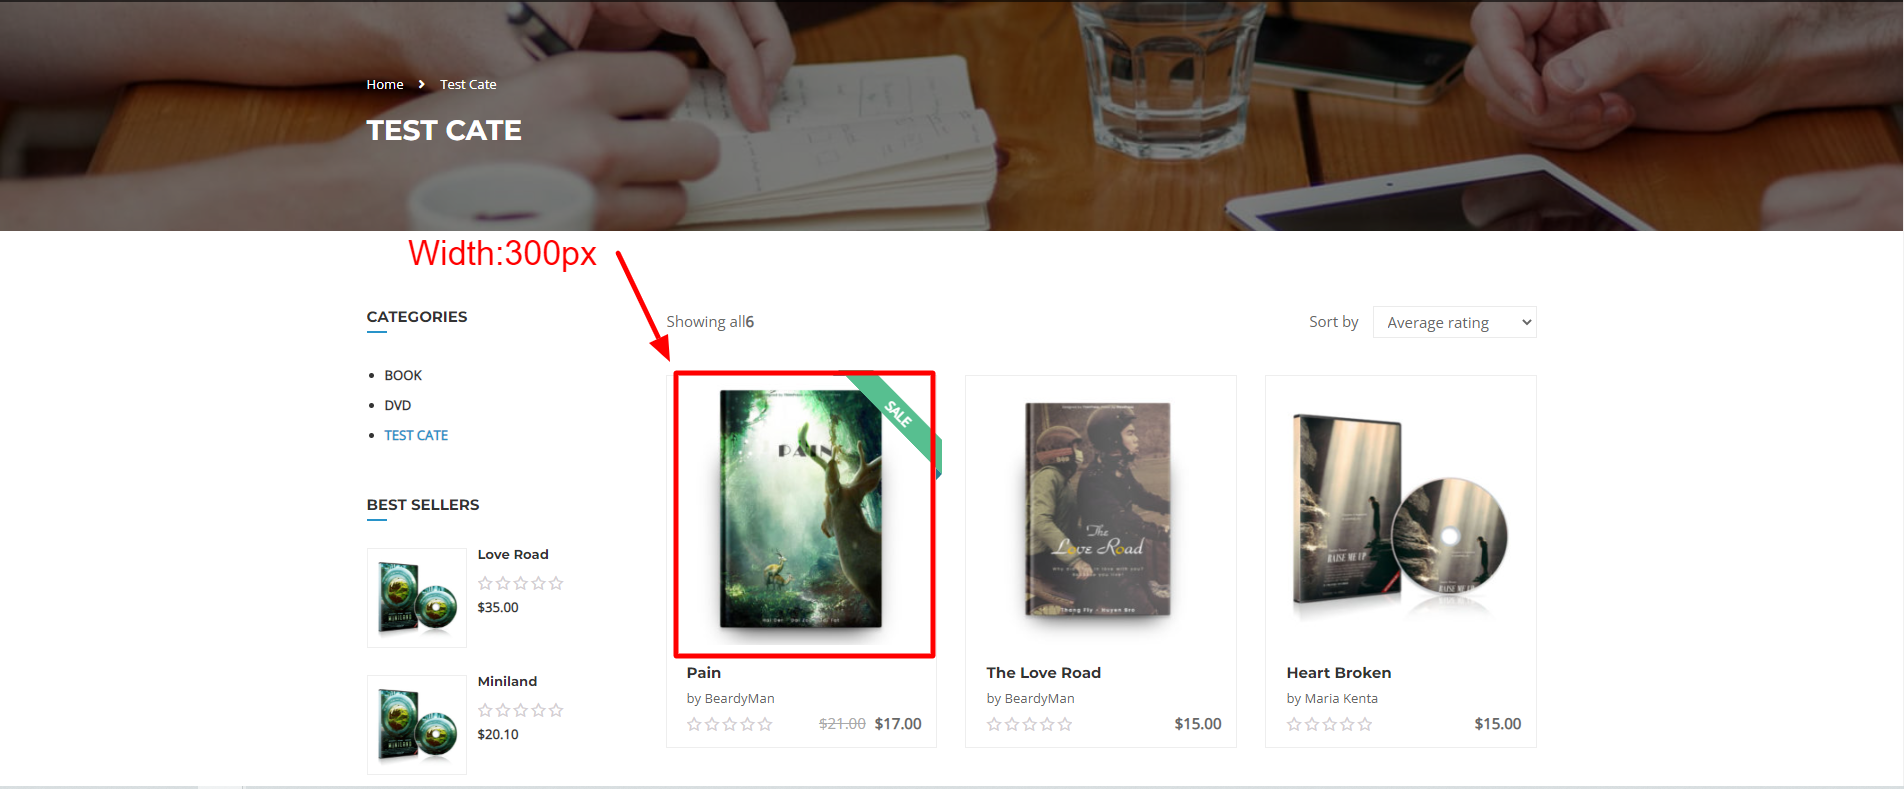
- Thumbnail width: Image size used for products in the catalog.
On the product category page, the image shows the correct number of px set in the backend:
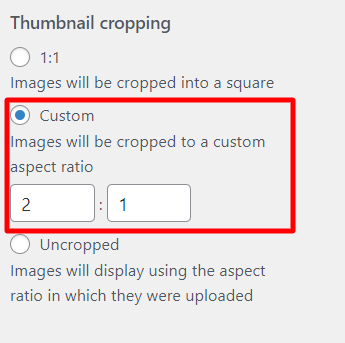
- Thumbnail cropping: There are 3 styles to display thumbnails: square, customizable, and uncropped.
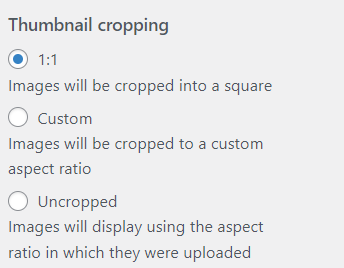
When you choose a 1:1 aspect ratio, the image will be displayed as 1 square:
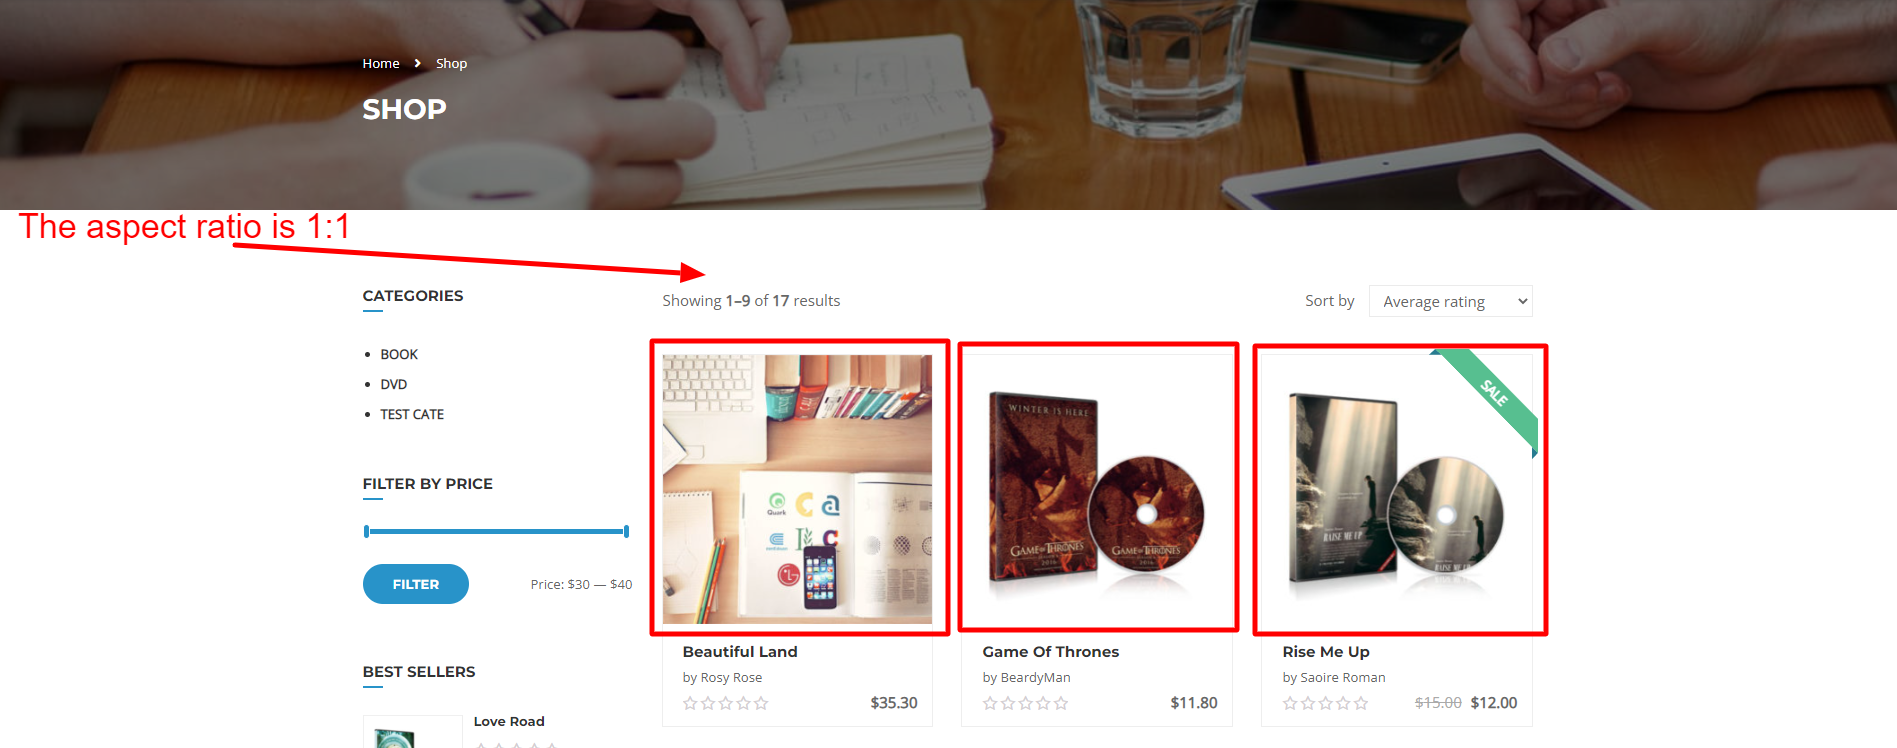
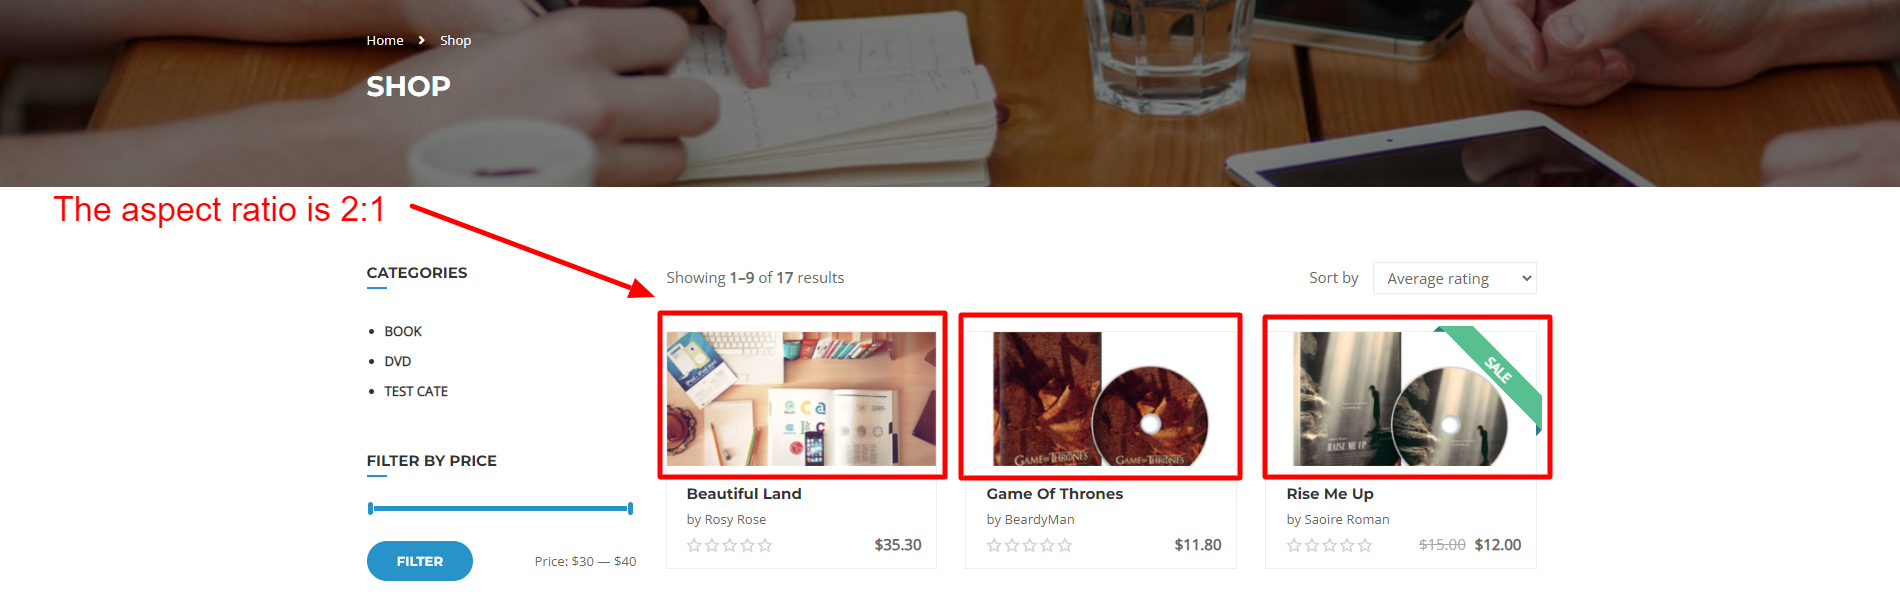
You can customize the aspect ratio as you want, for example, the ratio 2:1 as shown below:
The product thumbnail will show up on the archive page like this:
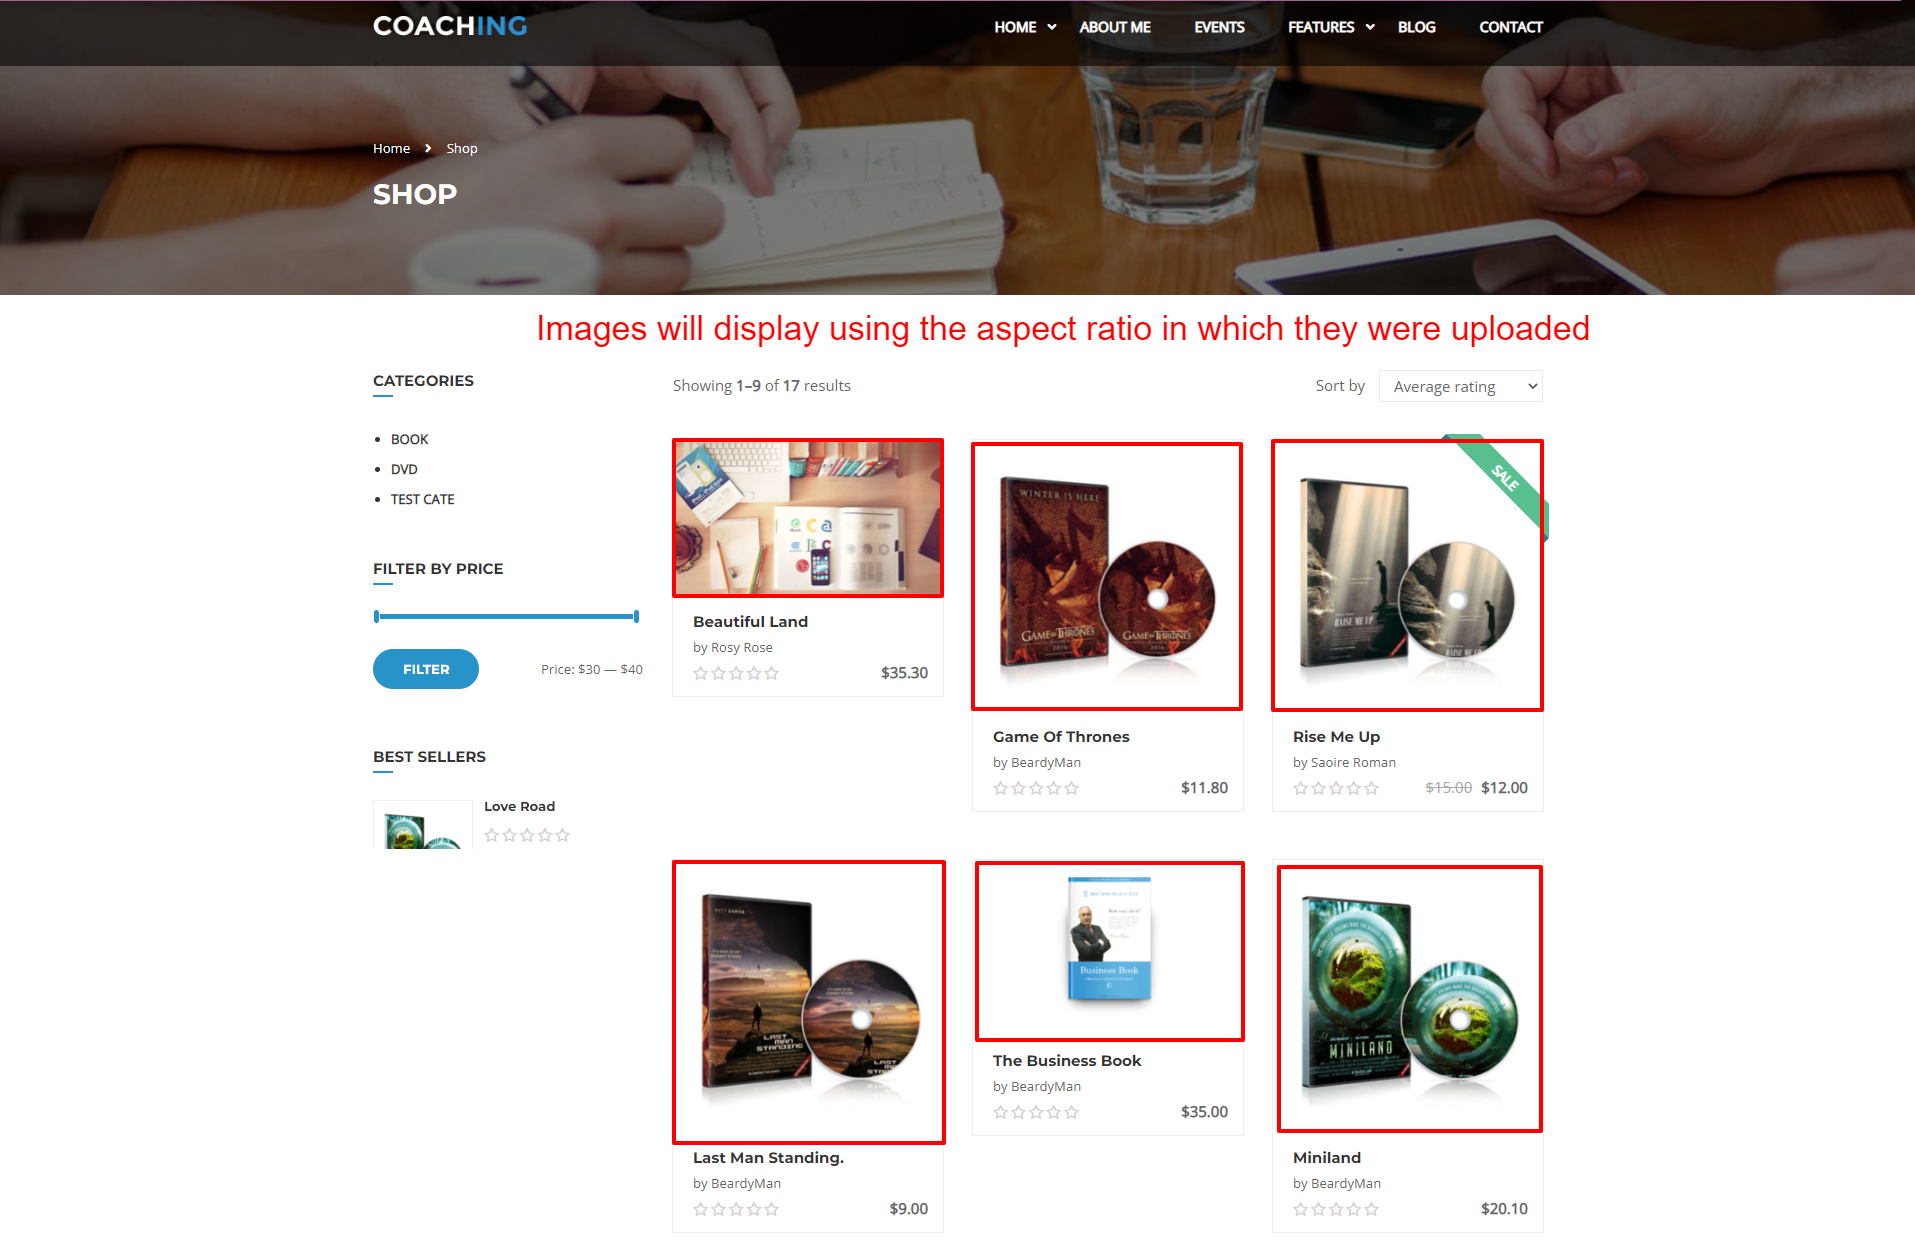
And the final style, uncropped: images will display using the aspect ratio in which they were uploaded.
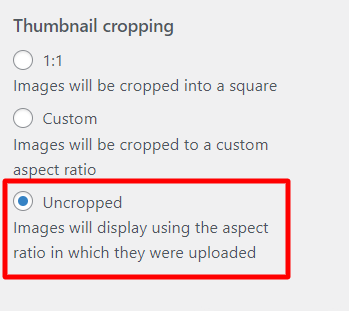
Here is the illustration when you choose the uncropped style for the image.
4. Checkout
These options let you change the appearance of the WooCommerce checkout.

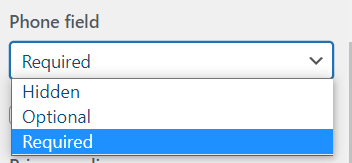
- Company name field: Here you can select the type field hidden, optional, and required.
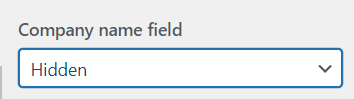
Choose a hidden style if you don’t want the checkout form to display the Company name field.
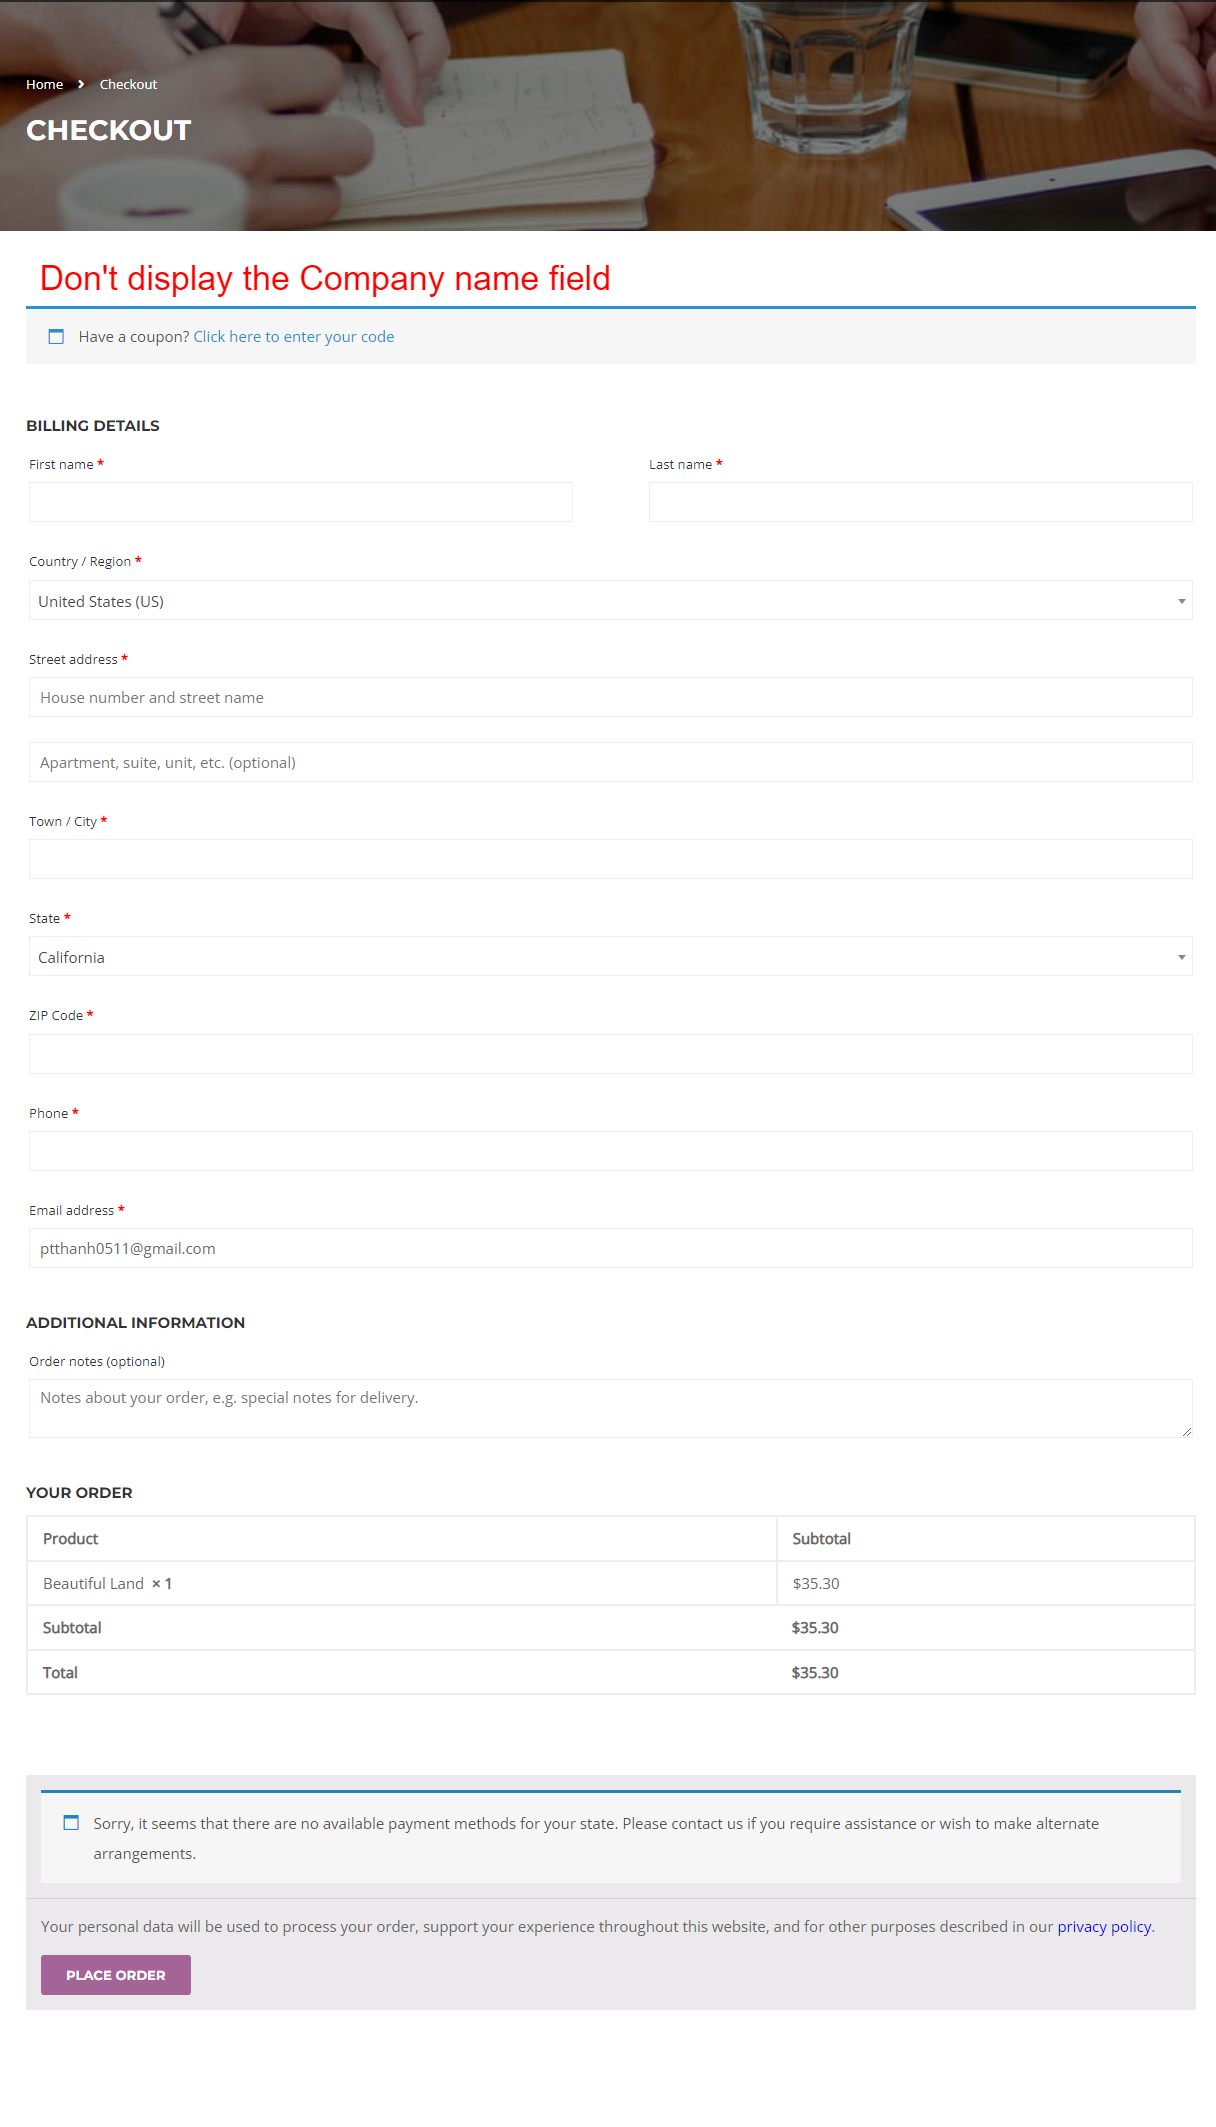
If you select an option type for the company name field, users can omit this field.
Outside the front end will display as shown below:

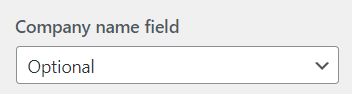
Or if you choose the required type, you are required to fill in this field to complete the payment step.
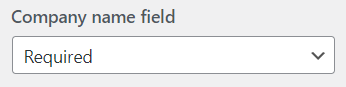

- Address line 2 field: The function of this section is similar to the company name field above.
- Phone field: The function of this section is similar to the company name field above.
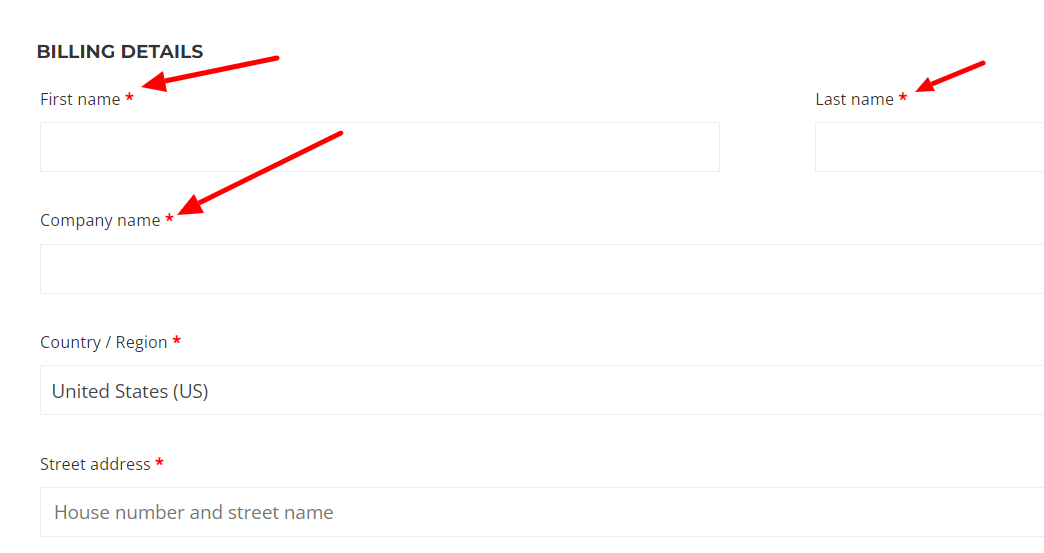
- Highlight required fields with an asterisk: Enable this option if you want to highlight required fields with an asterisk, like the image below.
![]()
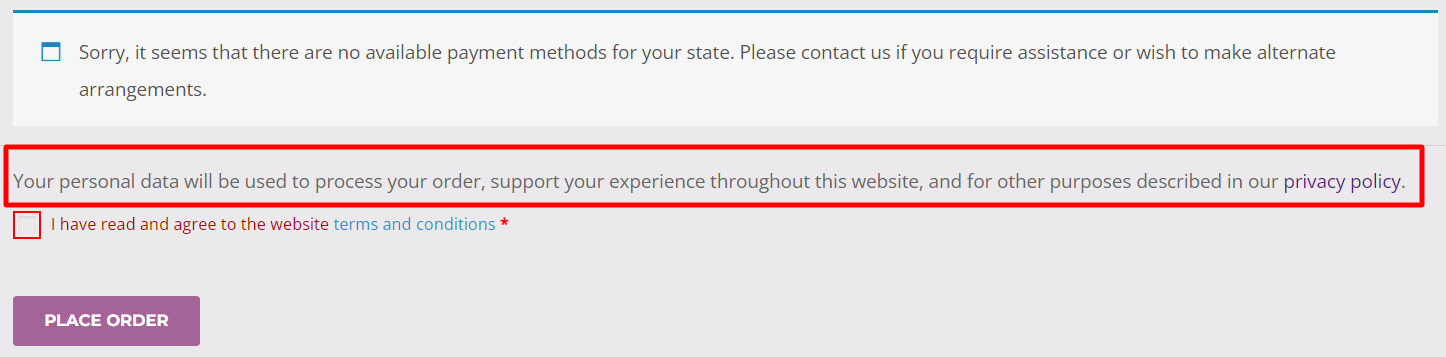
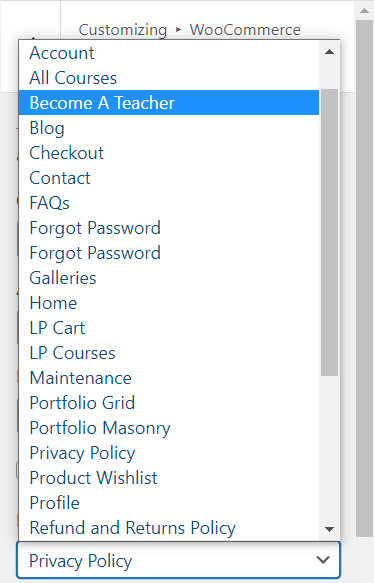
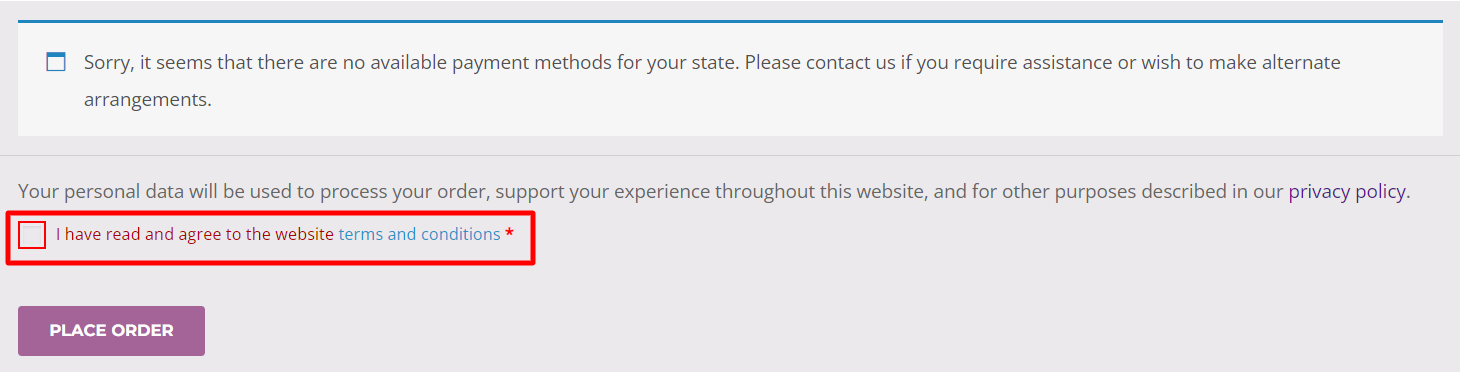
- Privacy policy page: Select the redirect page when the user clicks on the text privacy policy.

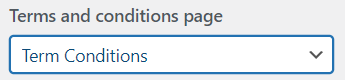
- Terms and conditions page: When you select any redirect page, the front end will display a mandatory option for the user to choose. By default, the user must select the option terms and conditions to complete the payment.
- Privacy policy: You can optionally add some text about your store’s privacy policy to show during checkout.