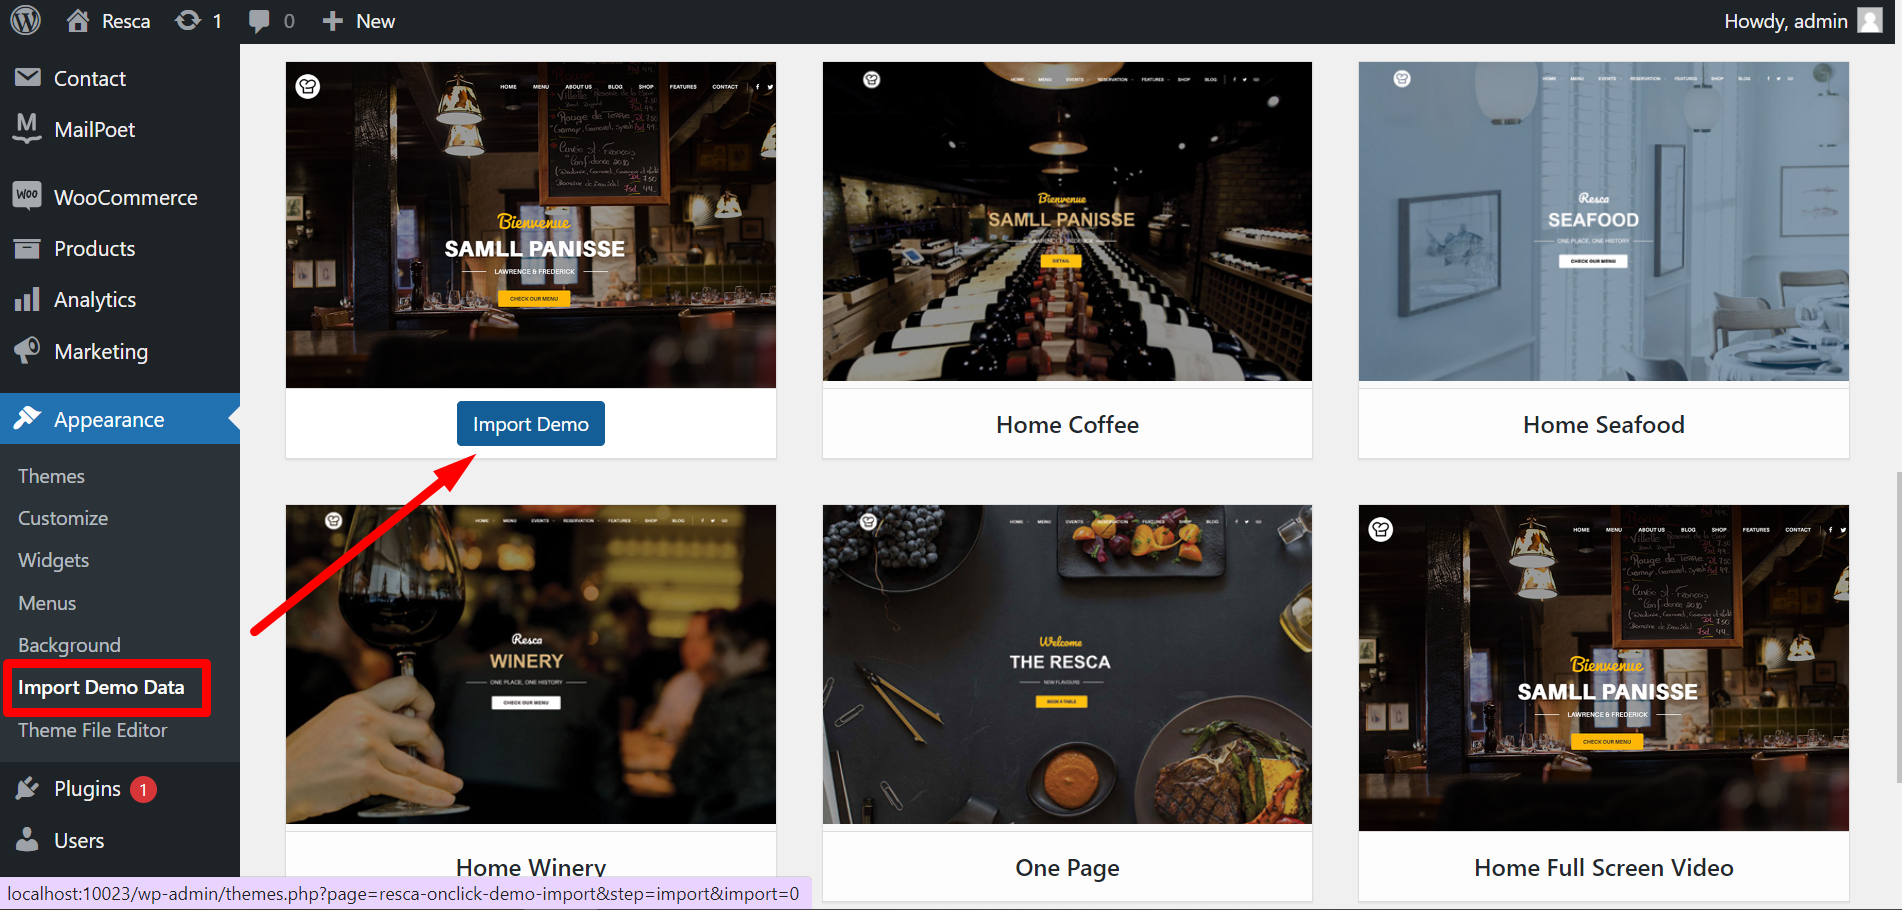
I. The first way: Importing by one click
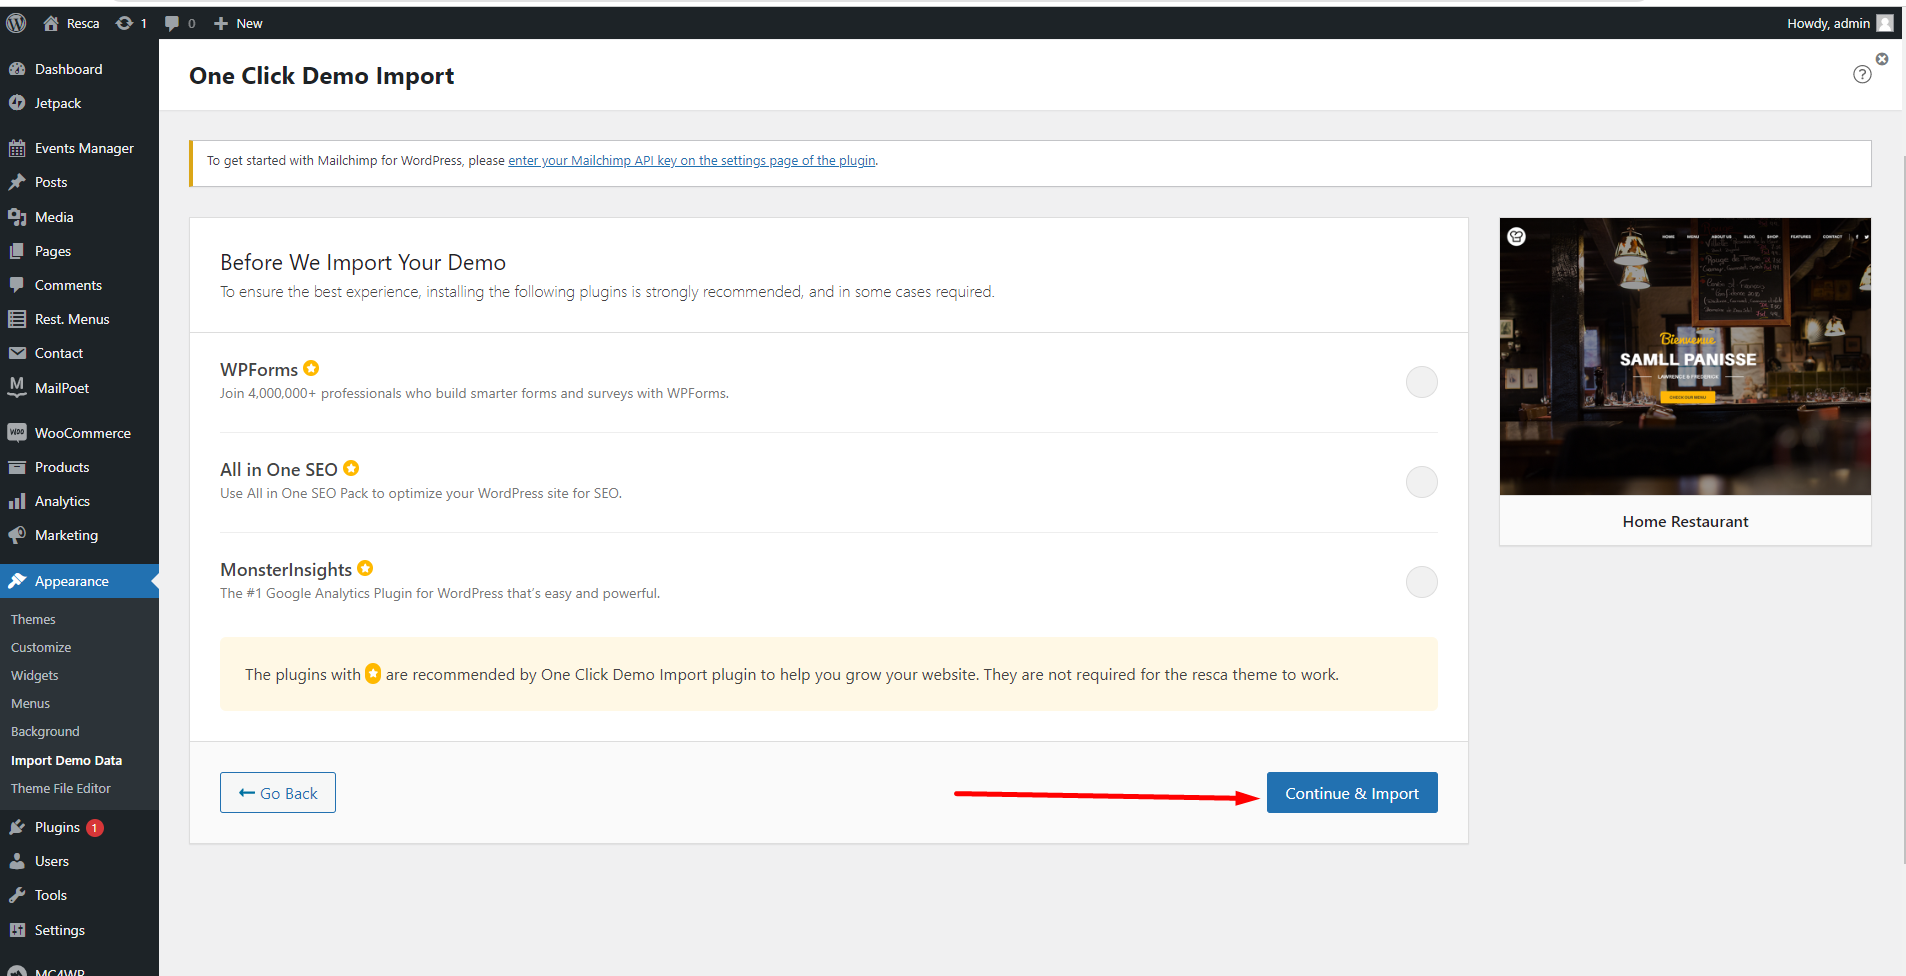
This is a priority to use for importing fully demo content.
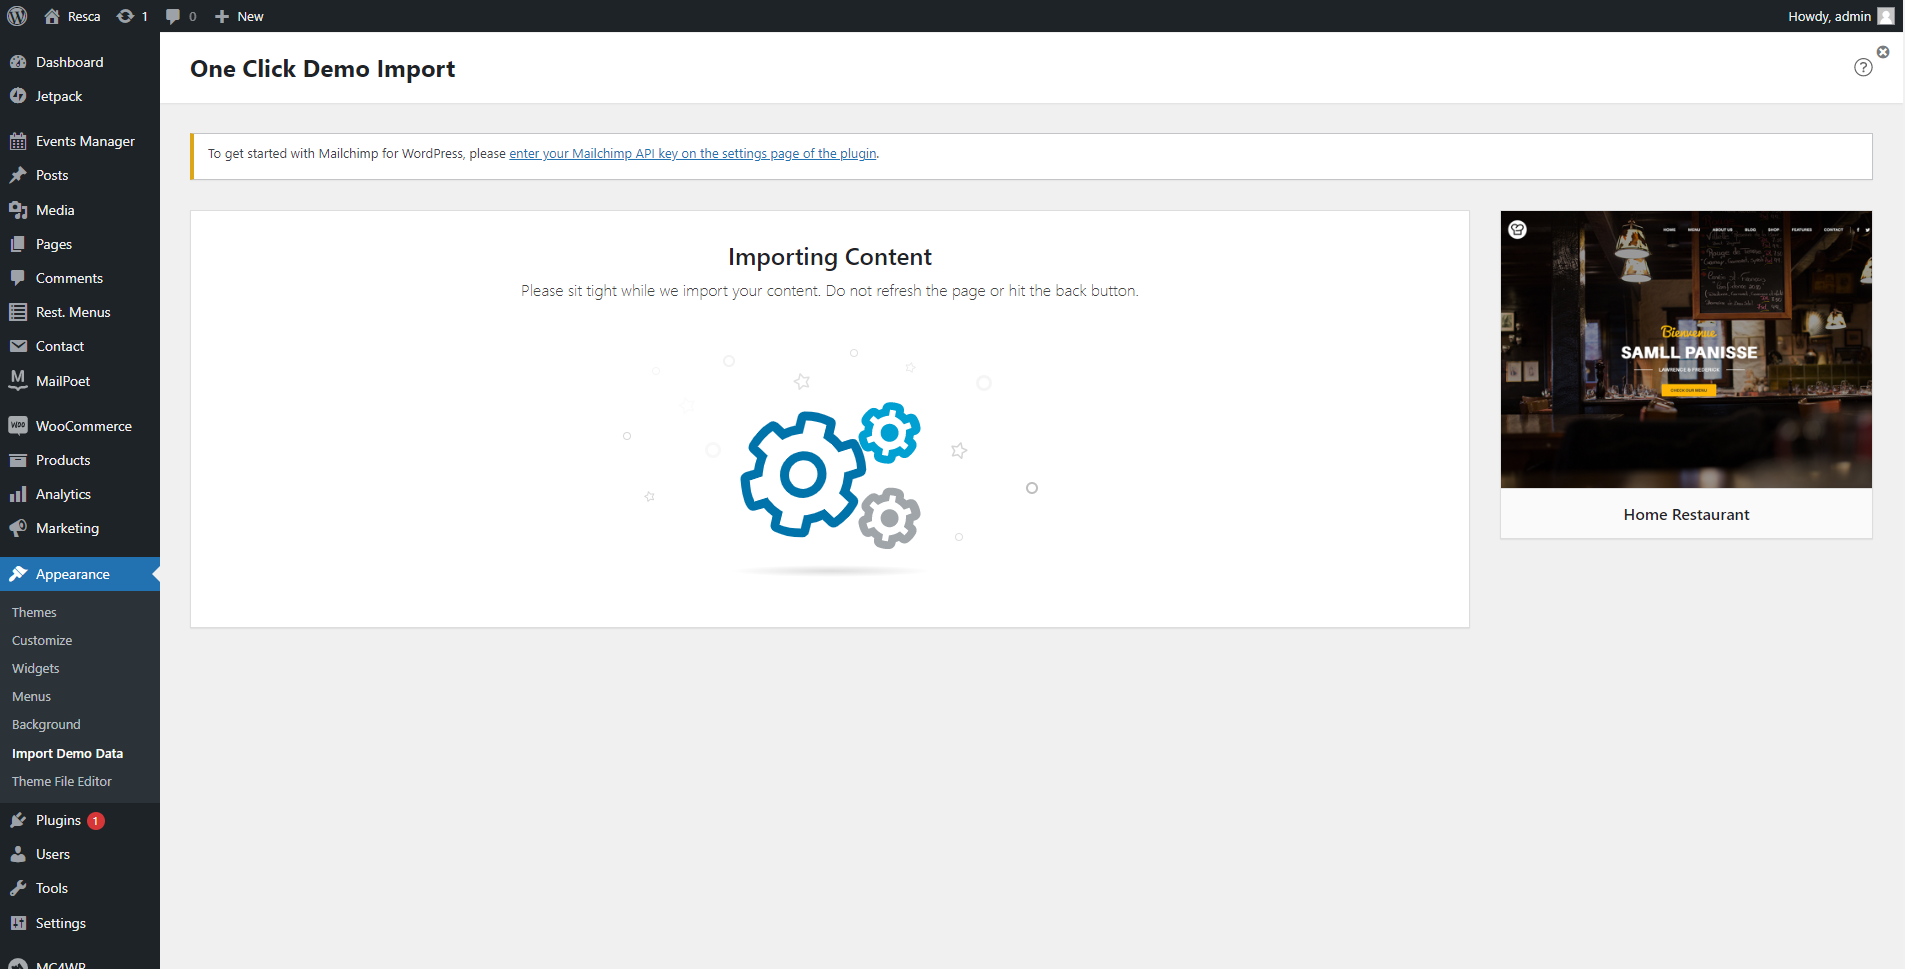
The progressing will display on import status bars so you will know when it is finished and your data is ready.
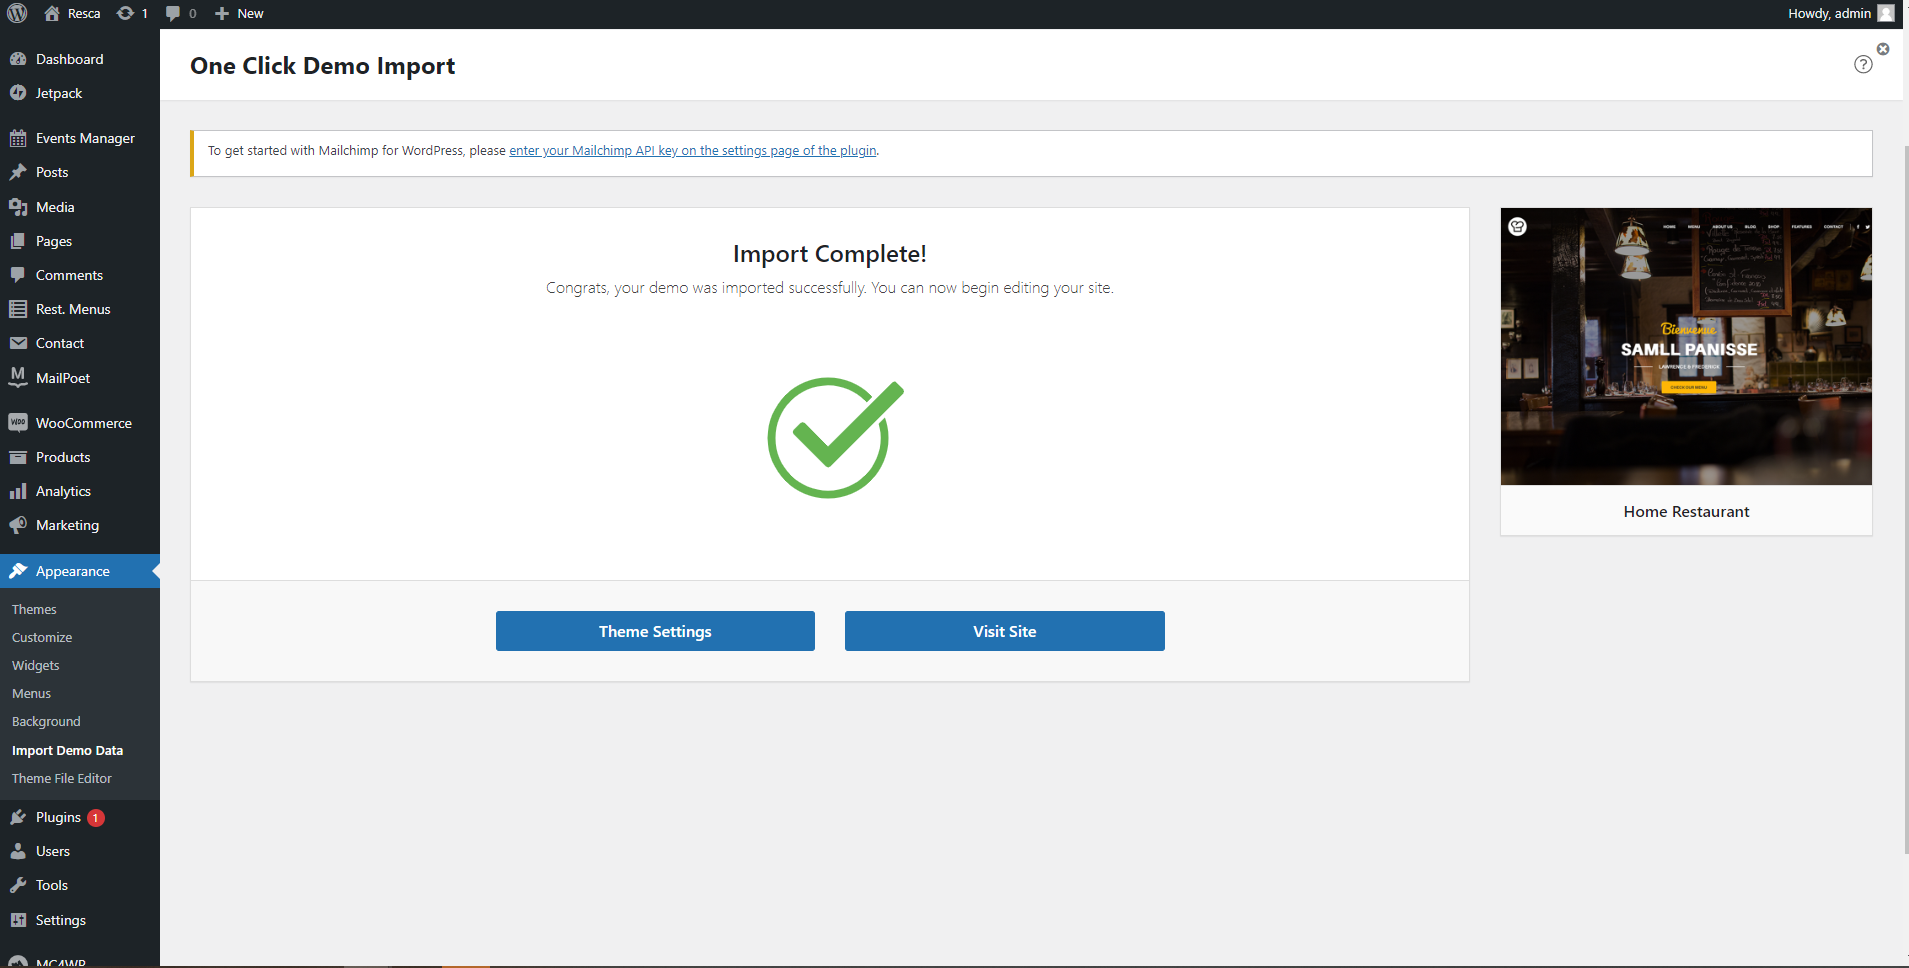
When the import is successful, there will be a message.
This is video tutorial installation by one-click way.
NOTES: IMPORT DEMO DATA BY ONE-CLICK WAY WILL NOT INCLUDE IMAGES FROM OUR DEMO SITE. ALL IMAGES WILL BE REPLACED BY SAMPLE IMAGES.
II. The second way is recommended to use if you have any trouble with the first way.
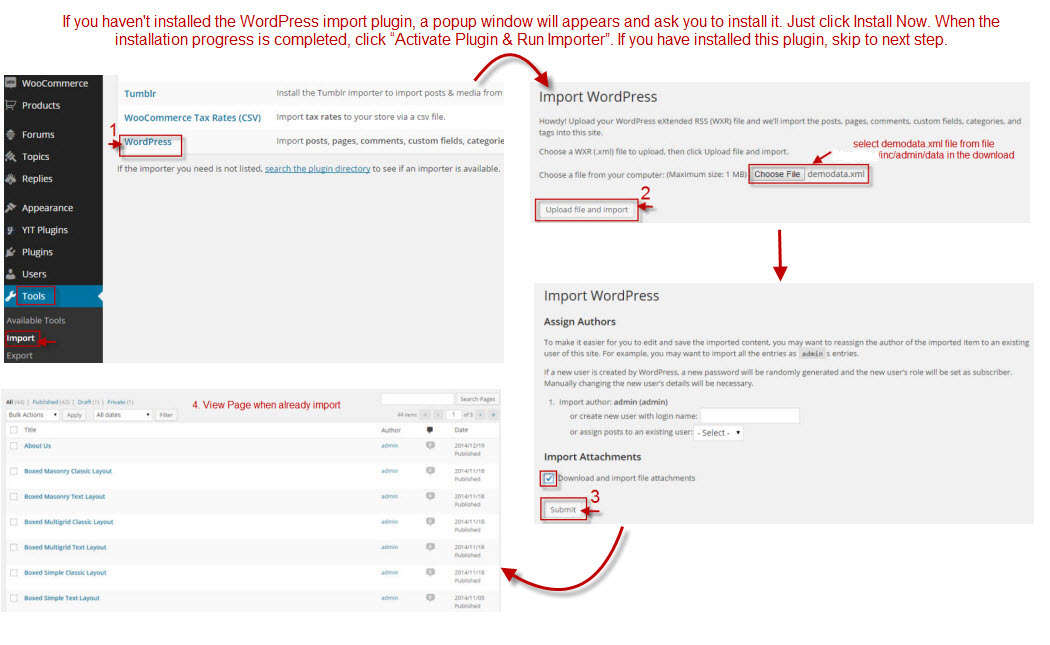
1. Import .xml file:
Where is file .xml to import?
There are 9 demo style files placed in folder adotincadmindata and each style file contains a “demodata.xml” file. Just click on one demo file then find file “demodata.xml” to import the demo. If you choose any demo type then after the importation process, your site will be styled accordingly.
Following these steps to import demo data via .xml file:
2. Set Up Front Page:
– Go to Setting >> Reading.
– select a static page (select below) >> Choose Front page is Home page.
3. Import Revolution Slider:
The download package contains the exported slider (Revolution Slider) that can be used as your slider template. Please follow the steps below to import it.
- Go to “Revolution Slider”
- Click the “Import Slider” button
- Click “Browse” >> choose file themeszoneshopincadmindatarevslider >> select one file zip revolution slider >> Click “Import Slider” button to start import the selected slider.
- Repeat the steps to import another revolution slider.
How to Edit a Revolution Slider When you can’t import an image correctly?
You need to Edit the Revolution Slider.
You’re still on the main page of Revolution Slider, click Edit Slides.
Please note that these steps are to set up slider for homepage the same as in live demo. If you want to make your own slider, please follow the official Slider Revolution document.
4. Import Widget:
– Install and Active Widget Importer Plugin.
– Go to Tool >> Widget Setting Imports >> Select a file >> Choose file themesadotincadmindatawidgetwidget_data.json >> Click on “Show Widget Settings” >> Select all active widget >> Click on “Import Widget Setting“.
5. Import Setting:
Go to Appearance >> Customize >> Import/ Export Setting >> Import Setting >> choose file theme/inc/admin/data/setting.js >> click “Save & Publish” button.
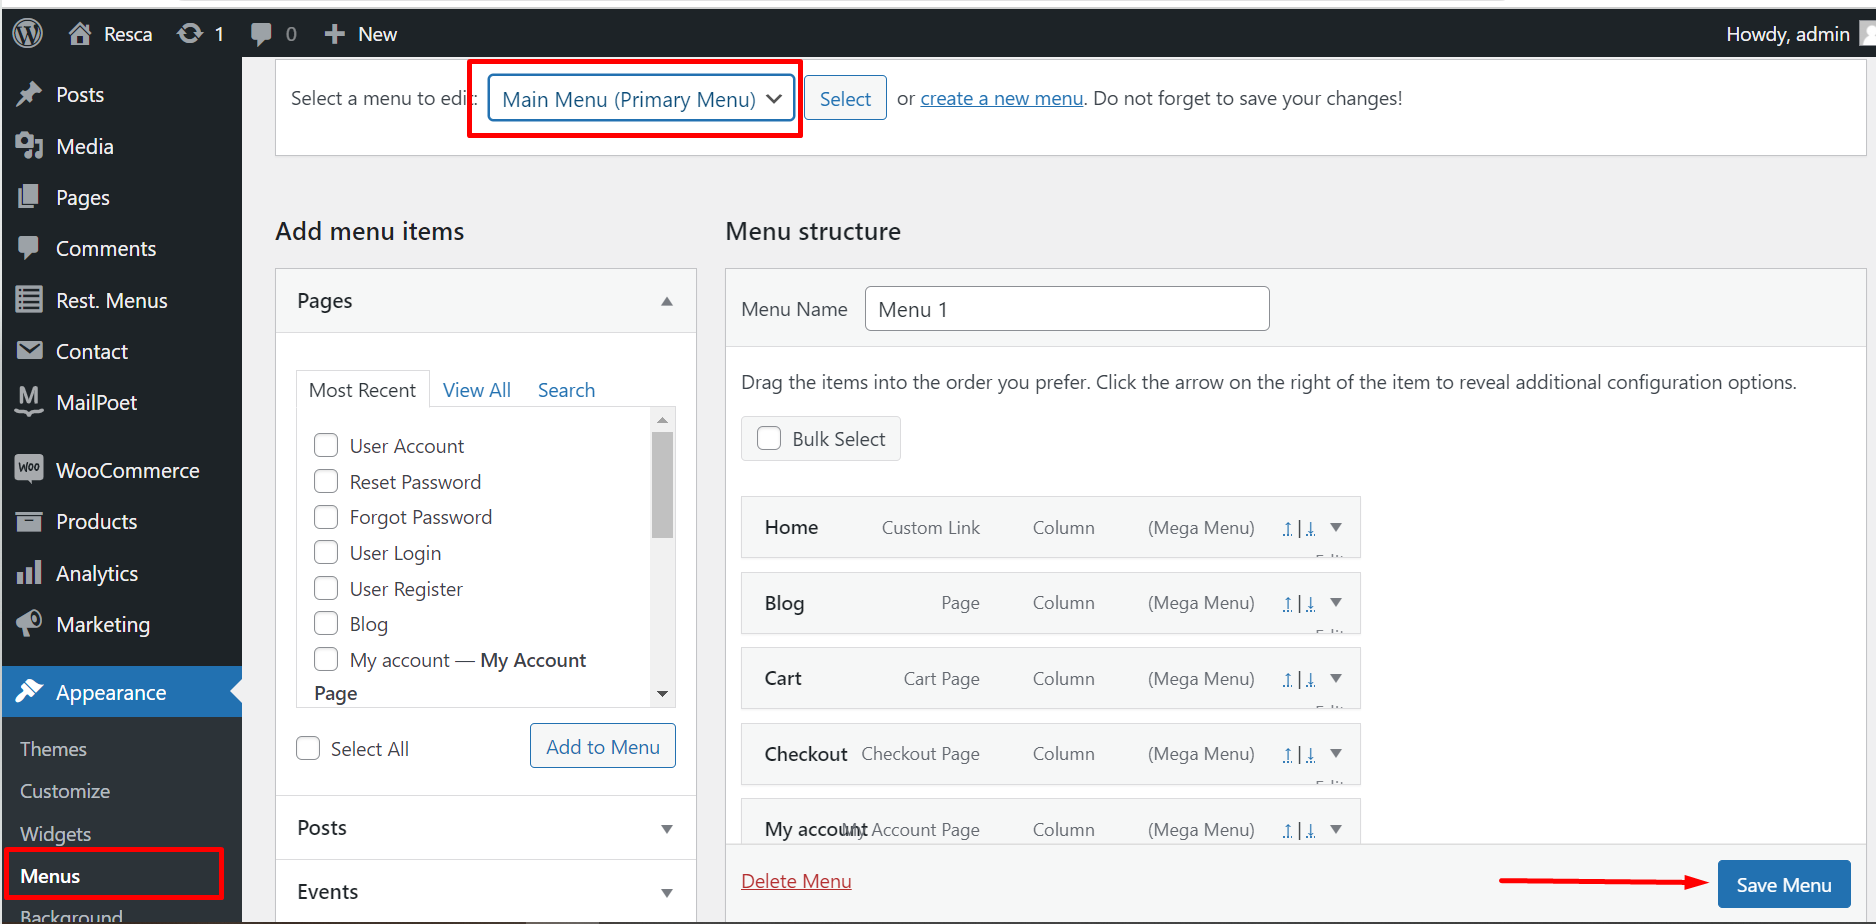
6. Configure Menu:
Go to Appearance >> Menu >> select “Main Menu” >> choose “Primary Menu” >> click “Save Menu“.
This is video tutorial installation via XML file.