Download Theme
Get the Theme installation package from your account download page and save it to your desktop.
Since required & recommended plugins are already packed in the download file, you won’t need to go download them individually.
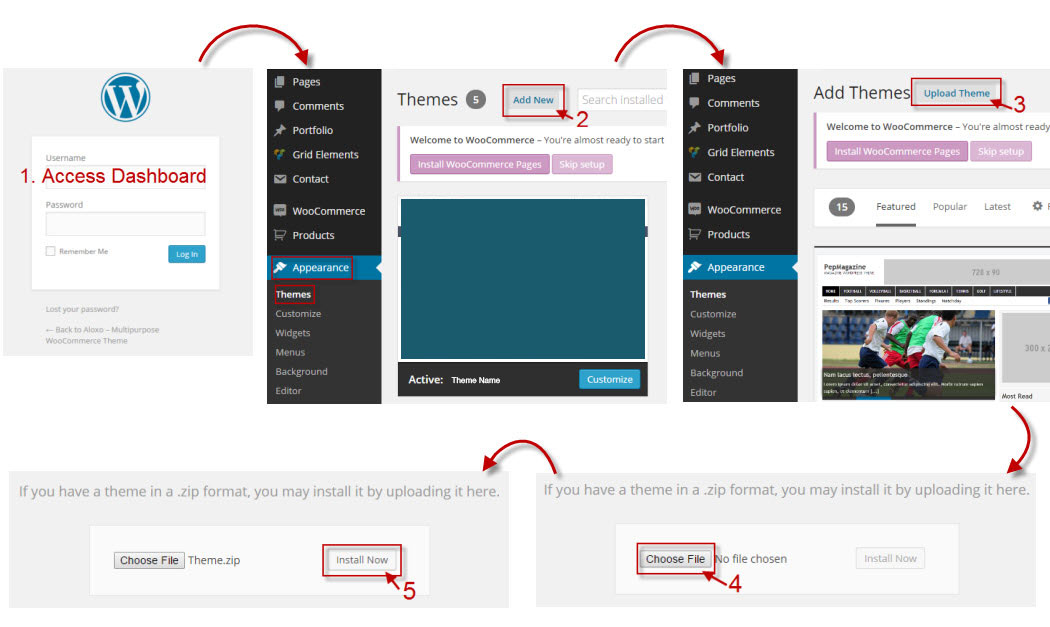
Upload Theme
You can upload the Theme file in two ways:
I. Via WordPress – Log into your WordPress site.
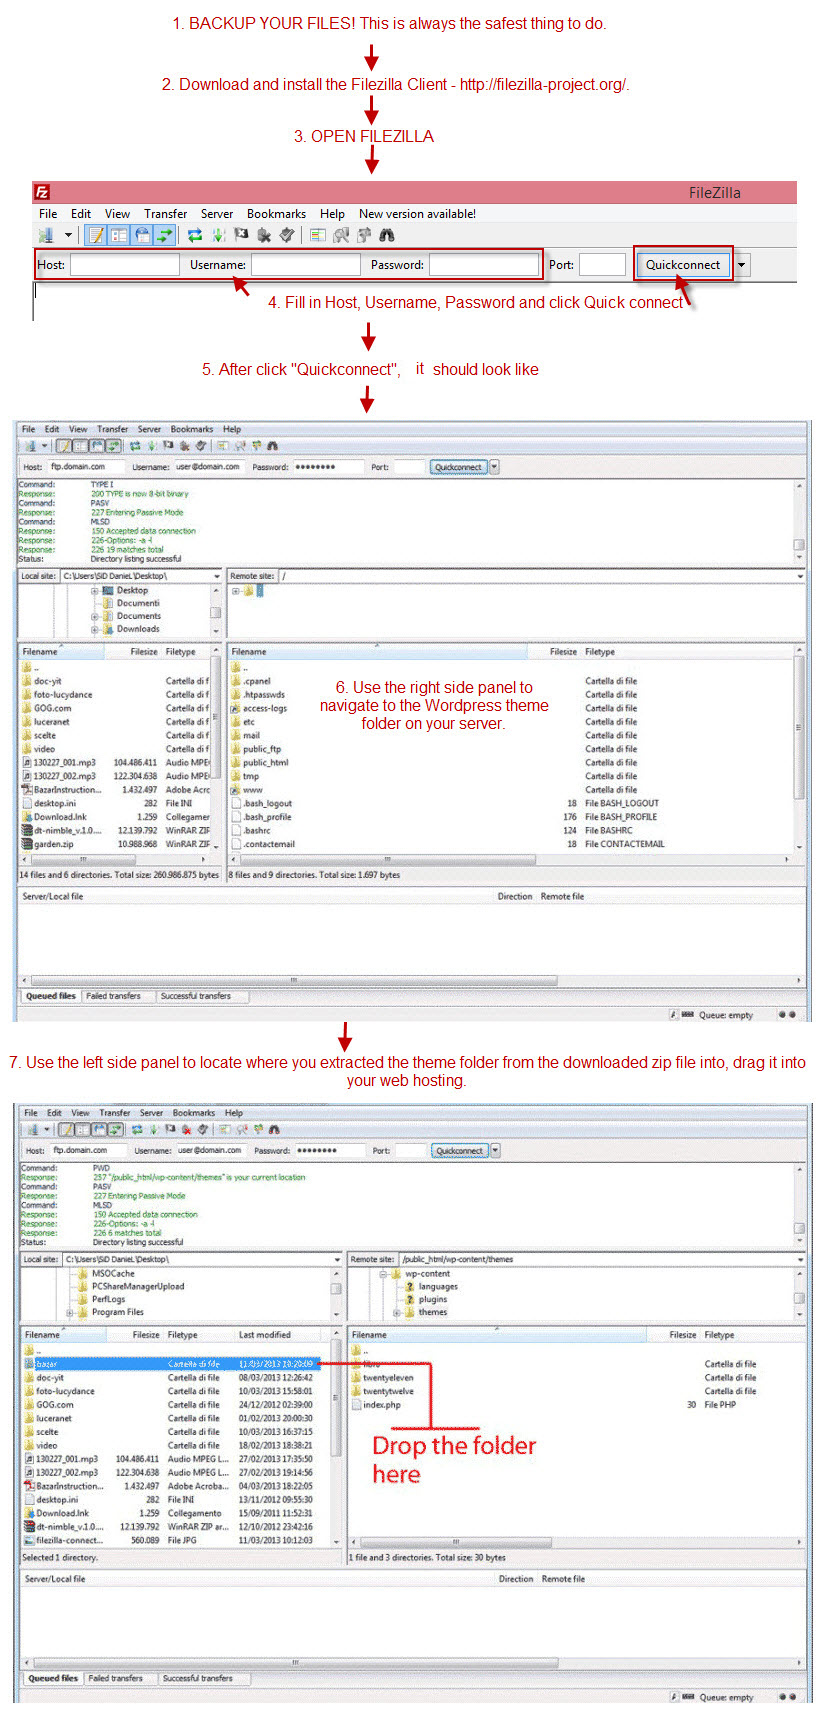
II. Uploading Via Filezilla
(SKIP THIS STEP if you have already successfully uploaded theme via WordPress) – Now you will learn how to upload your files using the Filezilla client.
1. System Requires
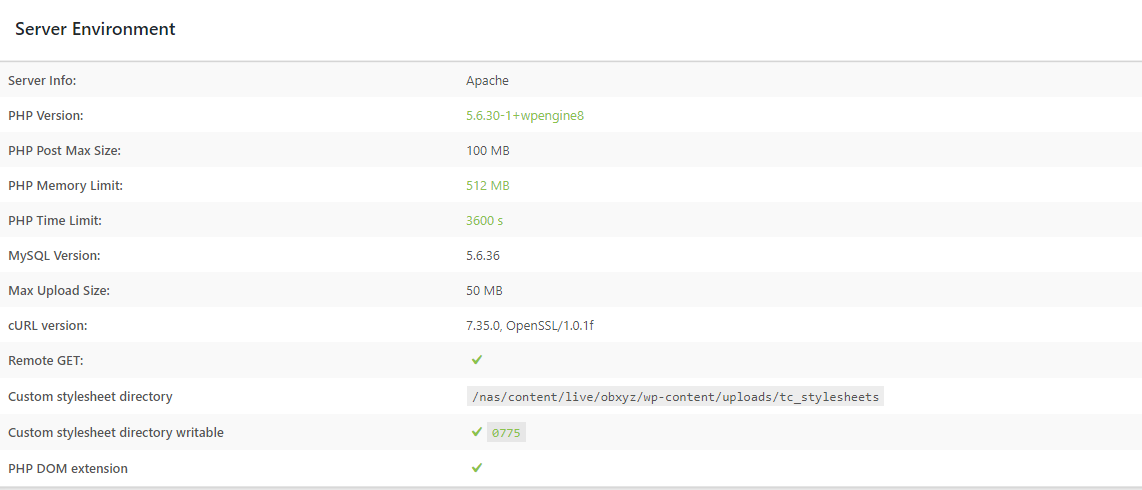
There are system requirements in order to install and setup the OneLMS theme and its components properly. Make sure that you are running the latest version of WordPress, PHP version 7.0 or higher and MySQL version 5.7 or higher. We also recommend the following PHP configuration limits:
Recommended hosting configuration
- vCPU: 3
- Memory (RAM): 3 GB
- SSD Storage: 60 GB
Recommended PHP configuration limits
- upload_max_filesize = 32M
- post_max_size = 32M
- max_execution_time = 300
- max_input_time = 300
- memory_limit = 256M
Please contact your service provider to verify your current PHP limits and have them set it up again if needed.
Note: Once you successfully install and activate the OneLMS theme, OneLMS Dashboard will be added to your WordPress menu. You can verify those requirements under OneLMS > System Status
2. Install Theme
For uploading Theme with WordPress uploader:

For uploading Theme with FTP tool:
1. Open the WordPress Dashboard.
2. Go to Appearance > Themes.
3. Click activate Theme.
And then :
Enable Thim Core to activate the core of OneLMS and start importing demo data process.