This Documentation is used for Live Course add-on for LearnPress.
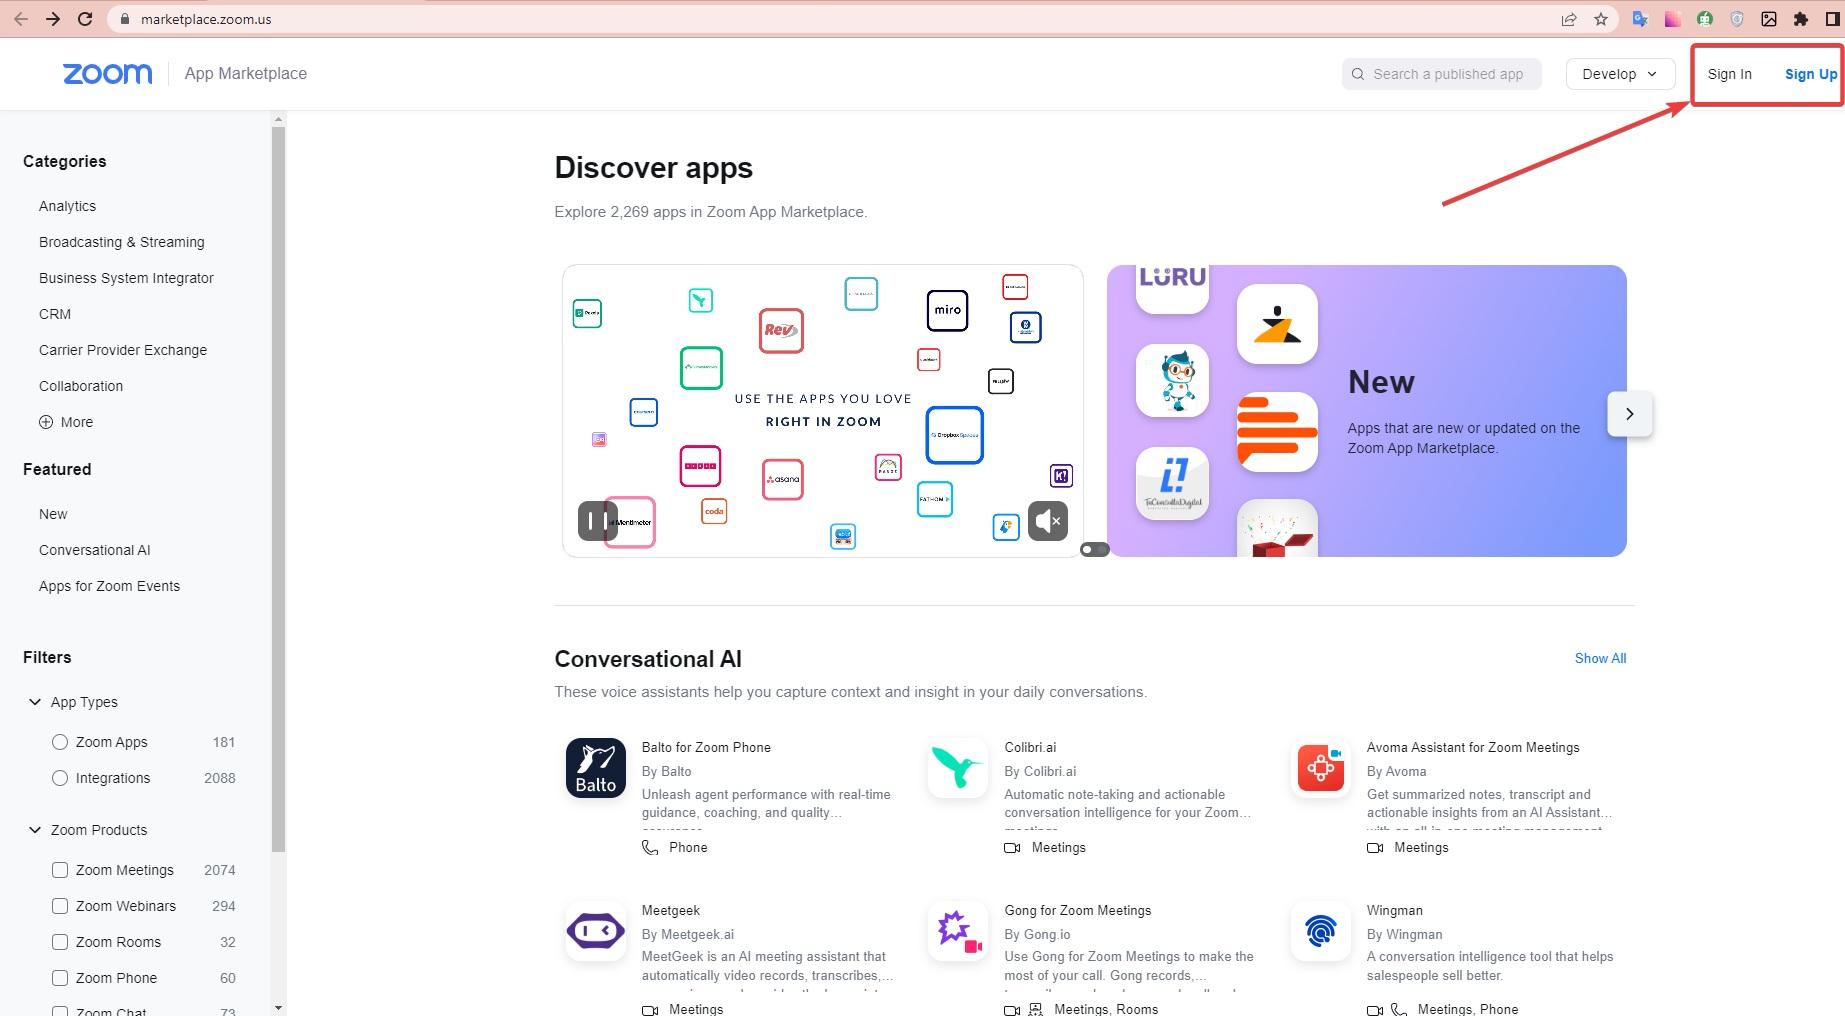
You must log in to your https://marketplace.zoom.us/ account to be able to Build App.
You can log in or sign up if you don’t have an account.
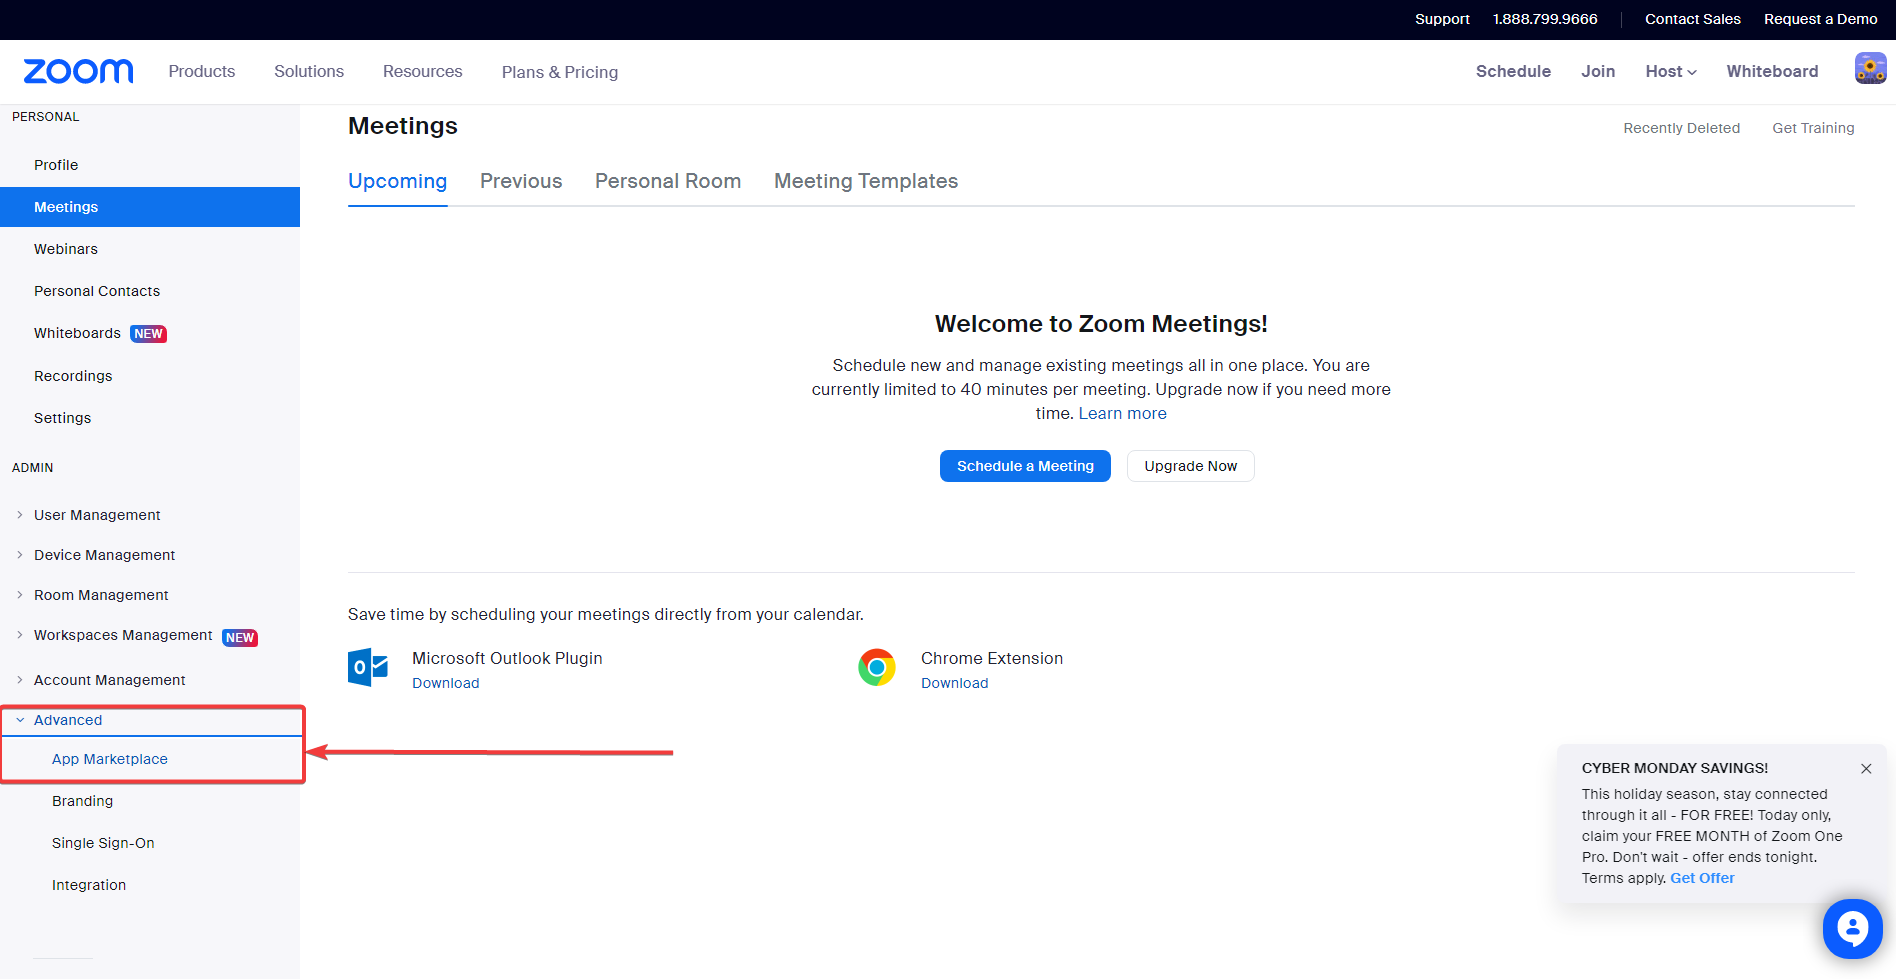
After successful login, the website will direct you to your zoom.us account. Scroll down and click on Advanced => App Marketplace.
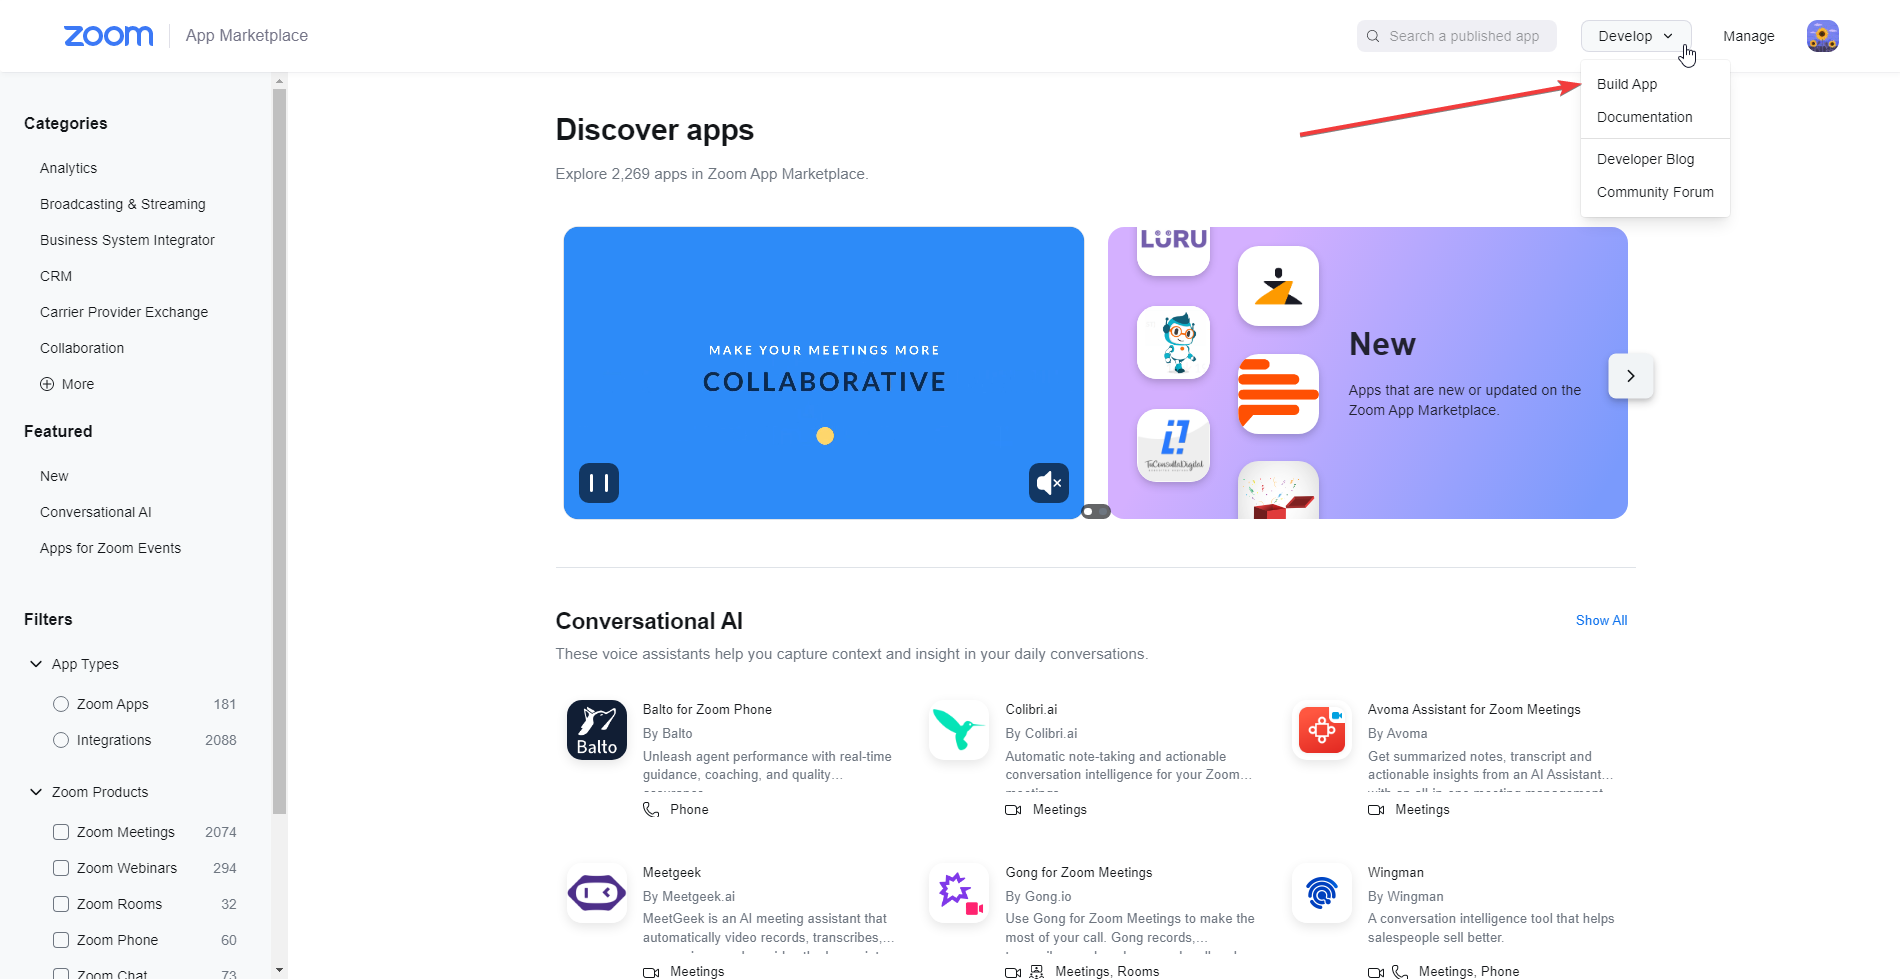
Next, select Build App on Develop.
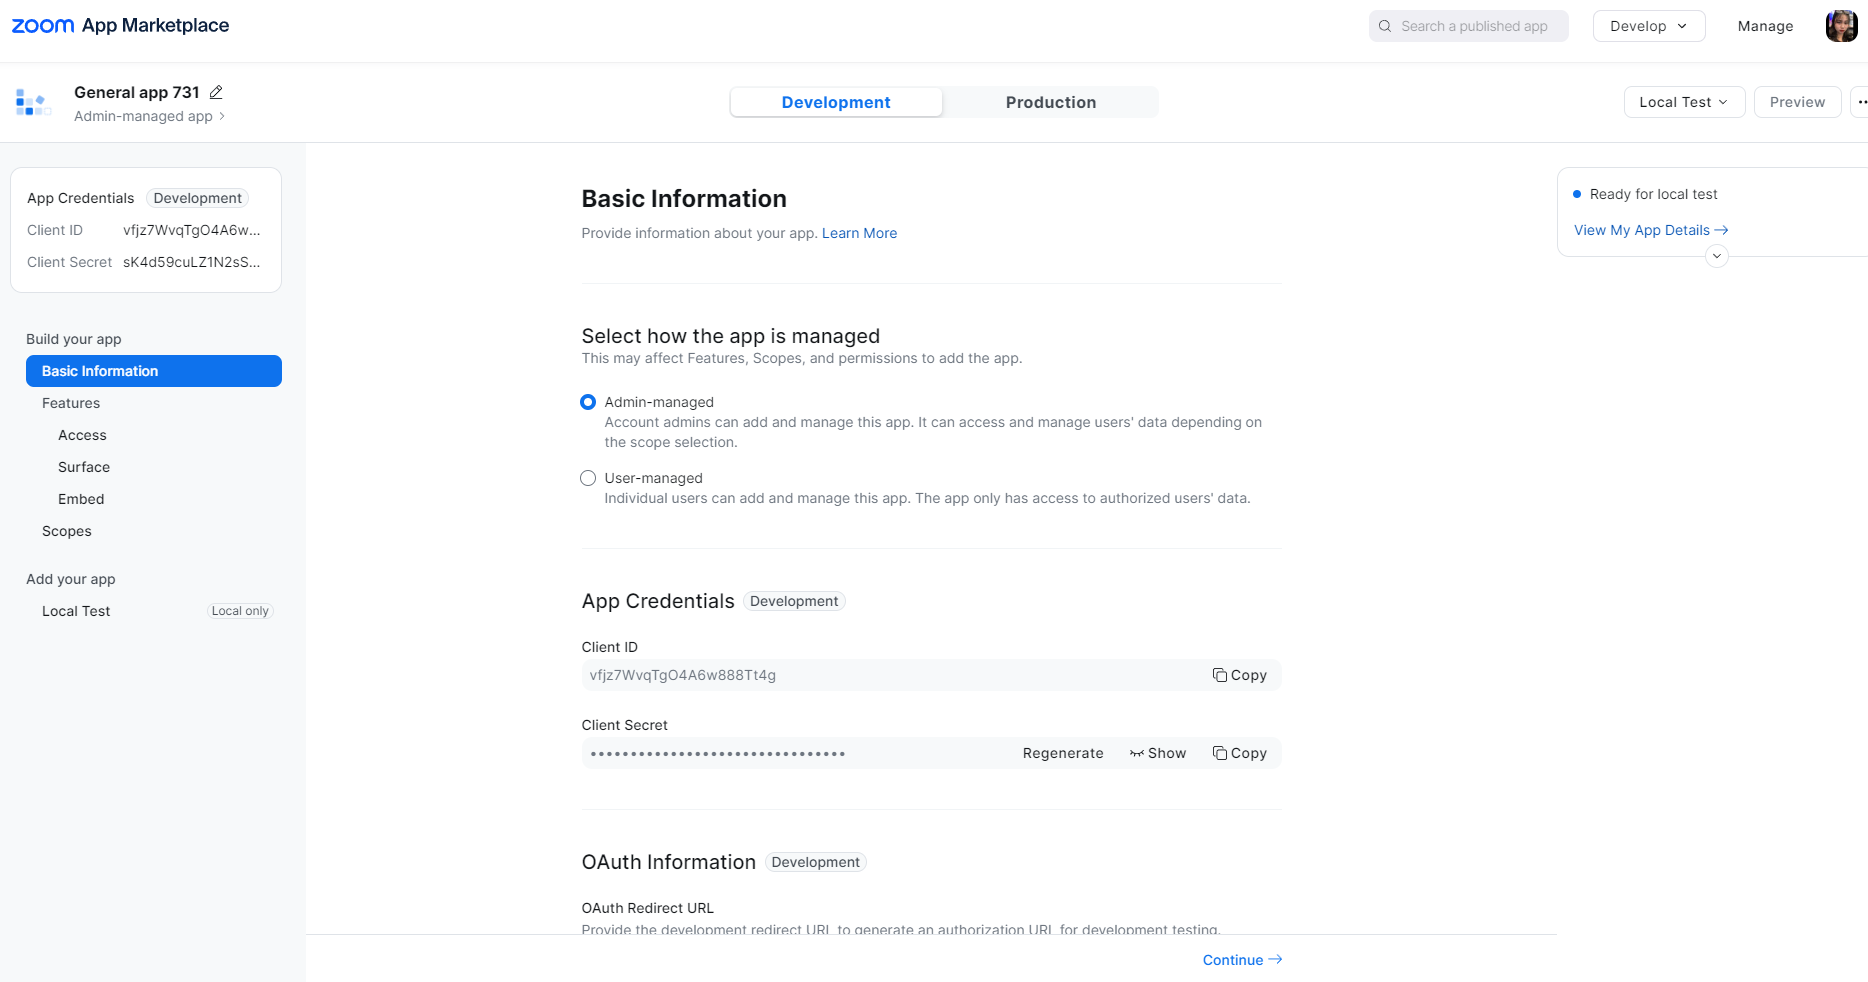
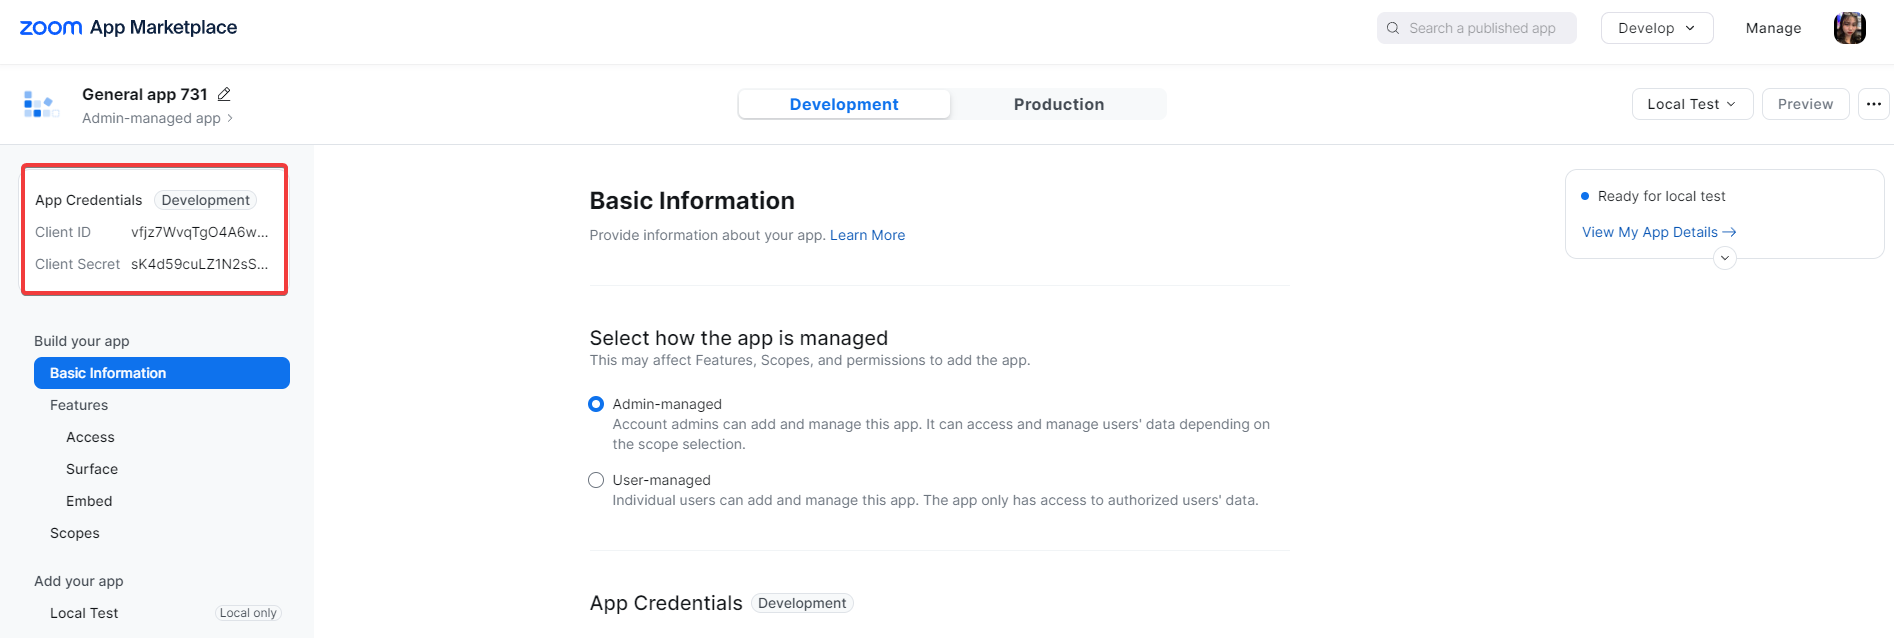
The app build screen will be displayed. You can rename it. You can also see the Client ID and Client Secret, but you still have to set up the app to be able to use the client.
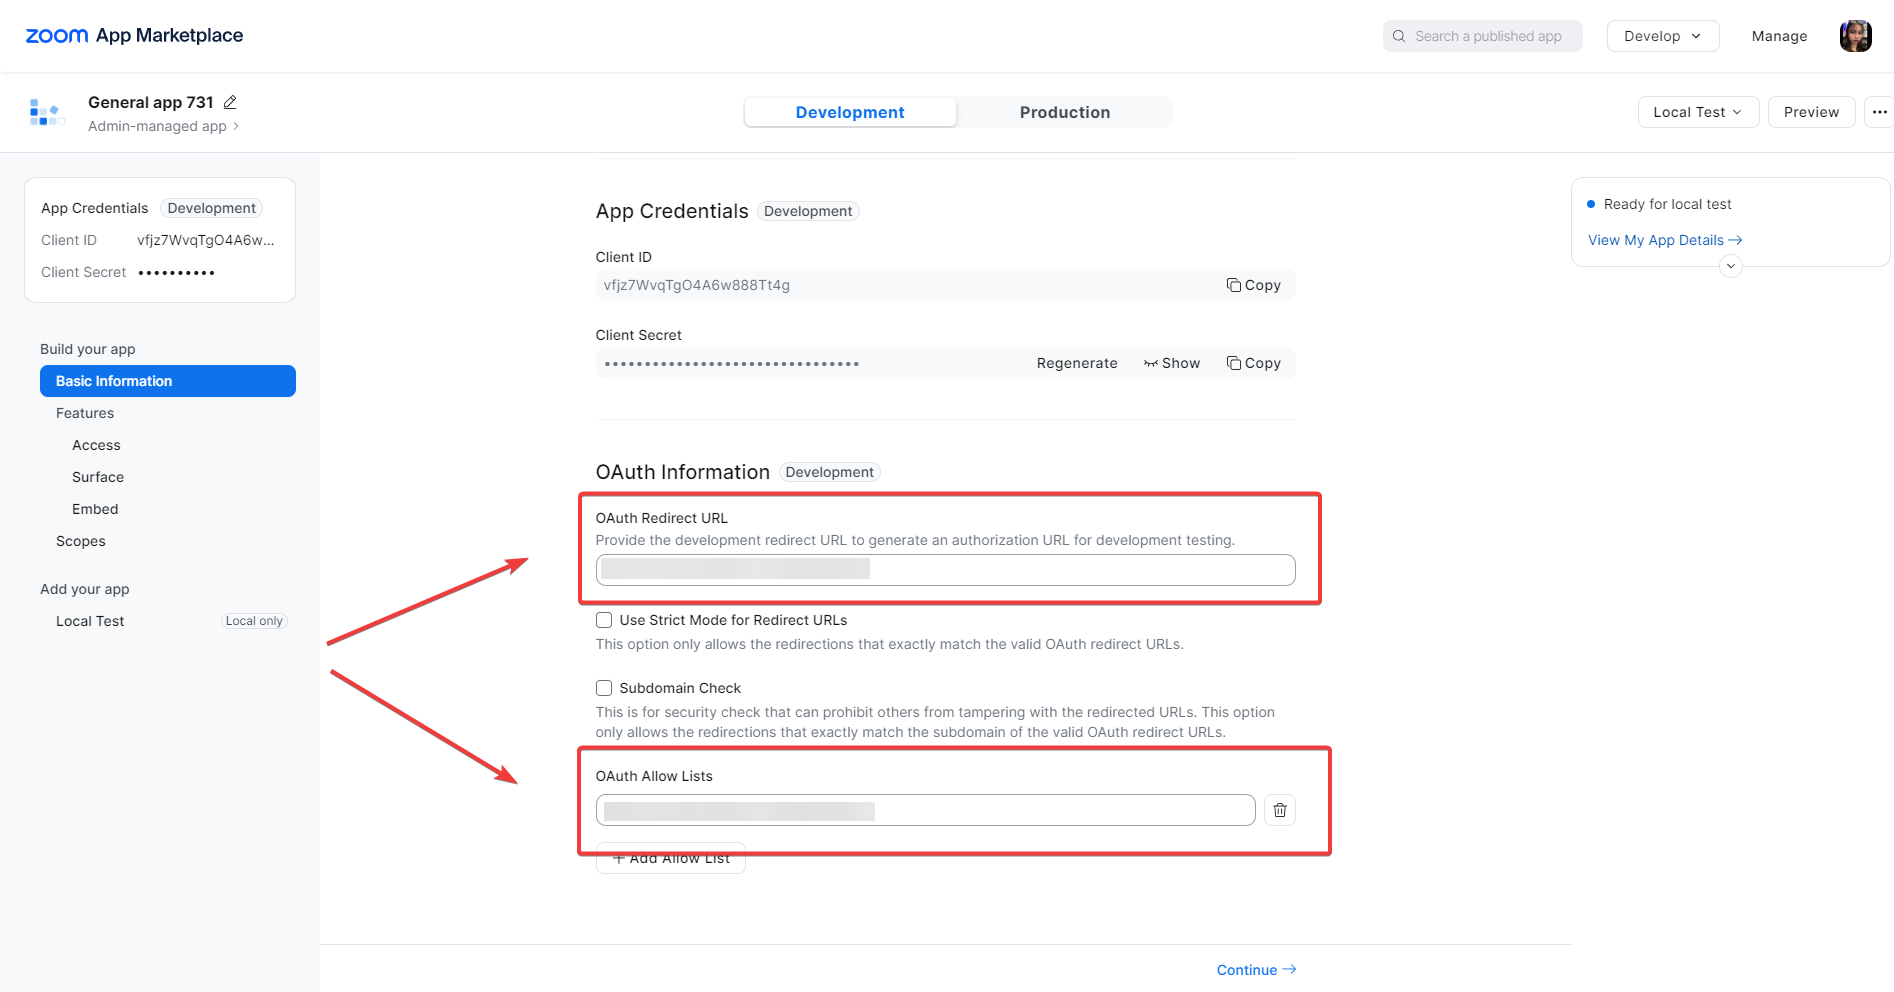
At this point, return to your site. After clicking LearnPress Zoom Settings in the admin bar, go to Settings and copy the site URL link.

Please paste that URL link into “Redirect URL for OAuth” and “Add allow lists” (remove the extension zoom-setting/settings). You must do all steps correctly so that your site can be linked to zoom accurately.
Note: The format of the Redirect URL for OAuth is: Your domain+ zoom-setting/settings/
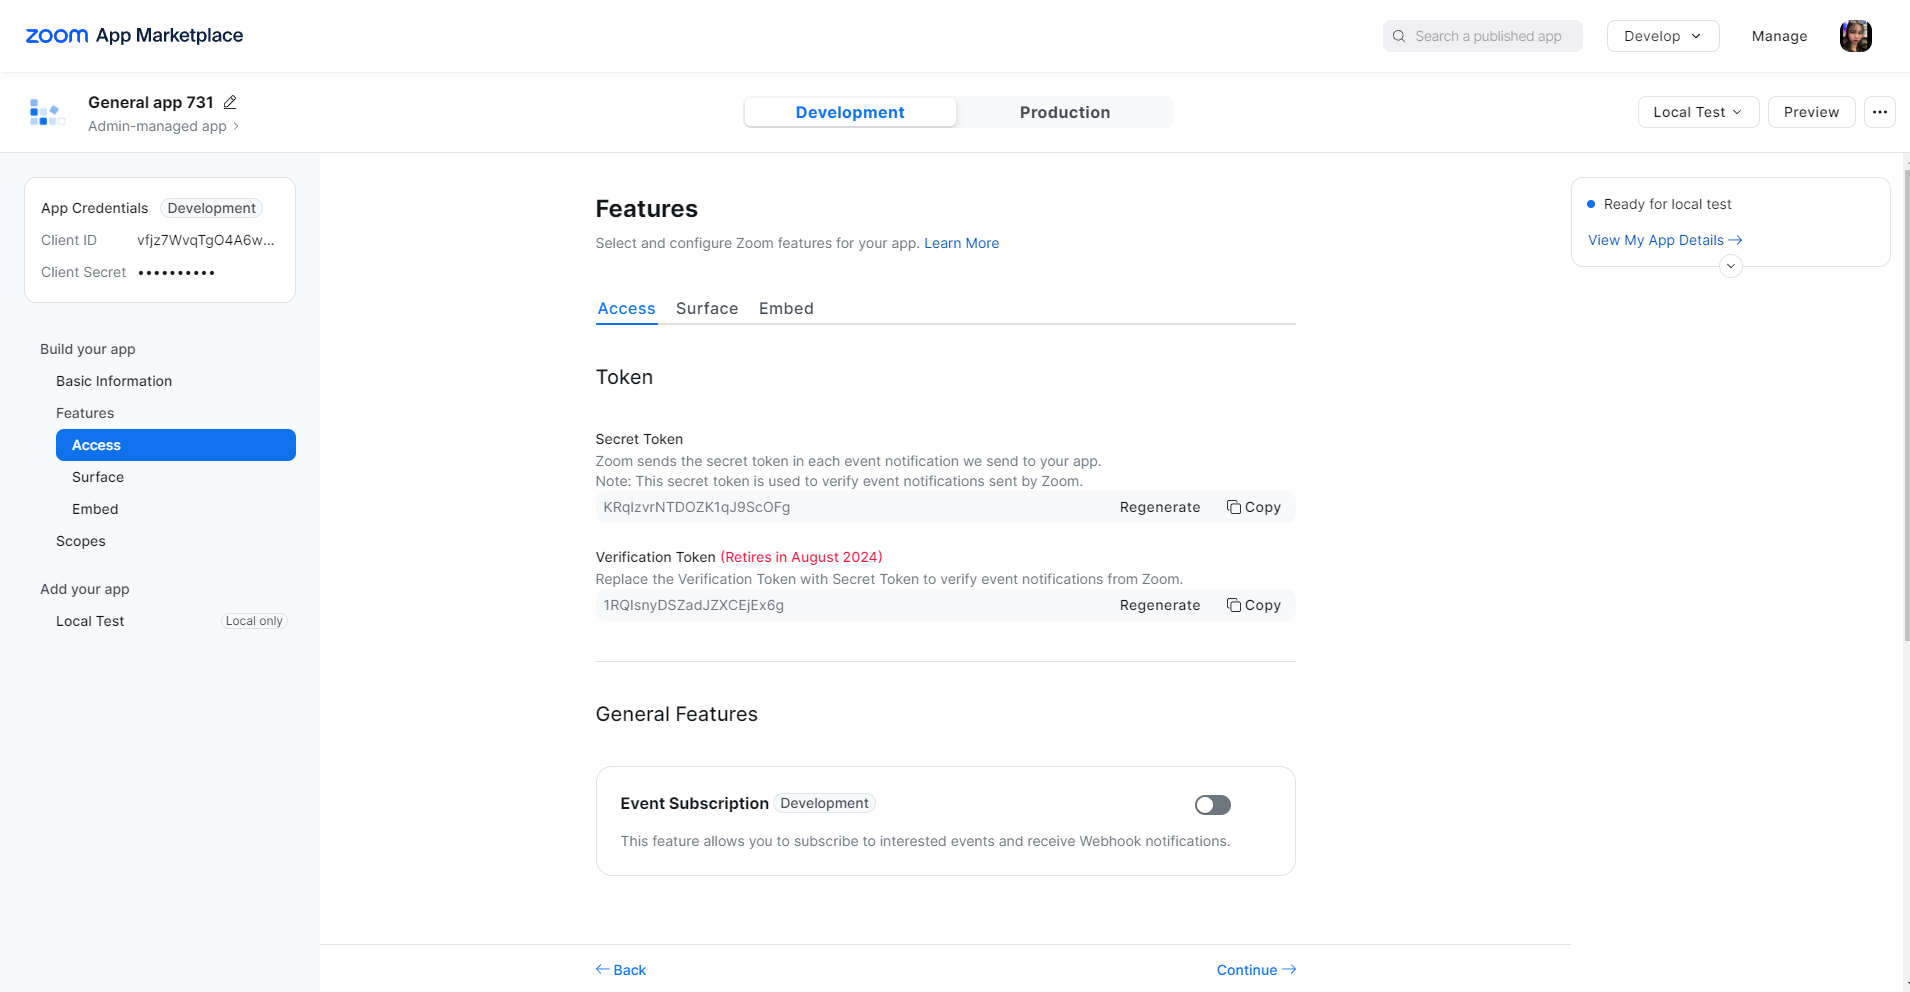
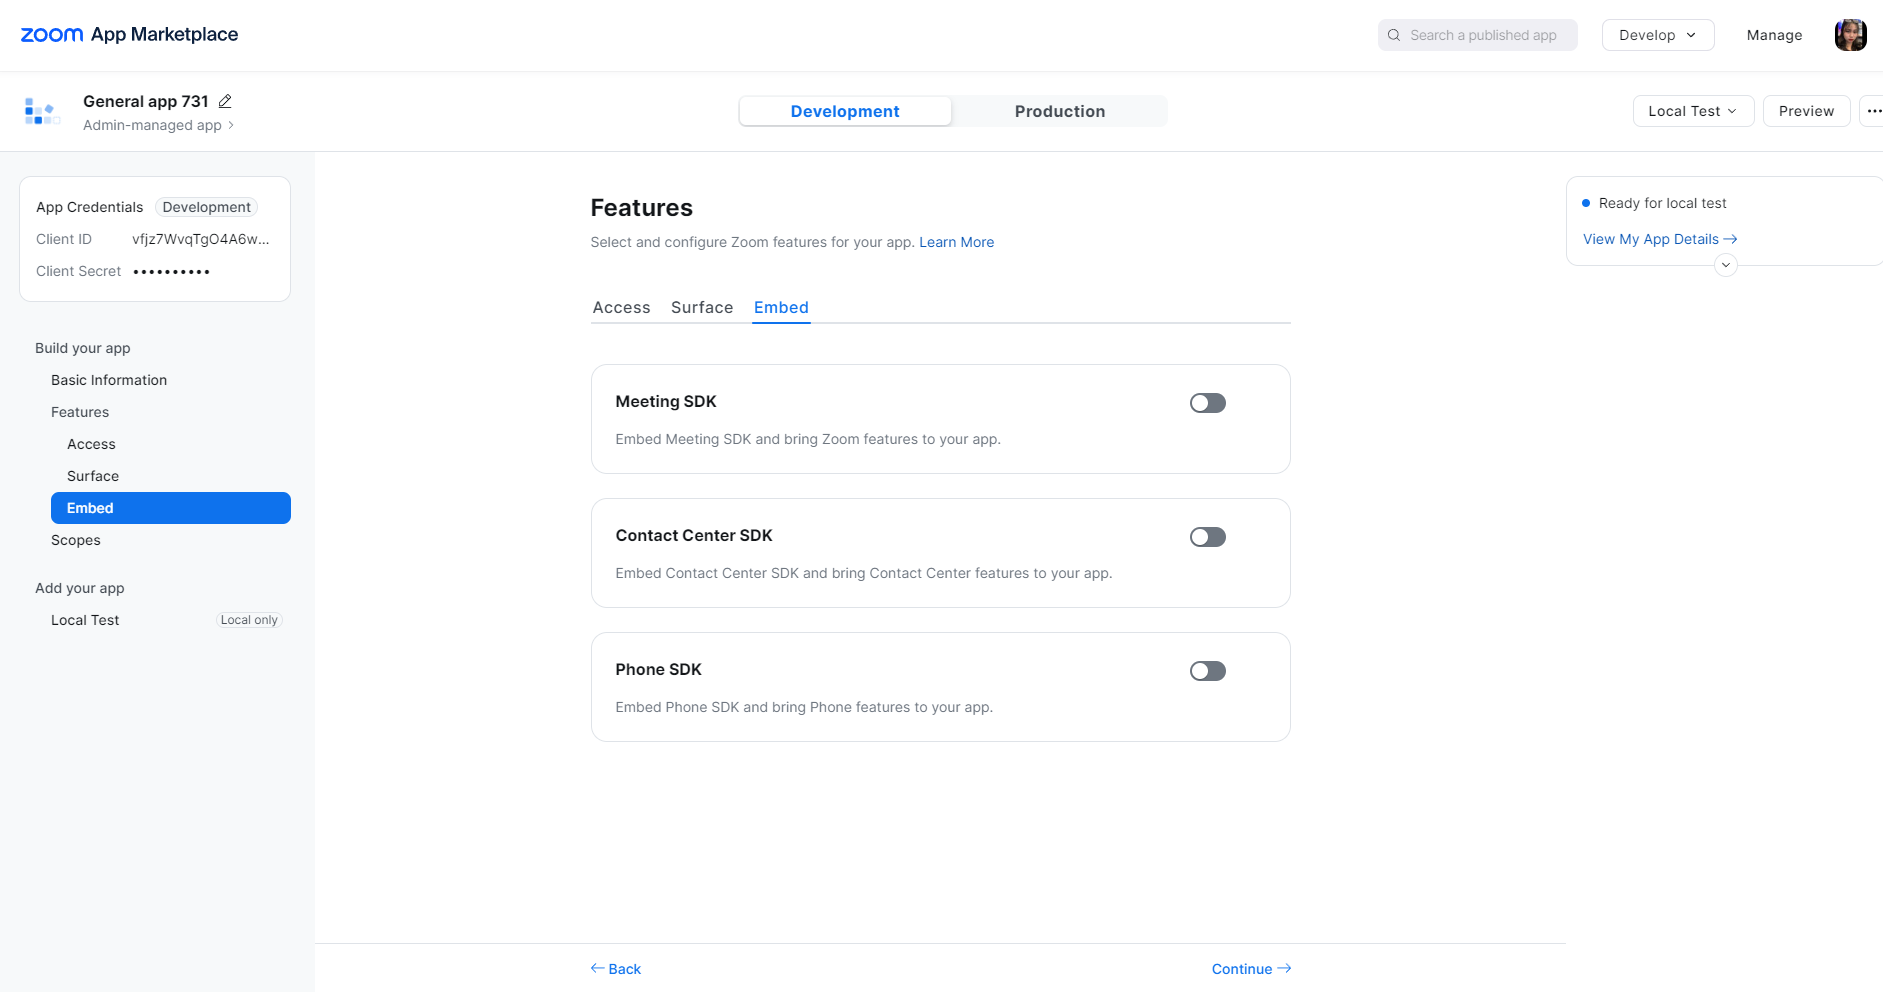
Next, select and configure Zoom features for your app.
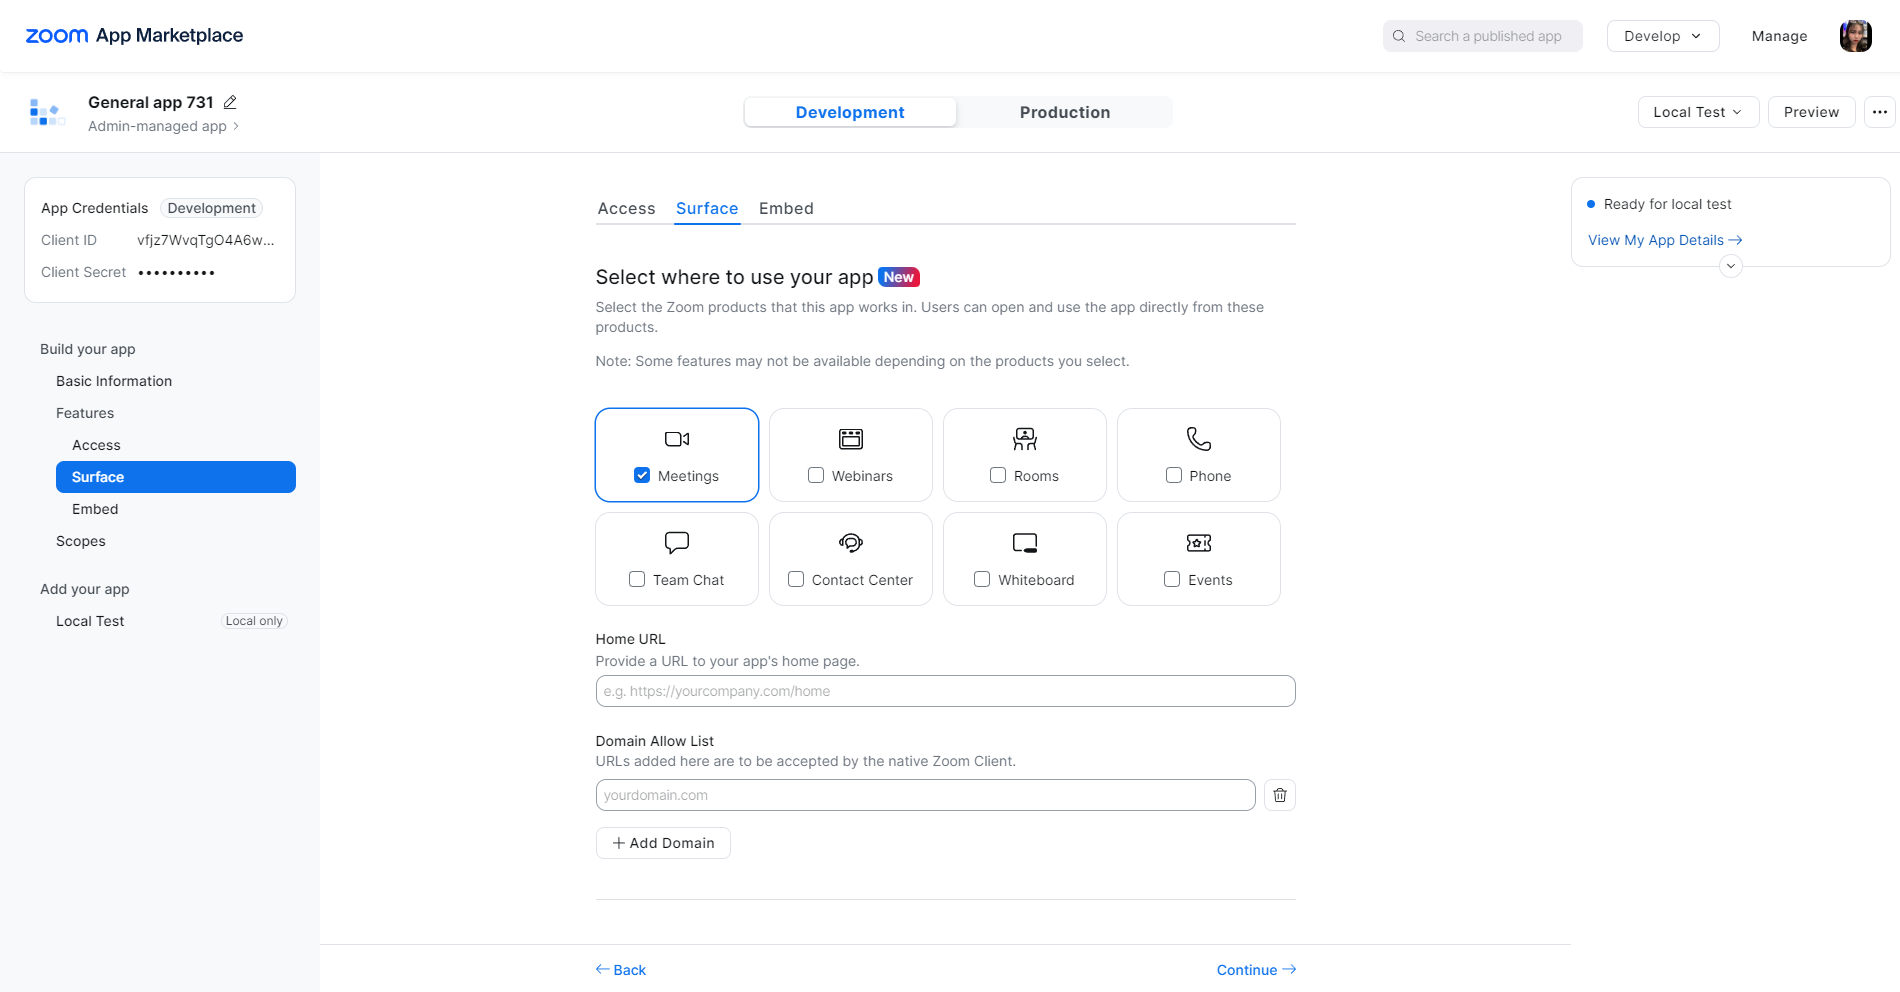
You need to select where to use your app as Meetings.
In the Scopes field, you can select Add Scopes. Select all fields in the Meeting except the “Get a meeting’s encoded SIP URI” field. You can see the photo below for easier setup.
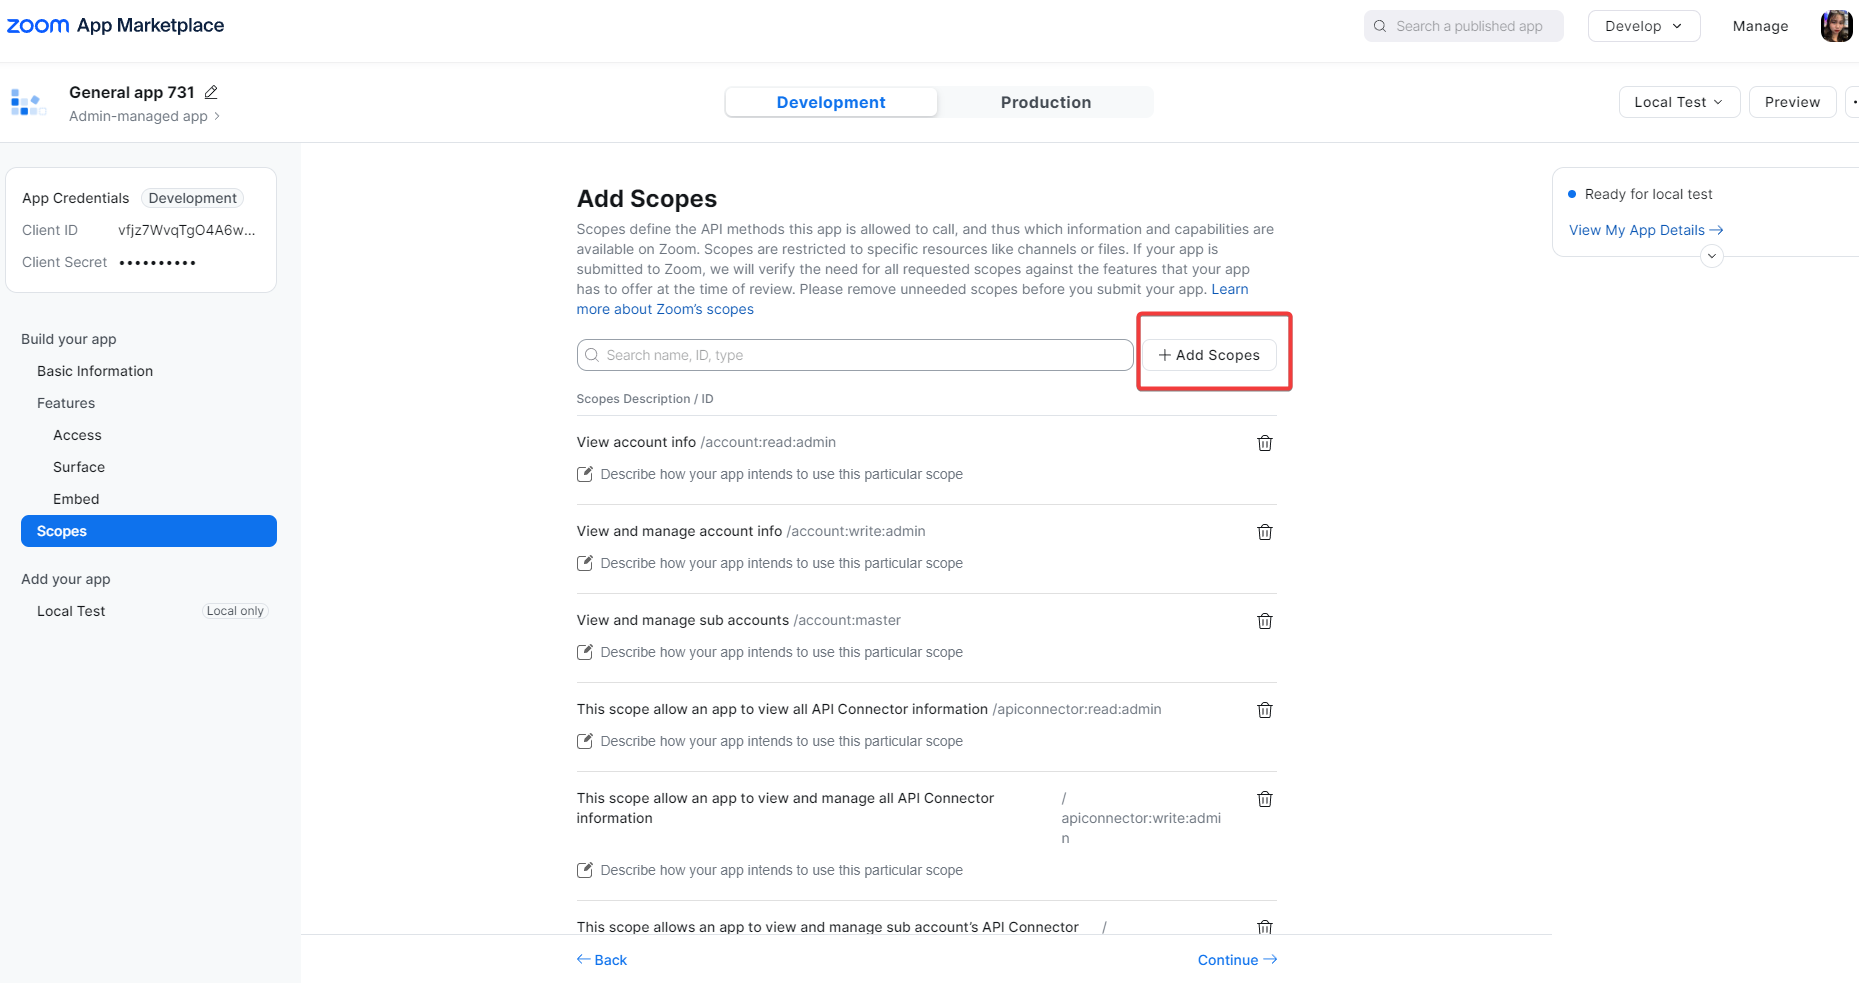
Please grant Scopes permission so the website can link to Zoom.
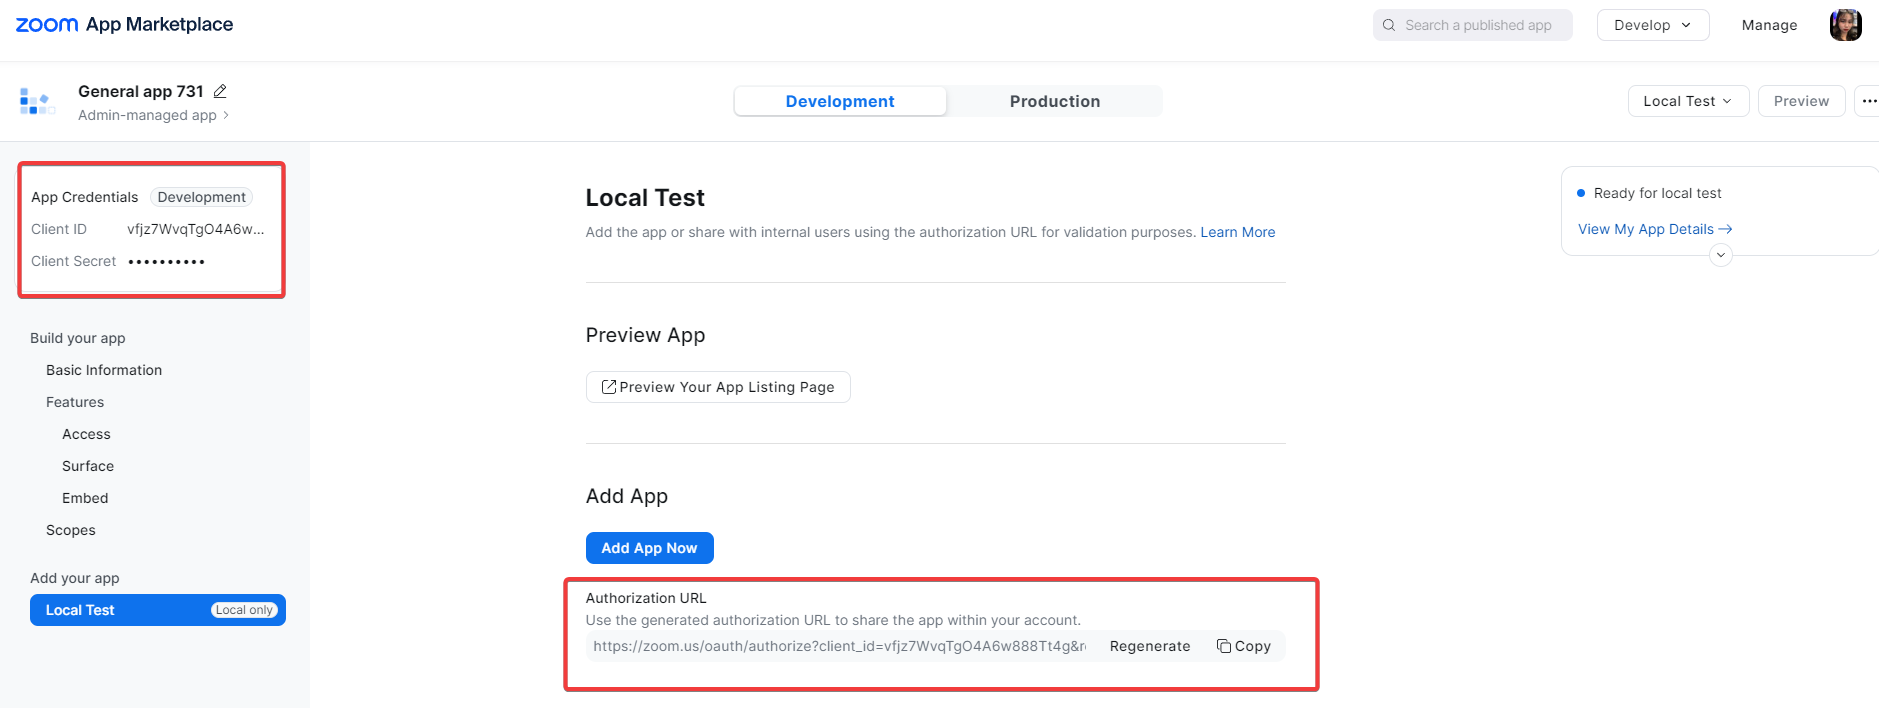
As a final step, you can Preview App or use the Authorization URL. Additionally, you can also use the Client ID and Client Secret above to connect.
Both ways will lead you to a web page as shown in the image below. Please select Allow to link the LearnPress Live Course Add-on to your site.
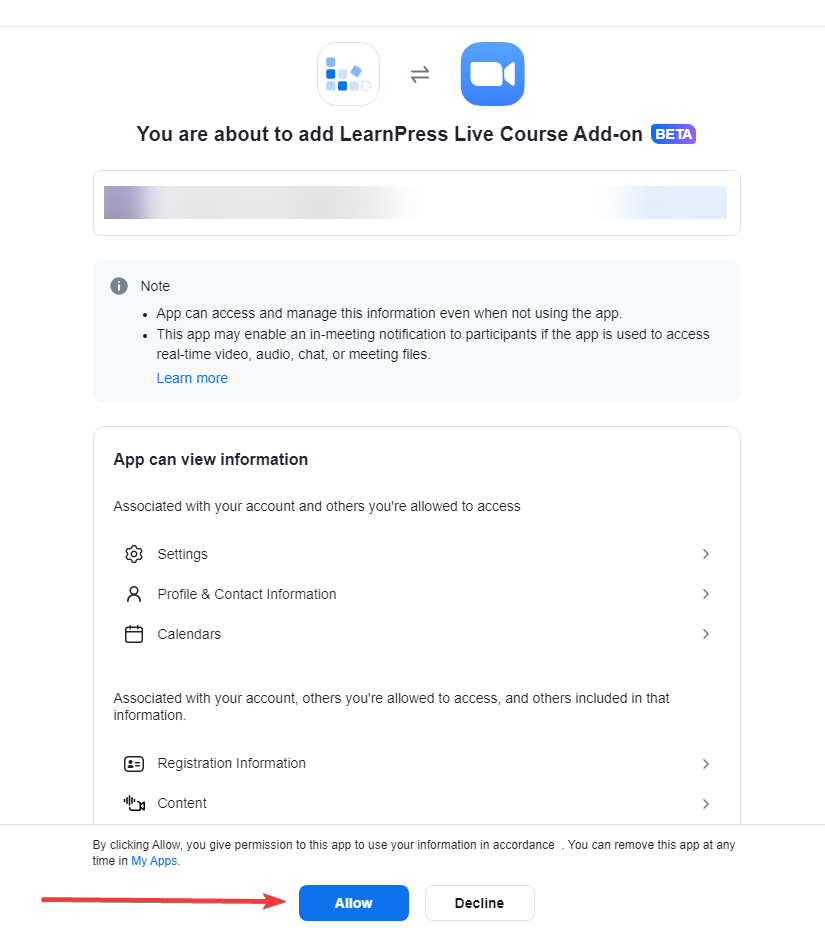
You will then be redirected directly to your site and your site has been linked to the LearnPress Live Course Add-on.
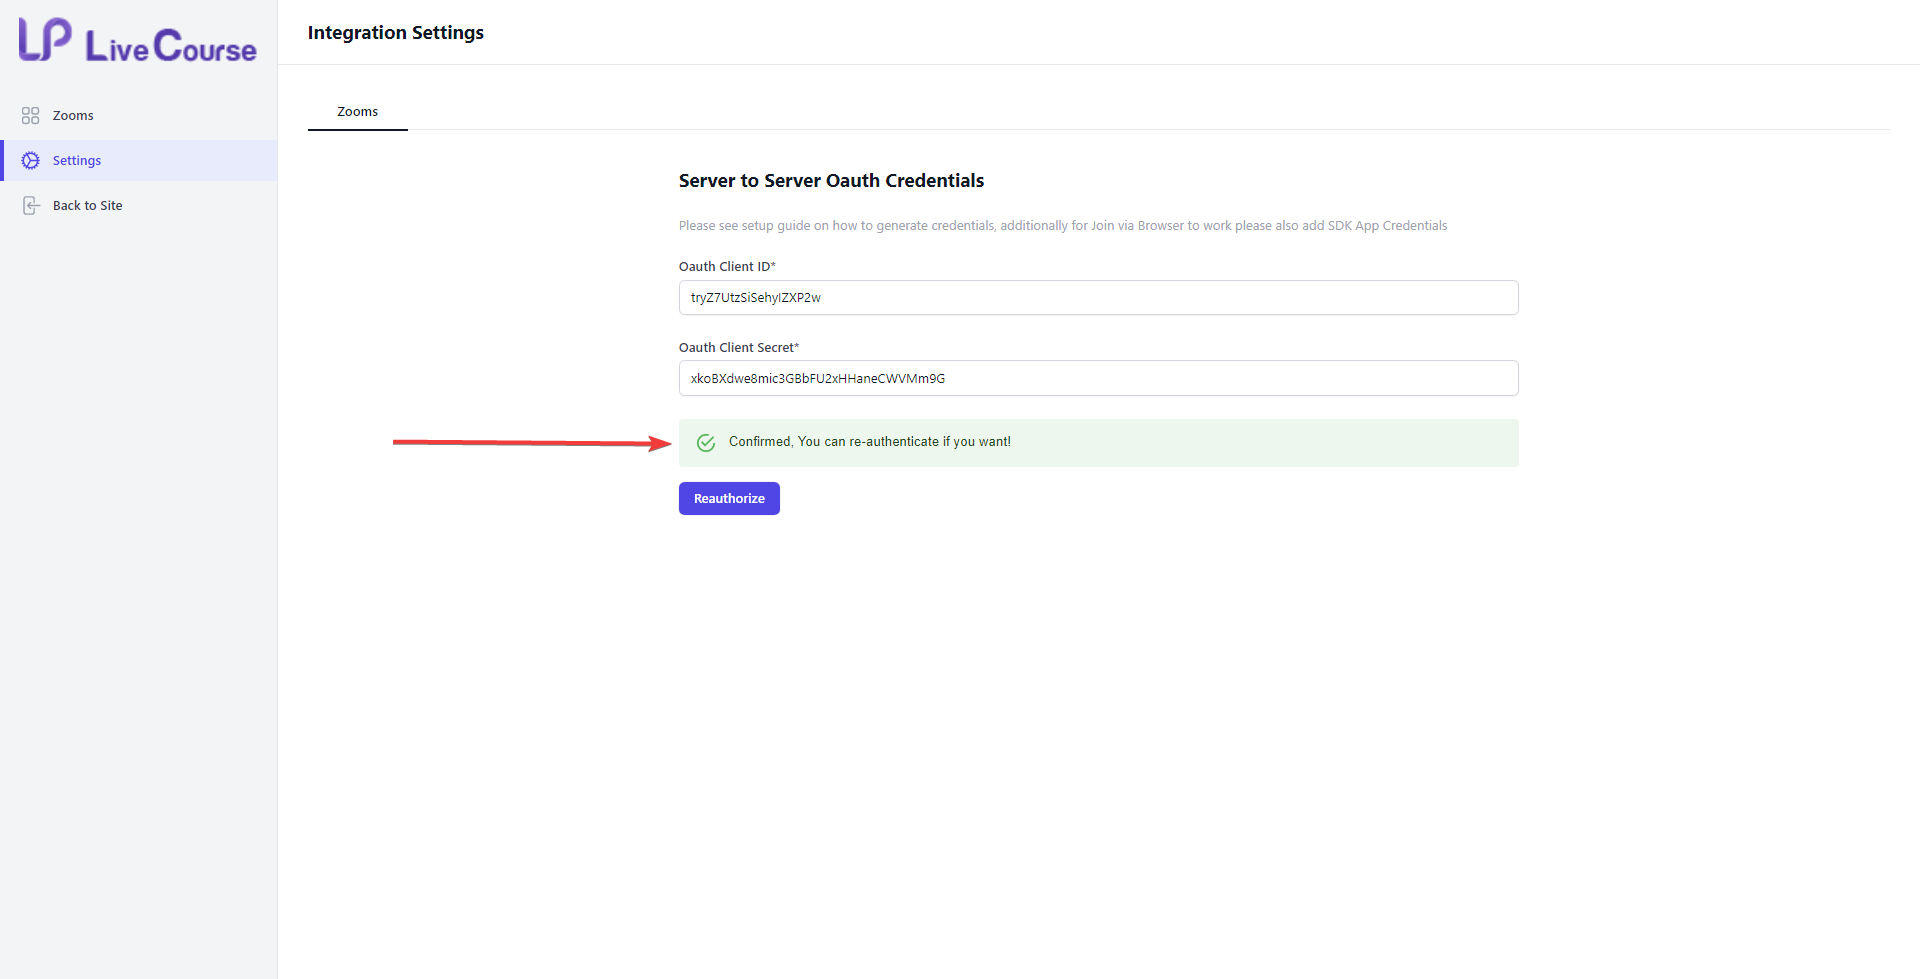
Alternatively, you can choose to go to App Credentials => Copy Client ID and Client secret. Then paste in settings and select Reauthorize.

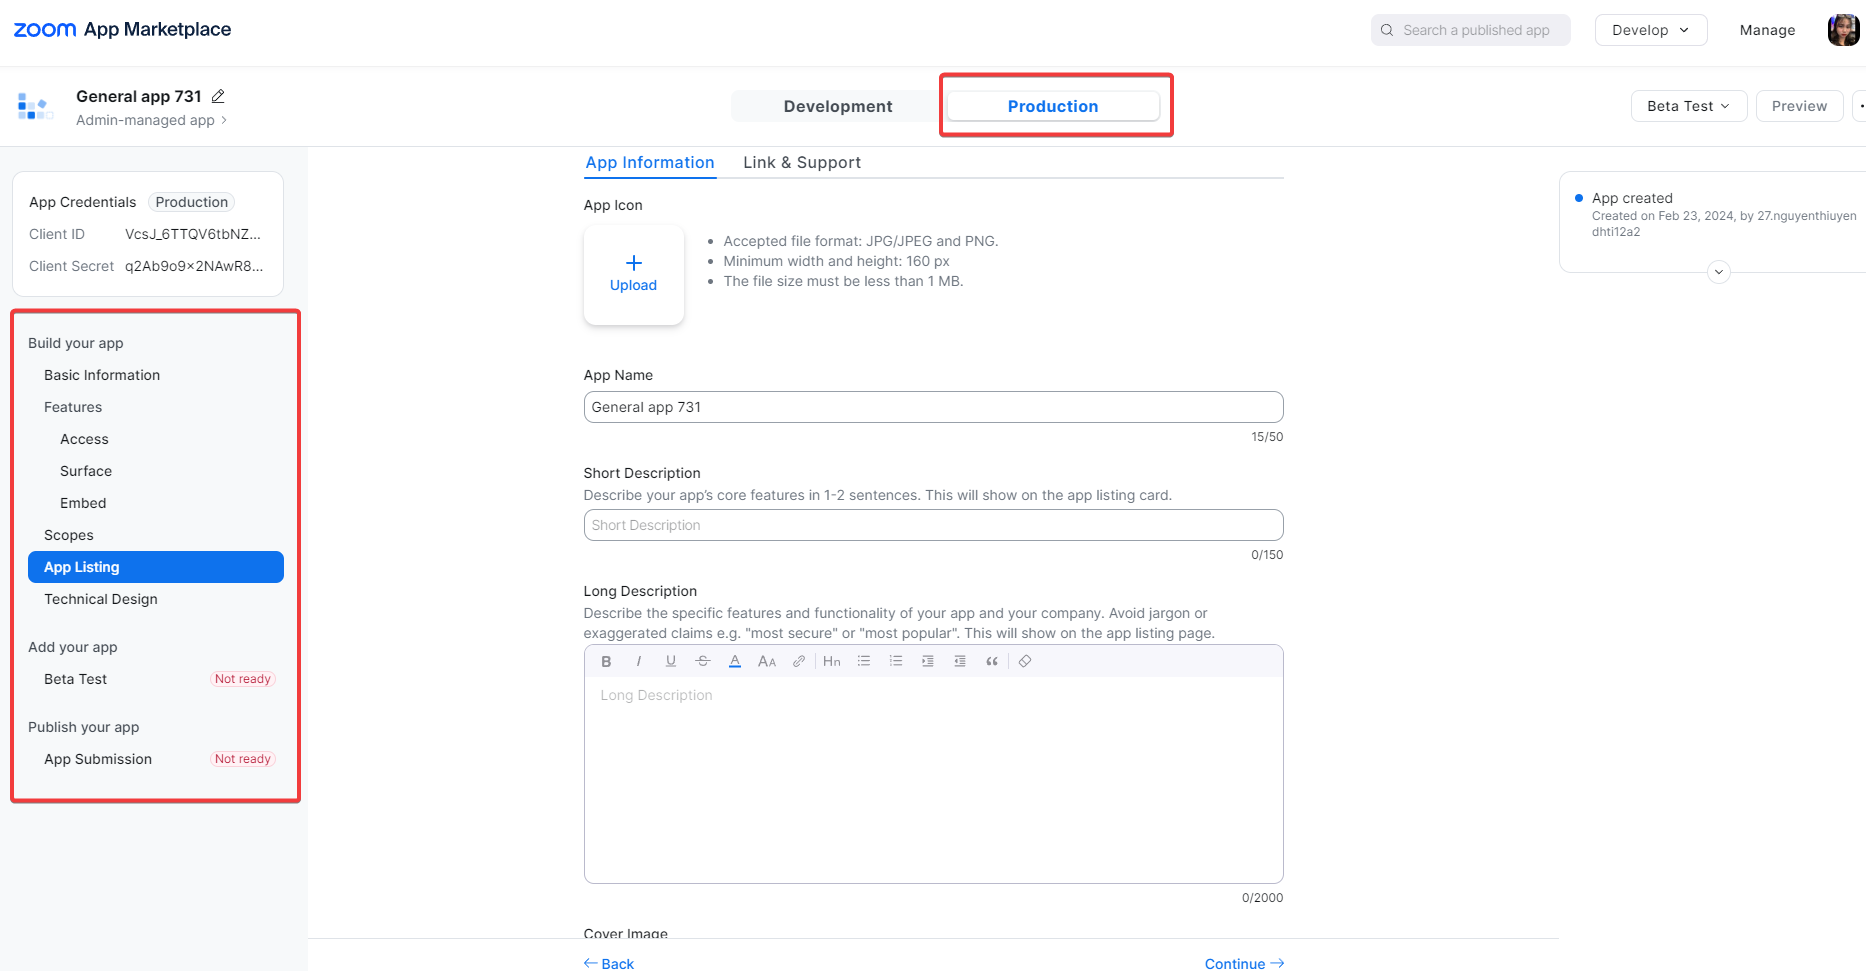
If you want to edit the app in more detail, you can click Production. Here you can edit more fully the title, description,…
With the steps in the Development tab, you can already connect zoom.