-
Setup for in-app purchases for iOS
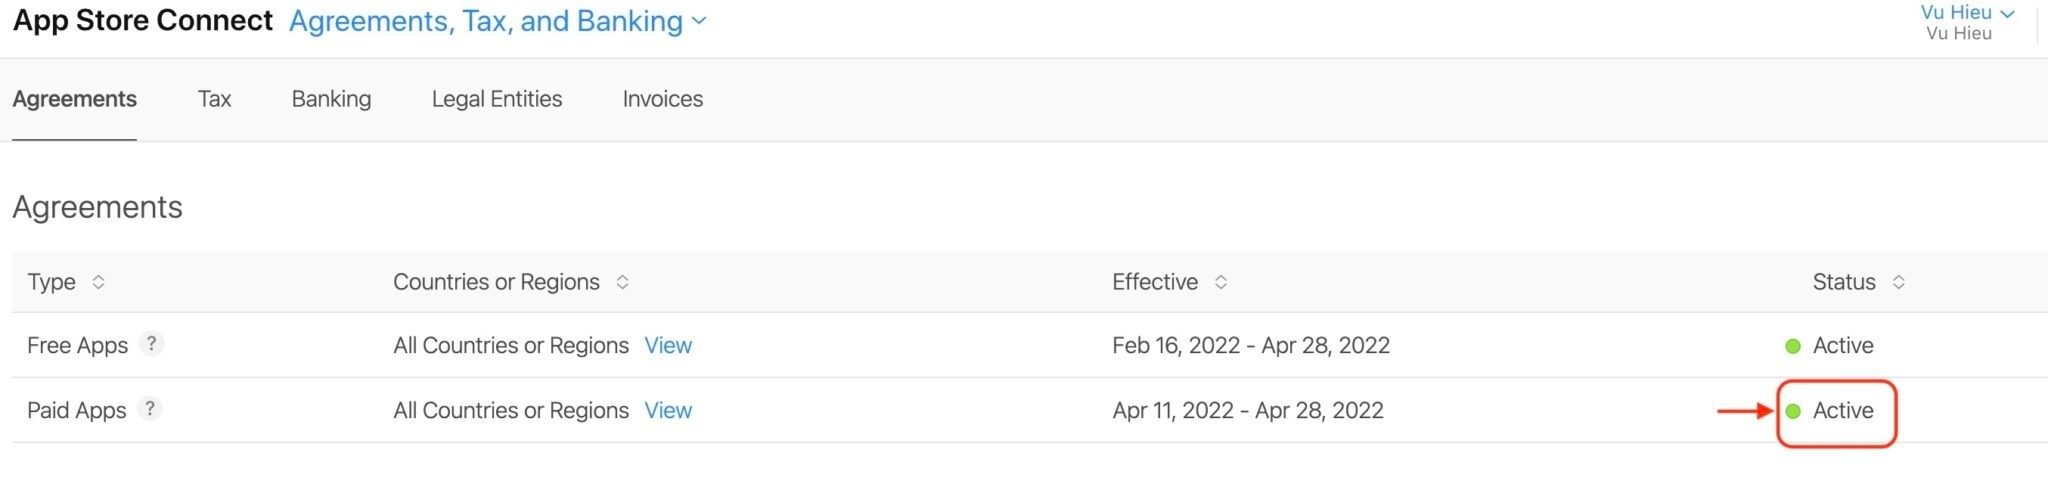
- Complete an effective “Agreements, Tax, and Banking.”
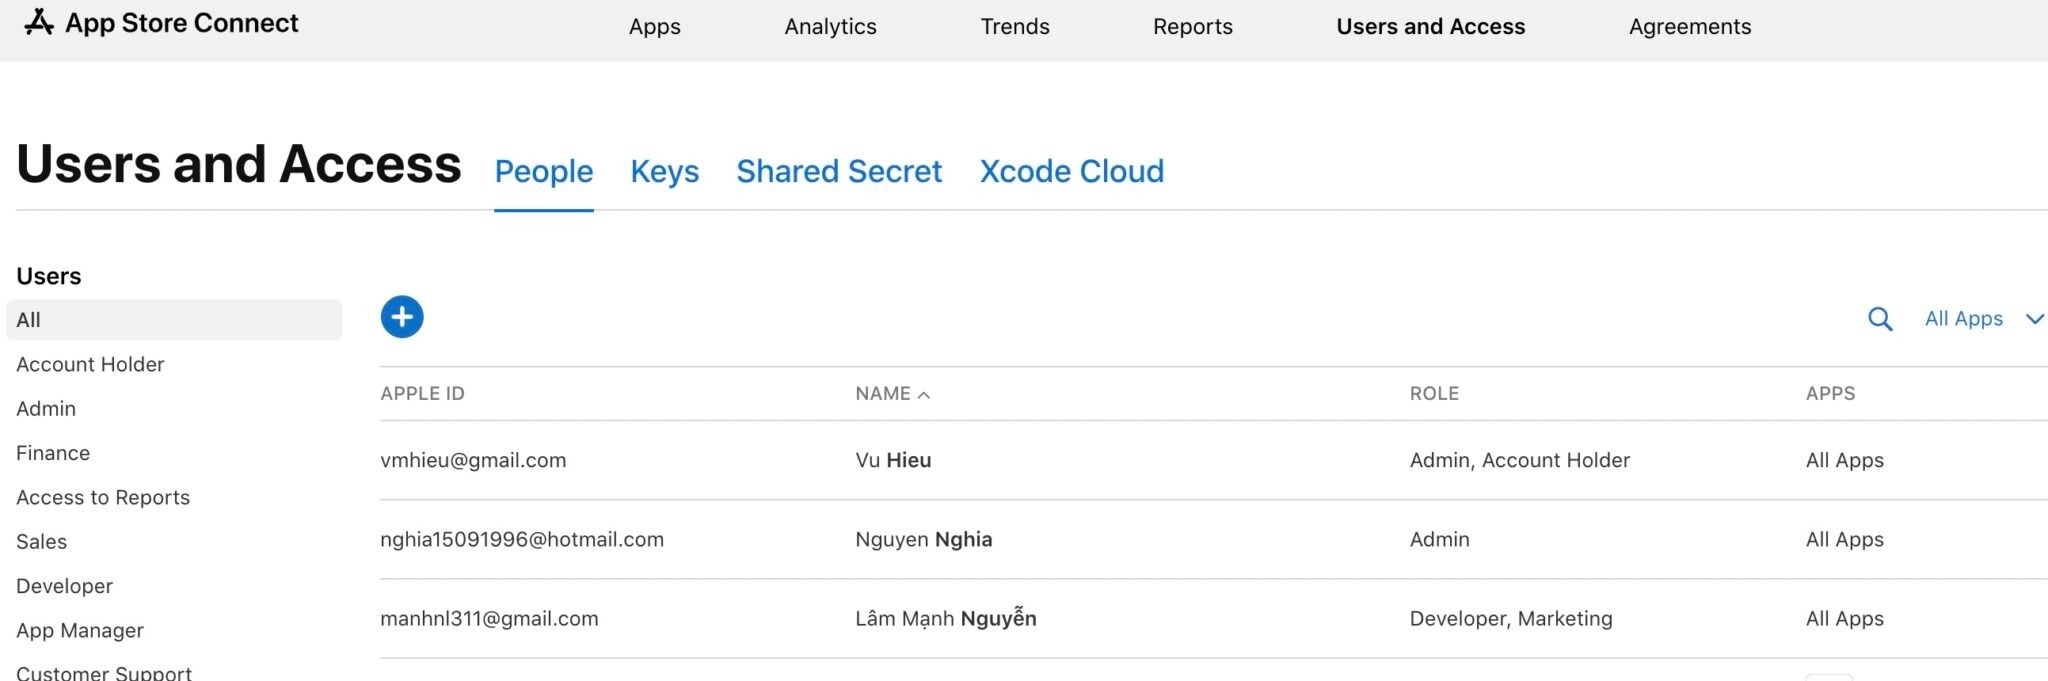
- Set up a sandbox testing account in “Users and Roles.”
- Signed into an iOS device with a Sandbox account.
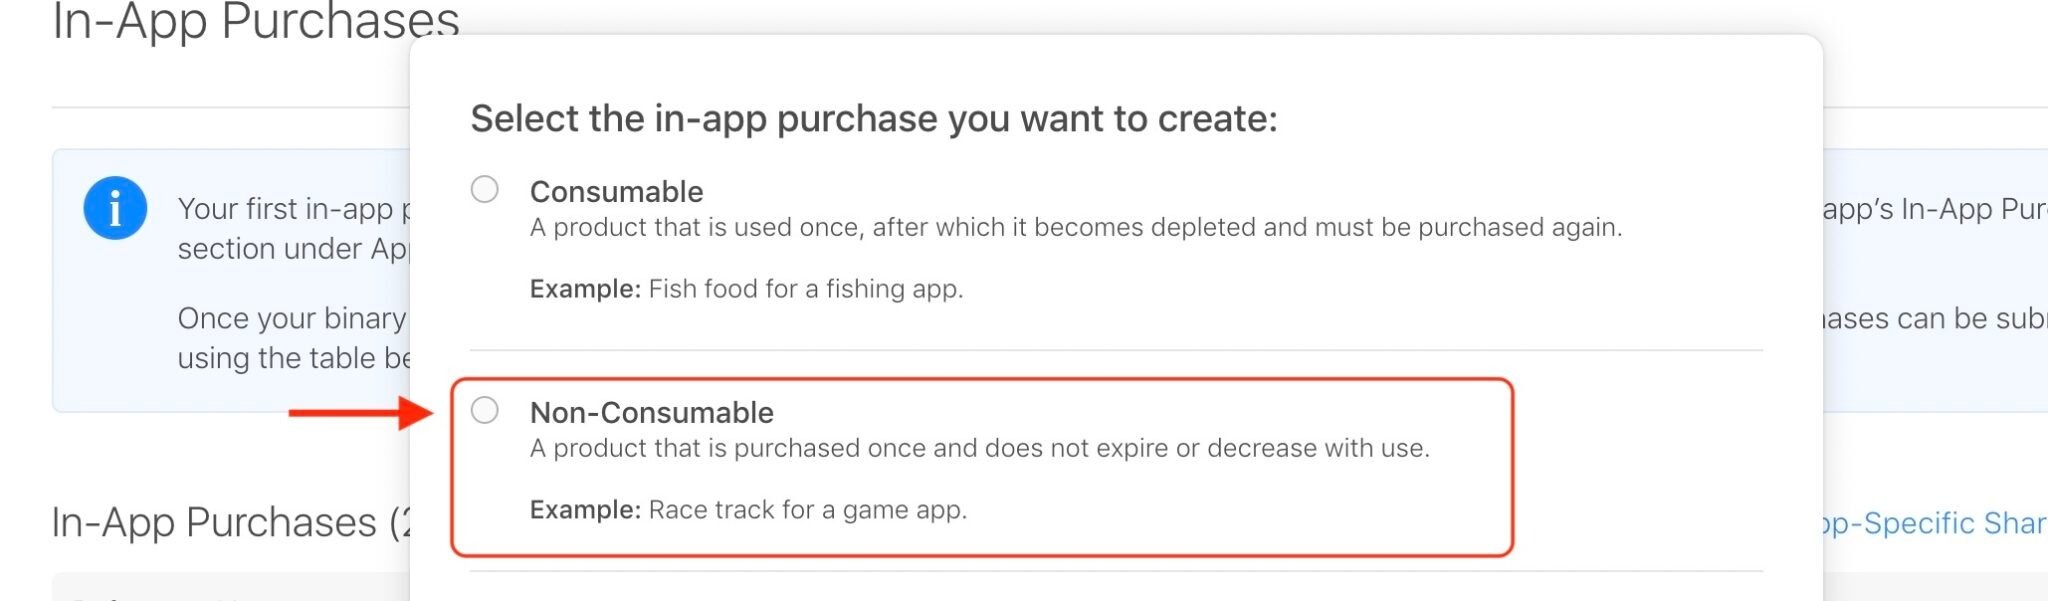
- Set up In-App Purchases Products:
Create a Product with Non-Consumable
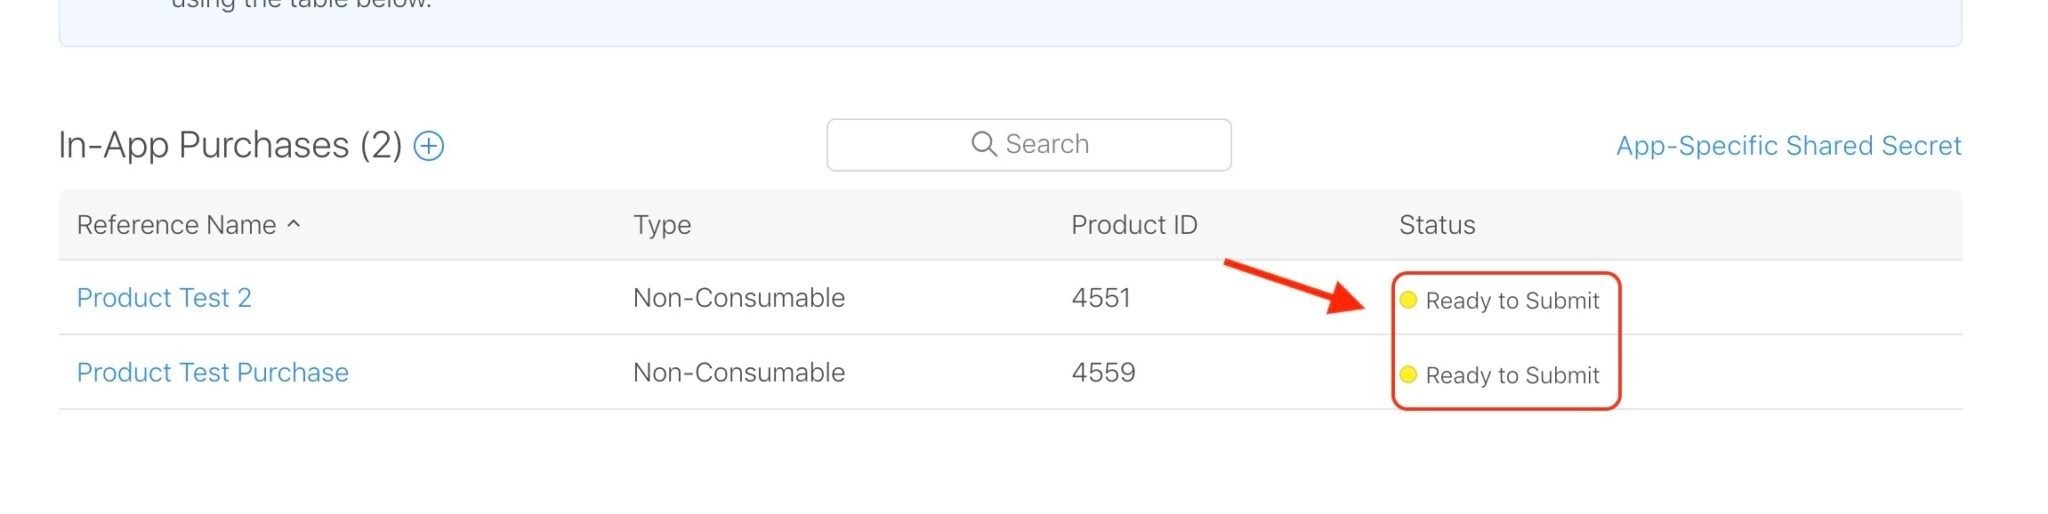
Find a Course ID and Create a Product with the Course ID.

Click Save.
Click Ready to Submit.
- Enable “In-App Purchase” in Xcode “Capabilities” and in the Apple Developer -> “App ID” setting. Delete app / Restart device / Quit “store” related processes in Activity Monitor / Xcode Development Provisioning Profile -> Clean -> Build.
-
Setup for in app purchase android
- Create new AAB file for your application: https://reactnative.dev/docs/signed-apk-android#generating-the-release-aab
- Upload your AAB on Google Play.
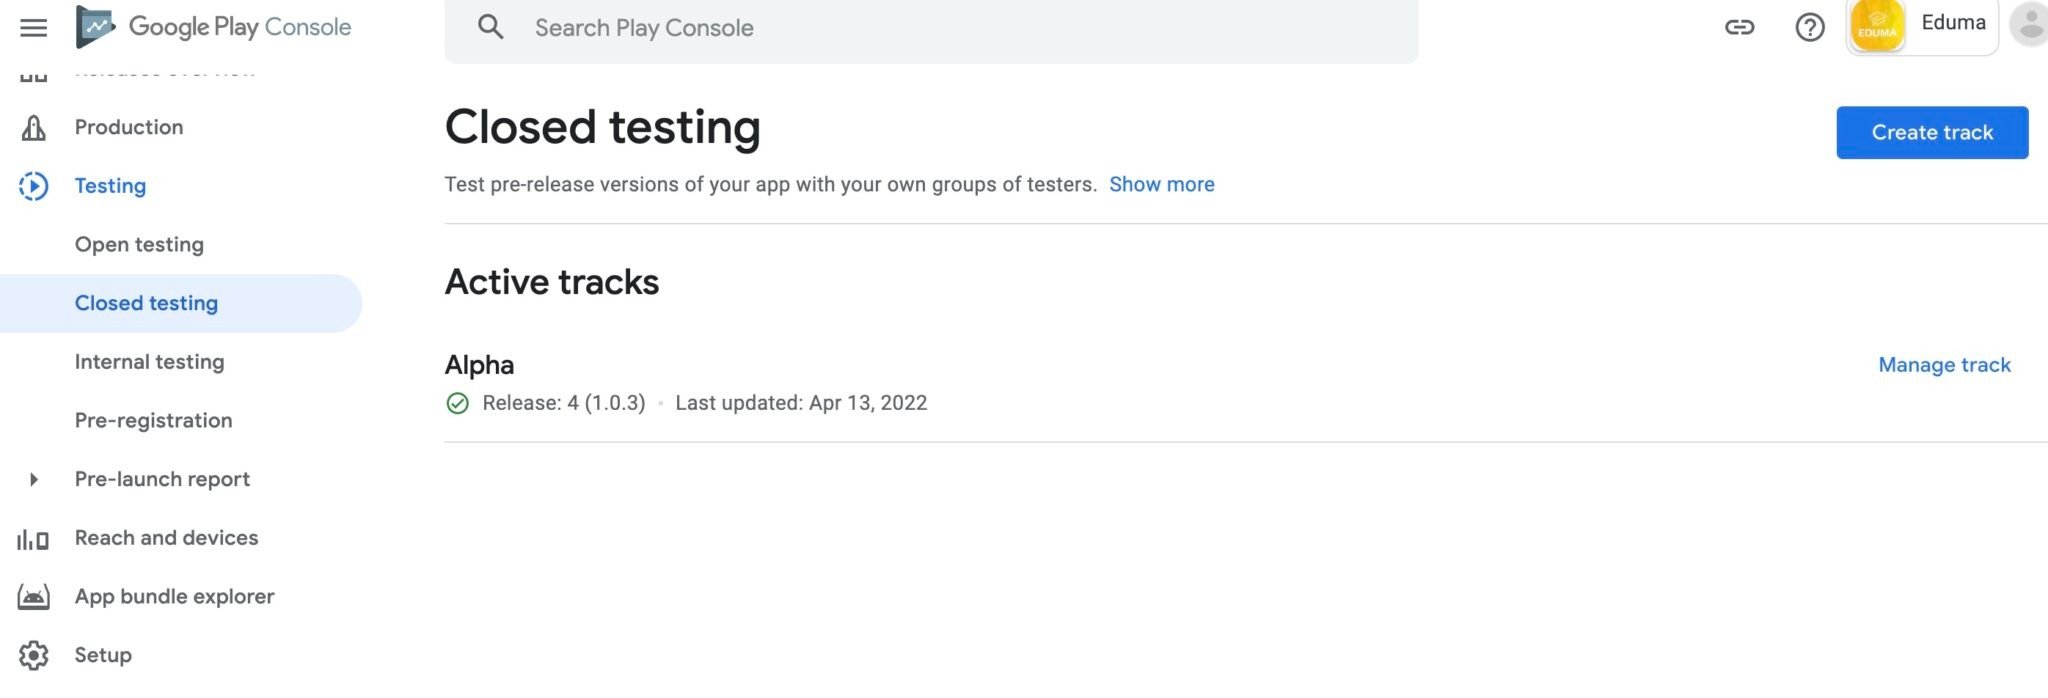
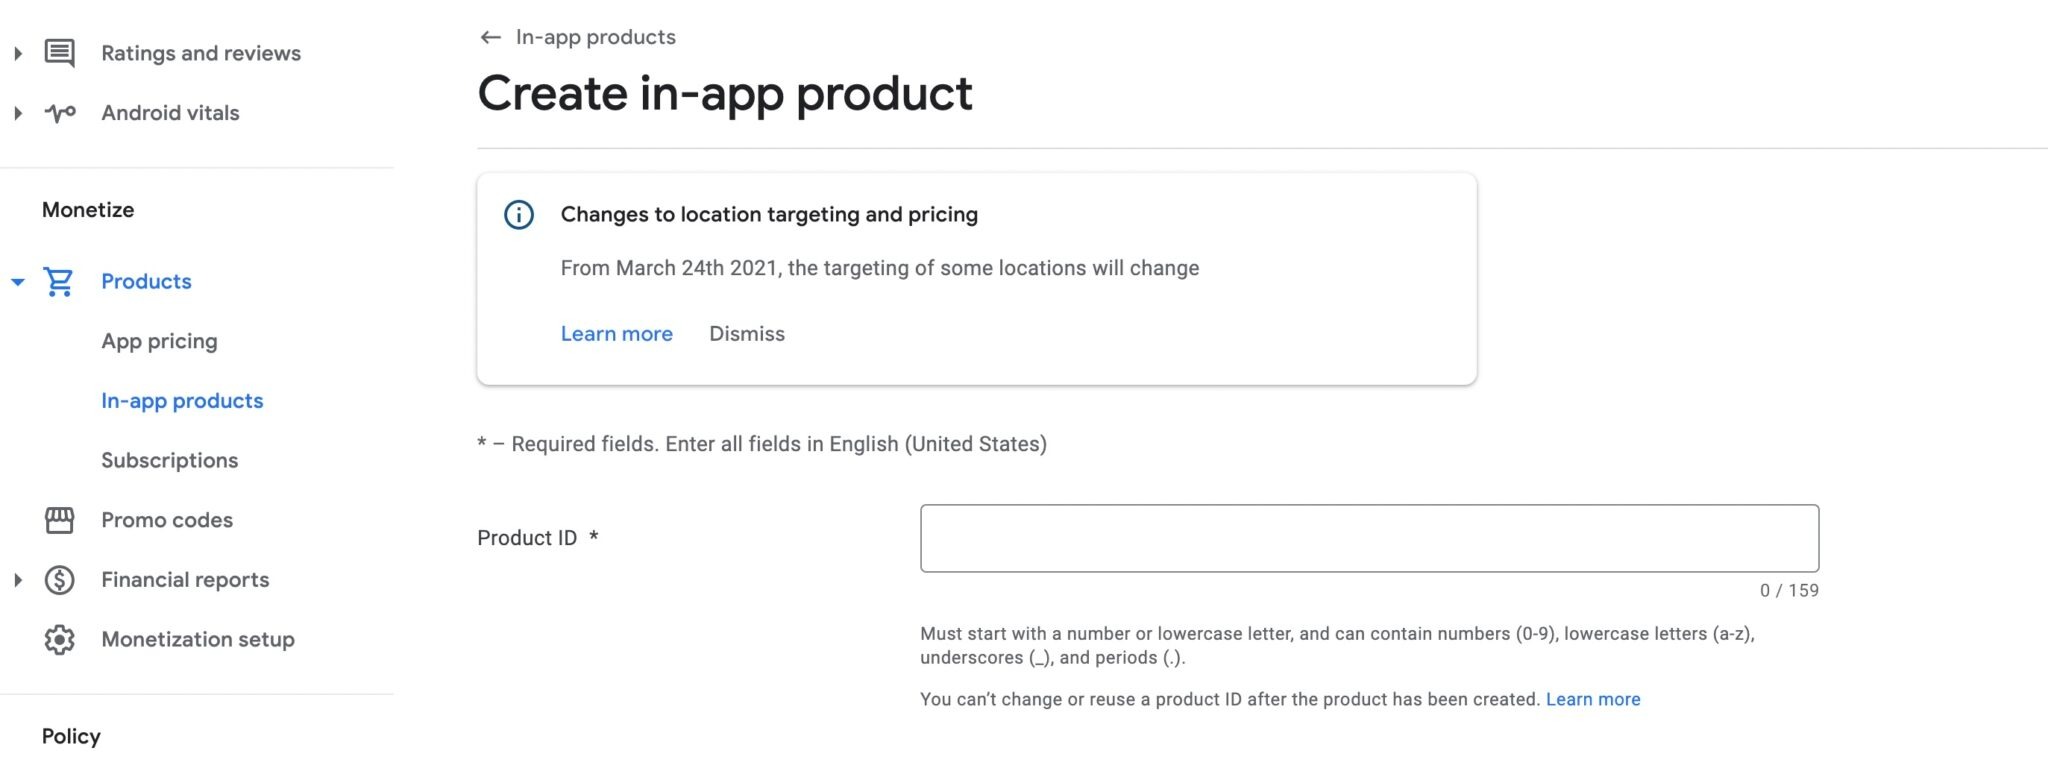
- Create Product for your appication (Product ID same Course ID)

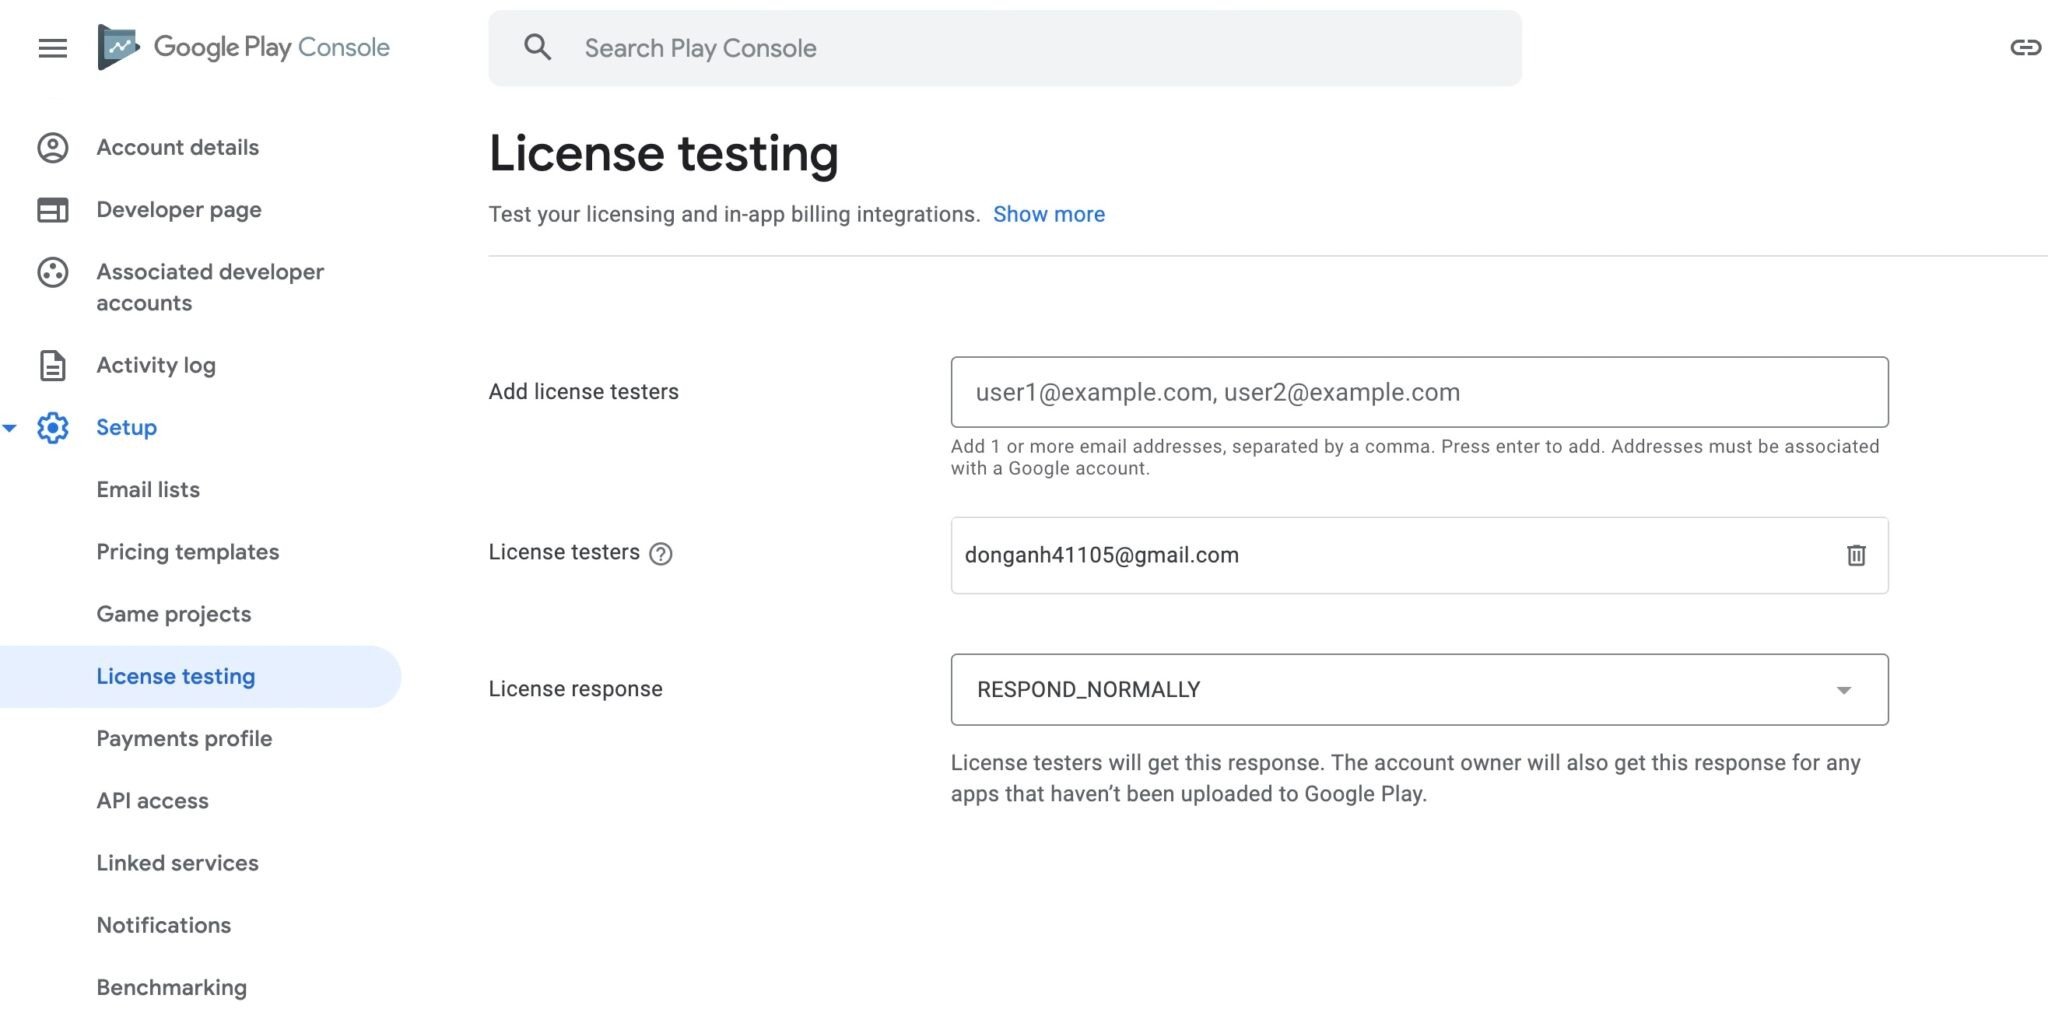
- Add tester to testing for in-app purchase.
-
Setup Validate receipt
1. Ios
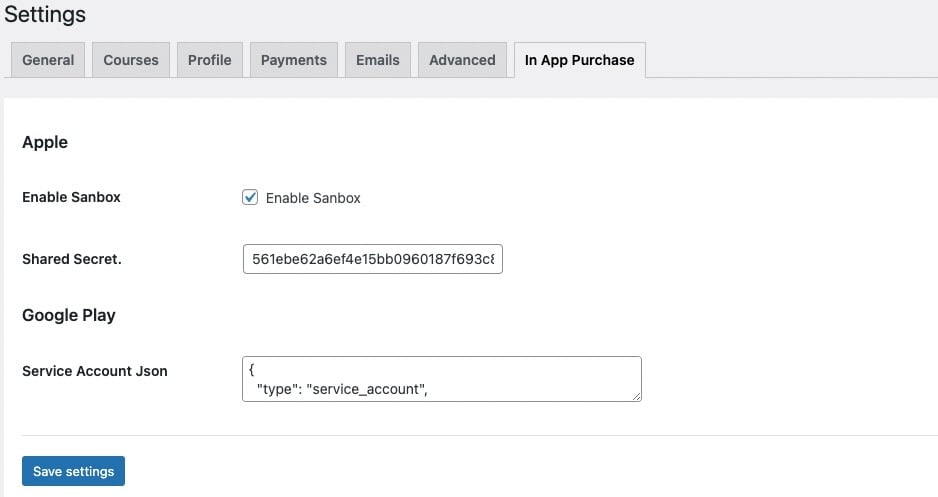
- Go to In App Purchase and create App-Specific Shared Secret.

- Go to LearnPress Settings > In App Purchase and add for Shared Secret.
2. Android
- Open the Settings > Developer account menus and select API access
- Select Link to connect your Play account to a Google Developer Project
- Agree to the terms and conditions
- Create Service Account
- Select Create Service Account
- Create Service account key credentials
- Enter details for service account
- Download your JSON credential
- In Play Console, select Grant Access on the newly created service account
- Grant the following permissions:
- After this wait for 48 hours to allow Google to propagate all access rights for APIs.
- Open your JSON file download and copy content to LearnPress Setting > In App Purchases and enter to Service Account.
Read more: https://stackoverflow.com/questions/35127086/android-inapp-purchase-receipt-validation-google-play