You can set many settings here, including Setting General, Setting Pages, Setting Emails, Setting Checkout, and Setting Room.
1. Settings General
All general system options will be displayed here.
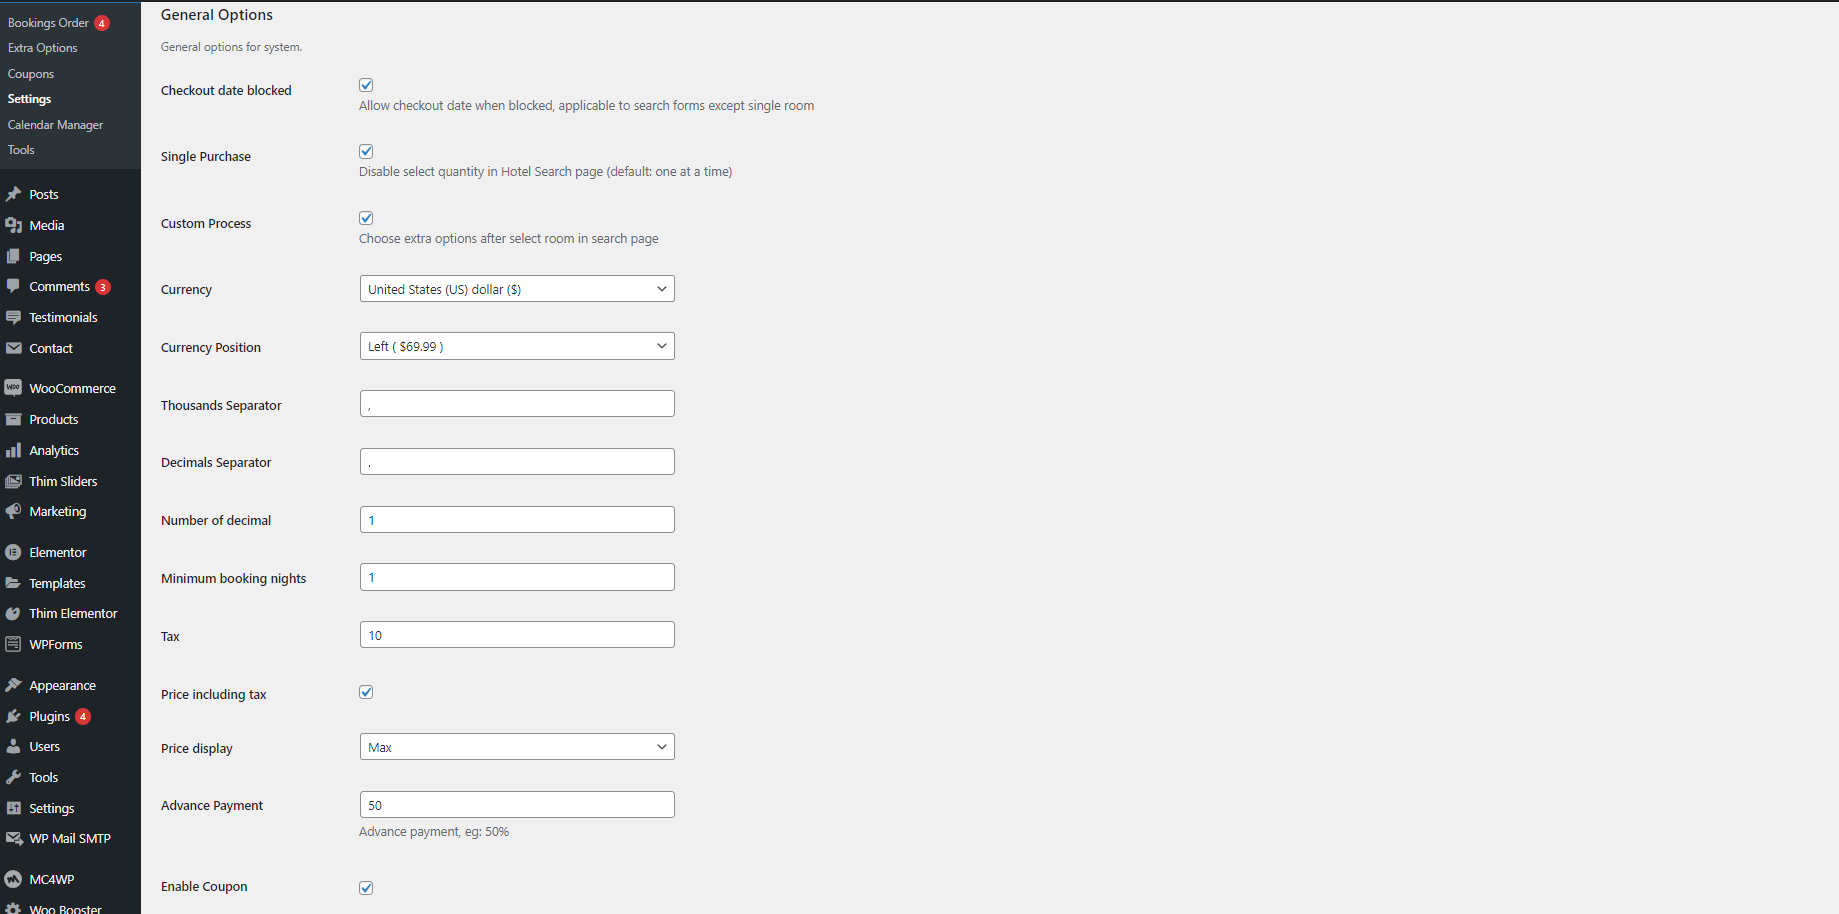
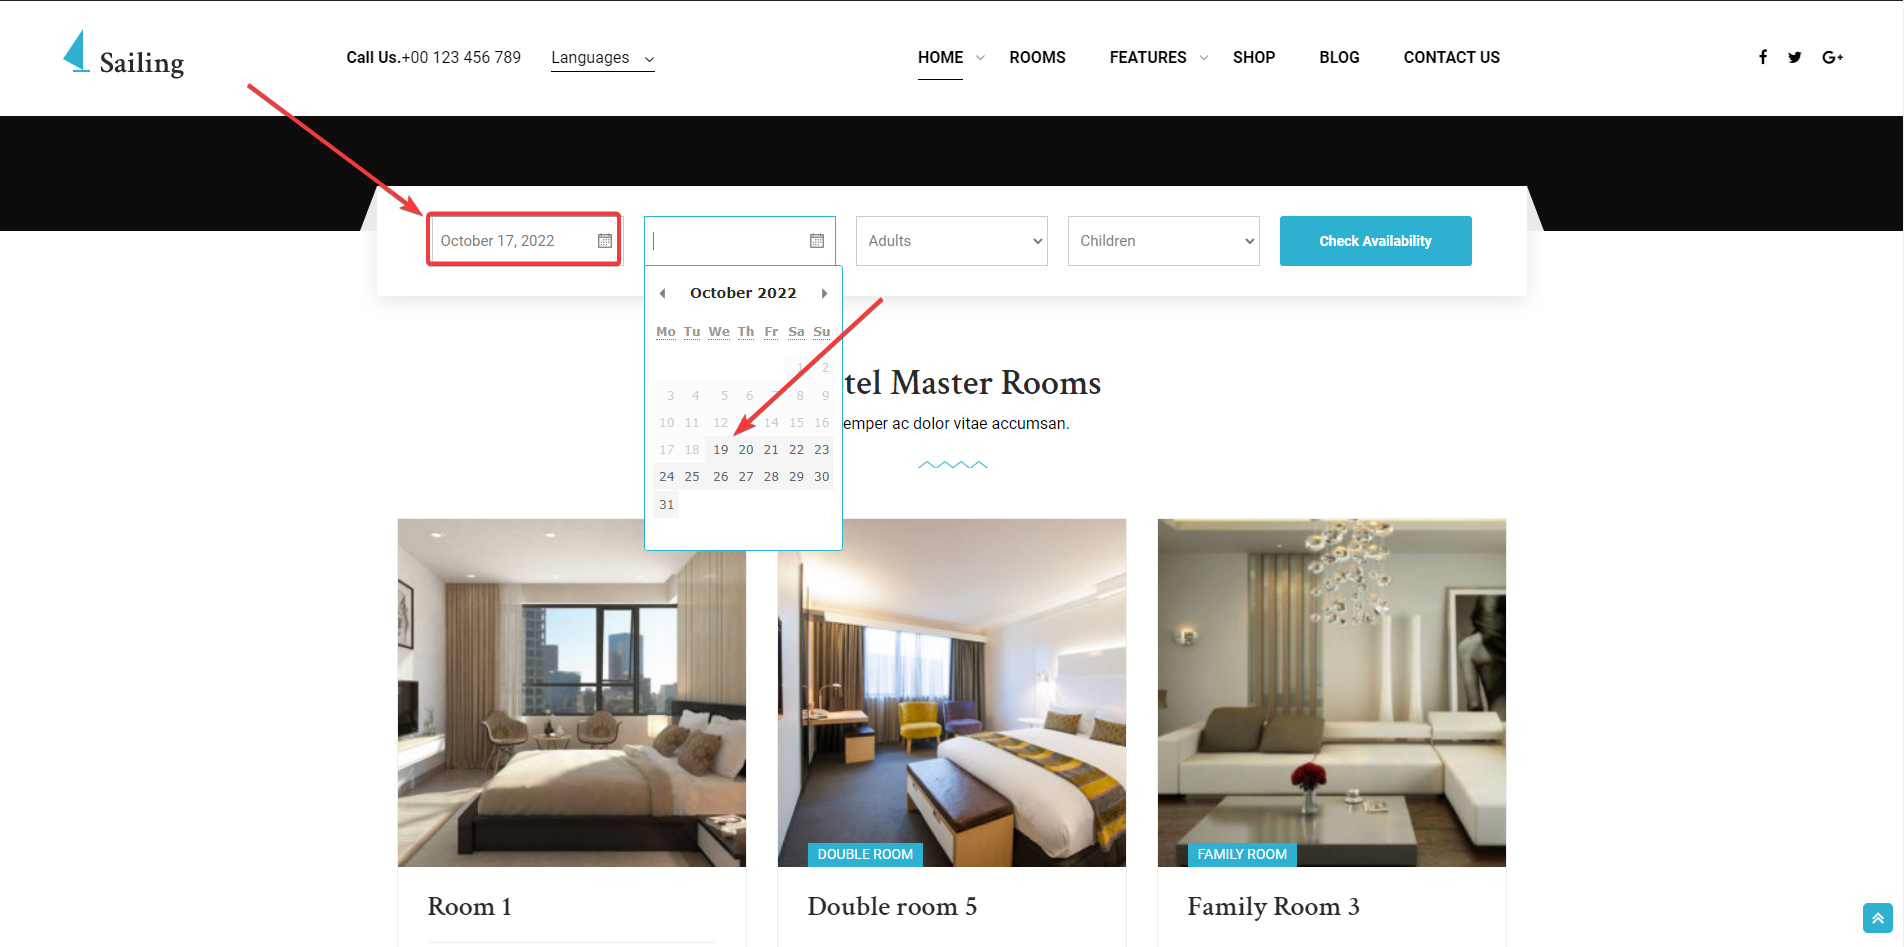
- Checkout date blocked: This option allows you to checkout rooms for blocked dates. It applies to checkout from search forms, except for checkout in Single room.
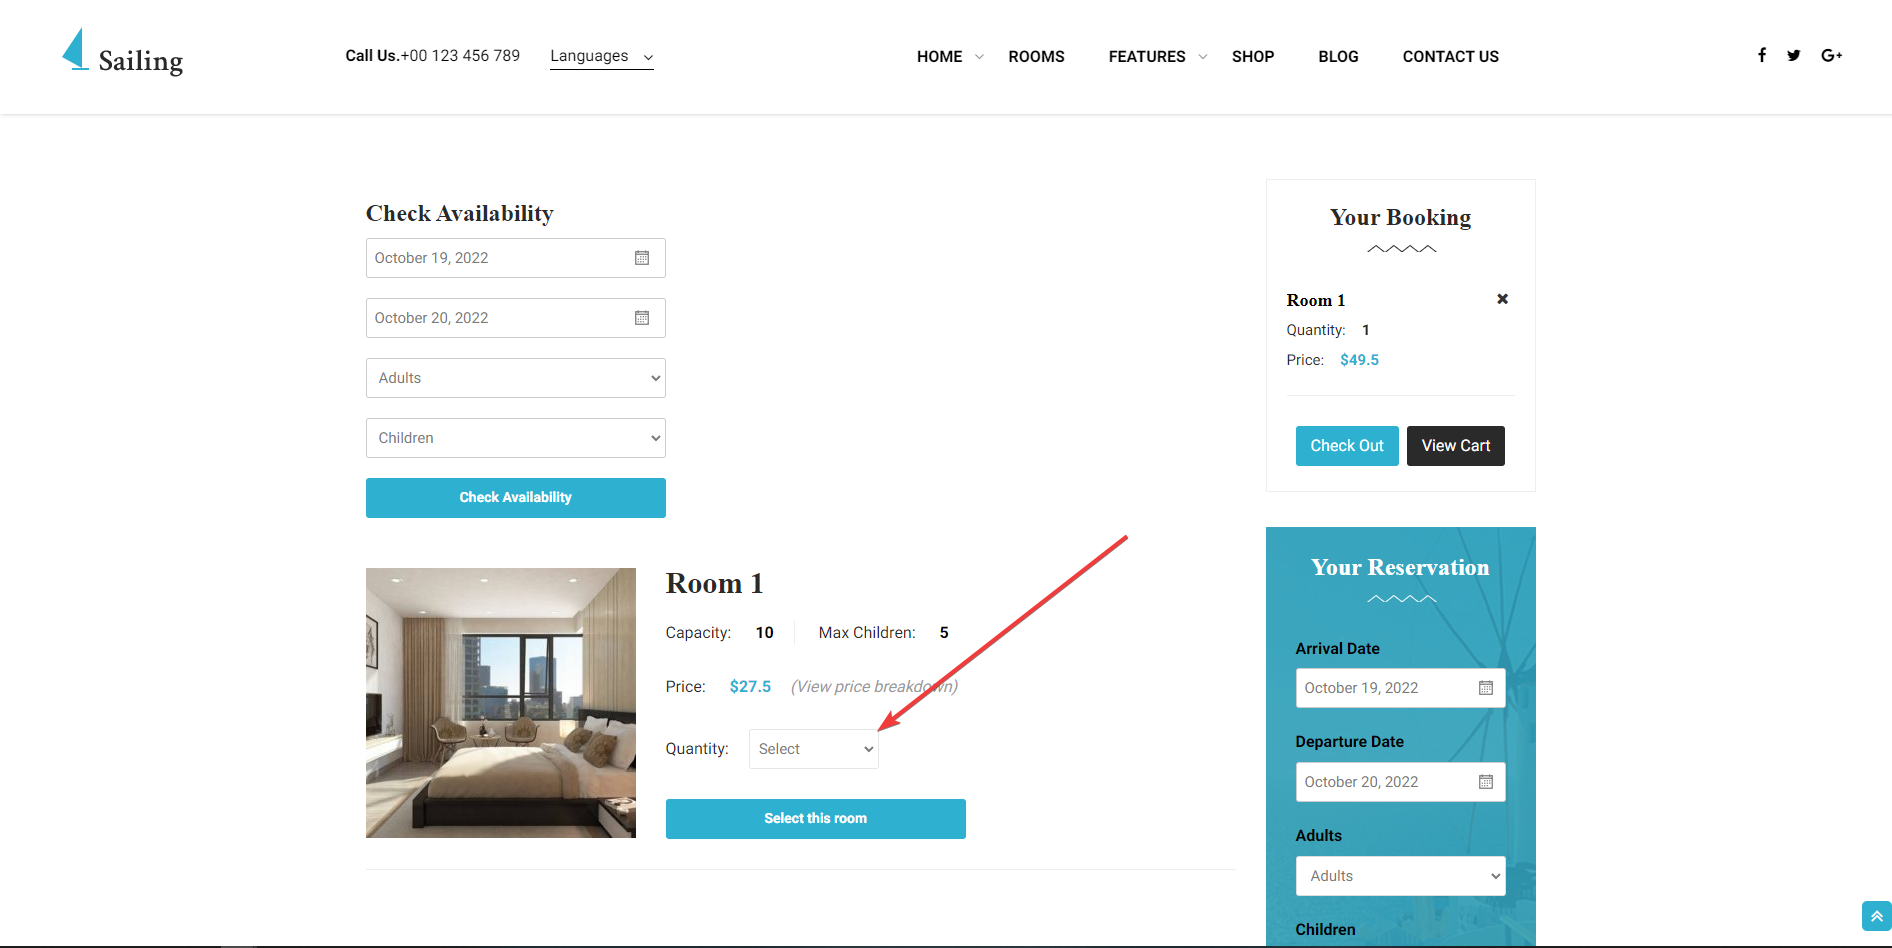
- Single Purchase: The Single Purchase option allows you to select the quantity right when searching the room.
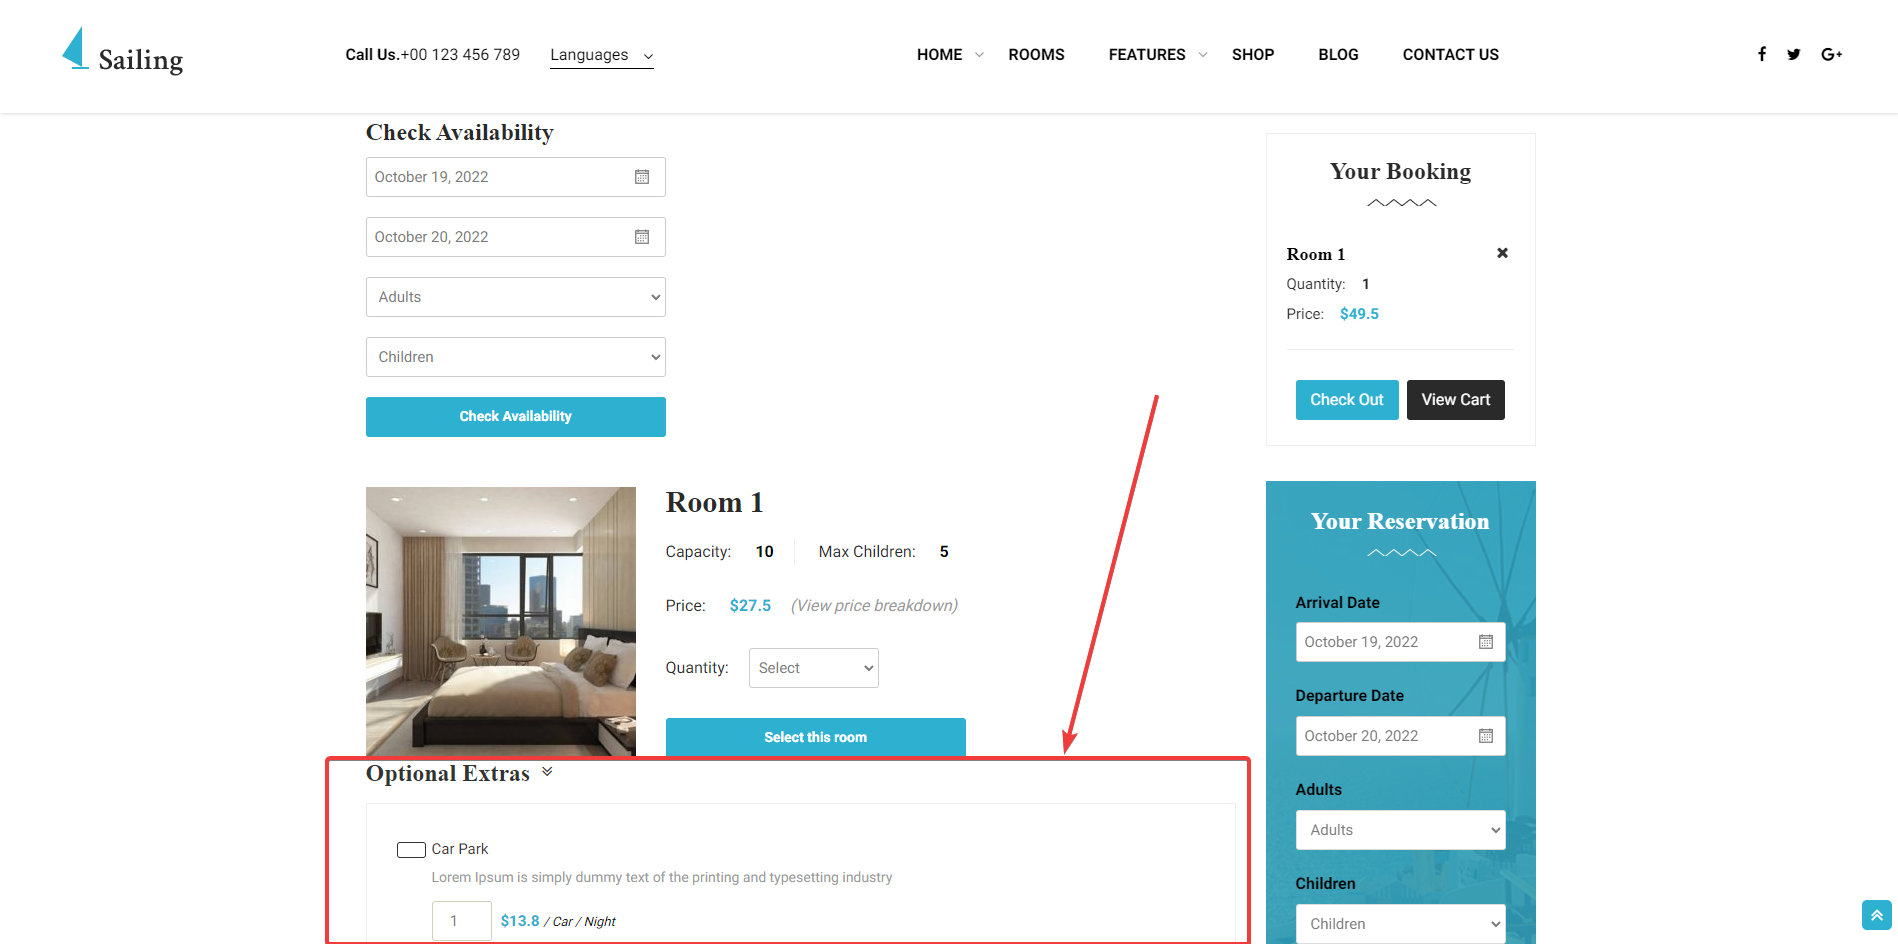
- Custom Process: When you turn off the Custom Process option, you can select the extra option as soon as you search the room.
- Currency: You can choose the currency suitable for your country or audience.
- Currency Position: You can choose how the price will be displayed here. includes: Left ( $69.99 ), Right ( $69.99 ), Left with space ( $69.99 ),
Right ( $69.99 ).
- Thousands Separator: The thousands separator in the price.
- Decimals Separator: Decimal separator in the price.
- Number of decimal: Allows you to take as many decimal places.
- Minimum booking nights: This function allows customers to set a minimum number of booking nights. In case you set the Minimum booking nights to 2, users can only book a minimum of 2 nights per room.
- Tax: You can set the required tax percentage when a user makes a reservation.
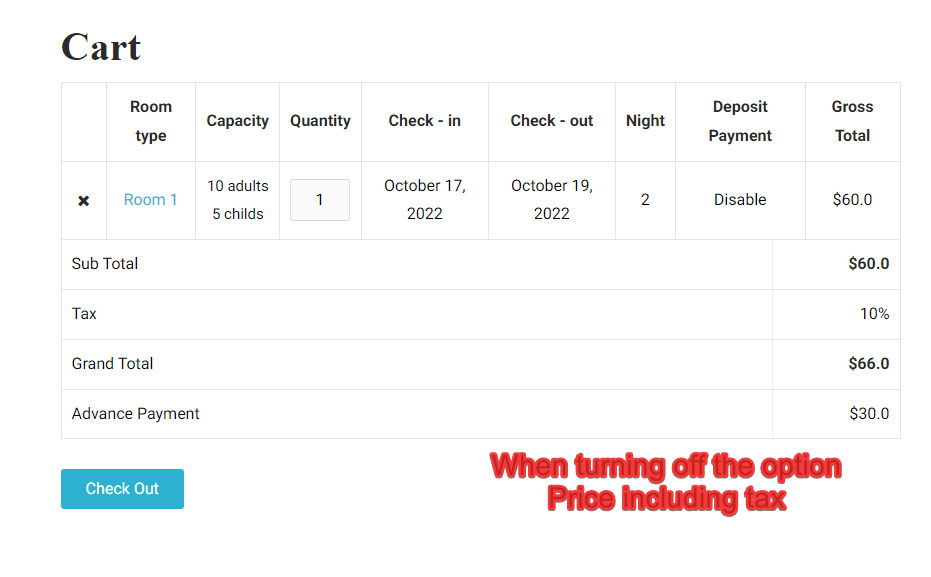
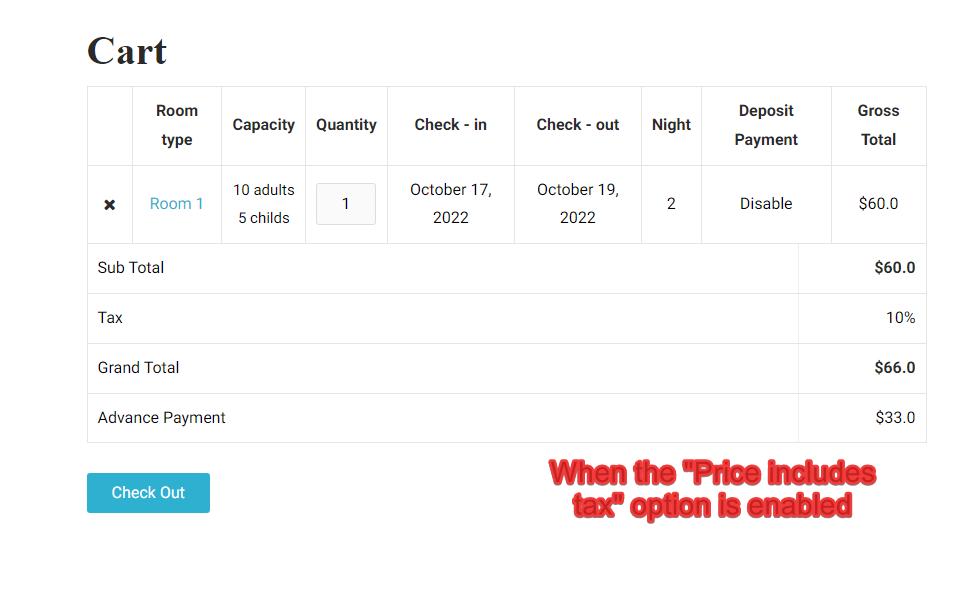
- Price including tax: If this option is enabled, an additional tax will be charged when the user wants to make a reservation. If the option is turned off, the room rate includes tax, so the user will not have to pay rent when booking.
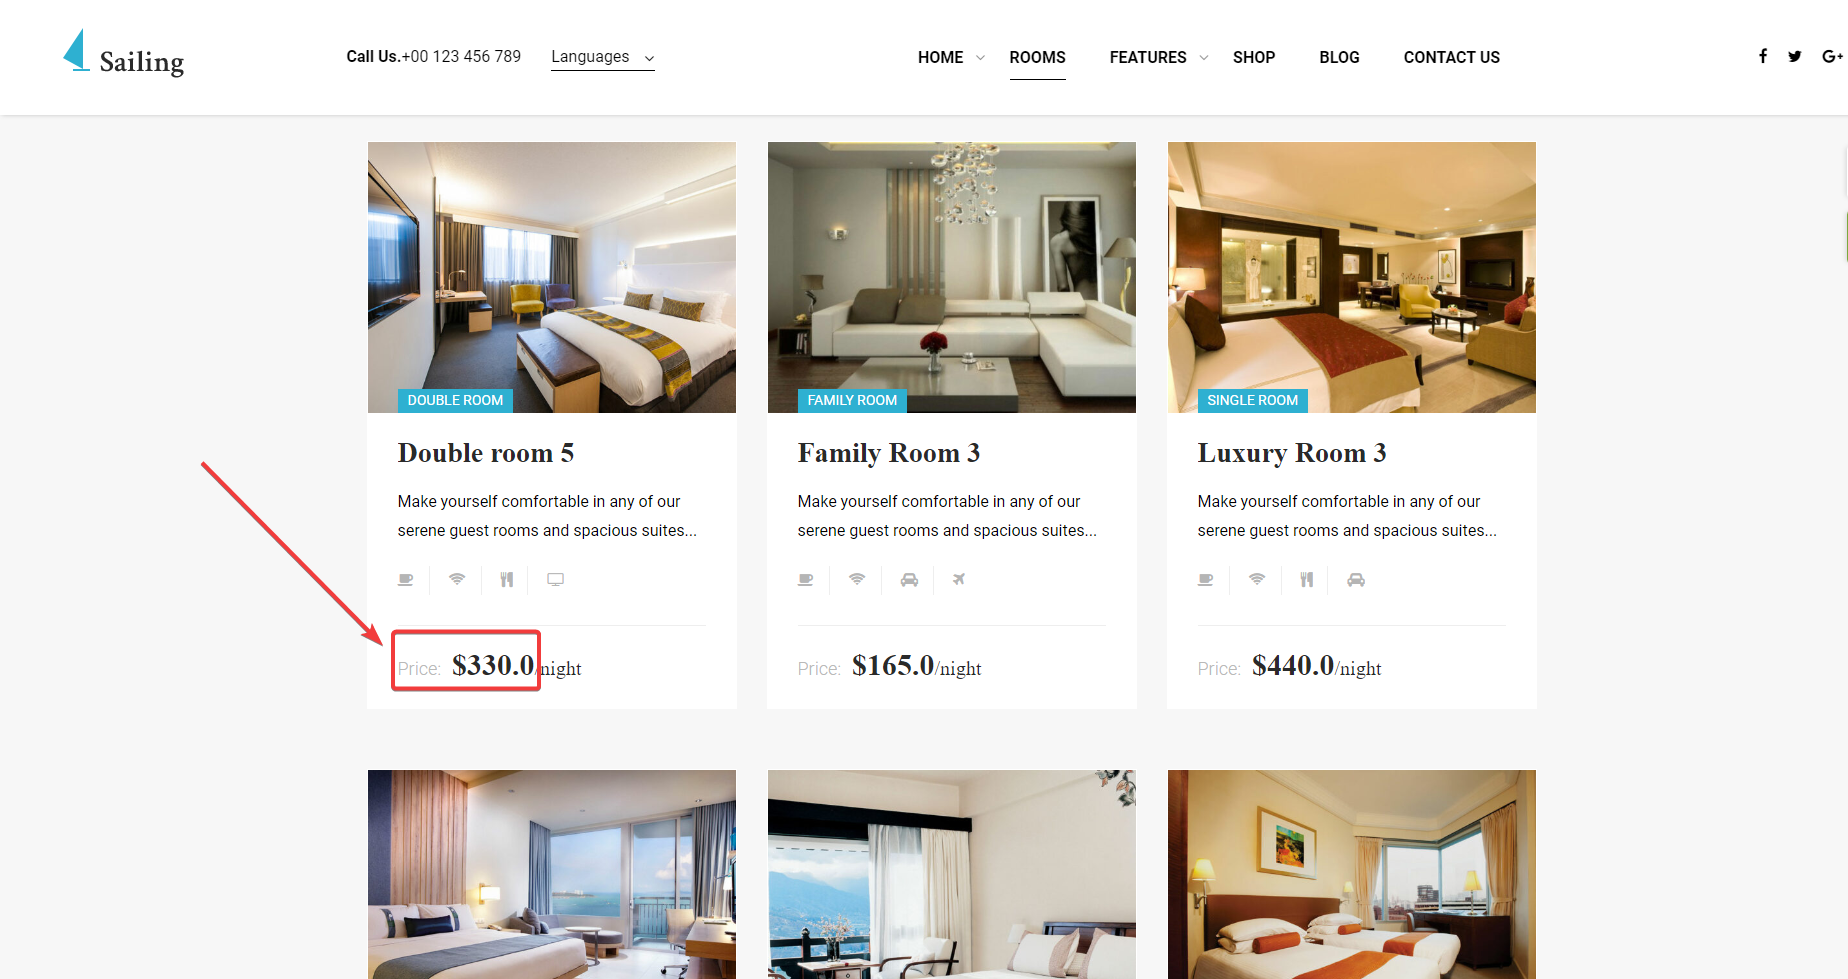
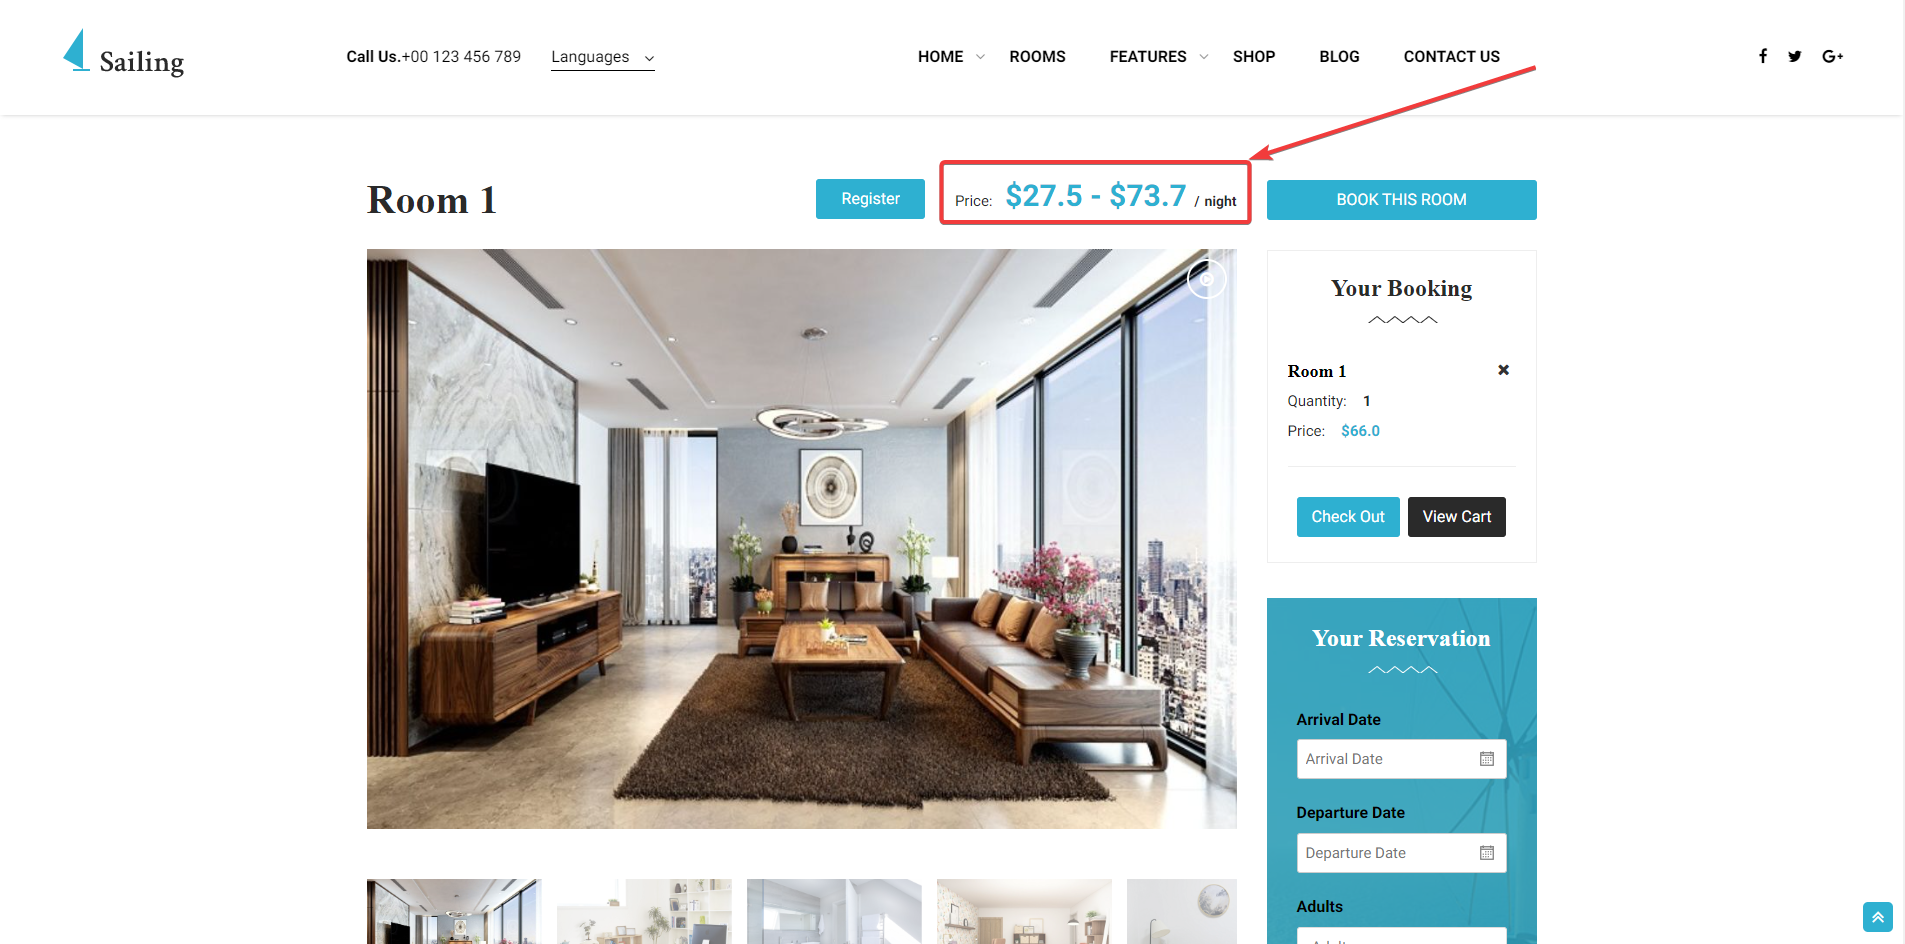
- Price display: You can choose 3 types of price display: Min, Max, Min to max.
- Advance Payment: The minimum value that users must pay to book room. This section will be displayed in the Cart page and the Checkout page. (Unit: %)
- Enable Coupon: To use the coupon, you need to enable this option.
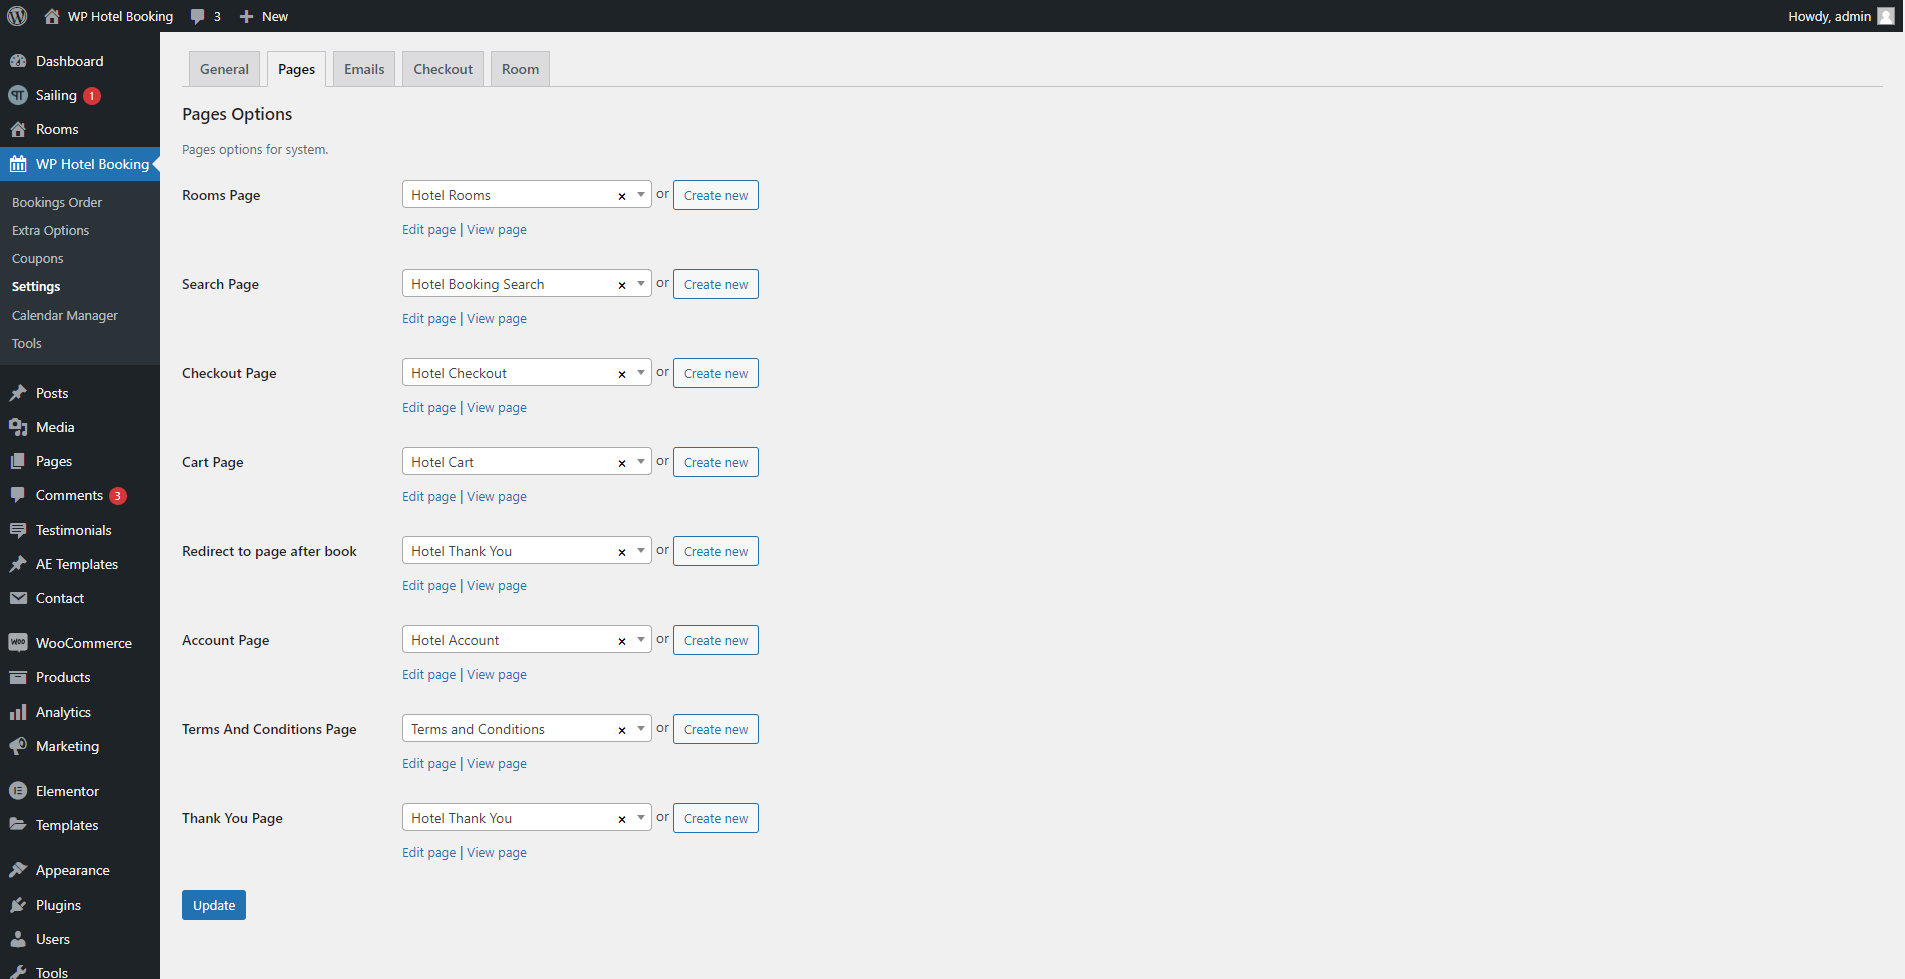
2. Settings Pages
In Setting Pages, you can set pages, edit pages, view pages, and create new pages.
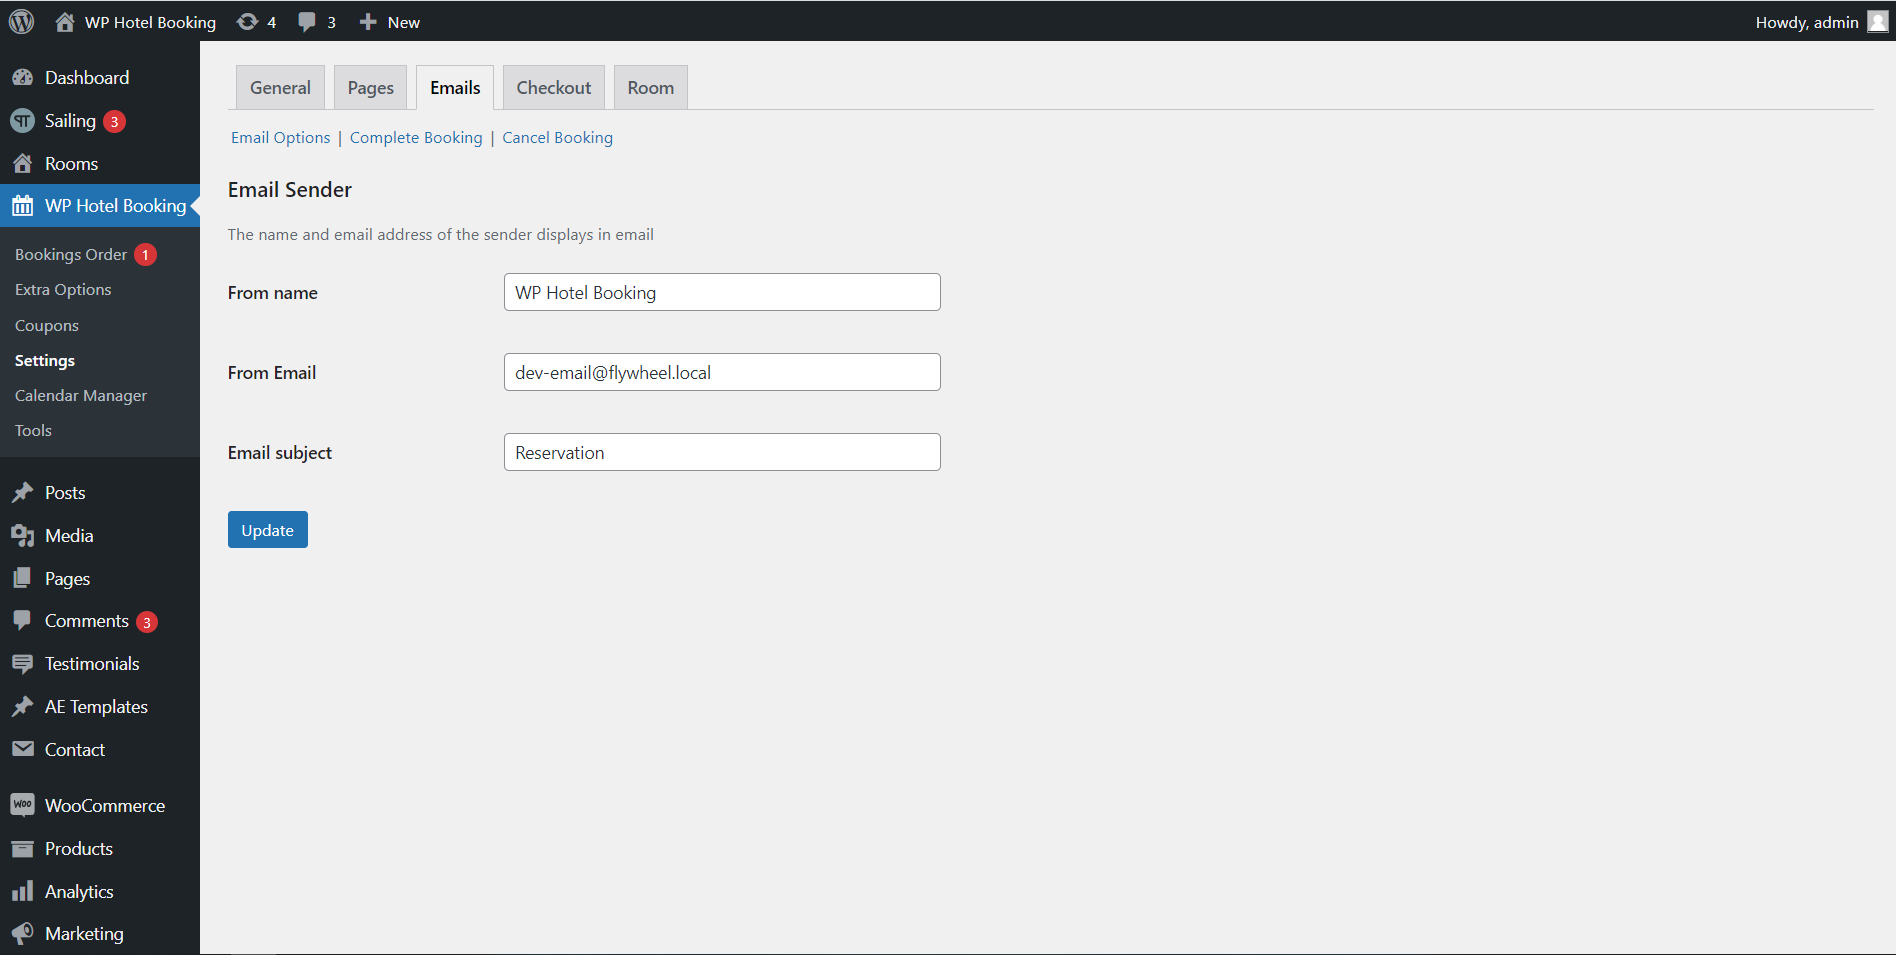
3. Settings Emails
- Email Options: Please enter your email information in the fields of Email Options.
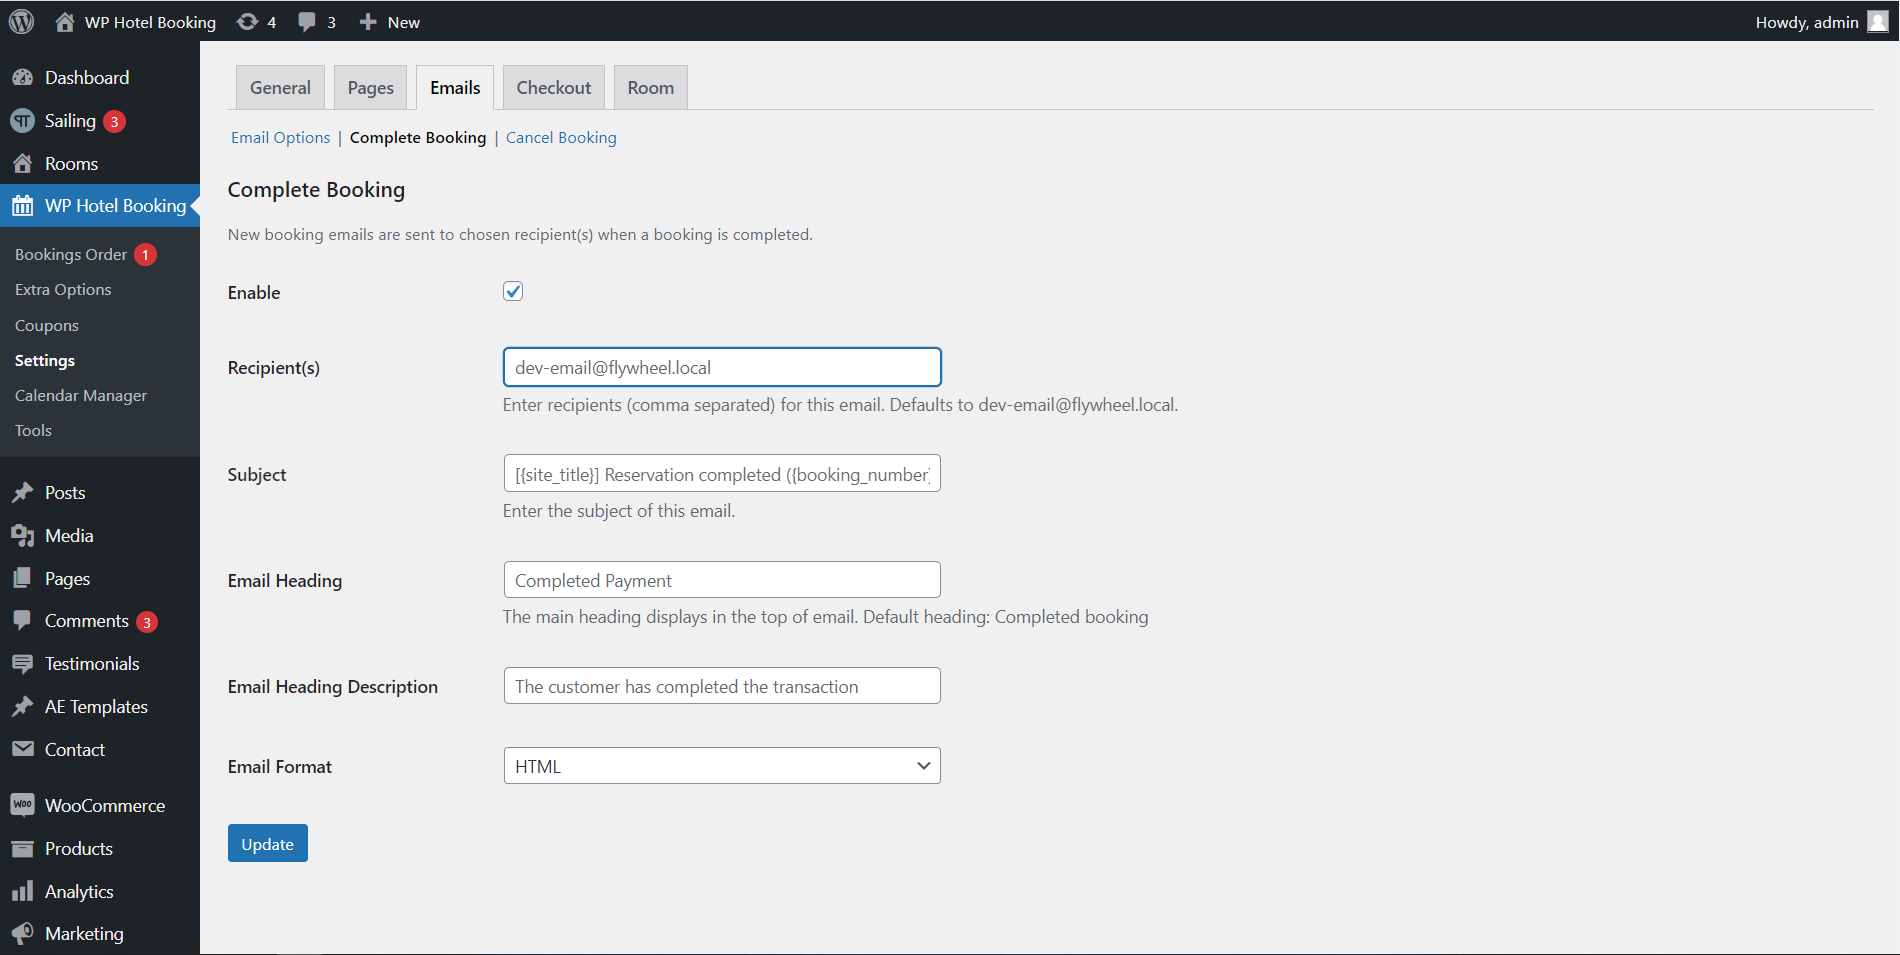
- Complete Booking: After the user orders successfully, an email will be sent to the user if the option is enabled. At the same time, you will also receive an email notifying that the user has successfully booked a room if you fill in the Recipient(s), Subject, Email Heading, Email Heading Description, and Email Format fields.
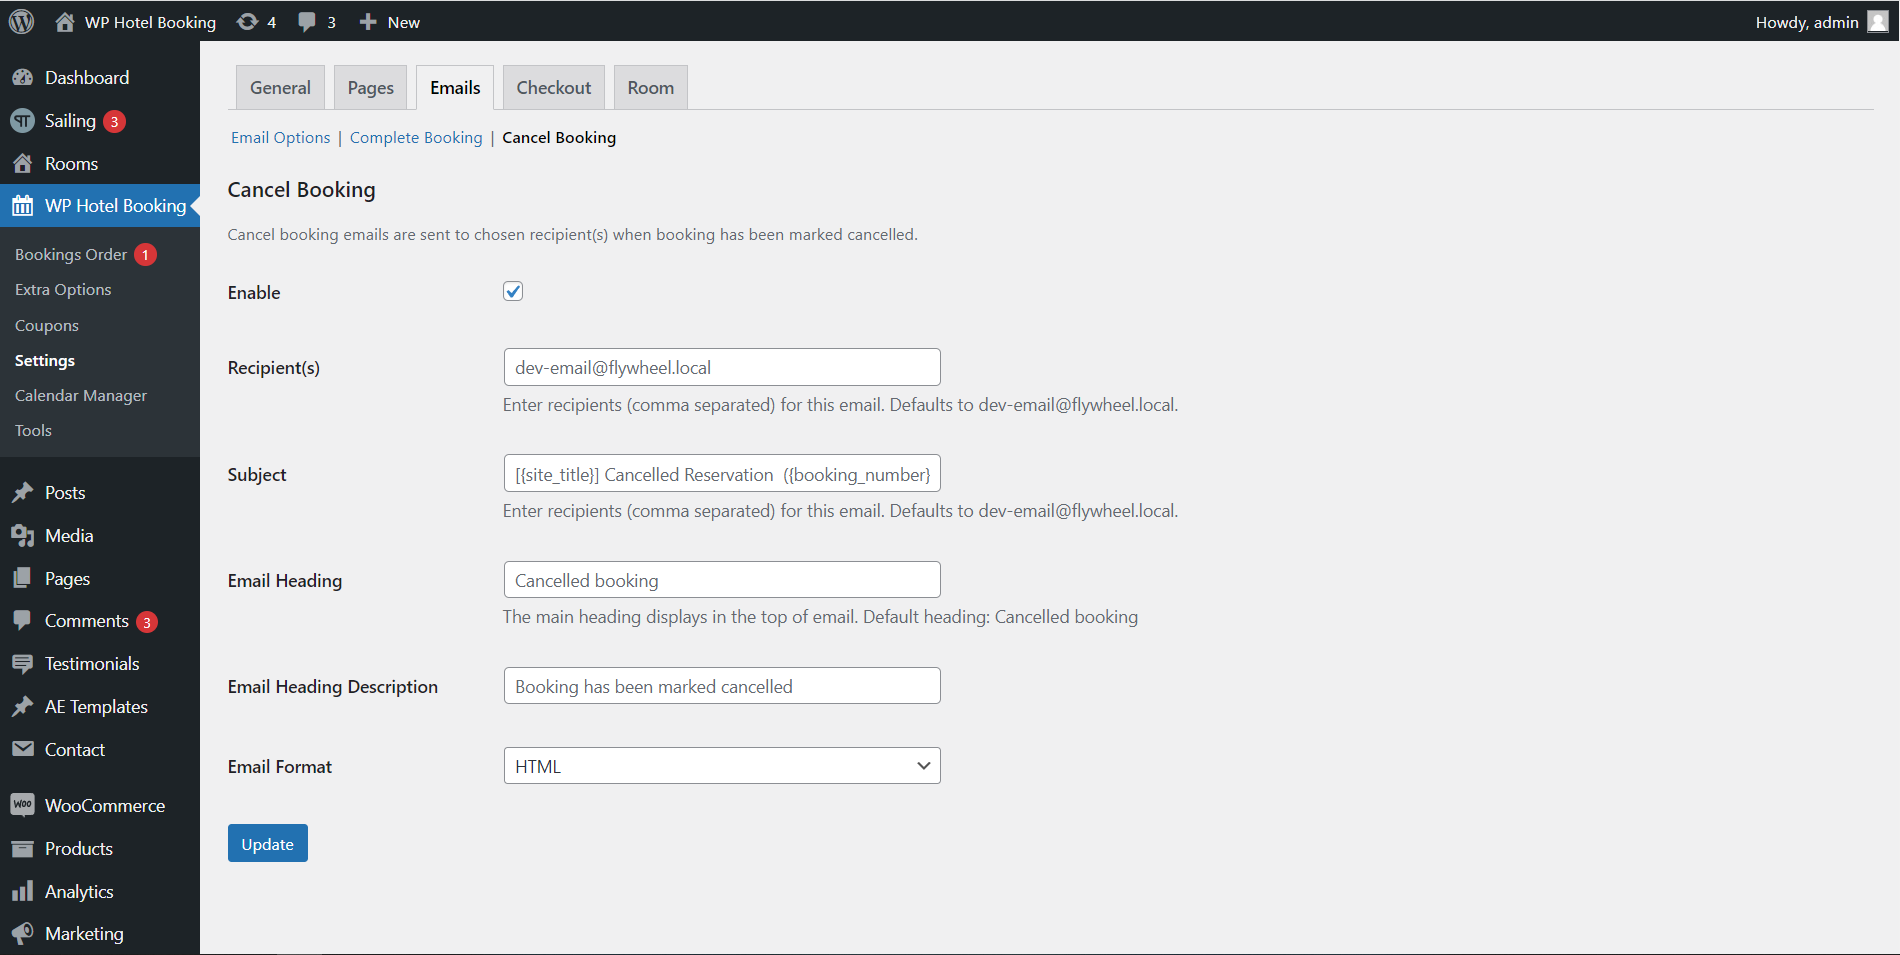
- Cancel Booking: After the order is cancelled, an email will be sent to the user if the option is enabled. You will also receive an email notifying that the room has been canceled if you fill in the Recipients, Subject, Email Subject, Email Subject Description, and Email Format fields.
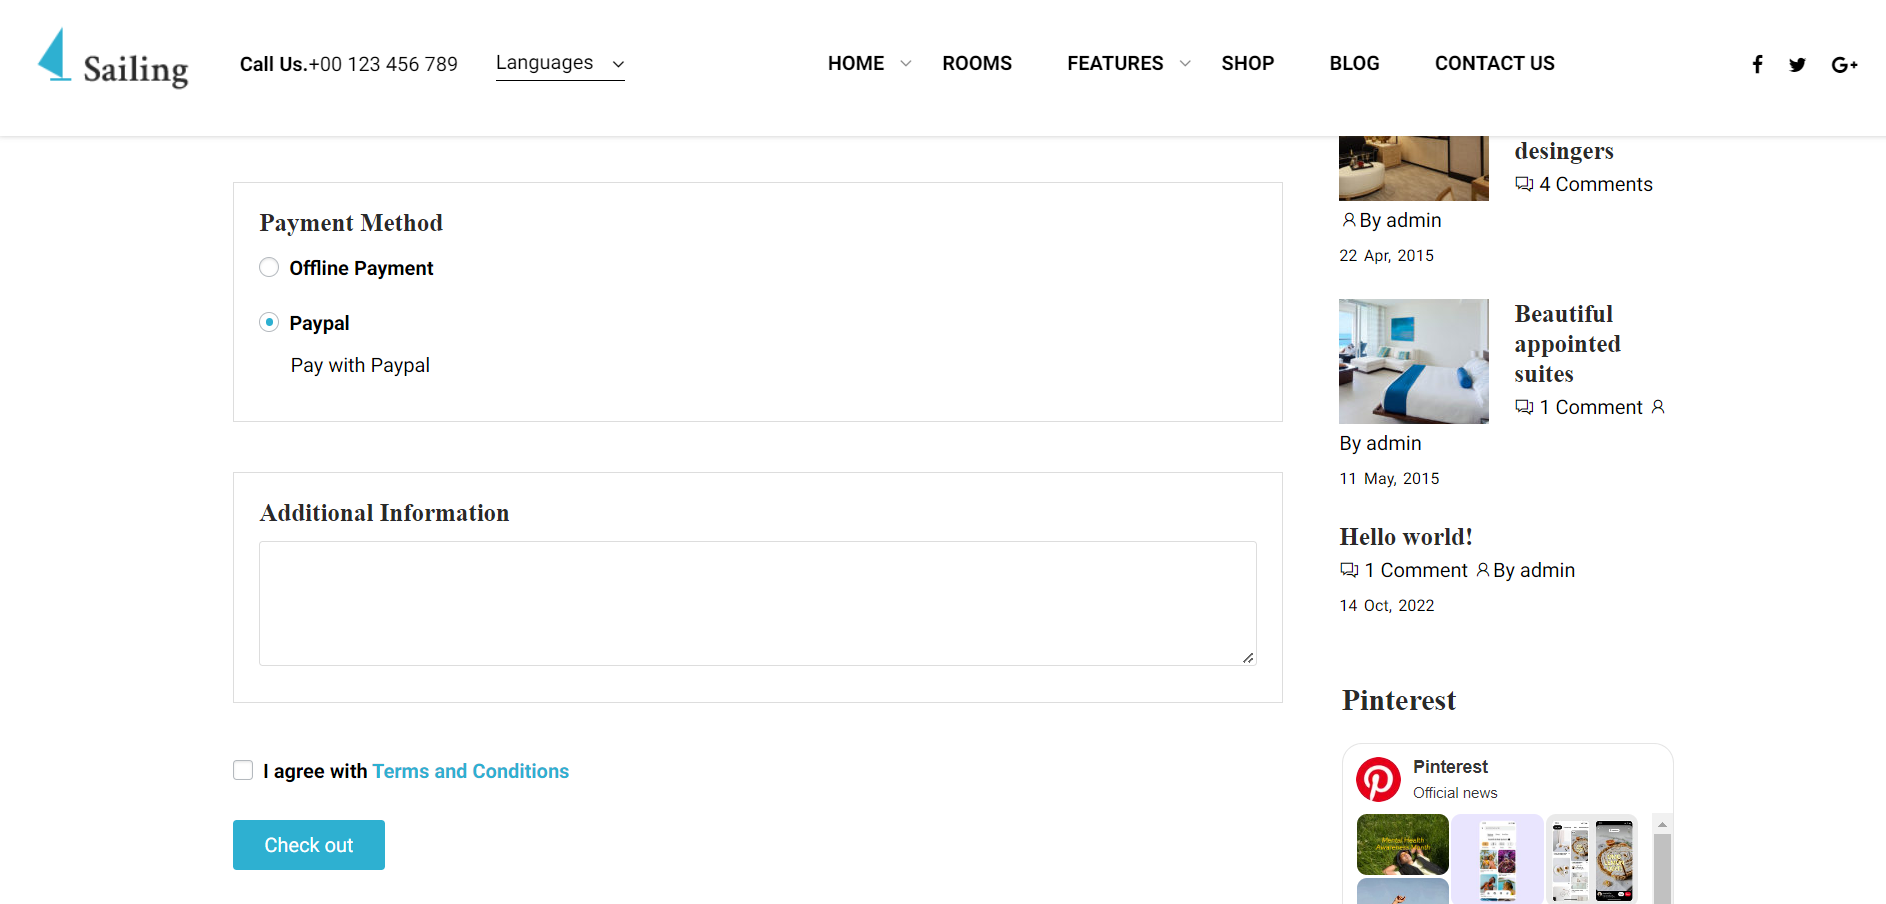
4. Settings Checkout
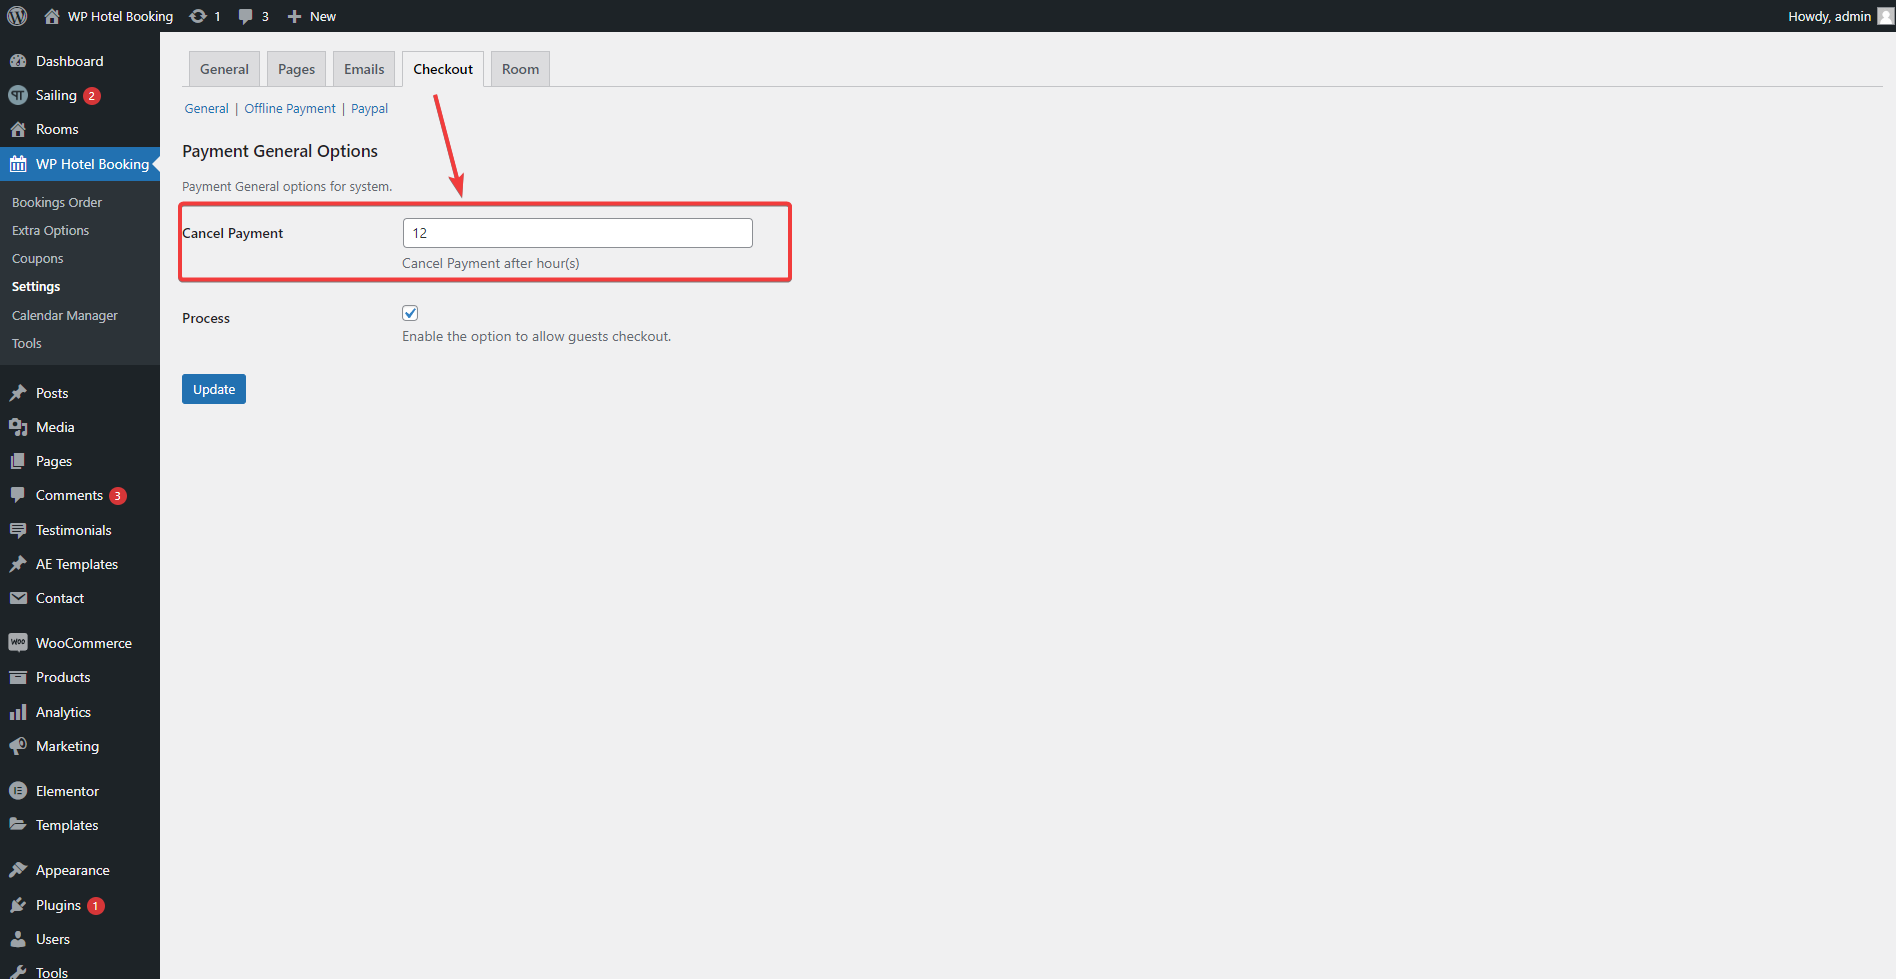
- General: You can set how long it takes to cancel an order when a customer has not paid. (Unit: hour)
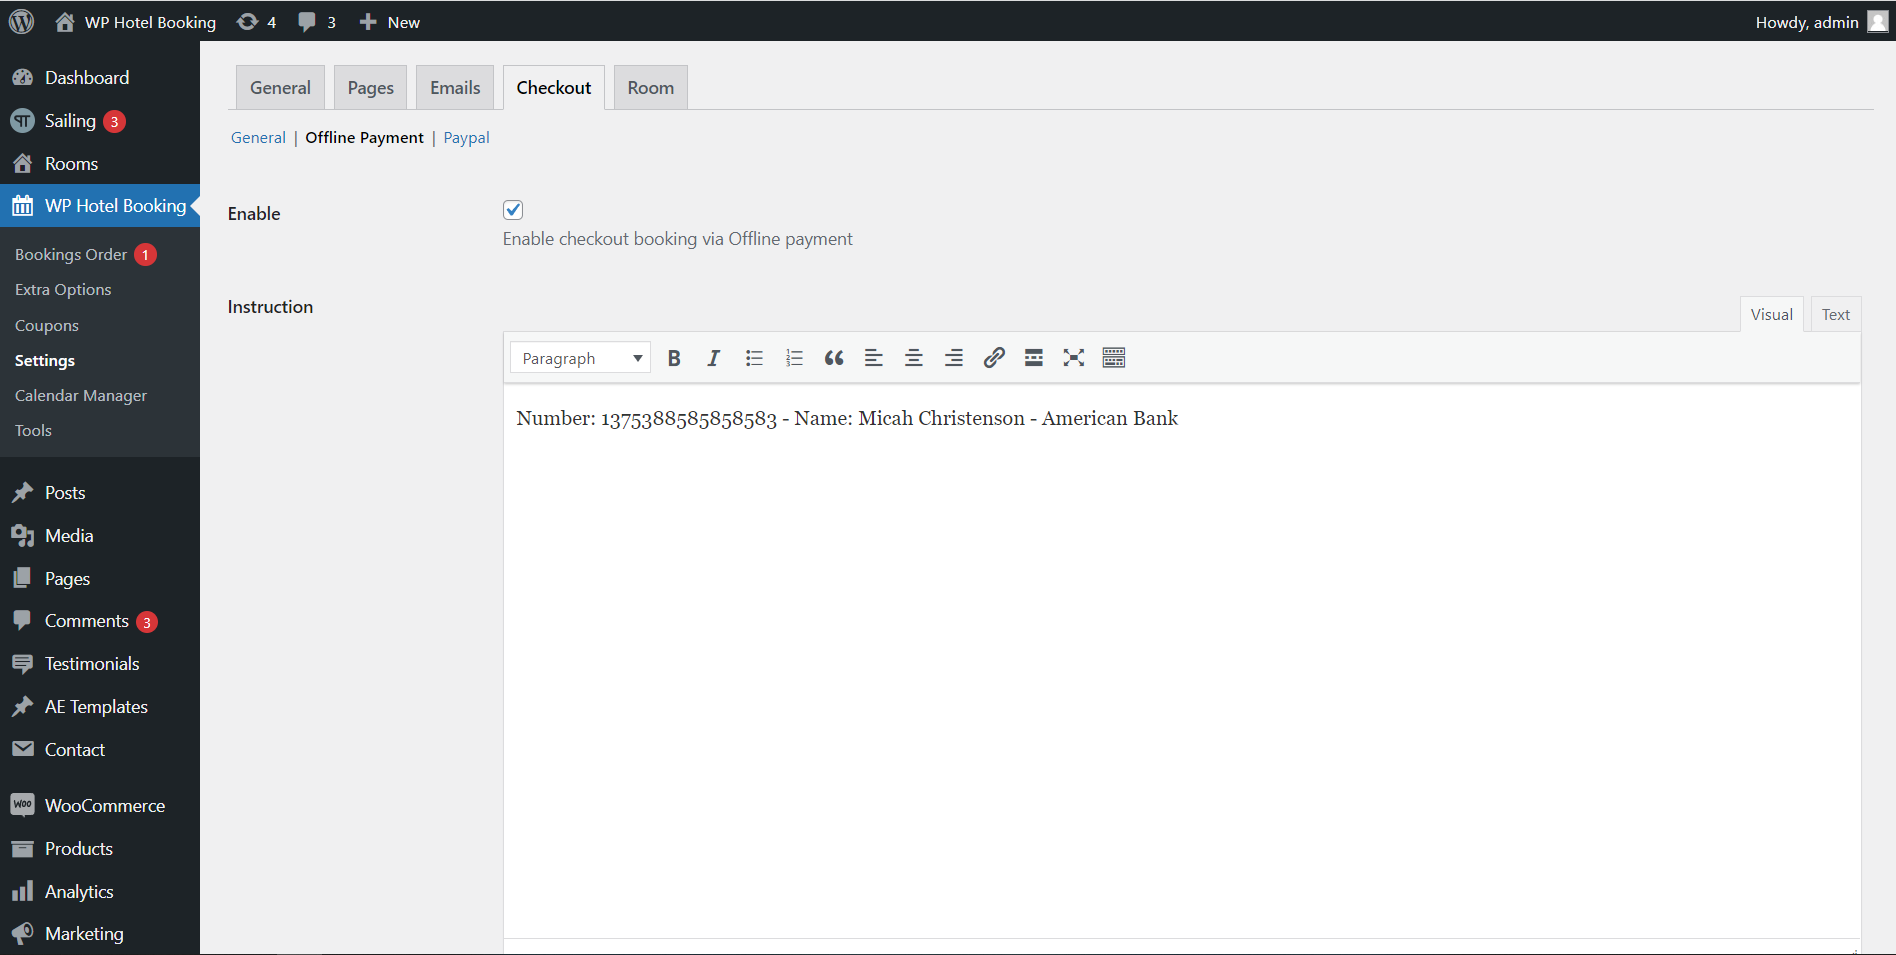
- Offline Payment: You can enable the option to allow booking payments via offline payments. In Instruction, you can fill in information for bank transfer via Offline Payment, for example: Bank Account. Information will be displayed when the user checkout successfully.

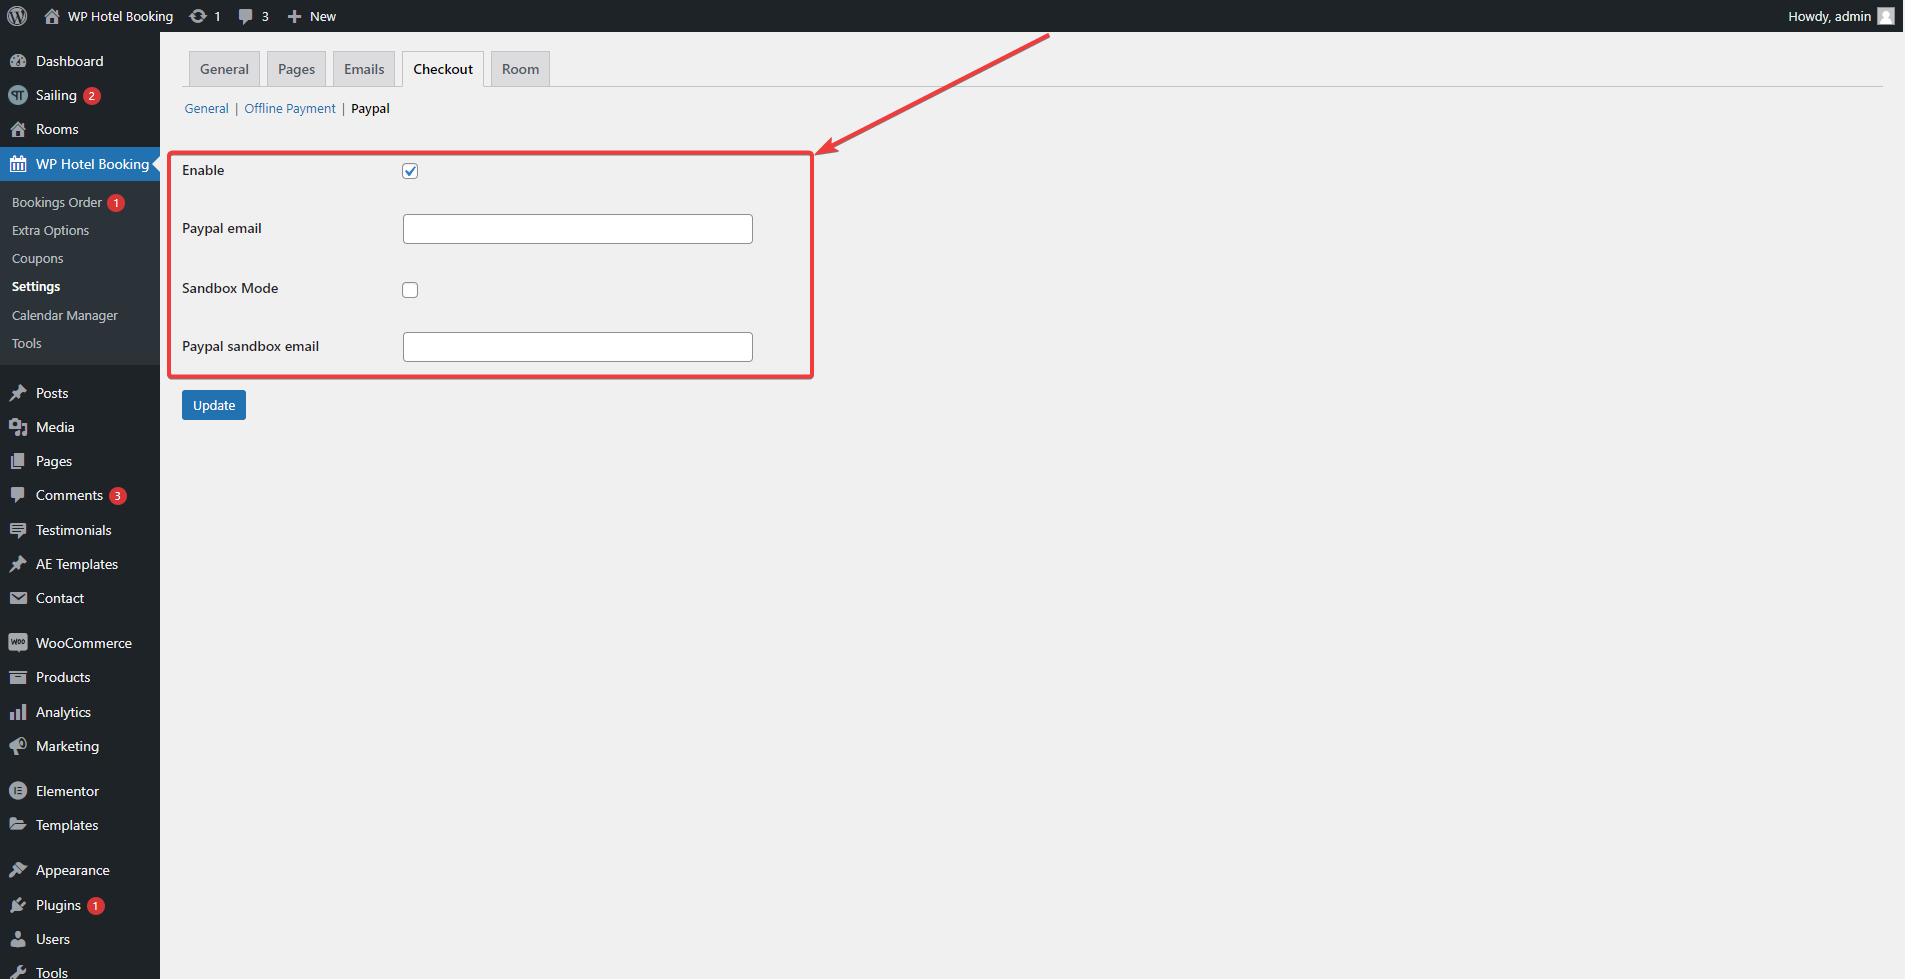
- Paypal: If you want to enable Paypal payment gateway, don’t forget to enable the option and fill in the fields below:
5. Settings Room
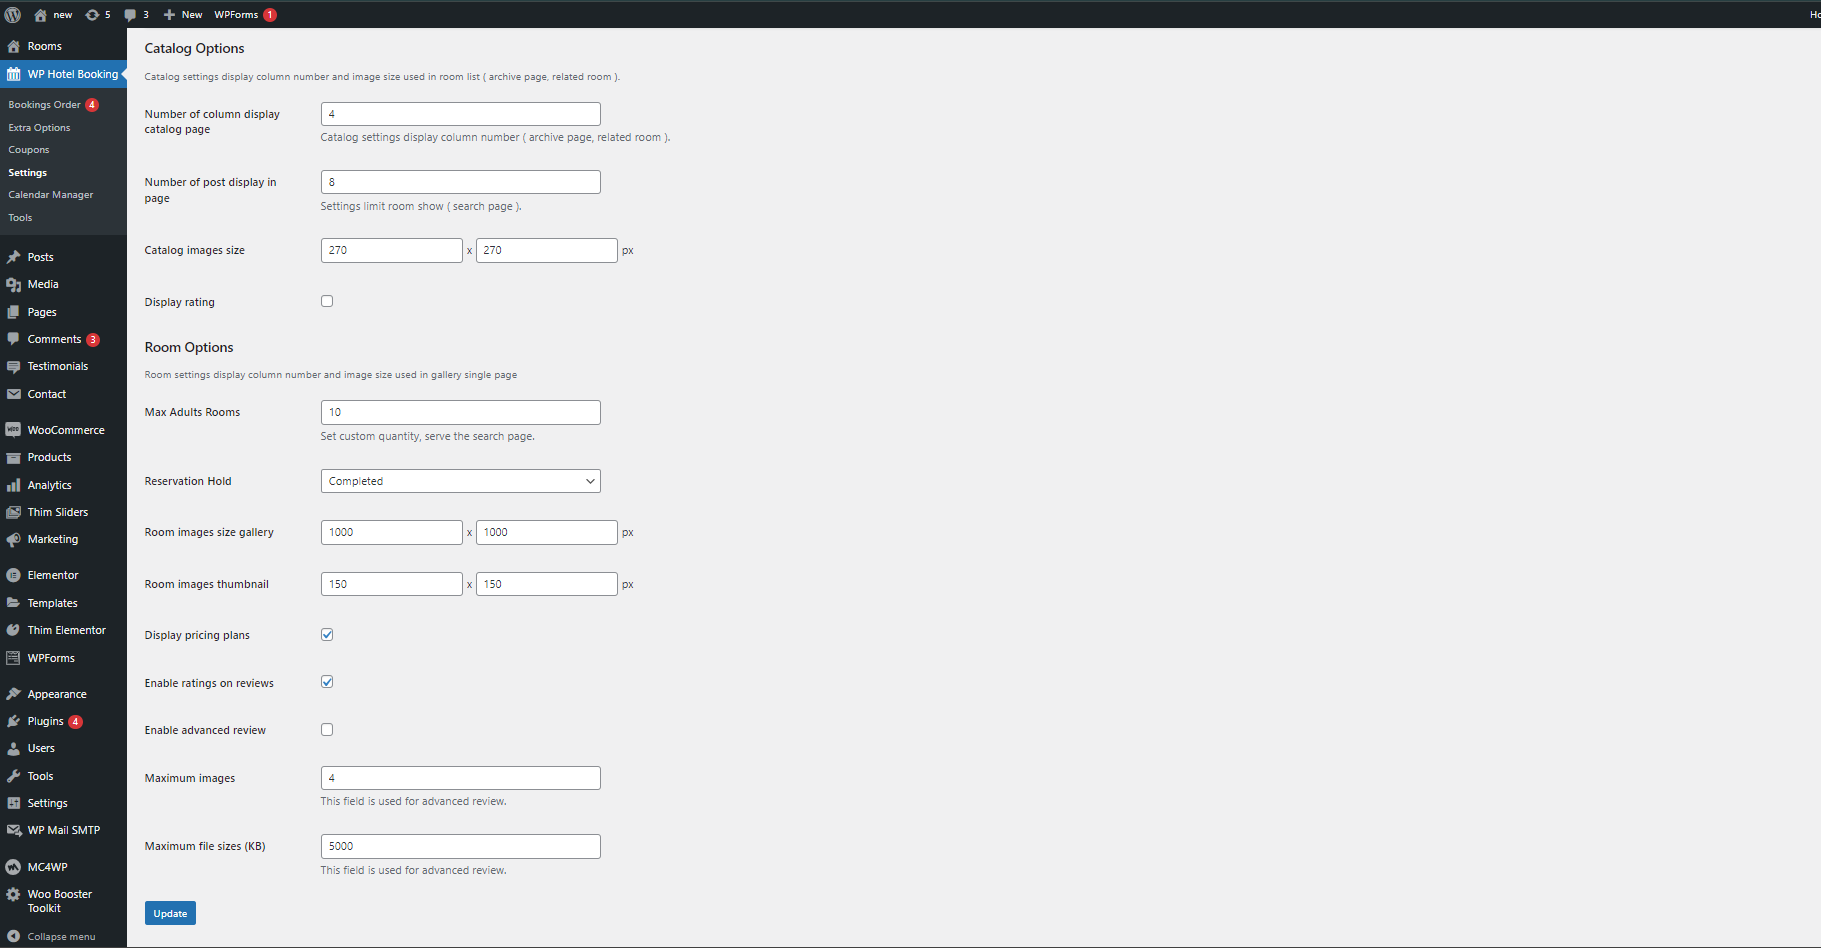
- Number of column display catalog page: In the room archive, the page will show the corresponding column number that you have set up in the “Number of column display catalog page”.
- Number of post display in page: Show the number of rooms on the pagination when the user searches for the room ( in the search page ).
- Catalog images size: You can set the size of the room image to be displayed on the search page.
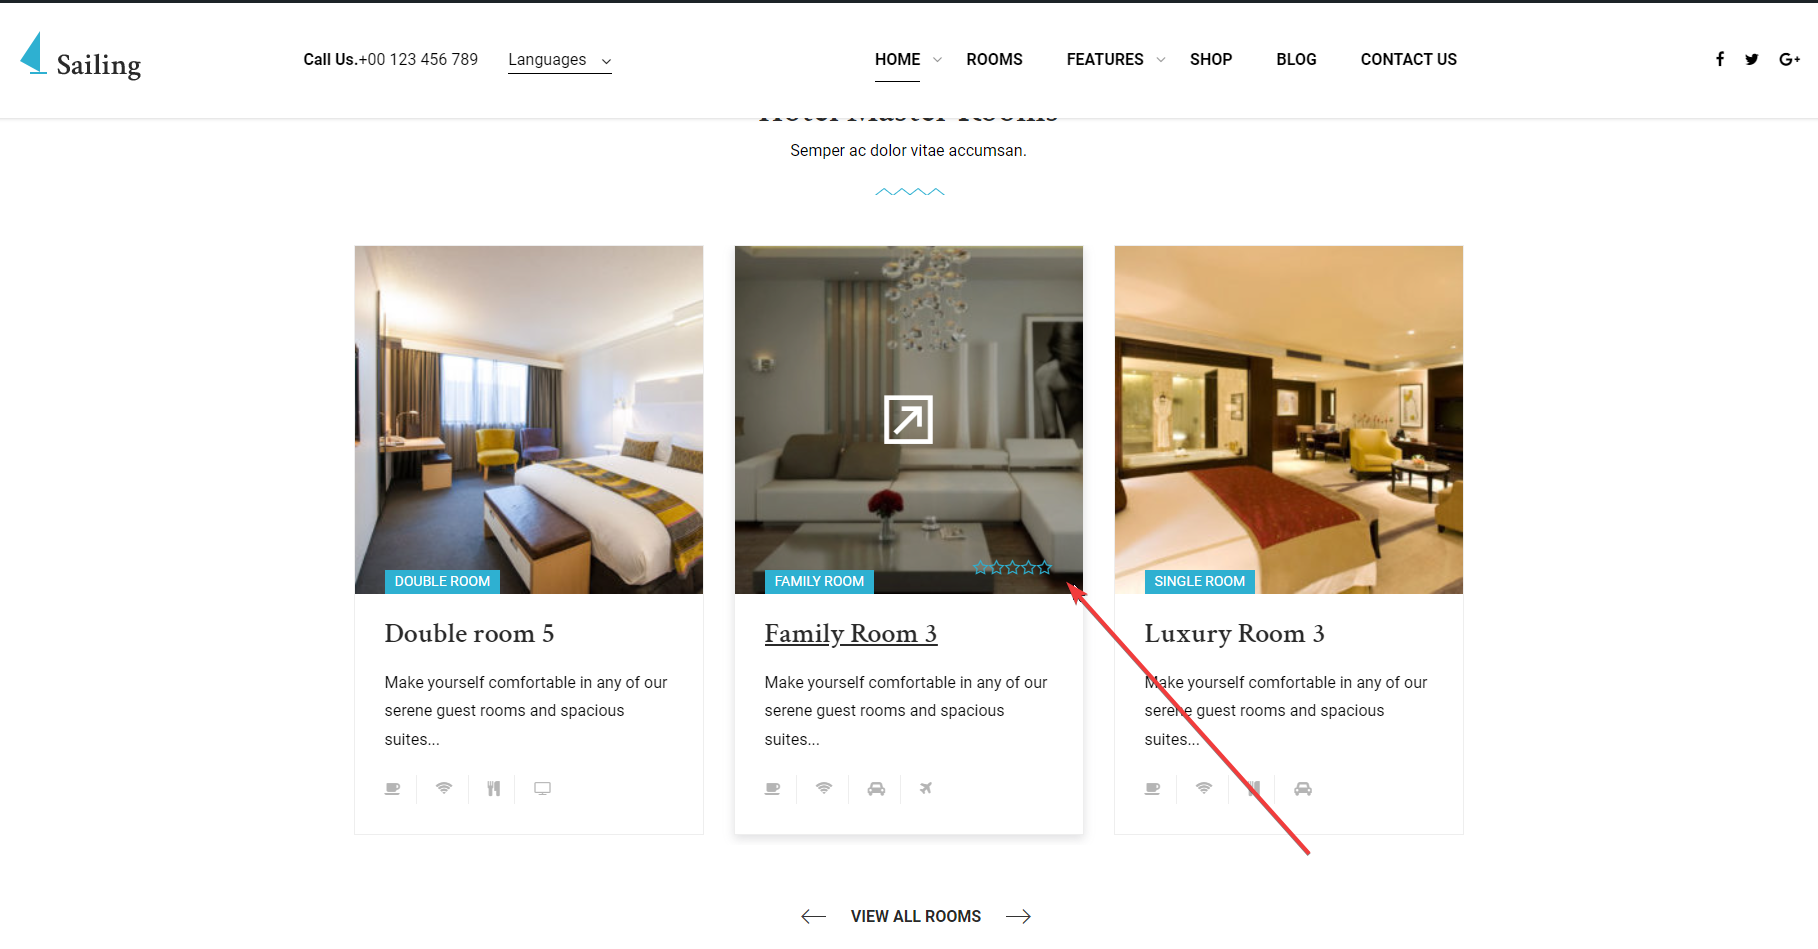
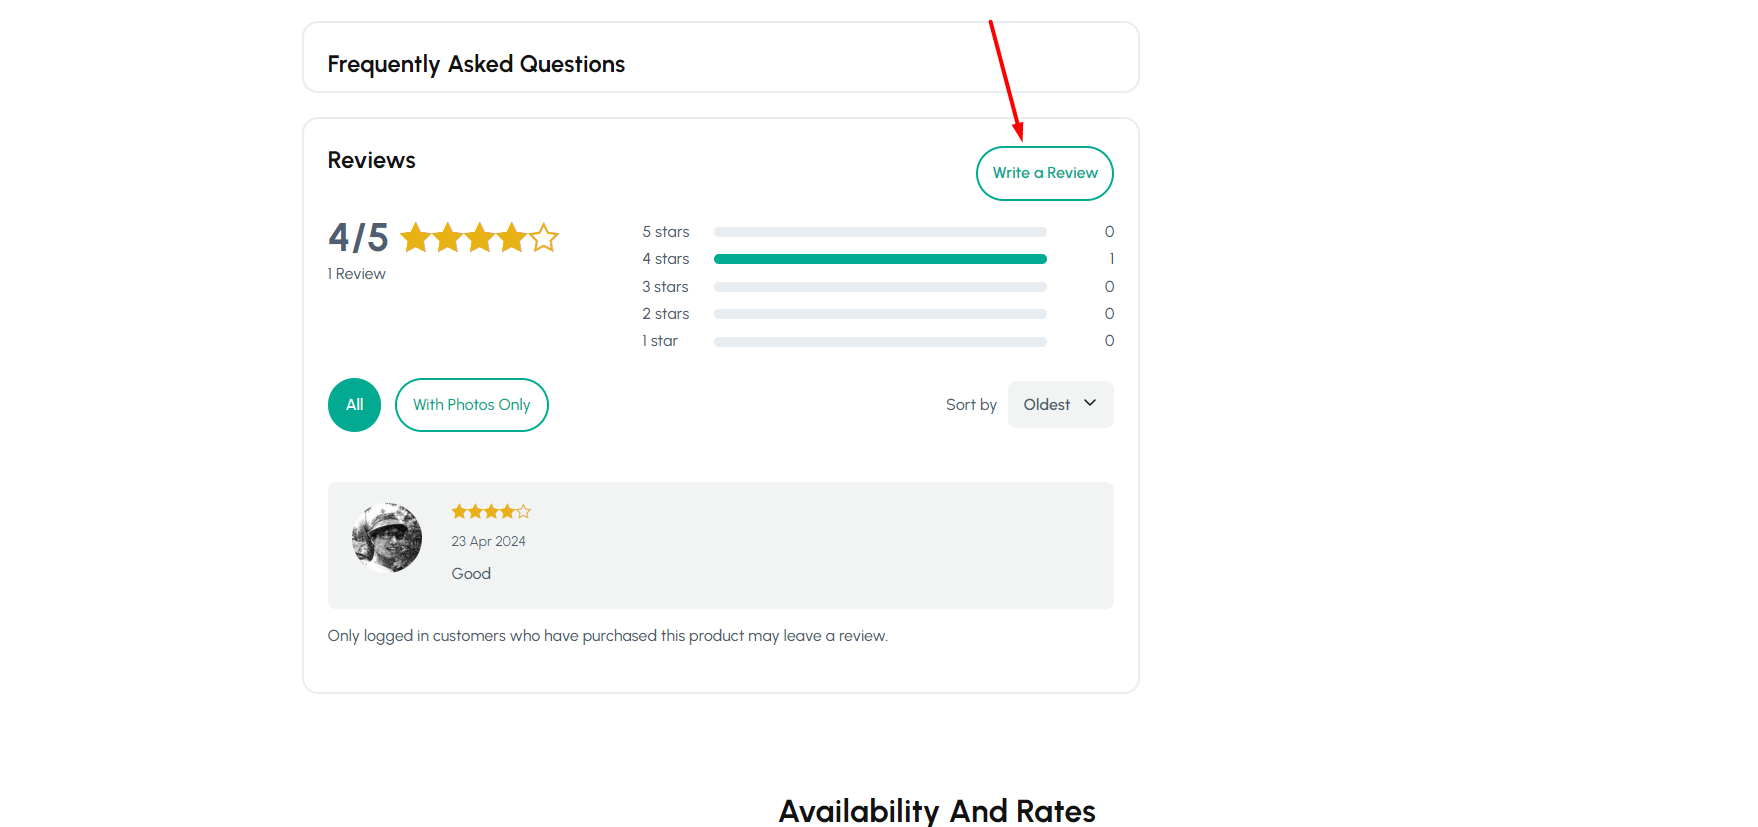
- Display rating: When you enable this option the rating will be displayed in the archive room.
- Max Adults Rooms: This option allows setting the maximum number of adults. You can see this when checking availability.

- Room images size gallery: You can set the gallery image size. Note that this is the size of the image displayed in a single room.
- Room images thumbnail: This option allows you to set the room image thumbnail size (single room).
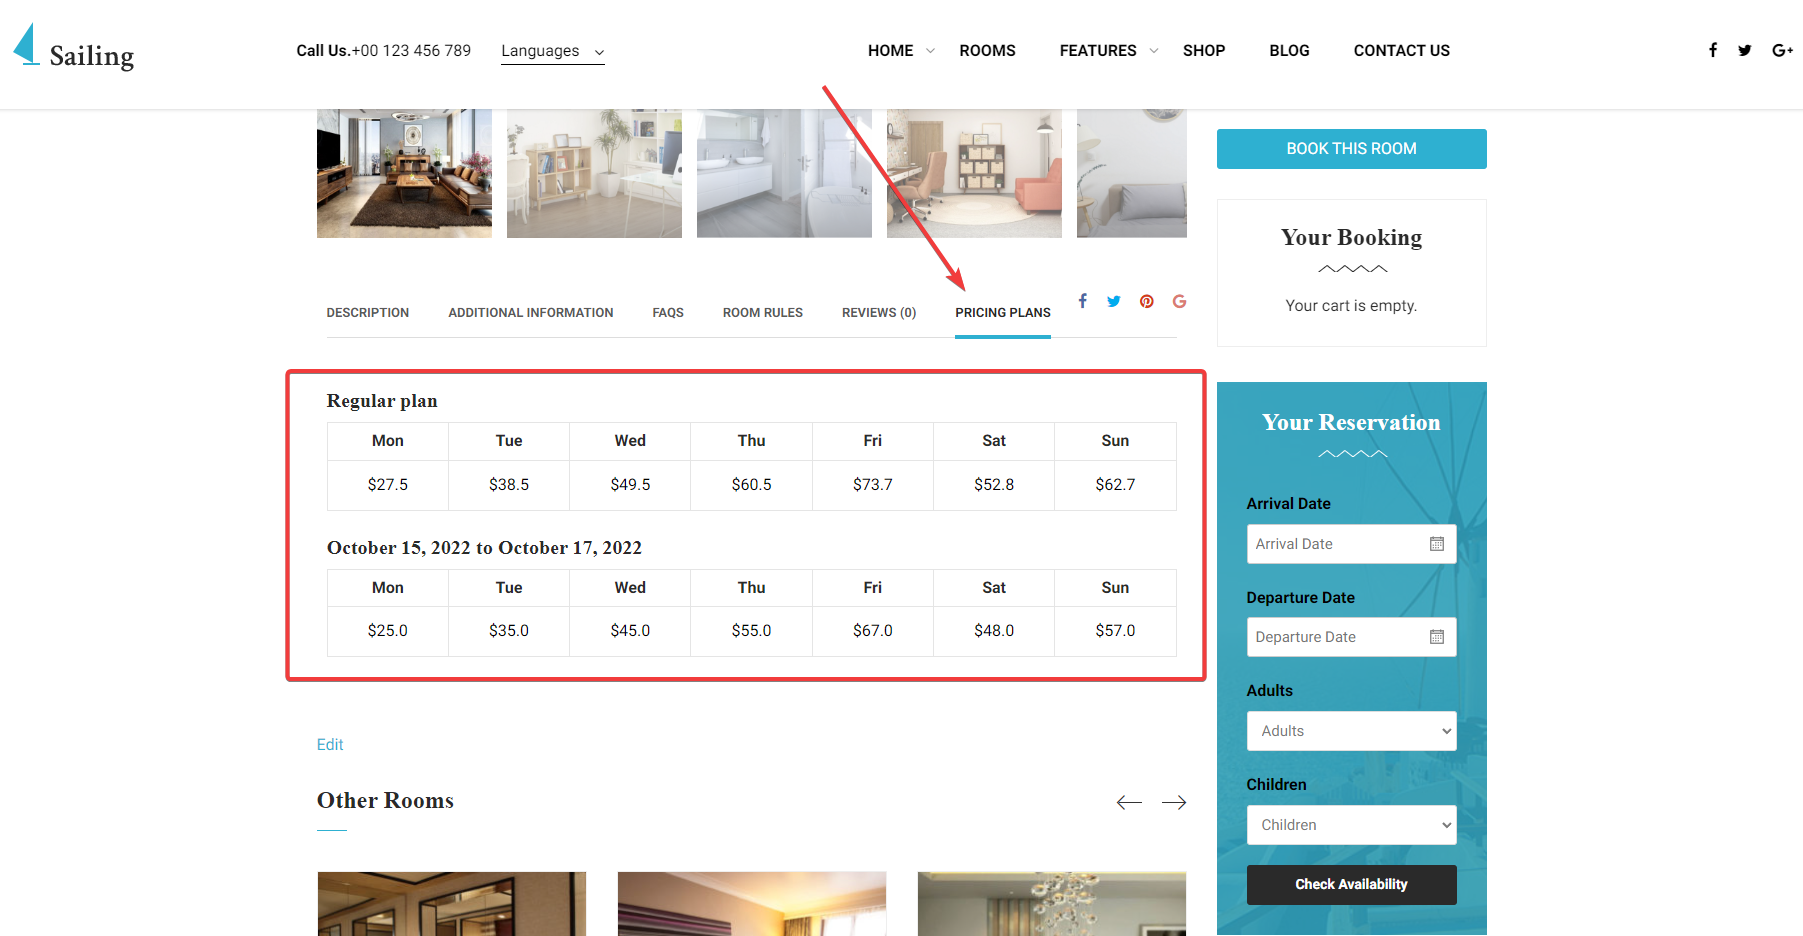
- Display pricing plans: When you enable this option, the price of the room will be displayed in the single room.
- Enable ratings on reviews: The review star section will be displayed in the Review field and popup review.
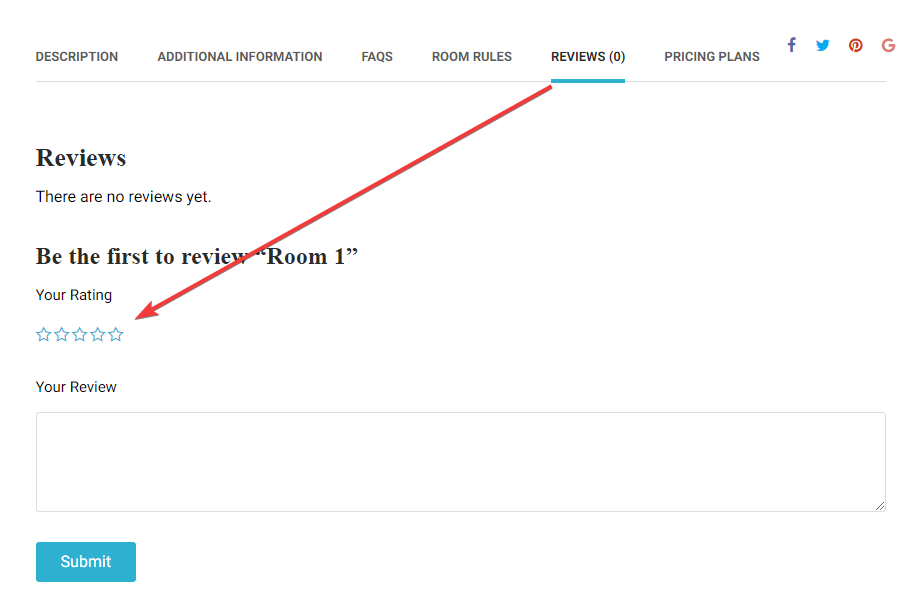
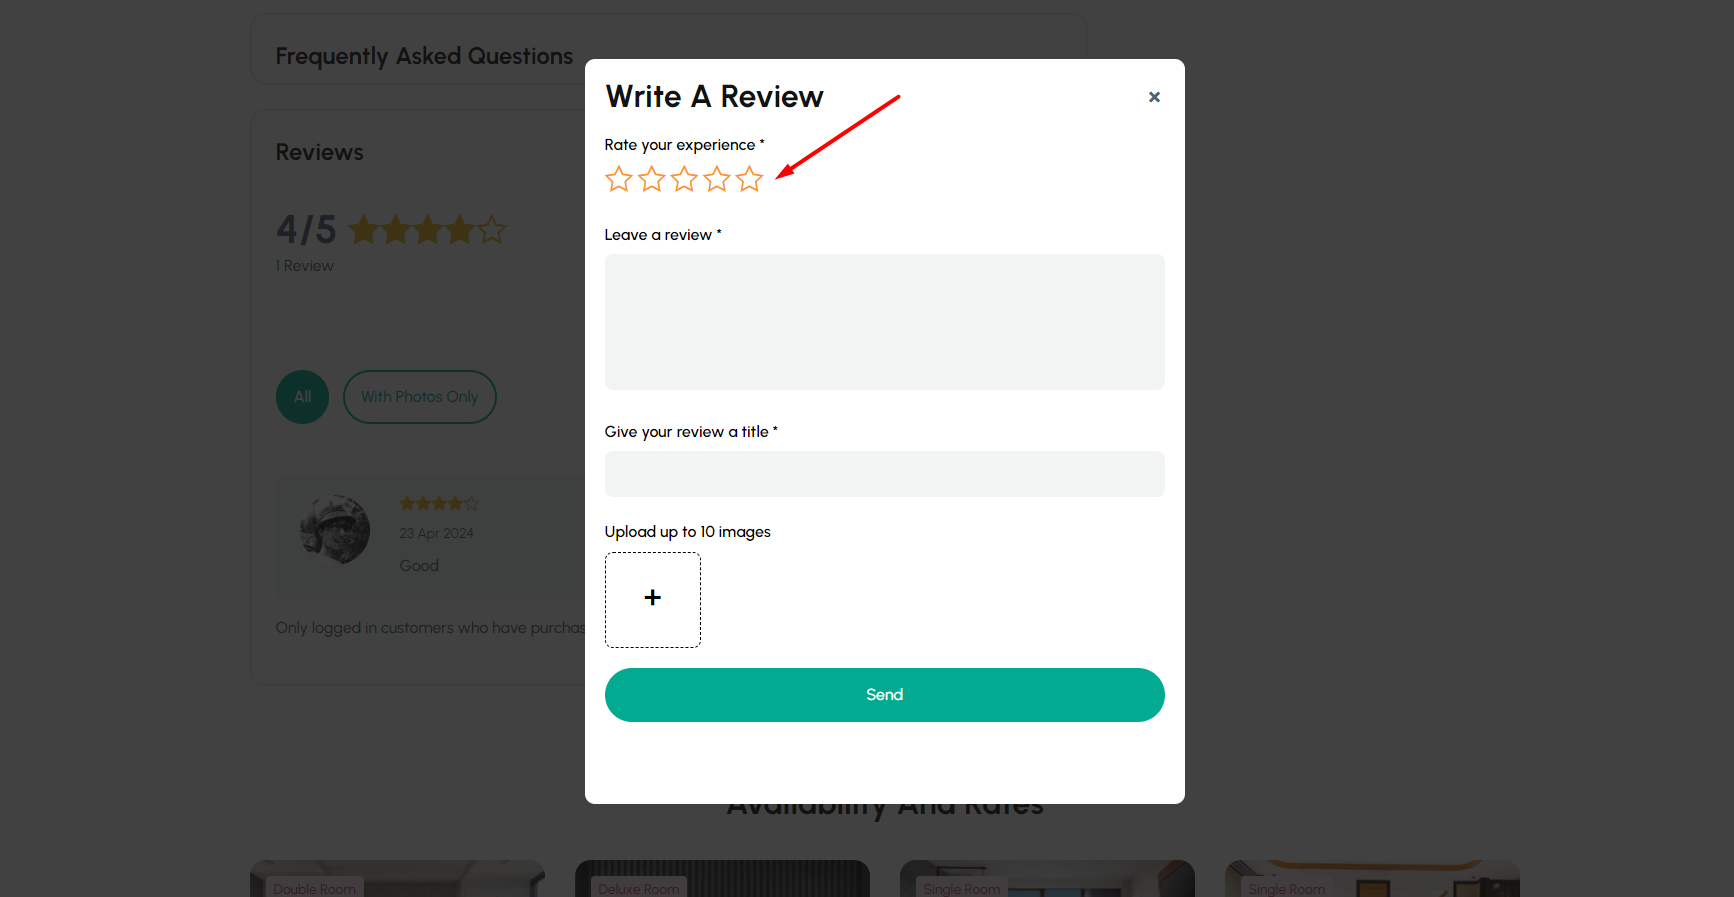
- Enable advanced review: This option allows displaying the review gallery function (allows uploading images when reviewing).

- Maximum images: This field is used for advanced review, maximum number of photos allowed to be uploaded will be visible when reviewing the room.

- Maximum file sizes (KB): This field is used for advanced review, maximum image size allowed to be uploaded when reviewing room.
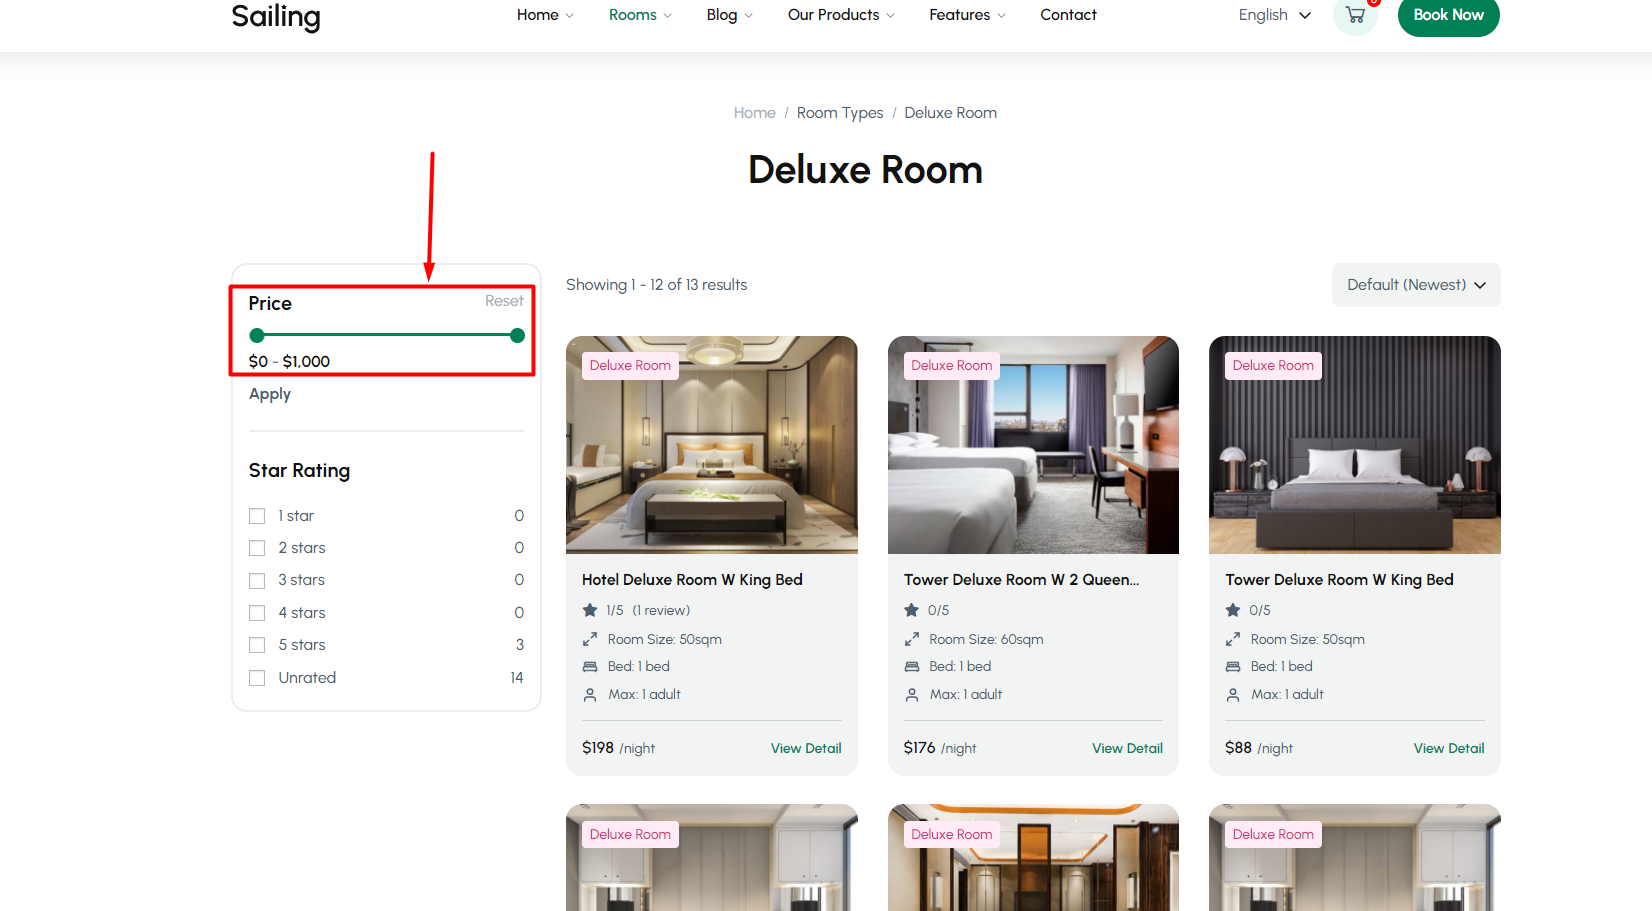
6. Settings Advanced
In settings advanced, you can set room fiter options used in room list (room archive page, booking search page).
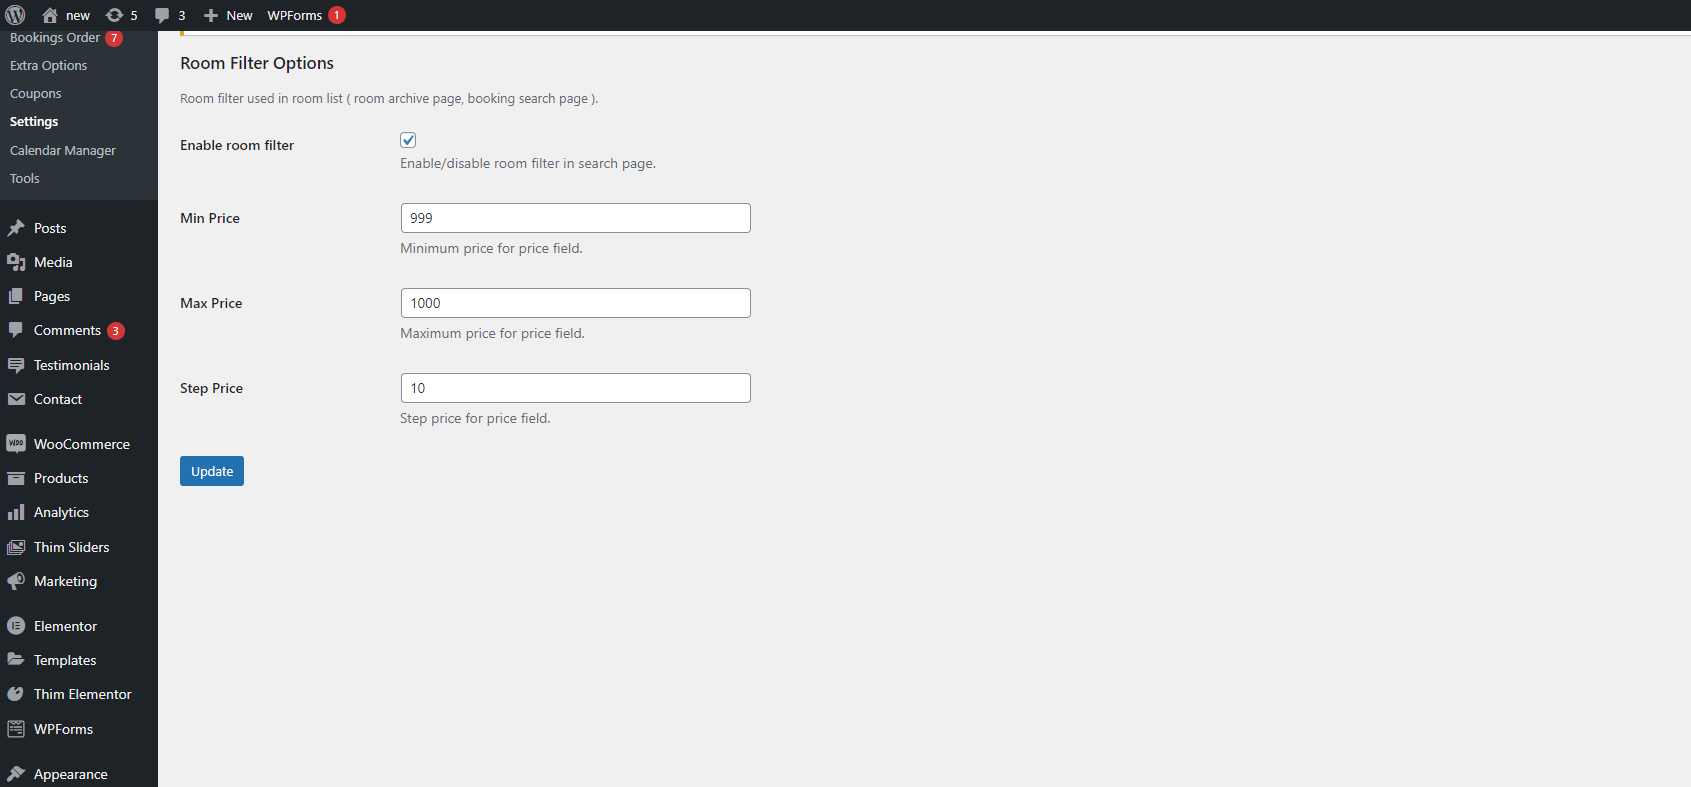
- Enable room filter: Enable/disable room filter in search page.
- Min price: Minimum price value at the price range of the filter room
- Max price: Maximum price value at the price range of the filter room
- Step price: The value will increase when clicking on the price range.