You can install Charity-wp theme via 2 ways: Via WordPress or via FTP
1. Via WordPress
Follow these steps below to install Charity-wp theme via WordPress:
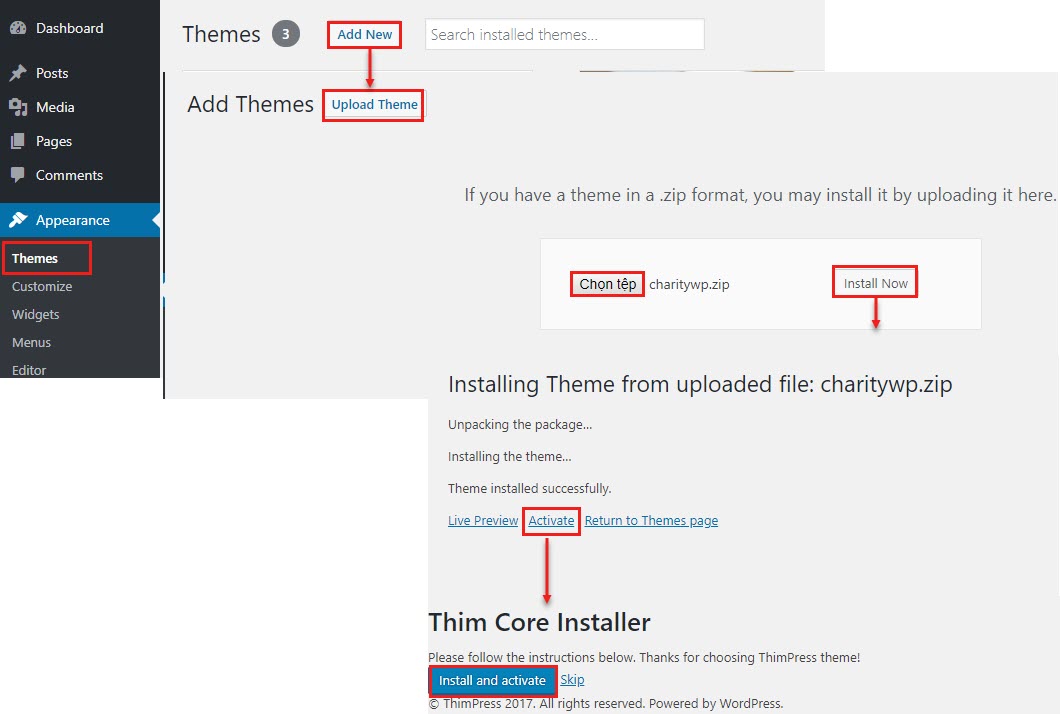
Step 1. Visit Dashboard > Appearance > Themes > Add New.
Step 2. Click Upload Theme.
Step 3. Browse Charity-wp.zip file on your computer and click Install Now.
Step 4. Activate Charity-wp theme.
Step 5. Install and activate Thim Core plugin of Charity-wp that required for importing demo data.
2. Via Ftp
Follow these steps below to install Charity-wp theme via FTP:
Step 1. Login your FTP account via FTP software to access your host web server.
Step 2. Extract Charity-wp.zip file.
Step 3. Upload the extracted folder Charity-wp to wp-content/themes folder.
Step 4. Activate Charity-wp theme in Dashboard > Appearance > Themes.
Step 5. Enable Thim Core to activate the core of Charity-wp and start importing demo data process.
3. Install Plugins And Import Demo
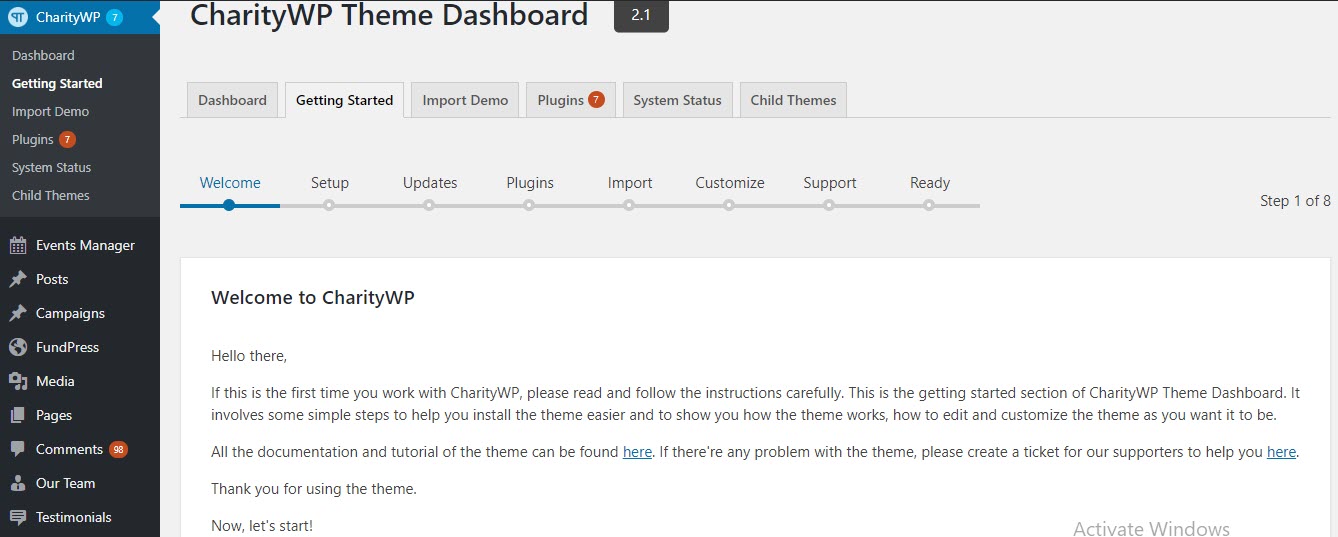
After the theme successfully installed and activated, you will see the Charity-wp theme dashboard with our welcome message. Click ‘Next step’ and follow the instructions to set up your site:
 Step 1. Name your website and set the description.
Step 2. Log into your Envato account to be able to download the required plugins for the theme. You must not skip this step
Step 3. Install and activate required and recommended plugins for the theme.
There will be times that some of the plugins fail to install due to internet loss and you will see the error message ‘You can try again later’. Simply choose the plugins and click install and activate again
Step 4. Choose a demo and import into your site
You can also import any specific pages from the demo. Please go to our support forum and we will send you the file of those pages and the guide of how to import.